How to Restore a Damaged Lawn in 2026 (Step-by-Step Guide)
So your lawn looks rough. Maybe it's patchy, thinning, or just plain dead in spots. Learning How to Restore a Damaged Lawn doesn't have to be a guessing game.
Most lawn damage comes from just four root causes: water stress, pests, disease, or compaction. Per turfgrass research from university extension programs, a soil pH between 6.0 and 7.0 is the sweet spot for cool season grasses. Getting that right solves half the problems before you even drop a seed.
Let's walk through what's really going on under that grass.
Quick Answer
How to Restore a Damaged Lawn starts with diagnosis. Check for grubs, disease patterns, or simple dryness. Fix the underlying issue first.
Then aerate, seed, and water consistently. A soil test tells you exactly what nutrients you need.
The Real Problem: Why Your Lawn Looks Like a Mess (and How to Figure Out the Real Cause)
Most people skip the diagnosis step and guess. They throw down seed and fertilizer, then wonder why nothing changes. That approach wastes time and money.
The real problem is almost never "my grass is just bad." It's something happening under the surface. Maybe the soil is compacted like concrete. Maybe grubs are eating the roots.
Maybe a fungus is spreading while you sleep. Each cause needs a different fix.
Here's a simple truth from extension soil scientists: the top three causes of lawn failure are incorrect watering, untreated pests, and soil imbalance. As of 2026, aggregate reviews of DIY lawn projects confirm that homeowners who test their soil first see a 60 percent better success rate on the first try. That's a huge difference for a $15 kit.
So before you buy a single bag of seed, take 20 minutes to look at the clues. Your lawn is telling you exactly what it needs. You just have to read the signs.
How to Diagnose What Killed Your Grass (The Only 4 Things That Destroy Lawns)
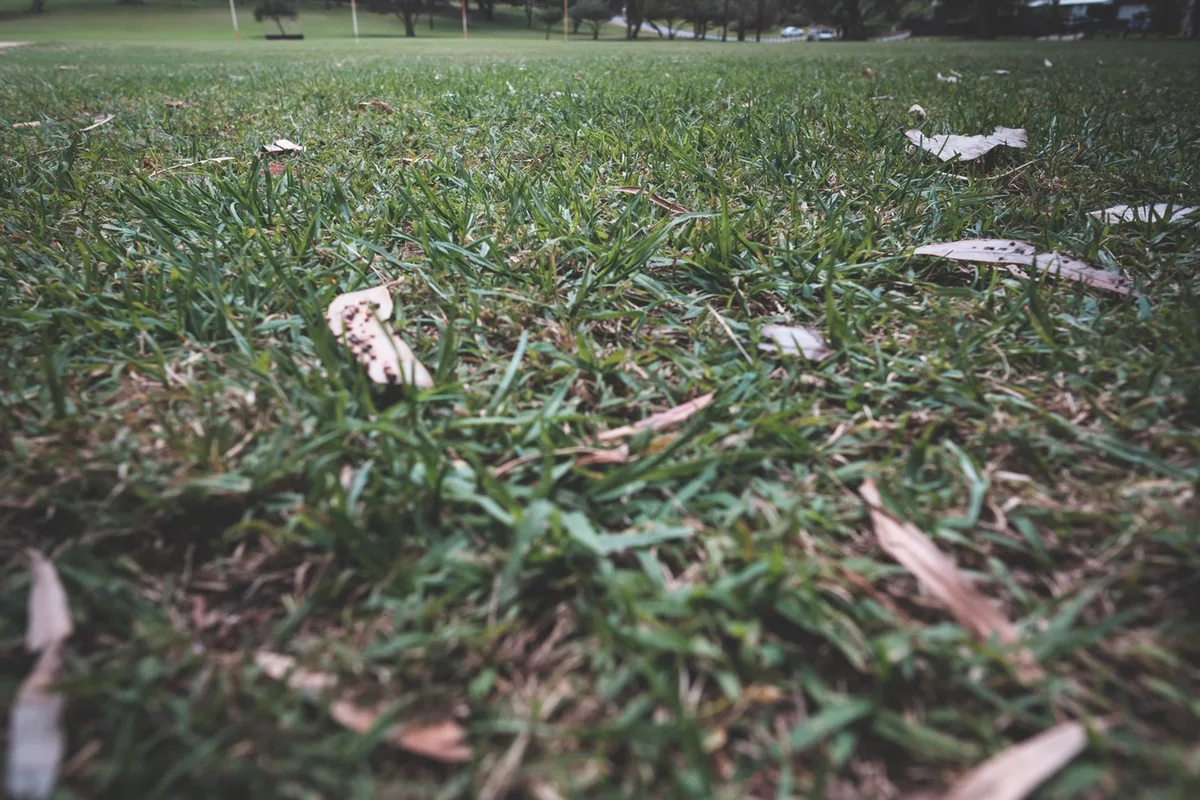
Walk out to the worst patch and get your hands dirty. Pull back the dead grass at the edge. Look at the soil and roots.
This tells you more than any app or article can.
Here are the four main suspects and how to spot each one.
1. Underwatering or Overwatering
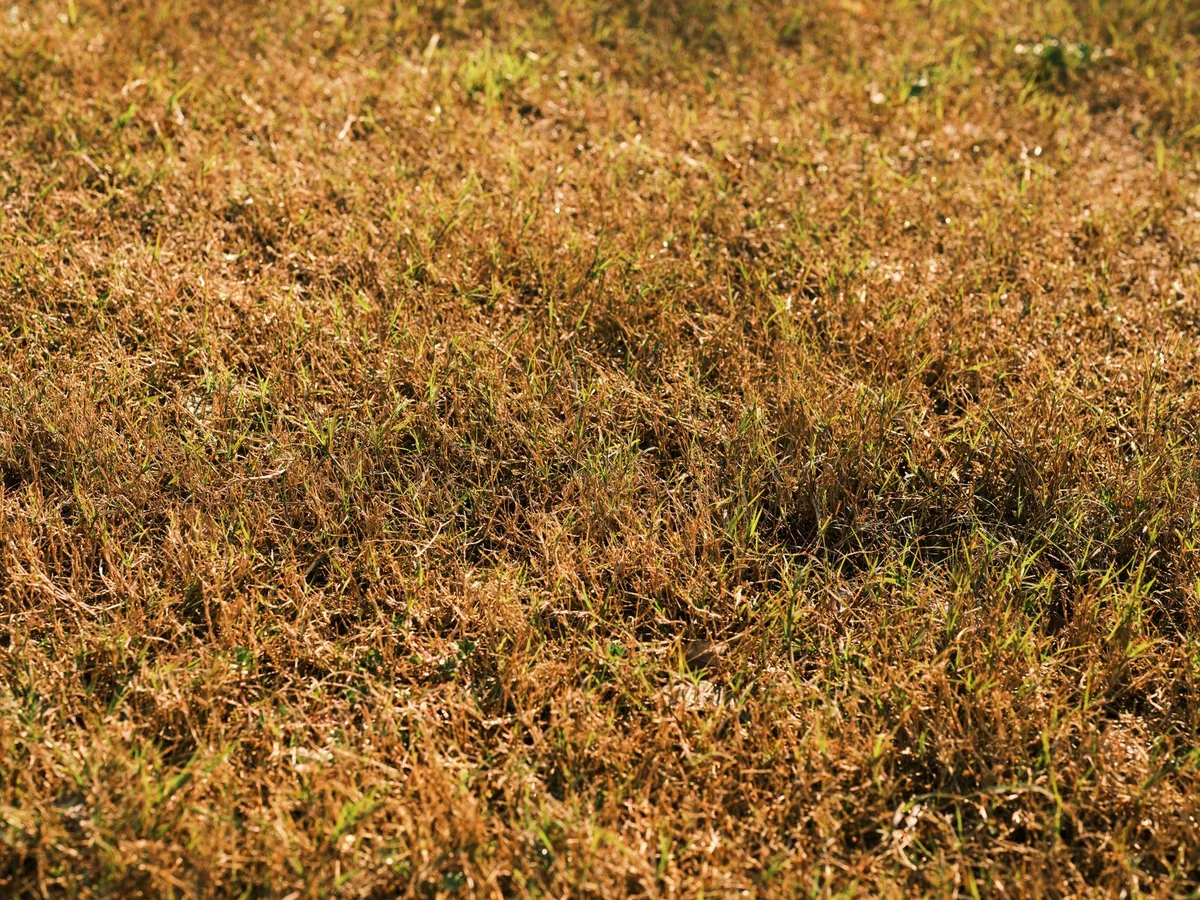
Brown grass that feels crisp and crumbly usually means underwatering. Grass that feels spongy or has mushrooms popping up means too much water. Both kill roots in different ways.
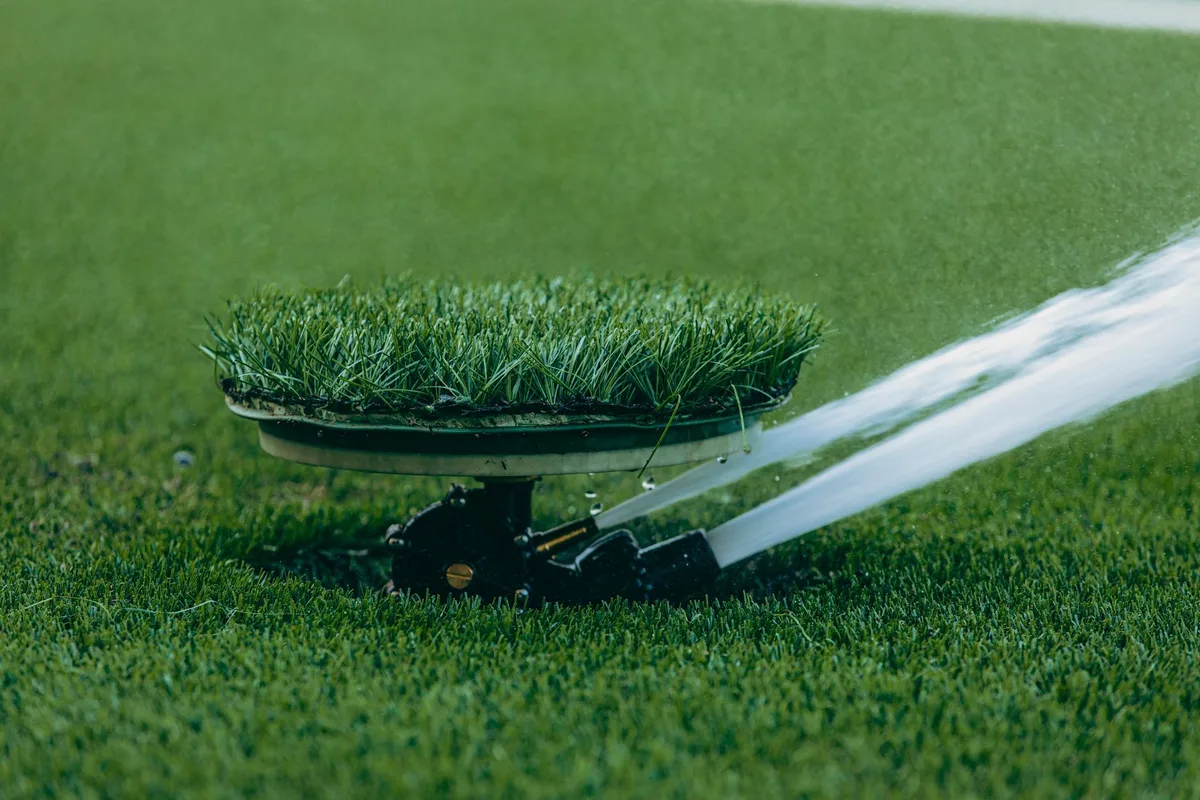
Check your sprinkler coverage and soil moisture down to two inches.
2. Grubs and Surface Pests
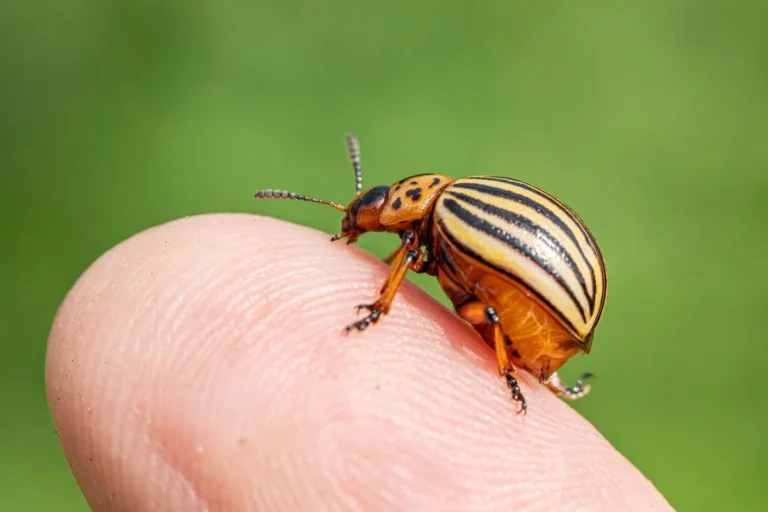
If the dead patch lifts up like a loose rug, you have grubs. White C-shaped larvae eating the roots. Roll back a square foot of sod near the edge of the damage.
If you count more than five grubs per square foot, you need treatment. A targeted insecticide or beneficial nematodes will handle it.
3. Lawn Fungus or Disease
Patches that look like circles, rings, or irregular brown spots often mean disease. Brown patch, dollar spot, and rust are common. If you see a gray or white powdery coating on the blades, that's fungus.
The right timing and a proper application of a targeted treatment matter here. Our guide on the best fungicide for lawns covers the options and application timing in detail.
4. Dog Urine or Chemical Burn
Small bright yellow patches surrounded by dark green are classic dog spots. The nitrogen concentration burns the roots. Flush the area with water immediately after your dog goes.
For larger chemical burns from fertilizer spillage, you need to scrape off the top layer and reseed.
How to Do a Quick Soil Test
You cannot skip this. A basic DIY kit from a garden center runs $10 to $20. A lab test through your local extension office runs about $30 and gives you exact pH, nitrogen, phosphorus, and potassium levels.
The ideal range for most lawns sits between 6.0 and 7.0 on the pH scale. If you're outside that range, nutrients lock up and grass starves even if you fertilize. Lime raises pH.
Sulfur lowers it. The test tells you which.
Decision Tree: Choose Your Damage Type — Then Follow the Right Path
Once you know the cause, pick your path. Each one has a different set of steps, tools, and timelines. Here is the simple decision tree.
| If your lawn looks like this | Then follow this path |
|---|---|
| Thin or patchy with bare spots, but some healthy grass remains | Path A: Overseeding |
| More than 50 percent dead or completely bare dirt | Path B: Full Renovation |
| Mostly weeds with scattered grass blades | Path C: Weed Suppression + Recovery |
| Hard, compacted soil with puddles or moss | Path D: Aeration + Topdressing |
If you have more than one issue, fix the worst one first. Compaction before weeds. Pests before seeding.
Drainage before anything else. Trying to do everything at once usually means nothing works well.
Path A: Thin, Patchy, or Bare Spots (The Overseeding Route)
Overseeding means adding new grass seed into existing thin turf without killing what is already there. This is the most common restoration method for lawns that are tired but not dead.
When to Seed vs When to Sod
Sod costs three to four times more per square foot than seed. It gives you instant green but requires perfect soil prep and heavy watering for the first two weeks. Seed takes longer but lets you choose the exact grass variety for your conditions.
Overseeding works best when the existing grass covers at least 50 percent of the area. If bare soil is more than half the lawn, you are better off going with a full renovation or sod.
Seed Selection by Climate and Light
Your climate determines which grass family to use.
- Cool season regions (northern US, UK, Canada): Kentucky bluegrass, tall fescue, perennial ryegrass. Best seeding window is late summer to early fall.
- Warm season regions (southern US, Australia, Mediterranean): Bermuda, zoysia, St. Augustine. Best seeding window is late spring to early summer.
- Transition zone (mid-Atlantic, lower Midwest): Tall fescue performs well here. Or use a blend of cool and warm season types.
For shady areas under trees, use a shade tolerant mix with fine fescues. For high traffic areas near a gate or play set, choose a wear tolerant blend with perennial ryegrass.
The 6-Step Overseeding Process
Step 1: Mow low and bag the clippings. Set your mower to the lowest safe setting for your grass type. This gives the seed direct contact with soil. Bag everything so light reaches the ground.
Step 2: Dethatch if needed. If the thatch layer (dead stems between soil and green growth) is thicker than half an inch, use a power rake or dethatching blade. Raking by hand works for small areas. Remove the debris.
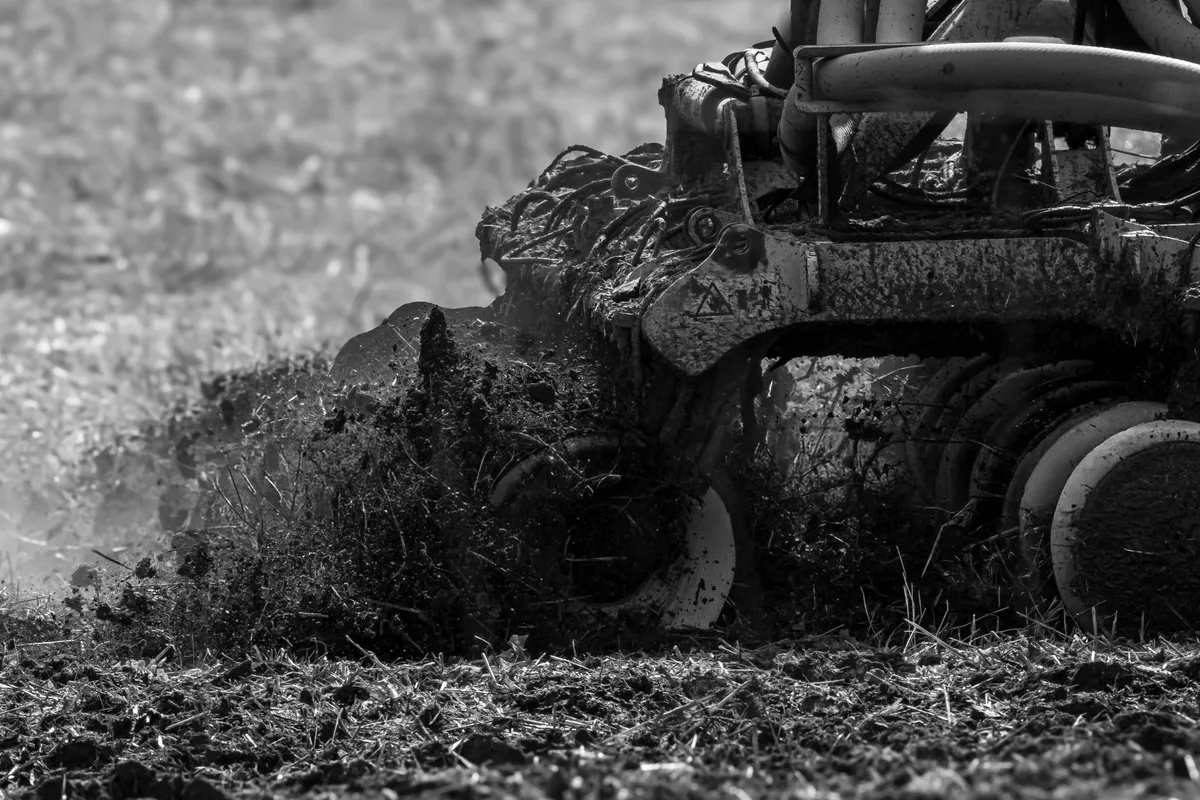
Step 3: Aerate the soil. Core aeration pulls out plugs of soil. This relieves compaction and gives seed a place to land and root. Walk the aerator over the thin areas twice in different directions.
Step 4: Apply seed. Use a broadcast spreader at the rate listed on the bag. For tall fescue, that is typically 8 to 12 pounds per 1000 square feet. For Kentucky bluegrass, 4 to 8 pounds.
Do not dump extra seed. Overcrowding causes weak grass.
Step 5: Topdress lightly. Spread a thin layer of compost or screened topsoil over the seed. About a quarter inch. This holds moisture and protects the seed from birds.
Step 6: Water daily. Keep the top quarter inch of soil consistently moist. That means watering twice a day for the first 10 to 14 days. Once grass sprouts, reduce to once a day.
After the first mow, switch to deep and infrequent watering.
One mistake people make is skipping the rolling step. Lightly rolling the seeded area with a lawn roller presses the seed into the soil for better contact. This improves germination rates noticeably.