How to Build Healthy Garden Soil (2026) — Explained Simply
Here's the honest truth about building good garden soil: most advice fails you because it assumes you already have something workable. If you've ever added compost and still ended up with muddy clay or dusty sand, you know the frustration. Learning how to build healthy garden soil starts with one simple step that almost nobody talks about.
As of 2026, soil science research from the USDA Natural Resources Conservation Service confirms that organic matter content above five percent is the single biggest predictor of plant health. But you can't get there if you don't understand your soil's texture and pH first. That's why we're going to start with a handful of dirt and a jar of water.
Why Most Garden Soil Advice Fails You (Until You Know Your Starting Point)
Every soil problem looks different depending on where you live. Clay soil holds nutrients like a bank vault but drains like concrete. Sandy soil drains beautifully but washes nutrients away before your plants can use them.
Loam is the gold standard, but even loam needs regular feeding to stay healthy.
The mistake most gardeners make is skipping the diagnosis. They see pale leaves and throw on fertilizer. They see puddles and add sand.
These quick fixes often make things worse. Pouring nitrogen on compacted clay just grows weeds. Adding sand to clay turns it into something that resembles concrete.
The only way to fix your soil is to know exactly what kind you have right now.
Quick Answer
Test your soil texture with a jar of water. Test your pH with a cheap kit from any garden center. Add organic matter based on what those tests tell you.
Clay needs coarse organic matter to open up pore space. Sand needs fine, decomposed matter to hold moisture. Loam needs a yearly top-dress of compost to maintain fertility.
Step 1: Identify Your Soil Type (The Texture Test)
You do not need a lab for this. You need a clear jar, some water, and about 24 hours of patience. The basic principle is simple: sand particles are large and heavy, silt particles are medium, and clay particles are tiny.
When you shake them up in water, they settle out in layers by size.
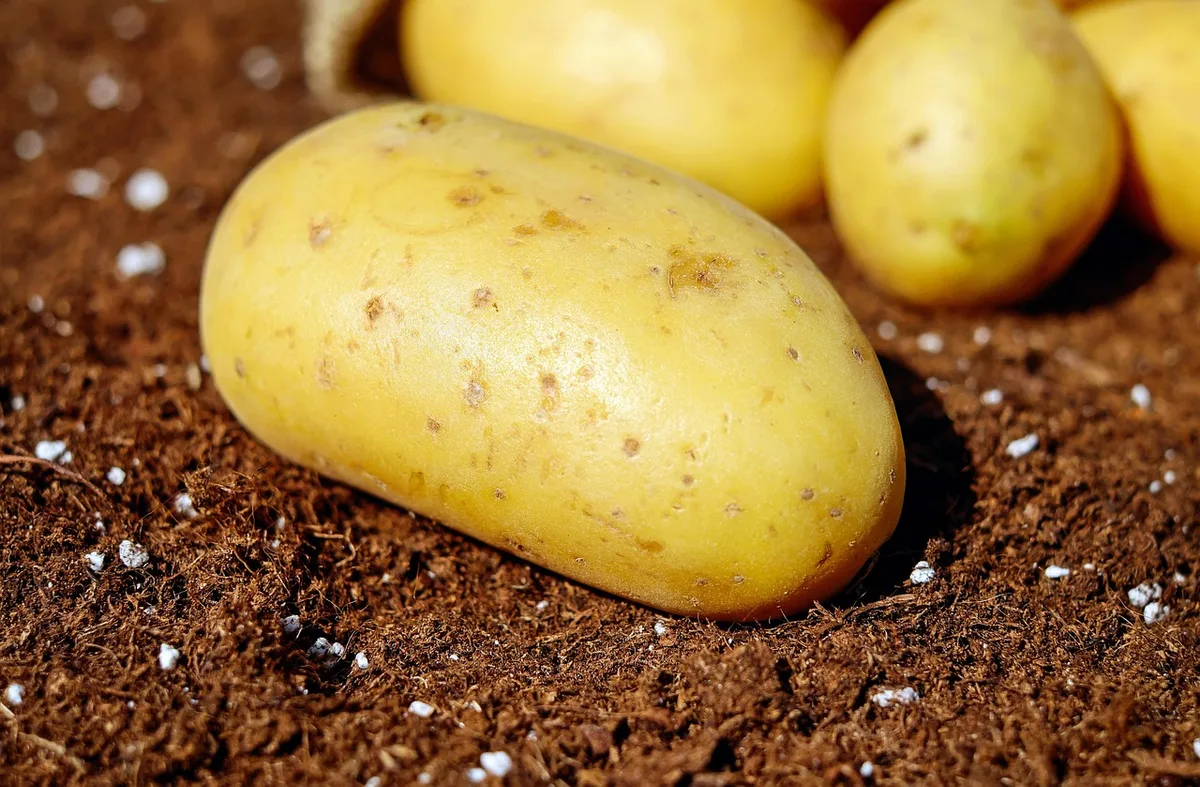
The Ribbon Test (Quick and Dirty)
Grab a handful of slightly damp soil. Squeeze it into a ball. Then try to form a ribbon by pressing it between your thumb and forefinger.
- If it crumbles immediately, you have sandy soil. It won't hold shape at all.
- If it forms a weak ribbon that breaks at one inch, you have loamy soil. This is good news.
- If it forms a long, strong ribbon over two inches, you have clay soil. It feels sticky and smooth.
This test takes thirty seconds and tells you more than most soil lab reports about your immediate problem. It's the fastest way to know which direction your soil building should go.
The Jar Test (More Precise)
The ribbon test gives you a quick read. The jar test gives you real numbers. Here is how it works.
Fill a straight-sided jar about halfway with soil. Fill the rest with water, leaving some air space at the top. Add a teaspoon of dish soap to break surface tension.
Shake it hard for two minutes until everything is suspended. Set it down and let it settle.
After one minute, mark the sand layer at the bottom. After two hours, mark the silt layer. After 24 hours, mark the clay layer on top.
Organic matter will float or form a thin film. Measure each layer and calculate the percentages. Compare those to a soil texture triangle available from your local extension office.
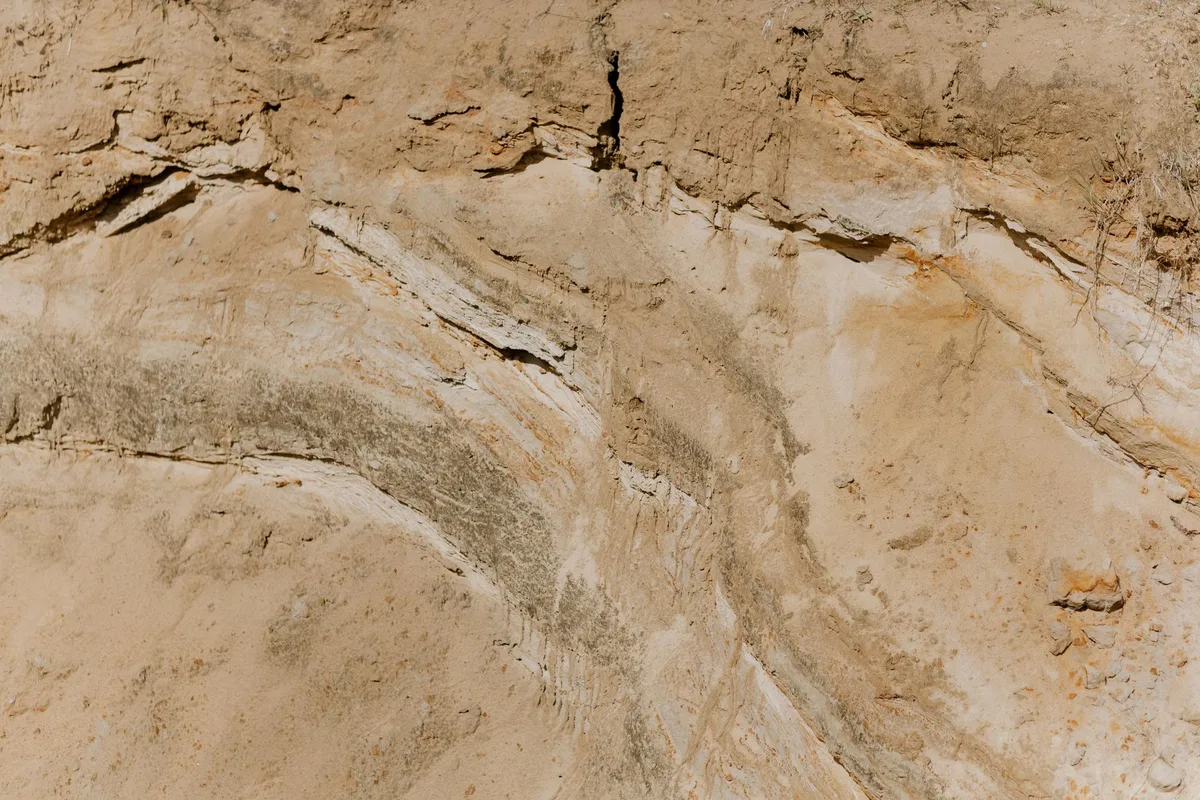
This test is free, requires no special equipment, and gives you a reliable classification. You only need to do it once. Soil texture does not change.
You cannot turn clay into sand. But you can build better soil structure around what you already have.
What Your Soil Type Tells You About What to Add
Once you know your texture, the decision tree opens up. Each soil type needs a different approach. Here is exactly what to do for each one.
You Have Clay Soil
Clay is rich in nutrients but poor in drainage. The tiny particles pack so tightly that water sits on top and roots struggle to push through. Your goal is to create pore space.
Add coarse organic matter like straw, wood chips, or shredded bark. These large particles physically separate the clay platelets. Gypsum also helps by flocculating clay particles into larger crumbs.
Do not add sand. Sand mixed with clay creates a cement-like structure that is worse than either alone. Use a broadfork to aerate without destroying the layers.
A good set of decorative flower beds often starts with clay soil, and choosing the right planting partners makes a big difference.
Apply three to four inches of coarse mulch on top every season. Let worms do the mixing work for you.
You Have Sandy Soil
Sand drains fast but holds almost nothing. Water runs through it like a sieve, and nutrients wash away just as quickly. Your goal is to build water-holding capacity.
Add fully decomposed organic matter like compost, leaf mold, or aged manure. This fills the gaps between sand particles and gives roots something to grip. Coco coir or peat moss also works well for moisture retention.
You need larger volumes here than you would with clay. Sandy soil eats organic matter. Plan to add two to three inches of compost every season.
Cover crops that produce dense root mass help hold the soil together between growing cycles. If you are growing in dry conditions, consider pairing this with drought-tolerant trees that can thrive with less water.
You Have Loam
Loam is roughly forty percent sand, forty percent silt, and twenty percent clay. It drains well, holds nutrients, and roots love it. But loam is not maintenance-free.
It loses organic matter over time, especially under cultivation.
Your job is to maintain the balance. Top-dress with one inch of compost each spring and fall. Use cover crops every off-season.
Avoid heavy tilling that breaks down the soil structure you already have. Loam is the starting point everyone wants, but it takes consistent care to keep it that way.
Step 2: Test Your Soil pH (Don't Guess, It's Cheap and Critical)
Texture tells you the physical structure. pH tells you the chemical environment. Most garden vegetables prefer a pH between 6.0 and 7.0. Blueberries need 4.5 to 5.5.
Asparagus likes slightly alkaline soil around 7.5. If your pH is off, your plants cannot access the nutrients that are already in the ground.
Iron becomes unavailable above 7.0. Phosphorus locks up below 5.5. You can pile on the best fertilizer in the world and see zero results if the pH is wrong.
A simple home test kit costs less than fifteen dollars and gives you a reading in minutes. Some extension offices offer free testing. As of 2026, the University of Massachusetts Soil and Plant Nutrient Testing Lab charges twenty dollars for a full analysis with recommendations.
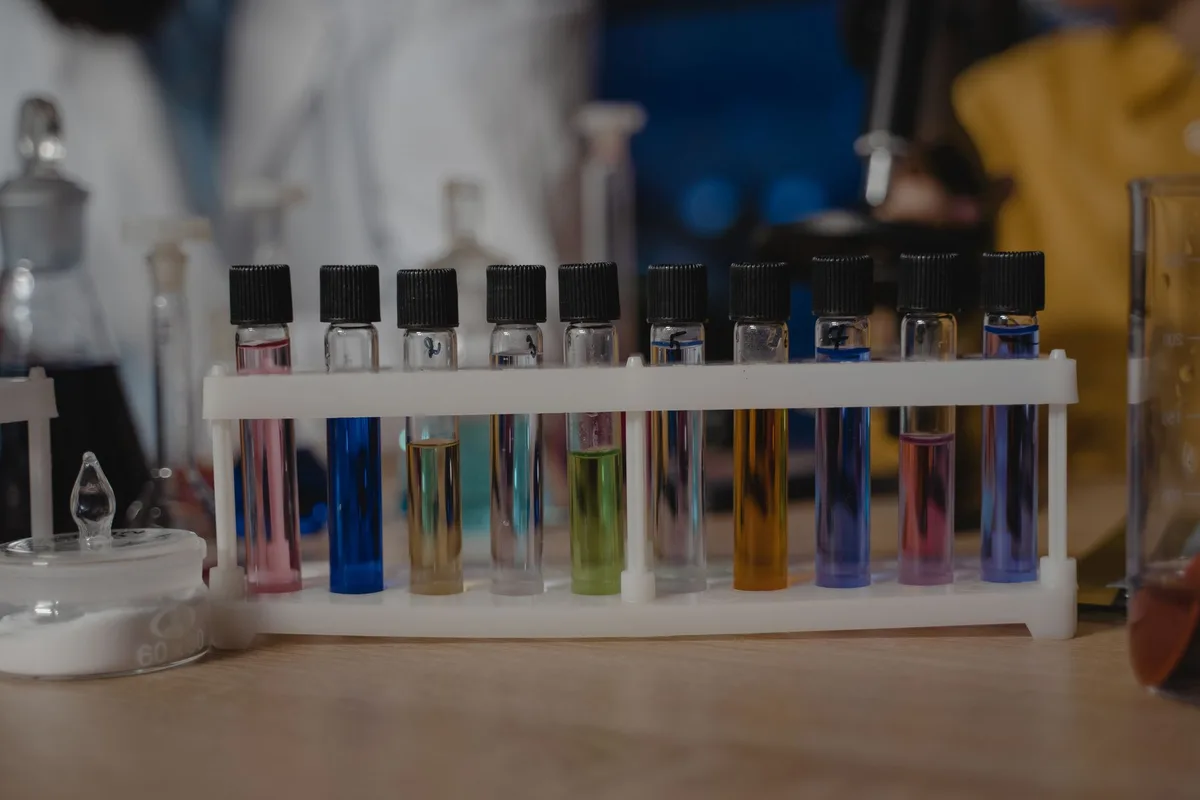
If your pH is low, add garden lime at the rate recommended by your test results. If your pH is high, add elemental sulfur or peat moss. Do not guess at the amount.
Over-liming is a common mistake that takes years to reverse. Always follow the weight-based rate from your test, not the bag instructions.
One more thing: test pH every two to three years. It changes slowly, but it does change, especially if you are adding organic matter regularly.
Step 3: Picking the Right Organic Matter (Compost Isn't the Only Option)
Compost is the default recommendation for good reason. It is balanced, stable, and full of beneficial microbes. But it is not the only tool you have.
Different situations call for different materials.
- Finished compost: Best for general soil feeding. It provides balanced nutrients and improves texture across all soil types. Apply one to three inches per season.
- Aged manure: High in nitrogen. Use it to boost leafy growth. Only use manure that has aged for at least six months to avoid burning roots and introducing weed seeds.
- Leaf mold: Excellent for moisture retention in sandy soil. It acts like a sponge and breaks down slowly.
- Wood chips: Best for clay soil and pathways. They decompose slowly and create air channels as they break down. Do not mix them into the soil. Layer them on top.
- Worm castings: Concentrated microbial life. A thin layer provides a powerful boost without bulk. Great for raised beds and container gardens.
- Biochar: Charcoal that has been charged with nutrients. It holds onto fertilizer and water in sandy soil. It lasts for years in the ground.
The decision tree here is straightforward. If your soil is clay, go with coarse materials like wood chips and straw. If your soil is sand, go with fine, decomposed materials like compost and leaf mold.
If you are maintaining healthy loam, stick with a balanced compost top-dress plus the occasional feeding from organic fertilizer sources.
Step 4: Apply and Protect Your Soil (Mulch Is Your Best Friend)
Once you have chosen your organic matter, you have to apply it correctly. This step matters more than most people realize. Dumping compost on top and walking away works, but you will get better results with a little technique.
Spread your organic matter evenly over the surface at the recommended depth. One to three inches for most materials. Do not dig it into the soil.
Research shows that surface application with light incorporation by earthworms creates better long-term structure than mixing. The soil food web lives in the top few inches. Let it work.
After applying organic matter, cover everything with a protective mulch layer. Mulch does three things. It prevents erosion from rain and wind.
It moderates soil temperature so roots stay cool in summer and warm in winter. And it suppresses weeds so your plants have less competition.
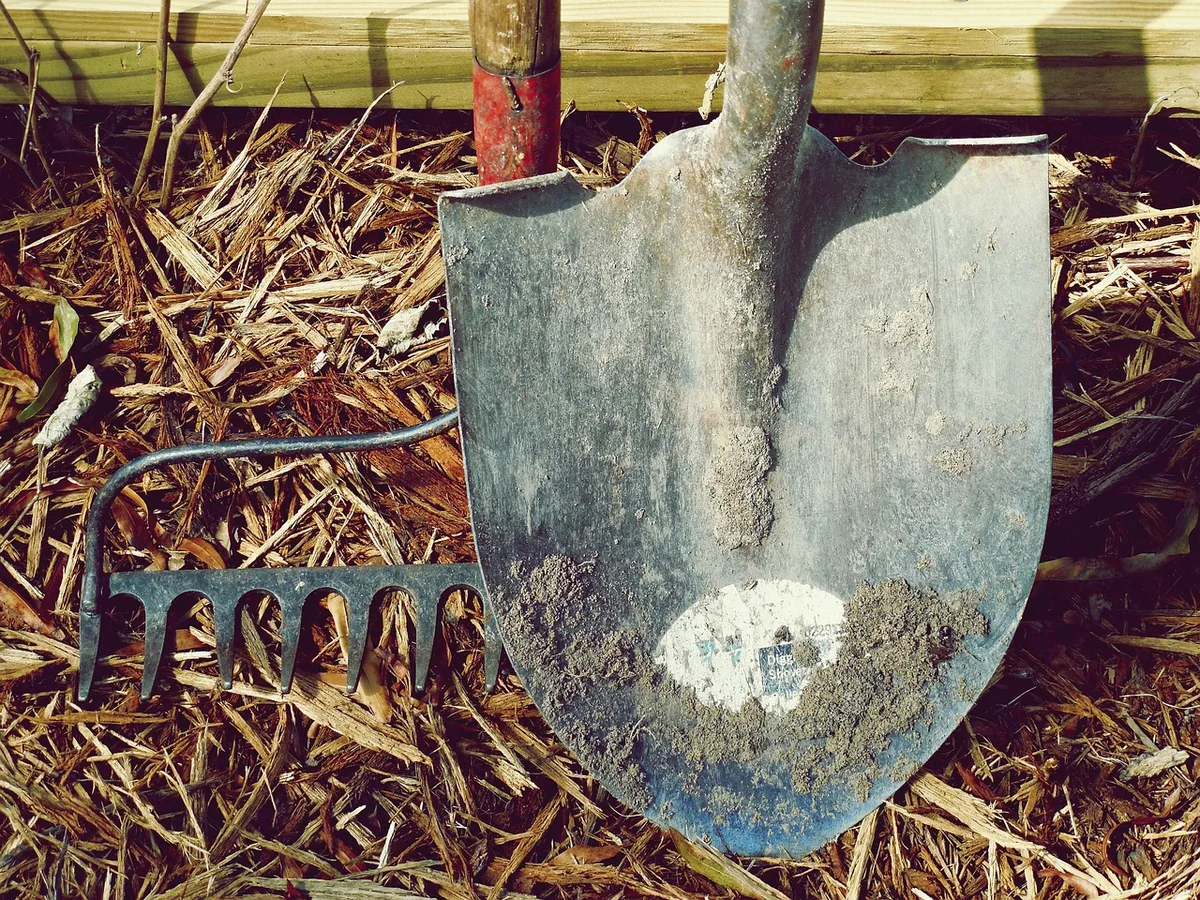
- Wood chips work great for paths and perennial beds. They break down slowly and add organic matter over time.
- Straw is better for vegetable beds. It breaks down faster and is easier to move when you need to plant.
- Shredded leaves are free and effective. They mat together and hold moisture well.
Apply two to three inches of mulch after your organic matter is down. Keep it a few inches away from plant stems and tree trunks to prevent rot. Refresh it once or twice a year as it decomposes.
If you are setting up a new garden bed, this is also the time to think about the plants that will go into it. A well-chosen selection for your flower beds will thrive in the soil conditions you are building.
The 5 Biggest Mistakes That Set Your Garden Back
Building soil takes time, but you can undo a lot of progress with one bad decision. Here are the most common errors and how to avoid them.
1. Adding sand to clay soil. It sounds logical. Clay drains slowly so add sand to speed it up.
But the particle sizes combine to create a concrete-like material that is worse than either alone. The fix is coarse organic matter, not sand.
2. Using fresh manure. Fresh manure is high in ammonia that burns plant roots. It also carries weed seeds and pathogens.
Compost it first or let it age for a minimum of six months before applying it to beds.
3. Tilling wet soil. Wet soil compacts under the weight of machinery and foot traffic. Tilling when it is wet destroys soil structure and creates hardpan.
Wait until the soil crumbles in your hand before working it.
4. Ignoring pH before fertilizing. You can waste an entire season of fertilizer applications if the pH is off. A fifteen dollar test kit saves you money and frustration.
5. Over-mulching against stems. Piling mulch directly against plant stems and tree trunks traps moisture and causes rot. Leave a few inches of bare soil around the base.
No-Till vs. Tilling: One Decision That Changes Everything
Tilling has been the standard approach for generations. It looks productive. You churn up the soil, mix in amendments, and create a clean planting surface.
But research over the past two decades paints a different picture.
Tilling destroys soil structure. It breaks apart the fungal networks that help roots access water and nutrients. It speeds up decomposition of organic matter, which sounds good but actually depletes your soil faster in the long run.
And it brings dormant weed seeds to the surface where they germinate.
No-till gardening leaves the soil undisturbed. You add amendments on top. You plant directly into the surface.
Worms and roots do the mixing. Over time, no-till soil develops better drainage, higher organic matter, and more microbial activity than tilled soil.
This does not mean you can never dig. You break ground once to establish a bed. You use a broadfork to loosen compacted layers.
But the annual ritual of rototilling does more harm than good.
If you are starting a garden on compacted lawn or pasture, you might need to till once to break the sod. After that, switch to no-till management. Your soil will improve every year instead of degrading.
Cover Crops: Your Off-Season Soil Builders
Cover crops are plants you grow to feed your soil instead of yourself. They protect bare ground from erosion, add organic matter, and fix nitrogen. Think of them as a paid vacation for your garden.
- Winter rye is the workhorse of cover crops. It germinates in cold soil, grows through fall, and dies back in spring. The thick root mass holds soil together and adds organic matter when it decomposes.
- Crimson clover fixes nitrogen from the air and converts it into plant-available forms. It also produces beautiful red flowers that attract pollinators.
- Buckwheat grows fast in warm weather and smothers weeds. It matures in six to eight weeks and you can chop it down and let it decompose in place.
- Hairy vetch is another nitrogen fixer that survives cold winters. It pairs well with winter rye for a balanced cover crop mix.
Plant cover crops in the fall after your main harvest is done. Let them grow through winter. In spring, cut them down and leave the residue on the surface as mulch.
The roots decompose and create channels for air and water.
If you are gardening in a hot dry climate, some cover crop options struggle without irrigation. In that case, choose the most drought-tolerant species that matches your goals.
How to Maintain Healthy Soil Year After Year
Soil building is not a one-time project. It is an ongoing relationship. The good news is that maintenance takes less effort than the initial improvement.
Each spring, add one inch of compost as a top-dress before planting. Each fall, add another inch after you clean up the season's growth. Keep a mulch layer on the soil surface throughout the growing season.
Test your pH every two to three years and correct as needed.
Rotate your crops each season. Planting the same family in the same spot depletes specific nutrients and encourages soilborne diseases. A simple three-year rotation between leafy greens, fruiting plants, and root crops keeps the system balanced.
Minimize foot traffic on garden beds. Soil compacts surprisingly fast. Use designated pathways and step boards to distribute weight if you have to walk on beds.
Water thoughtfully. Overhead watering compacts the soil surface and wastes water. Drip irrigation or soaker hoses deliver water directly to the root zone without disturbing the soil structure you worked so hard to build.
What About Contaminated or Compacted Urban Soil?
Urban soil comes with extra challenges. Lead and heavy metals from old paint, car exhaust, and industry can accumulate in the ground. Compacted soil from construction equipment can resist water penetration for years.
If you are gardening in a city or near an older building, test for heavy metals. Your local extension office can recommend a lab. If lead levels are high, the safest option is to build raised beds with clean imported soil.
The bottom of the bed can be lined with landscape fabric to separate it from the ground below.
For compacted urban soil, broadforking is more effective than tilling. The broadfork breaks up compaction without inverting the soil layers. Follow up with several inches of compost and mulch.
Earthworms will move in and continue the aeration work.
Raised beds are not just for contamination. They also warm up faster in spring, drain better, and are easier to manage than ground beds. If you are starting a balcony or patio garden, look into the best pots for your specific plants to match the container to the crop.
One Quick Note on Climate and Your Local Soil
Your region's climate affects how fast organic matter breaks down. In hot humid climates, compost disappears quickly and you need to add more of it. In cold climates, decomposition slows down and organic matter builds up naturally.
Arid climates create alkaline soil with low organic matter. You will need to add more compost and choose acidifying amendments like peat moss. Coastal areas often have sandy soil that leaches nutrients with every rain.
Frequent light applications of organic matter work better than one heavy dose.
Local materials matter too. Mushroom compost is abundant in the Mid-Atlantic. Aged horse manure is common in rural areas.
Leaf mold is free anywhere with deciduous trees. Use what is available near you. It saves money and it works well because those materials are already adapted to your climate.
Decision Guide: Pick Your Path to Healthy Soil
Here is your cheat sheet. Find your situation and follow the path.
Soil Type Comparison Table
| Soil Type | Drainage | Nutrient Holding | Best Amendments | Best Mulch |
|---|---|---|---|---|
| Clay | Slow | High | Coarse organic matter, gypsum, wood chips | Wood chips, bark |
| Sandy | Fast | Low | Compost, leaf mold, coco coir, biochar | Straw, shredded leaves |
| Loam | Moderate | Moderate | Compost, aged manure | Any, straw preferred |
| Silty | Moderate | Moderate | Compost, green manure | Straw, grass clippings |
Decision Path
- If your soil is heavy clay, focus on coarse materials, gypsum, and raised beds if drainage is very poor.
- If your soil is sandy, focus on fully decomposed organic matter, moisture retention, and frequent top-dressing.
- If your soil is loam, maintain what you have with annual compost and cover crops.
- If your soil is compacted urban dirt, use raised beds or broadfork plus heavy compost.
- If your soil pH is off, correct it with lime or sulfur before worrying about fertilizer.
Frequently Asked Questions
How long does it take to build healthy garden soil?
You will see improvement in the first season. Significant change takes two to three years of consistent organic matter additions. Full soil health with stable structure and high microbial activity usually takes three to five years depending on your starting point.
Can I build healthy soil without a compost pile?
Yes. You can buy bagged compost from garden centers, use aged manure from a local farm, or collect leaf mold from your yard. You can also grow cover crops and chop them down in place.
Composting at home is convenient but not required.
How much organic matter should I add each year?
For most gardens, one to three inches of compost or aged manure applied as a top-dress is sufficient. Sandy soil needs more organic matter than clay soil. If you are using wood chips as mulch, factor in slower decomposition and reduce the amount of compost.
Should I use a tiller to mix in amendments?
No. Research shows that no-till methods produce better long-term soil structure. Apply amendments on the surface and let worms and rain work them in.
If you must break new ground, till once and switch to no-till after that.
What is the best mulch for vegetable gardens?
Straw is the best option for vegetable beds. It breaks down quickly enough to feed the soil but lasts through a growing season. It also stays loose and lightweight, which makes planting and weeding easier than with wood chips.
Do I need to test my soil every year?
No. Test pH every two to three years. Retest texture only once since it does not change.
If you add the same amendments every season and your plants look healthy, a full lab test every three to five years is sufficient.