What Is Loamy Soil 2026
You've probably heard the term "loamy soil" thrown around by gardeners like it's some kind of holy grail. And honestly? It kind of is.
But here's the thing most people get wrong: they think loam is a single, magical dirt you can buy in a bag and be done with it. That's not how it works.
What Is Loamy Soil, it's a specific texture class defined by the USDA as a balanced mixture of sand, silt, and clay, with enough organic matter to hold nutrients without drowning roots. Per the USDA Soil Texture Triangle, true loam sits at roughly 40% sand, 40% silt, and 20% clay. But here's the kicker: that ratio is a starting point, not a finish line.
Let's dig into what that actually means for your garden.
Quick Answer
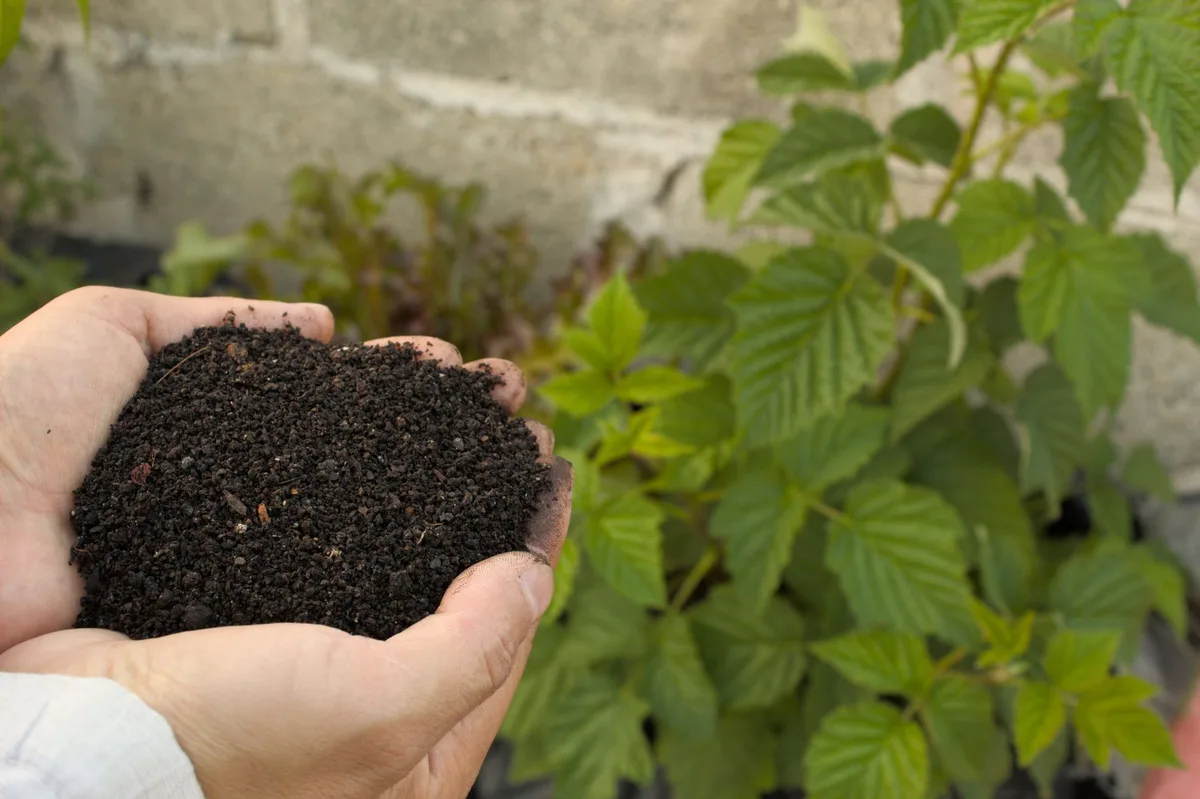
Loamy soil is a balanced mix of sand, silt, and clay particles. It drains well but holds moisture. It's rich in nutrients and easy to dig.
Most plants thrive in it. You can identify it with simple home tests. If your soil isn't loamy, you can improve it over time with organic matter.
Why Getting This Right Matters More Than You Think
Here's the hard truth: most people who think they have loamy soil actually don't. And the ones who do often don't realize how easily they can wreck it.
I've watched new gardeners spend hundreds of dollars on "premium garden soil" from the hardware store, only to dump it into a bed that's basically clay. A few weeks later, their plants are yellowing, water is pooling on the surface, and they're blaming the seeds. The problem wasn't the seeds.
It was the soil.
The real risk here isn't just wasted money. It's wasted time. A full growing season.
The frustration of watching plants struggle when they should be thriving. And in some cases, it's actual harm to your garden's long-term health. Adding the wrong amendments, like mixing sand into heavy clay, can turn your soil into something closer to concrete than loam.
That's not fixable in one season.
As of 2026, soil degradation in home gardens is a growing concern. Urban soils are often compacted, stripped of organic matter, or contaminated with construction debris. Knowing what loam actually is, and what it isn't, is the difference between a garden that fights you every step of the way and one that practically grows itself.
What Loamy Soil Actually Is (The Simple Definition)
Let's cut through the confusion. Loamy soil is a textural class of soil that contains a relatively even blend of sand, silt, and clay particles, combined with organic matter. That's it.
No magic. No secret recipe.
The USDA classifies soil textures using something called the Soil Texture Triangle. It's a simple chart that plots the percentage of sand, silt, and clay in a sample. Where those three numbers intersect tells you your soil type.
Loam sits right in the middle of that triangle.
But here's what the triangle doesn't tell you: loam is a range, not a single point. You can have sandy loam, silt loam, clay loam, and true loam. Each one behaves slightly differently.
A sandy loam drains faster and warms up earlier in spring. A clay loam holds more nutrients but takes longer to dry out. True loam sits in the sweet spot between them.
The key thing to understand is that loam is defined by particle size, not by what's growing in it or what color it is. You can have dark, rich-looking soil that's actually silt-heavy and prone to compaction. You can have pale, sandy-looking soil that's technically a loam because the particle ratios are right.
Don't judge by color alone.
The Three Ingredients: Sand, Silt, and Clay
To understand loam, you need to understand what each particle brings to the table. Think of them as three very different personalities that somehow work well together.
What Each Particle Brings to the Mix
Sand is the big kid on the playground. Individual sand particles are visible to the naked eye, they range from 0.05 mm to 2.0 mm in diameter. Sand creates pore spaces in the soil, which means water drains through quickly and air can reach plant roots.
But sand on its own is terrible at holding nutrients. Water washes them right out.
Silt is the middle child. Silt particles are smaller than sand but larger than clay, between 0.002 mm and 0.05 mm. Silt feels smooth and silky when dry, almost like flour.
It holds more water than sand and retains nutrients better. But pure silt compacts easily and can form a crust on the surface that blocks seedlings from emerging.
Clay is the smallest and most powerful. Clay particles are less than 0.002 mm in diameter. They're so small that they have an enormous surface area relative to their volume.
This gives clay a high cation exchange capacity (CEC), which is a fancy way of saying it holds onto nutrients like a magnet. Clay also swells when wet and shrinks when dry. Pure clay is nearly impossible to dig, drains poorly, and can suffocate roots.
The Ideal Ratio (And Why It's a Range, Not a Recipe)
The textbook ideal for loam is 40% sand, 40% silt, and 20% clay. But that's a target, not a rule. Most plants will grow perfectly well in soil that's 35-50% sand, 30-50% silt, and 10-25% clay.
What matters more than hitting exact numbers is how those particles interact. Sand provides drainage and aeration. Silt adds nutrient-holding capacity and moisture retention.
Clay gives the soil structure and nutrient storage. When they're balanced, you get soil that:
- Drains well enough that roots don't rot
- Holds enough moisture that plants don't wilt between waterings
- Stays loose enough for roots to spread easily
- Retains nutrients without letting them wash away
If any one particle dominates, you lose those benefits. Too much sand and your soil dries out like a desert. Too much clay and you're gardening in a brick.
Too much silt and you get a muddy mess that compacts into a hard crust.
How to Tell If Your Soil Is Loamy
You don't need a lab to figure out your soil texture. There are three simple tests you can do at home with nothing but your hands, a jar, and some water. These tests are reliable enough that professional soil scientists use versions of them in the field.
The Ribbon Test
This is the fastest way to get a rough idea of your soil texture. Grab a handful of moist soil, it should feel like damp modeling clay, not dripping wet. Squeeze it into a ball.
Then try to form a ribbon by pressing the soil between your thumb and forefinger, pushing it out into a thin strip.
Here's what the ribbon tells you:
- No ribbon forms at all. The soil crumbles and falls apart. That's sandy soil. It doesn't stick together because there's not enough clay.
- A short ribbon forms, about 1 inch long. That's loamy soil. It holds together briefly but breaks off cleanly.
- A long ribbon forms, 2 inches or more. That's clay-heavy soil. The more clay you have, the longer the ribbon gets before it breaks.
The ribbon test isn't precise, but it's a great screening tool. If your soil forms a ribbon longer than your thumb, you're dealing with something closer to clay than loam.
The Jar Test
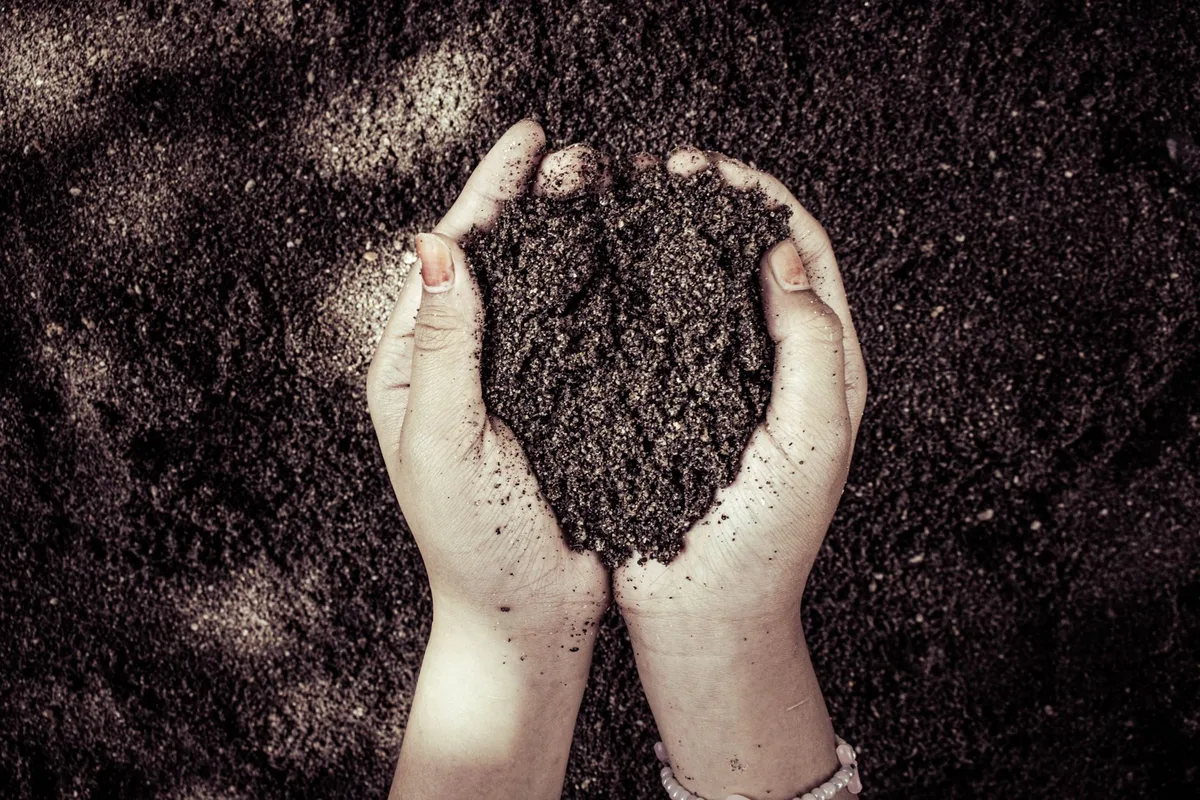
This is the most accurate home test you can do. You'll need a clear glass jar with a tight lid, some soil, and water.
Fill the jar about halfway with your soil sample. Fill the rest with water, leaving a little air space at the top. Screw the lid on tight and shake it vigorously for a couple of minutes.
Then set it down and let it settle.
Here's what happens: the heaviest particles, sand, will settle to the bottom first, within about a minute. Silt will settle next, over the next hour or two. Clay can take 24 to 48 hours to fully settle.
Organic matter may float on top or stay suspended.
After everything has settled, measure the layers. The bottom layer is sand. The middle layer is silt.
The top layer is clay. Compare the thickness of each layer to get a rough percentage.
For loamy soil, you want to see three distinct layers with none of them dominating. If the sand layer is twice as thick as everything else combined, you've got sandy loam at best. If the clay layer is thick and the water above it is still cloudy after two days, you're heavy on clay.
The Squeeze Test
This one is quick and dirty. Take a handful of moist soil and squeeze it firmly in your fist. Then open your hand.
- Loamy soil will hold its shape in a loose ball but crumble easily when you poke it.
- Sandy soil will fall apart as soon as you open your hand.
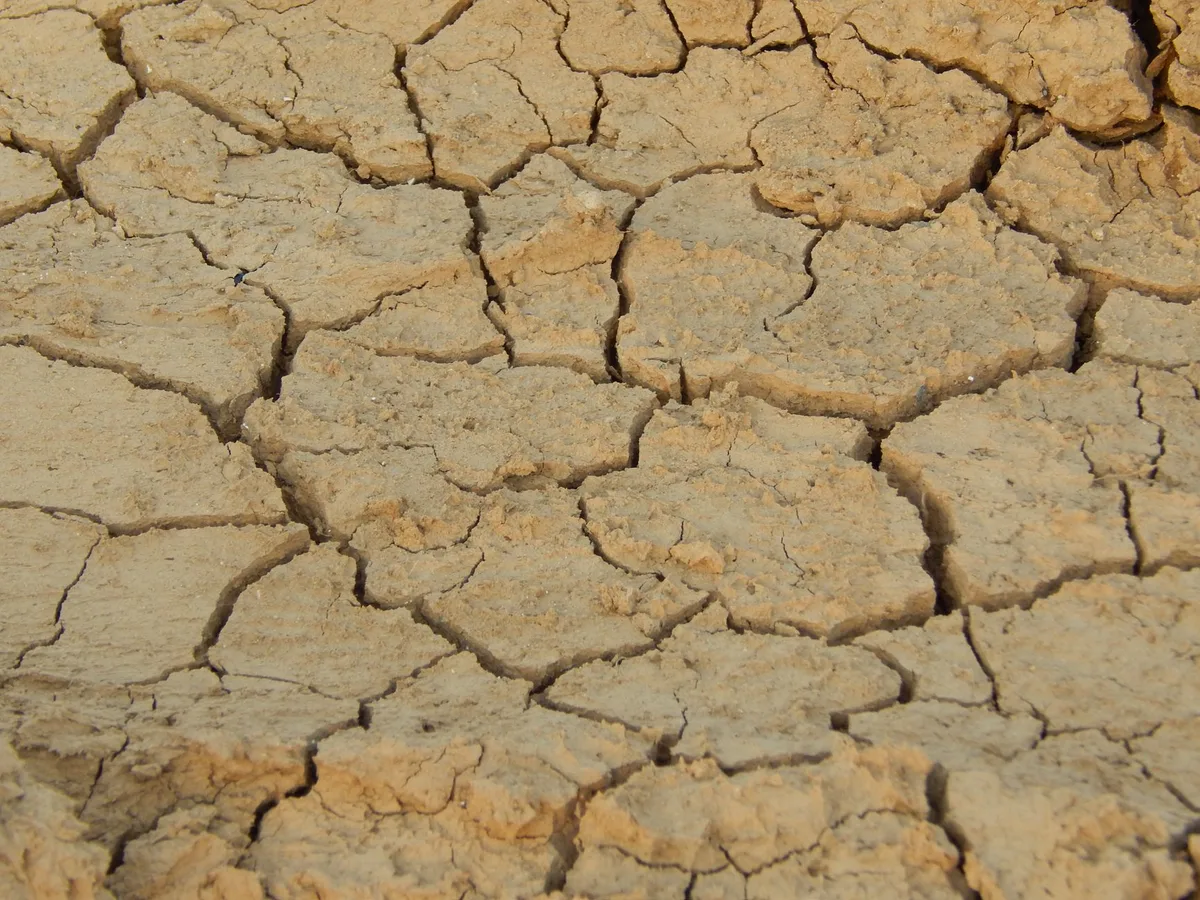
- Clay soil will hold a tight, hard ball that doesn't crumble at all.
- Silty soil will feel smooth and slippery, almost like soap, and may form a ball that feels greasy.
Try all three tests. They cost nothing and take maybe 15 minutes total. Together, they'll tell you more about your soil than most product labels ever will.
The Different Types of Loam (Yes, There's More Than One)
Here's where most gardening advice gets fuzzy. People talk about "loamy soil" like it's one uniform thing. But the USDA recognizes several distinct loam types, and they behave differently in your garden.
Sandy Loam vs. Silt Loam vs. Clay Loam
Sandy loam is the lightest of the bunch. It contains more sand than true loam, usually around 60-70% sand with less clay. It drains fast and warms up quickly in spring.
That makes it great for early-season crops like radishes and lettuce. The downside? Nutrients wash through it faster, so you'll need to fertilize more often and water more frequently.
Silt loam sits on the opposite end. It has more silt and less sand, giving it a smooth, almost floury texture when dry. Silt loam holds moisture well and feels rich.
But it compacts easily, especially if you walk on it when wet. A heavy rain can seal the surface, causing runoff instead of absorption.
Clay loam is the heaviest loam type. It has more clay, usually 27-40%, with less sand. It holds nutrients like a bank vault and retains moisture for days.
But it drains slowly and can be sticky when wet. Plants with deep taproots, like tomatoes and sunflowers, do well in clay loam. Shallow-rooted plants may struggle.
True loam is what everyone wants. It's roughly equal parts sand and silt with a moderate clay content. It drains well, holds nutrients, and stays workable in most conditions.
If you have true loam, you're in the top tier of garden soils.
The practical takeaway? Don't get hung up on hitting the perfect ratio. If your soil falls into any of these loam categories, you're in good shape.
The key is knowing which one you have so you can adjust your watering and fertilizing habits accordingly.
Why Gardeners Chase Loam: The Real Benefits
Loam isn't just popular because it sounds nice. It delivers real, measurable advantages that make gardening easier and more productive.
Drainage That Works
The sand in loam creates pore spaces that let excess water drain away. That means your plant roots aren't sitting in a puddle after a heavy rain. Root rot, the number one killer of garden plants, is far less common in loamy soil.
At the same time, the silt and clay hold enough moisture that you don't have to water every single day. It's a Goldilocks situation. Not too wet.
Not too dry.
Nutrient Holding Power
Clay particles have a negative electrical charge that attracts and holds positively charged nutrients like calcium, magnesium, and potassium. This is the cation exchange capacity we mentioned earlier. Loam has enough clay to hold those nutrients but enough sand to keep the soil from becoming a sticky, airless mess.
The result is soil that actually keeps fertilizer where your plants can use it.
Root-Friendly Structure
Roots need two things to thrive: room to spread and oxygen to breathe. Loam delivers both. The crumbly structure, what soil scientists call "friability," lets roots push through with minimal resistance.
Carrots grow straight. Potatoes swell without hitting hardpan. And the pore spaces between particles keep oxygen flowing to root hairs.
If you've ever tried to dig a hole in pure clay, you know the difference immediately. Loam feels like a handshake. Clay feels like a wrestling match.
The Honest Downsides Nobody Talks About
Loam is great, but it's not perfect. Let's be real about the limitations so you don't get frustrated later.
It's Not a Set-It-and-Forget-It Soil
Loam needs maintenance. The organic matter that makes loam so productive breaks down over time. Microbes eat it.
Rain washes it away. Heat bakes it out. If you don't add compost or other organic material every year, your loam will gradually degrade.
It can shift toward a heavier texture or lose its structure entirely.
Think of loam less like a destination and more like a practice. You don't "get" loam and then stop. You maintain it.
"Loam" From a Truck Might Not Be What You Think
Here's a dirty secret of the landscaping industry: the word "loam" gets thrown around loosely. Many bulk soil suppliers sell something they call "screened loam" that's really just topsoil with the rocks removed. It might be heavy on silt.
It might be mostly sand. It might have very little organic matter.
If you're buying soil by the truckload, ask for a texture analysis. A reputable supplier should be able to tell you the sand, silt, and clay percentages. If they can't, assume you're getting something closer to fill dirt than true loam.
Always test a sample before dumping it into your garden beds.
Common Mistakes That Ruin Good Soil
Even if you start with decent soil, a few common errors can set you back years. Here's what to avoid.
Adding Sand to Clay (The Concrete Problem)
This is the most persistent myth in gardening. Someone tells you to add sand to heavy clay to "lighten it up." Don't do it. When you mix sand into clay, you get something that resembles concrete.
The sand particles fill the tiny spaces between clay particles, creating a dense, hard material that water can barely penetrate.
The fix for clay soil is organic matter. Compost. Leaf mold.
Aged manure. These materials create pore space without the concrete effect. If you need to improve drainage in clay, add organic matter and consider raised beds.
Leave the sand for the beach.
Over-Tilling and Destroying Structure
Tilling feels productive. You're turning the soil, mixing in amendments, making everything look uniform. But excessive tilling destroys soil structure.
It breaks apart the natural aggregates that create pore space. It kills earthworms and beneficial fungi. And it speeds up the decomposition of organic matter, leaving your soil poorer than before.
If you must till, do it once to incorporate amendments. Then switch to no-till methods. Top-dress with compost.
Let worms do the mixing. Your soil structure will thank you.
Buying "Garden Soil" Blind
Bagged "garden soil" from the big box store is a gamble. Some of it is decent. Some of it is basically ground-up bark with a little sand thrown in.
Some of it contains weed seeds or even persistent herbicides that can kill your vegetables.
Read the label. Look for a guaranteed analysis. If the bag doesn't list the ingredients clearly, move on.
Better yet, buy compost in bulk from a local source you can inspect. Mix it with your native soil rather than replacing it entirely.
How to Build Loam If You Don't Have It
You don't need to start with perfect soil. You can build it over time. Here's the process.
Step 1: Test What You're Working With
Run the jar test and the ribbon test from earlier. Know your starting point. If you have pure sand, your approach will be different than if you have heavy clay.
Testing first saves you from guessing wrong.
Step 2: Add Organic Matter (The Right Way)
Organic matter is the single best amendment for any soil type. It improves drainage in clay. It boosts water retention in sand.
It feeds the microbes that create soil structure.
Add 2 to 3 inches of compost to the surface each year. Don't dig it in deeply. Let it work its way down naturally.
Worms will pull it into the soil. Rain will carry it. Microbes will process it.
Your job is to keep adding material on top.
Good sources of organic matter include:
- Well-aged compost (homemade or purchased)
- Leaf mold (decomposed leaves)
- Aged manure (not fresh, it will burn roots)
- Cover crops (planted and turned under before they go to seed)
Step 3: Protect What You Build
Once you have decent soil, protect it. Keep it covered with mulch or living plants. Bare soil erodes.
It bakes in the sun. It loses organic matter faster than covered soil.
Use wood chips on pathways. Use straw or shredded leaves around vegetables. Plant cover crops in the off-season.
Every inch of soil should have something growing on it or covering it at all times.
Building loam takes time. You won't fix heavy clay in one season. But if you add organic matter consistently and protect the soil surface, you'll see improvement every year.
After three to five years, even terrible soil can become something you'd be proud to plant in.
When to Call in a Pro or Get a Lab Test
Home tests are great for a quick read. But sometimes you need the real thing.
If your plants are struggling despite your best efforts, a professional soil test can reveal hidden problems. Things like pH imbalances, heavy metal contamination, or nutrient deficiencies that home tests miss entirely.
Your local Cooperative Extension Service offers soil testing for a small fee, usually $10 to $20 per sample. They'll give you a detailed report with pH, organic matter percentage, and nutrient levels. They'll also tell you exactly what to add and how much.
Consider a lab test if you're starting a new garden in an urban area, if you've had unexplained plant failures, or if you're concerned about lead contamination near old buildings. It's cheap insurance for something you'll be eating from.
Quick Reference: What to Plant in Loamy Soil
The good news is that almost everything grows well in loam. But some plants truly thrive in it.
| Plant Type | Examples | Why Loam Works |
|---|---|---|
| Vegetables | Tomatoes, peppers, carrots, lettuce | Deep roots, even moisture, easy harvest |
| Flowers | Roses, dahlias, zinnias, peonies | Good drainage prevents root rot |
| Herbs | Basil, rosemary, thyme, mint | Balanced nutrients for steady growth |
| Fruits | Strawberries, blueberries (with pH adjustment), raspberries | Consistent moisture without waterlogging |
| Shrubs | Hydrangeas, azaleas, boxwood | Loose soil for root spread |
If you have loam, you're in a great position. Focus on choosing plants suited to your sunlight and climate. The soil will handle the rest.
The Bottom Line
Loamy soil isn't a magic product you buy. It's a texture and a condition you work toward.
The real takeaway is this: test your soil first, add organic matter consistently, and protect what you build. Whether you're starting with sand, clay, or something in between, you can improve it. It just takes time and the right approach.
Don't stress about hitting perfect numbers. Focus on the feel. If your soil crumbles easily, drains well, and supports healthy plants, you've done your job.
Everything else is just details.