How to Choose the Right Fertilizer (2026) — Easy Methods
If you have ever stood in the garden center aisle staring at a wall of fertilizer bags, you already know how confusing it can get. Knowing how to choose the right fertilizer is not as simple as grabbing the bag with the prettiest flower on it. Most people pick based on a picture or a marketing claim, and that is exactly how money gets wasted and plants end up struggling.
Per Cooperative Extension research, roughly one third of home garden fertilizer applications are completely unnecessary because the soil already contains adequate nutrients. A simple soil test is the only reliable way to know what your garden actually needs. Without that starting point, you are essentially guessing.
Let's walk through the process step by step so you never have to guess again.
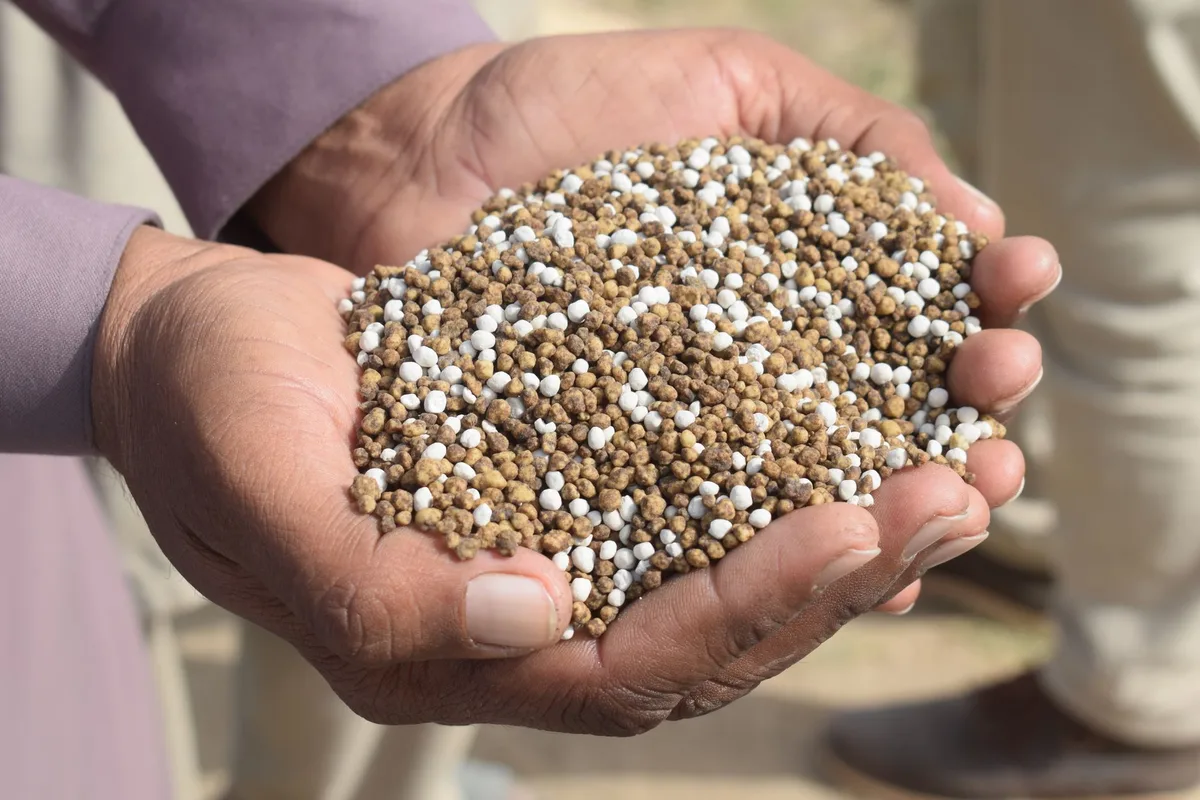
Quick Answer
Choose fertilizer based on your soil test results, not the plant on the bag. Test your soil first. Match the N-P-K ratio to the specific deficiencies your test reveals.
Use organic formulas for slow soil building. Use synthetic formulas for fast correction. Always apply at the labeled rate to avoid burn.
The Problem: Why Most People Pick the Wrong Fertilizer
Walk into any garden center and you will see shelves stacked with products that promise bigger blooms, greener grass, and bigger vegetables. The marketing is convincing. The packaging is bright.
And most people grab whatever seems to match what they are growing.
That approach fails because plants do not eat fertilizer. They absorb nutrients from the soil. If your soil already has plenty of phosphorus, adding a bloom booster with high phosphorus will not help.
It will just build up in the ground and potentially wash into nearby waterways.
Three mistakes happen over and over:
- Picking a fertilizer based on the plant picture. A tomato on the bag does not mean that formula suits your specific soil.
- Buying the highest number. Many people assume a 30-10-10 is better than a 10-10-10. That is not how it works. Higher numbers just mean more concentration, not better results.
- Ignoring the season. Feeding a plant when it is dormant or stressed is worse than not feeding at all.
The decision tree starts with a single question. Do you know what your soil actually contains? If the answer is no, that is where we begin.
The Key Insight: It's Not About the Plant — It's About the Soil
This is the single most important concept in choosing fertilizer. The plant's needs matter, but the soil determines what is actually available.
Plants draw nutrients from the soil through their roots. If the soil is deficient in nitrogen, the plant turns yellow. If the soil has plenty of nitrogen already, adding more will not make the plant healthier.
It will just push rapid leafy growth that is weak and prone to pests.
Here is how to think about it. The soil is a bank account. Fertilizer is a deposit.
Before you deposit more, you need to know the current balance. If the account is full, extra deposits do nothing useful and can even create problems like nutrient lockout or fertilizer burn.
This is why the standard advice to fertilize everything in spring is incomplete. Some plants need a boost in spring. Others need more potassium in fall.
The correct timing and ratio depend on what your soil test reveals.
Why You Need to Start with a Soil Test
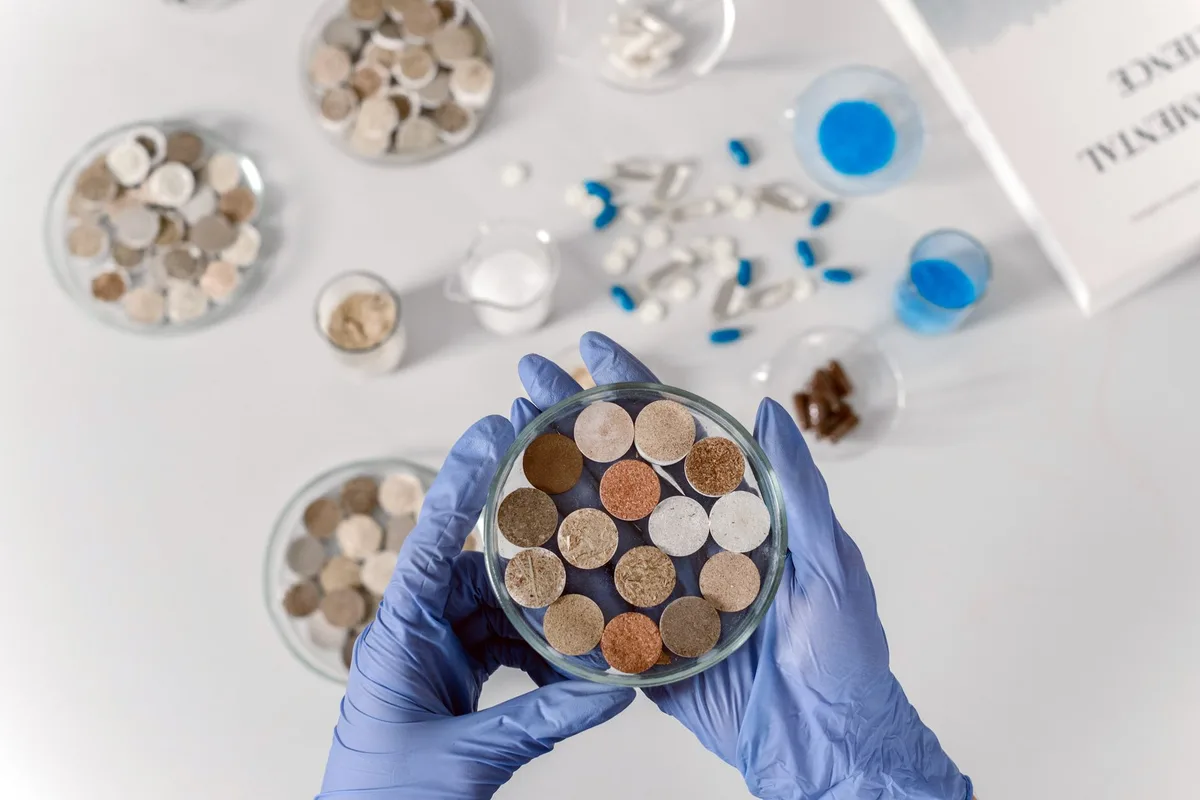
A soil test is the single most useful tool in choosing the right fertilizer. It removes the guesswork entirely. You get a clear report showing exactly what your soil has and what it lacks.
The image above shows a home soil test kit. These kits are useful for a quick pH reading, but a full lab analysis gives you far more detail. Let's break down what you actually get.
What a Soil Test Actually Tells You
A standard soil test measures five key values:
| Measurement | What It Tells You | Target Range |
|---|---|---|
| pH | Whether your soil is acidic or alkaline | 6.0 to 7.0 for most plants |
| Nitrogen (N) | Available nitrogen for leafy growth | Varies by crop |
| Phosphorus (P) | Available phosphorus for roots and blooms | 25 to 50 ppm for most soils |
| Potassium (K) | Available potassium for fruit and stress tolerance | 100 to 200 ppm typical |
| Organic Matter | Percentage of decomposed material in soil | 3% to 5% for healthy garden soil |
Many home gardeners are surprised to learn their soil already has plenty of phosphorus. Adding more does nothing for the plants and contributes to environmental runoff. This is the most common unnecessary expense in fertilizer buying.
How to Take a Good Soil Sample (Without Wasting Your Time)
Taking a proper sample matters. A bad sample gives bad results and bad results lead to bad fertilizer choices. Follow these steps:
- Use clean tools. A trowel or soil probe that is free of rust or fertilizer residue.
- Sample from multiple spots. Take five to ten samples from different areas of your garden.
- Dig six inches deep. Most root activity happens in the top six inches.
- Remove grass and debris. Only collect the mineral soil underneath.
- Mix the samples together in a clean bucket to get a representative composite.
- Dry the sample overnight on a sheet of paper before packaging it.
Send the sample to your local Cooperative Extension lab or a reputable soil testing service. Turnaround is usually two to four weeks. The cost ranges from 10 to 30 depending on your region.
Where to Get a Reliable Soil Test (Home Kit vs. Lab)
Home test kits are quick and cheap. They give you a rough pH reading and sometimes a basic nitrogen or phosphorus indication. They are fine for a quick check, but they lack precision.
Lab tests are more accurate. They provide exact ppm values for each nutrient along with specific fertilizer recommendations. If you are serious about growing vegetables, maintaining a lawn, or caring for fruit trees, a lab test is worth the small investment.
Many Cooperative Extension offices offer them at cost.
The key distinction is this. A home kit tells you that your pH is "about 6.5." A lab test tells you your pH is exactly 6.4 and your phosphorus is 18 ppm, which is low for tomatoes. That precision changes your fertilizer choice.
Interpreting Your Results: What Those Numbers Mean
Your soil test report will list values for each nutrient and usually include a bar chart showing whether each one is low, medium, or high. Ignore the chart at first. Focus on the actual numbers.
- If nitrogen is low: You need a fertilizer with a higher first number, like 20-10-10 or blood meal.
- If phosphorus is low: You need a fertilizer with a higher middle number, like bone meal or a bloom booster.
- If potassium is low: You need a fertilizer with a higher last number, like sulfate of potash or greensand.
- If pH is off: Correct the pH before adding fertilizer. Lime raises pH. Sulfur lowers it. Nutrients cannot be absorbed properly if the pH is outside the target range.
If everything is in the moderate to high range, you may not need any fertilizer at all. Many gardens do well with nothing more than an annual top dressing of compost.
How to Read an N-P-K Label (And What to Ignore)

Every fertilizer bag has three bold numbers on the front. Those numbers tell you the guaranteed minimum percentage by weight of nitrogen, phosphorus, and potassium. Everything else on the label is marketing.
The label image shown above gives you the standard layout. The three numbers appear prominently. Below them, you will usually see secondary nutrients and a guaranteed analysis.
Here is how to decode it.
What the Three Numbers Actually Mean
A bag labeled 10-10-10 contains 10 percent nitrogen, 10 percent phosphorus (as P2O5), and 10 percent potassium (as K2O) by weight. The rest is filler material that helps spread the fertilizer evenly.
- First number (nitrogen): Drives leaf and stem growth. Higher numbers push green growth quickly.
- Second number (phosphorus): Supports root development, flowering, and fruiting. This is the bloom booster number.
- Third number (potassium): Supports overall plant health, disease resistance, and fruit quality.
For leafy greens and lawns, a high first number works well. For flowers and fruit, a higher second and third number is better. For a balanced general purpose feed, equal numbers like 10-10-10 or 5-5-5 cover the basics.
What Secondary Nutrients and Micronutrients Matter
Beyond the big three, fertilizers sometimes list secondary nutrients. Calcium, magnesium, and sulfur are the most common. Micronutrients like iron, zinc, and manganese appear in smaller amounts.
These matter in specific situations. If your soil test shows a magnesium deficiency, look for a fertilizer that includes magnesium sulfate (Epsom salt). If you are growing in sandy soil that drains fast, micronutrients are more likely to be lacking.
For most garden situations, a fertilizer that lists secondary nutrients is nice to have but not essential. Your soil test will tell you if you need them.
Marketing Claims You Shouldn't Fall For
Fertilizer labels love big promises. Here are the common ones that do not change how the product works:
- "Bloom booster" is just a high phosphorus formula. If your soil already has plenty of phosphorus, it does nothing.
- "Lawn food" is just a high nitrogen formula. Same as any other high N fertilizer.
- "Organic based" means part of the nutrients come from organic sources and part from synthetic. It is not the same as fully organic.
- "Slow release" is a genuine feature, but it applies to both organic and synthetic products. Check the label for how long the release lasts.
The most important thing on the label is the N-P-K ratio. Everything else is secondary.
How to Compare Costs Between Different Fertilizers
Comparing fertilizer prices based on bag size is misleading. Two bags may weigh the same but contain very different amounts of actual nutrients. Use this simple formula:
Divide the price of the bag by the total pounds of nitrogen it contains. This gives you the cost per pound of actual nitrogen. The same method works for phosphorus and potassium.
For example, a 40 pound bag of 10-10-10 contains 4 pounds of nitrogen. If it costs 20, that is 5.00 per pound of nitrogen. A 20 pound bag of 20-10-10 also contains 4 pounds of nitrogen.
If it costs 25, that is 6.25 per pound of nitrogen. The bigger bag is the better deal in terms of actual nutrients.
This calculation helps you ignore the marketing and focus on what you are actually paying for.
If you are looking for the best slow release fertilizer for flowers, the same cost comparison method applies. Always check the pounds of actual nutrient, not the weight of the bag.
For houseplants specifically, choosing the right N-P-K ratio is even more important because containers hold limited soil volume. The margin for error is small.
The Two Big Questions That Decide Everything
Every fertilizer choice comes down to two questions. Answer these honestly, and you will never pick the wrong bag again.
Question 1: What are you growing? Different plants have different needs. Leafy greens want lots of nitrogen. Root crops like carrots want more phosphorus and potassium.
Fruit trees lean heavy on potassium. A lawn wants high nitrogen with very little phosphorus. Match the N-P-K to the plant type.
Question 2: What stage of growth is it in? A seedling needs different nutrients than a flowering plant. Early growth demands nitrogen for leaves and stems. Once flowers or fruit set, the plant needs more phosphorus and potassium.
Feeding a tomato plant high nitrogen after the fruit has set will give you giant leaves and small tomatoes.
If you answer both questions before you buy, you narrow your options down to two or three products at most.
Your First Decision: Organic vs. Synthetic Fertilizer
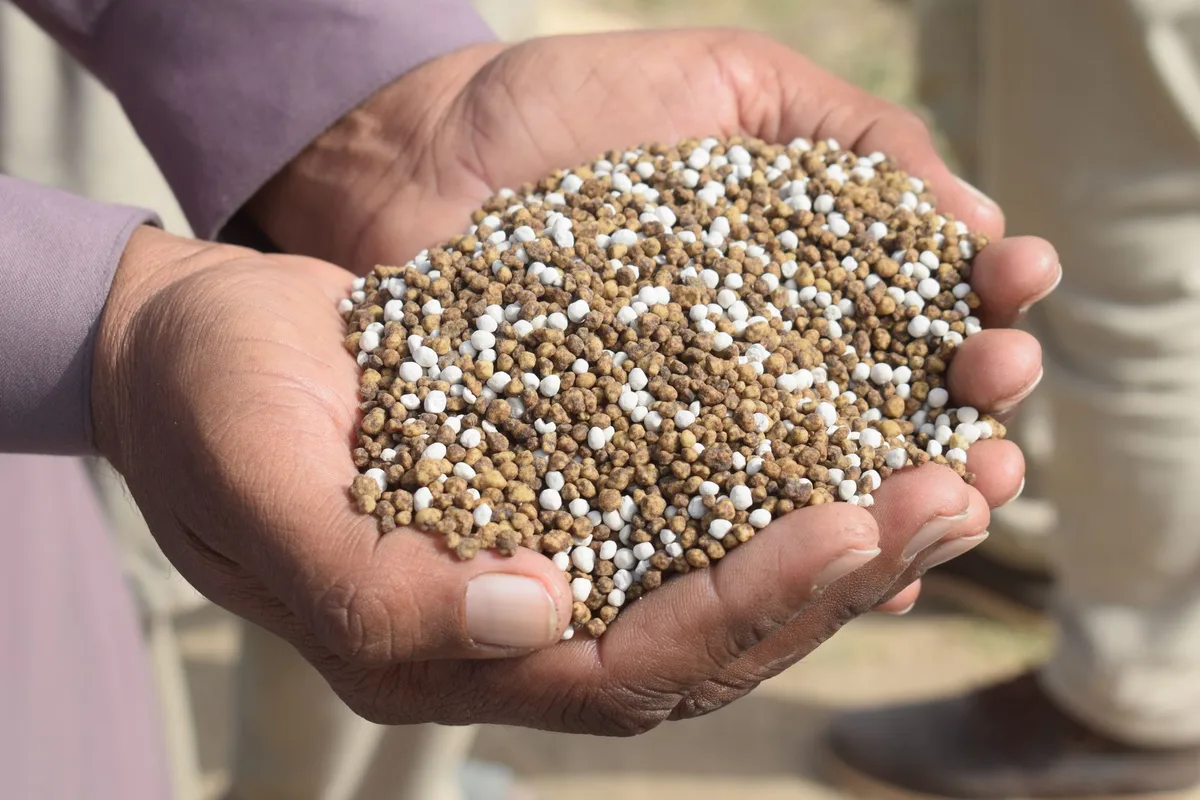
This is the fork in the road. Both work. Both have trade-offs.
The right choice depends on your goals, your timeline, and your patience.
The image above shows two common products side by side. One is a bag of granular organic fertilizer. The other is a synthetic crystalline formula.
They could not be more different in how they behave.
How Each One Works in the Soil
Organic fertilizers come from living things. Bone meal, blood meal, fish emulsion, kelp meal, and composted manure are the common ones. They need soil microbes to break them down into forms the plant can absorb.
That process takes time and depends on soil temperature and moisture.
Synthetic fertilizers are manufactured mineral salts. They dissolve in water instantly. The nutrients are already in a form the plant roots can take up.
The effect is visible within days rather than weeks.
When Organic is the Better Choice
Choose organic if you are building long term soil health. Organic fertilizers improve soil structure, feed beneficial microorganisms, and release nutrients slowly. They are harder to overdo.
If you accidentally apply too much, the burn risk is much lower compared to synthetics.
Organic formulas are the right call for fruit trees that need steady nutrition over a long season. The slow release matches how trees naturally take up nutrients.
When Synthetic Makes More Sense
Choose synthetic when you need rapid correction. If your soil test shows a severe nitrogen deficiency and your plants are turning yellow, synthetic fertilizer fixes the problem fast. It is also more predictable.
You know exactly how much nutrient goes into the soil and when it becomes available.
Synthetic fertilizers work well for container plants and hydroponic setups where soil biology is minimal. They are also more concentrated. A small bag goes a long way.
The Middle Ground: Blended or Hybrid Options
Many products labeled organic based combine synthetic nutrients with organic matter. They offer faster results than pure organic while still contributing some organic content to the soil. They are a practical compromise, especially for new gardeners who want both speed and soil improvement.
Your Second Decision: Slow-Release vs. Liquid
The release method determines how often you need to apply fertilizer and how quickly the plant sees results.
Slow-Release: Set It and Forget It
Slow-release fertilizers come as coated granules. The coating breaks down gradually with moisture and temperature, releasing nutrients over weeks or months. A single application can feed a plant for three to four months.
These are ideal for established gardens, lawns, and perennials. You apply them once in spring and once in fall. That is it.
Liquid: Fast Results, More Frequent Work
Liquid fertilizers are either water-soluble powders or concentrated liquids you mix with water. They deliver nutrients to the plant immediately. The downside is they do not last.
Most liquid fertilizers need reapplication every one to two weeks during the growing season.
Liquids are best for container plants, seedlings, and situations where you need quick correction. If your houseplant is pale and weak, a liquid feed will green it up in three to four days.
Matching the Release Type to Your Schedule and Setup
| If you… | Choose… |
|---|---|
| Forget to water regularly | Slow-release granular |
| Have many container plants | Liquid for precise dosing |
| Travel often | Slow-release before you leave |
| Want rapid results | Liquid for immediate effect |
| Have a large lawn | Slow-release spreader application |
For indoor plants in containers, liquid fertilizers give you more control because you can adjust the concentration easily.
Choosing the Right N-P-K Ratio for Your Specific Situation
Your soil test tells you what is missing. Your plant type tells you what to prioritize. Here is how to match the two.
For Vegetable Gardens (By Crop Type)
Leafy greens like lettuce, spinach, and kale need high nitrogen. A 20-10-10 or a fish emulsion application works well. Apply when the plants are a few inches tall.
Fruiting vegetables like tomatoes, peppers, and squash need balanced nutrition early, then more phosphorus and potassium once flowering starts. Use a 5-10-10 or a tomato-specific blend after the first flowers appear.
Root crops like carrots, beets, and potatoes need low nitrogen and higher phosphorus and potassium. A 5-10-10 or 4-12-12 supports good root development without excessive top growth.
For Lawns (Cool Season vs. Warm Season)
Cool season grasses like fescue and Kentucky bluegrass need feeding in early spring and fall. Use a high nitrogen formula like 30-0-4. Avoid phosphorus unless your soil test shows a deficiency.
Warm season grasses like Bermuda and Zoysia feed best in late spring through summer. A 20-0-10 works well. Stop feeding six weeks before the first expected frost.
For Flower Gardens and Perennials
Established flower beds often need little fertilizer. A light application of 5-10-10 or 10-10-10 in early spring is usually sufficient. Too much nitrogen pushes leafy growth at the expense of blooms.
For heavy feeders like roses, a 10-10-10 or rose-specific blend applied monthly during the growing season produces consistent results.
For Houseplants
Houseplants need less fertilizer than outdoor plants. A balanced 10-10-10 diluted to half strength works for most varieties. Feed only during the growing season from spring through early fall.
Stop in winter when growth slows.
For Fruit Trees and Berries
Fruit trees need higher potassium. A 10-10-10 works for most, but a 12-12-17 or fruit tree specific blend is better. Apply in early spring before growth starts.
A second application after fruiting supports next year's crop.
Berries like blueberries are acid lovers. Use a fertilizer formulated for acid loving plants with an N-P-K around 10-5-5. This keeps the soil pH in the sweet spot.
For Acid-Loving Plants
Azaleas, rhododendrons, camellias, and blueberries need fertilizers that lower or maintain low pH. Look for products labeled for acid loving plants. They usually have ratios like 10-5-5 or 10-8-8 and include sulfur or ammonium sulfate.
Standard 10-10-10 applied to acid lovers can raise soil pH over time and cause chlorosis (yellowing between leaf veins). Stick with the specialty formulas.
Common Mistakes That Waste Money or Hurt Plants
Even experienced gardeners slip up. Here are the ones to watch for.
Fertilizer Burn: How to Avoid It
Fertilizer burn happens when synthetic salts draw moisture out of the roots faster than the plant can replace it. The leaf tips turn brown and crispy. In severe cases, the whole plant wilts and dies.
The fix is simple. Never apply synthetic fertilizer to dry soil. Water the soil thoroughly before you apply.
Water again after. This dilutes the salts and spreads them evenly.
Over-Fertilizing: The "More is Better" Trap
Plants have a ceiling. Beyond a certain point, extra nutrients do not help. They either build up in the soil or get washed away.
Nitrogen that runs off into storm drains contributes to algae blooms in local waterways.
If you see dark green growth that looks too lush or soft, you are probably overfeeding. Back off to half the recommended rate for the next application.
Ignoring the Season: Feeding at the Wrong Time
Plants go dormant in winter. Feeding a dormant plant does nothing. The nutrients just sit in the soil and leach away.
Stop fertilizing all outdoor plants by late fall.
For houseplants, stop feeding in October and resume in March. Indoor light levels drop in winter, so the plant cannot use the extra nutrients.
Applying to Dry Soil or Hot Weather
Fertilizer applied to bone dry soil or during a heat wave causes root damage fast. The salts concentrate in the tiny bit of moisture remaining around the roots. Always water first and avoid midday application.
Early morning or late evening are the safest times. Cool soil and cooler temperatures give the roots time to absorb the nutrients without stress.
Misusing Weed-and-Feed Products
Weed and feed combines fertilizer with herbicide. It works for lawns but only if applied at the right time. Applying it too early or too late kills the grass instead of feeding it.
Read the label carefully. Most weed and feed products need to go down when weeds are actively growing and the grass is not stressed. Apply to damp grass and water in lightly.
Step-by-Step: How to Apply Fertilizer Correctly
For granular fertilizer, measure the amount based on your bag's coverage rate. Spread it evenly using a broadcast spreader for lawns or by hand for garden beds. Water immediately after application to dissolve the granules and carry nutrients to the root zone.
For liquid fertilizer, mix the concentrate with water according to the label's dilution ratio. Apply at the base of the plant using a watering can or hose-end sprayer. Avoid getting liquid on the foliage unless the label specifies foliar feeding.
Store leftover fertilizer in a sealed container in a cool, dry place. Keep it out of reach of children and pets.
When to Adjust Your Fertilizer Plan Mid-Season
If your plants show yellow lower leaves, add a nitrogen boost. If leaves have purple undersides, add phosphorus. If leaf edges look scorched or curled, add potassium.
If you see white crust forming on the soil surface, you have salt buildup. Flush the soil with plain water until it drains freely. Then reduce your fertilizer rate by half.
Stop fertilizing all outdoor plants six weeks before the first expected frost. Indoor plants can stop in October and resume in March.
Quick Reference: Fertilizer by Plant Type and Season
| Plant Type | Spring | Summer | Fall | Winter |
|---|---|---|---|---|
| Lawn (cool season) | High N | None | High N | None |
| Lawn (warm season) | None | High N | Low K | None |
| Vegetables | Balanced | High P/K | None | None |
| Fruit trees | Balanced | High K | Low N | None |
| Houseplants | Balanced | Balanced | None | None |
Frequently Asked Questions
Can I use lawn fertilizer on my garden?
Not recommended. Lawn fertilizer is high in nitrogen and may contain weed killers. Use a garden-specific blend instead.
Do I need to fertilize in winter?
No. Most plants go dormant in winter. Fertilizing at this time wastes nutrients and can harm roots.
What's the best fertilizer for tomatoes?
A 5-10-10 or 8-32-16 blend applied after the first flowers appear. Too much nitrogen leads to leafy growth and fewer tomatoes.
How often should I fertilize potted plants?
Every one to two weeks during the growing season with liquid fertilizer. Reduce to monthly in late summer and stop in winter.
Is organic fertilizer always safer?
Not automatically. Organic fertilizers can still burn plants if overapplied. They are less concentrated than synthetics, but the same rules apply.
Your Final Decision Guide: A Simple 5-Step Workflow
Test your soil first. Identify your plant type and growth stage. Choose organic or synthetic based on your timeline.
Pick slow-release or liquid based on your schedule. Match the N-P-K ratio to your soil test and plant needs. Apply at the labeled rate and water in well.