How to Improve Yard Drainage (2026) — Step-by-Step Guide
Standing water in your yard is more than an eyesore. It kills grass, breeds mosquitoes, and can damage your foundation over time. Learning how to improve yard drainage starts with one simple truth: you need to diagnose the problem before you pick a fix.
Most people skip this step and end up digging trenches that don't work.
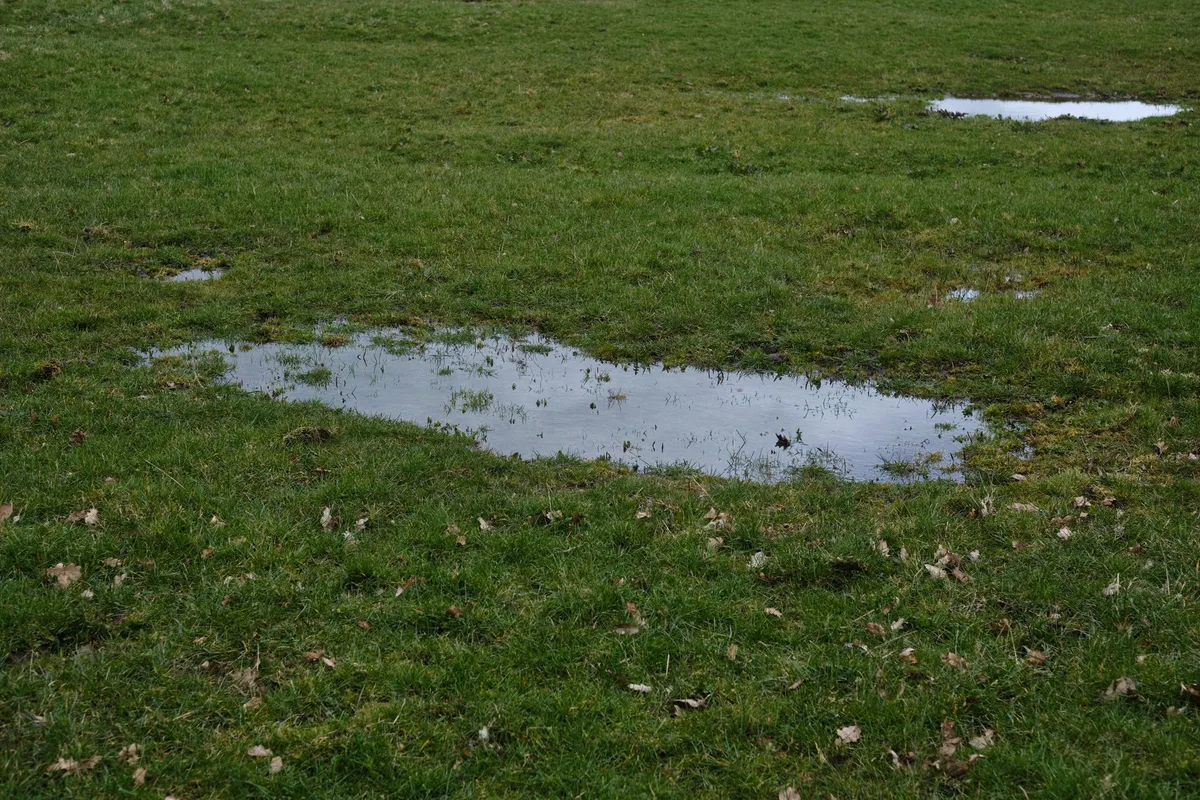
Soil science tells us that water should drain at roughly 1 to 2 inches per hour in healthy lawn soil. If puddles stick around longer than 24 hours after a rain, you have a drainage issue worth addressing. That's where the diagnostic tree comes in.
Let's walk through the three steps that tell you which solution your yard really needs.
Quick Answer
Improve yard drainage by first identifying your water source. If it's roof runoff, extend your downspouts at least 4 feet. If water pools in a low spot, try aeration or a dry well.
If it flows downhill, a swale or French drain redirects it. Always test your soil before digging anything.
The 3-Step Diagnostic Tree
You wouldn't fix a car engine without knowing what's wrong. Yard drainage works the same way. The solution depends entirely on where the water comes from, how the land sits, and what the soil does with it.
Our research shows that homeowners who skip diagnosis waste an average of 40 hours and hundreds of dollars on the wrong fix.
Here is the three-step process that gets you the right answer the first time.
Step 1: Wait for a Good Rain (Seriously)
Dry-weather inspection is useless. You need to see the problem in action. Walk your yard during a steady rain and note every spot where water collects.
Watch where it enters your property, where it flows, and where it stops moving.
Bring a notebook or take video on your phone. Look for three specific things. Where does the water first appear?
What path does it take? How long does it stay after the rain stops? If it drains within 24 hours, your soil is doing its job.
If puddles last 48 hours or more, you have a real drainage problem.
Step 2: Identify Your Water Source
Water enters your yard from three possible sources. Roof runoff comes from gutters and downspouts that dump water close to the foundation. Surface flow arrives from higher ground, a neighbor's yard, or a sloped driveway.
Poor absorption happens when water falls on your property but cannot soak into the soil because of clay or compaction.
Stand at your problem area during a rain and watch which direction the water comes from. Is it falling straight down from a downspout? Is it running across the lawn from uphill?
Or is it simply sitting where it fell? The answer tells you which branch of the decision tree to follow.
Step 3: Pick Your Branch from the Decision Tree
Here is the short version of the tree. Use it to jump to your fix.
| If you see this… | Your branch is… |
|---|---|
| Water pools in one spot and won't soak in | Branch A (Absorption Problem) |
| Water runs downhill and collects at a low point | Branch B (Overland Flow) |
| Water comes from a downspout or gutter | Branch C (Gutters and Downspouts) |
| Water seeps into your basement or crawlspace | Branch D (Foundation Risk) |
Each branch has its own set of solutions. Follow the one that matches your situation.
Branch A: Water Pools and Won't Soak In (Absorption Problem)
This is the most common yard drainage complaint. You get a puddle after every rain, and it sits there for days. The grass around it turns yellow, then dies.
Mosquitoes move in.
The cause is almost always heavy clay soil or compaction from foot traffic and equipment. Water simply has nowhere to go. The fix depends on how bad the problem is and how large the area is.
When to Try the Easy Fixes First
Start with the cheapest option. Core aeration pulls plugs of soil out of the lawn, giving water channels to drain through. Run a core aerator over the wet area in the spring or fall.
Follow it with a topdressing of compost spread about half an inch thick. The compost breaks down clay over time and feeds the grass.
If the puddle sits in a visible low spot, fill it. Bring in clean topsoil and raise the grade until it matches the surrounding lawn. This works well for small depressions less than 10 feet across.
For larger areas or worse problems, move to the next step.
When to Go With a Dry Well
A dry well is a hole filled with gravel that holds water and lets it slowly soak into the ground. It works best for small to medium problem areas where water collects but does not flow in from elsewhere. As of 2025, most residential dry well kits hold 50 to 100 gallons of water.
Dig a hole about 3 feet deep and 3 feet wide. Line it with landscape fabric. Fill it with washed 3/4-inch gravel.
Cap it with 6 inches of topsoil and seed. Water goes into the gravel void, then percolates into the surrounding soil over several hours. Do not place a dry well within 10 feet of your foundation.
If standing water is a chronic issue with your lawn, you may also want to look into proper fungus control since wet turf is a prime environment for disease.
When a Rain Garden Makes More Sense
A rain garden is a shallow depression planted with water-tolerant plants. It collects runoff and lets it soak in through the root system. This works well if the wet area is near a downspout or a low spot that catches water from a small roof section.
Dig a shallow basin about 6 inches deep. Slope the sides gently. Plant it with native species that tolerate both wet and dry conditions.
Good options include black-eyed Susans, swamp milkweed, and blue flag iris. If you want to attract pollinators while solving your drainage problem, consider adding hummingbird-friendly plants to the mix. A rain garden about 100 square feet can handle runoff from a 500-square-foot roof section.
Branch B: Water Runs Downhill and Collects (Overland Flow)
This happens when your yard sits at the bottom of a slope. Water flows across the surface and collects in the same spot every time. The problem is not absorption.
It's volume and velocity. You need to redirect the water before it reaches the low point.
Swale: The Most Natural Solution
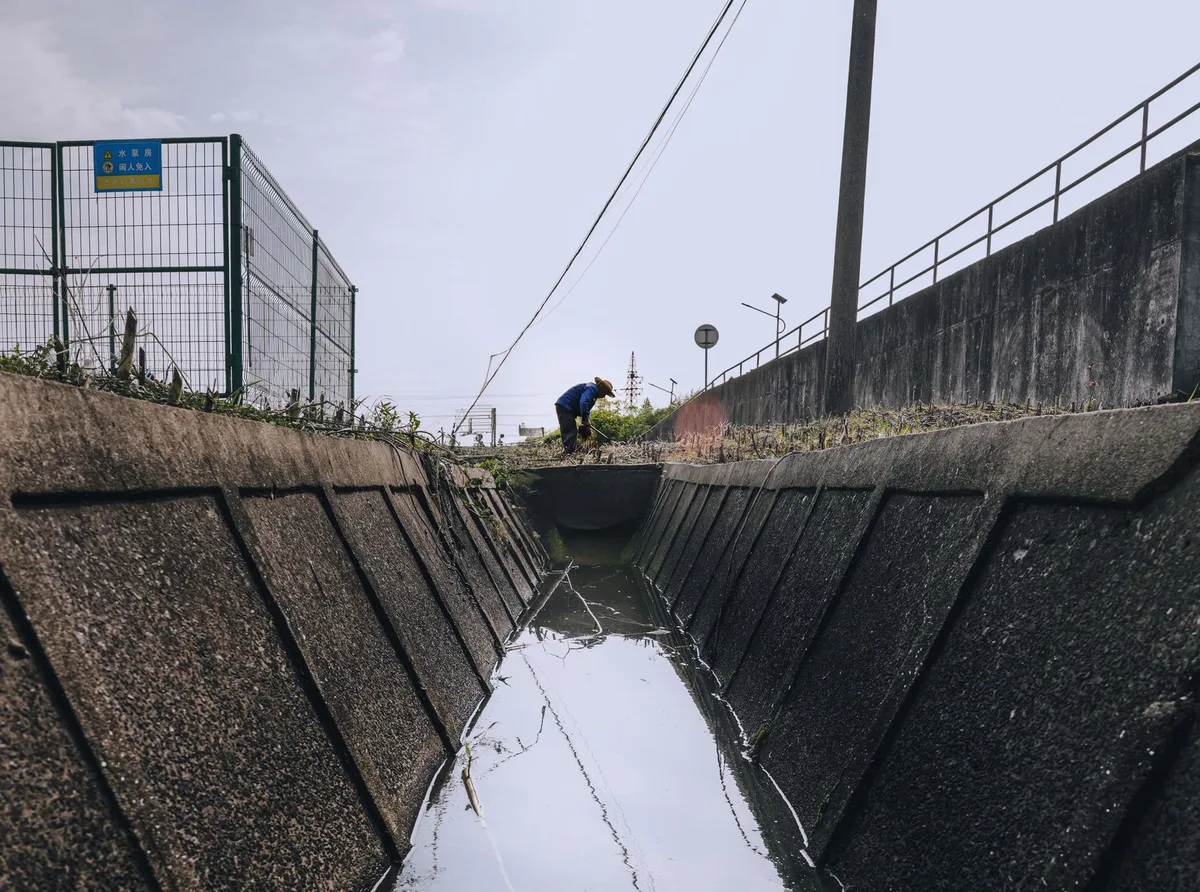
A swale is a broad, shallow channel lined with grass. It catches surface water and moves it sideways to a safe outlet. The key is a gentle, consistent slope.
Aim for a drop of 1/8 to 1/4 inch per foot of length.
Mark the path from the problem area to your outlet point. The outlet could be a storm drain, a dry well, or a ditch. Dig the channel about 6 to 12 inches deep and 2 to 4 feet wide.
Slope the sides at about 3 to 1. Plant the bottom with grass or turf. A properly built swale disappears into the landscape.
You barely notice it until it fills with water and drains away cleanly.
French Drain: The Heavy Lifter
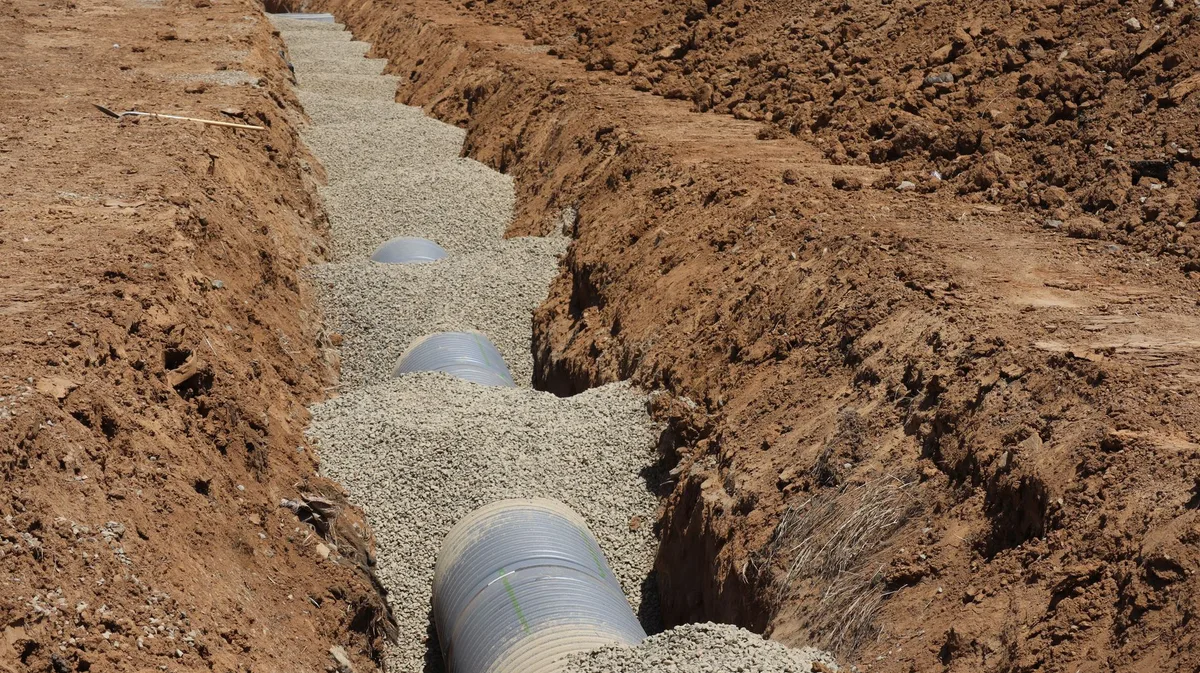
A French drain is a perforated pipe buried in gravel that collects groundwater and carries it away. It is the most effective solution for serious, ongoing drainage problems. It is also the most work.
Dig a trench from the problem area to your outlet. The trench must slope downhill at 1/8 to 1/4 inch per foot. Line the trench with filter fabric.
Add 2 inches of washed 3/4-inch gravel. Lay 4-inch perforated PVC pipe with the holes facing down. Cover the pipe with 6 inches of gravel.
Wrap the fabric over the top. Backfill with soil.
The pipe collects water from the surrounding soil and moves it away. The gravel provides storage and prevents the pipe from clogging. Do not use pea gravel.
It settles too tightly and stops draining. Use only washed 3/4-inch gravel.
Catch Basins for Yard Inlets
If water flows into your yard from a driveway or patio, a catch basin can intercept it. A catch basin is a box with a grate that collects surface water and sends it into an underground pipe. It connects to the same kind of outlet as a French drain.
Place the catch basin at the lowest point where water enters. Connect it to solid PVC pipe running to your outlet. Install a sediment trap at the bottom of the basin to catch leaves and debris.
Clean it out twice a year. If you are choosing between a catch basin and a French drain, use the catch basin for surface water from hard surfaces and the French drain for subsurface water from soggy soil.
Branch C: Gutters and Downspouts Are the Problem
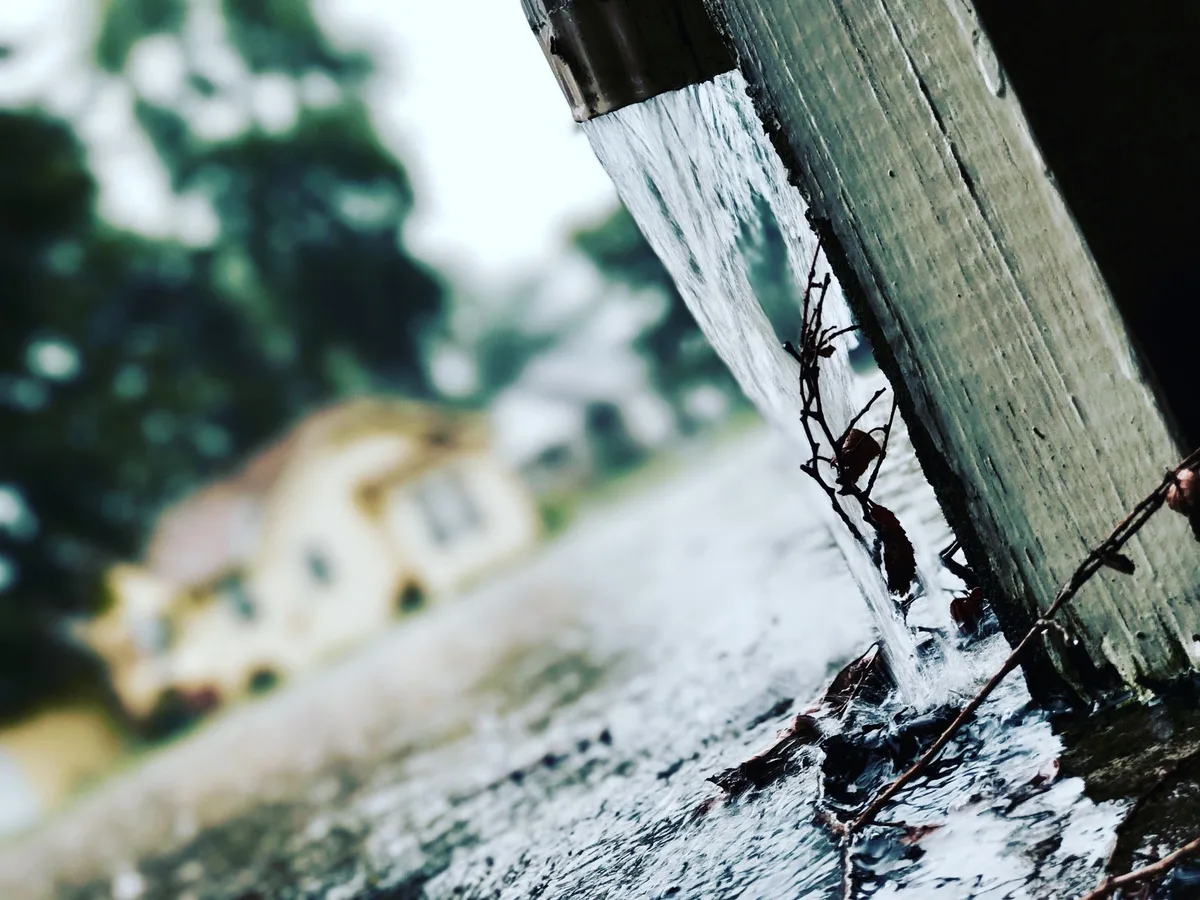
This is the easiest fix on the list. Roof runoff is concentrated water. A single downspout can dump hundreds of gallons of water in one storm.
If the downspout empties too close to the house, that water goes straight against your foundation.
The 4-Foot Rule (and Why It's Not Enough)
Standard building codes often require downspouts to discharge at least 4 feet from the foundation. In our research, that is barely adequate for sandy soil. For clay soil, you need 6 to 10 feet.
Water from a downspout moves slowly through clay. A 4-foot extension just moves the problem a few feet sideways.
Measure from the wall, not from the edge of the gutter. The extension must carry water well past the foundation, past any flower beds or paving, and onto ground that slopes away from the house.
Downspout Extensions vs. Underground Pipe
Surface extensions are the quickest fix. You screw a rigid or corrugated extension onto the bottom of the downspout and route it across the lawn. They cost 10 to 50 dollars and install in 30 minutes.
The downside is they are visible and you have to move them when you mow the lawn.
Underground pipe is cleaner. Connect the downspout to a solid PVC pipe buried in a shallow trench. Run the pipe to a pop-up emitter that releases the water 10 to 20 feet away.
Pop-up emitters have a flap that stays closed until water pressure opens it. This keeps grass and debris out. Use rigid PVC instead of flexible corrugated pipe.
Corrugated pipe collects silt and clogs within a couple of years.
Rain Barrels: Helpful or a Band-Aid?
Rain barrels collect water from downspouts for garden use. They are great for watering plants. They are not a drainage solution.
A standard 55-gallon rain barrel fills up in about 15 minutes during a moderate storm. After that, the overflow goes right back to the same downspout problem. If you use a rain barrel, make sure the overflow hose is at least 6 feet long and routes water away from the foundation.
Never rely on a rain barrel to handle your drainage. It is a water conservation tool, not a drainage tool.
Branch D: Water Is Getting Into Your Basement or Crawlspace
This branch is different from the others. Water inside your house is not a lawn problem. It is a structural risk that can damage foundations, cause mold, and lower property value.
Skipping proper diagnosis here can be expensive.
Why This Branch Has a Red Flag
Hydrostatic pressure builds up in saturated soil around your foundation. That pressure pushes water through cracks in basement walls or up through the slab. The longer the water sits, the more pressure builds.
Over time, this can shift foundations and cause settlement cracks.
Standing water against your foundation wall should be treated as an emergency. Do not wait for the next rain to see if it gets worse. Address it now.
Exterior Solutions First (Dig From the Outside)
The best fix stops water before it reaches the basement. Start by regrading the soil around the house. The ground should slope away from the foundation at a rate of 6 inches of drop in the first 10 feet.
This is called positive grading. Many homes have negative grading where the soil slopes toward the house. Fixing the grade solves a surprising number of basement leaks.
If regrading is not enough, install a weeping tile system. This is a perforated drain pipe buried at the base of the foundation footing. It collects groundwater before it can press against the wall.
This is a major excavation job. Most homeowners hire a contractor with excavation equipment.
If your landscape is already planted around the foundation, thoughtful flower bed placement can help keep water moving away from the house rather than holding it against the walls.
When You Need an Interior Solution
Sometimes exterior work is not possible. The house might sit on a high water table, or the neighbor's yard is higher than yours. In that case, install an interior drain tile system around the inside of the basement perimeter.
It collects water that seeps in and routes it to a sump pump.
The sump pump pushes the water up and out through a discharge pipe at least 10 feet from the house. Interior systems are effective but expensive. They cost 3,000 to 10,000 dollars installed.
They are worth every penny if they keep your basement dry. Always hire a licensed foundation contractor for this work.
How to Install a French Drain: What Actually Matters
Start with a call to 811. Utility lines run everywhere. Hitting a gas line is dangerous and expensive.
This call is free.
Plan your trench route from the problem area to a safe outlet. Mark the path with spray paint. The outlet can be a dry well, a pop-up emitter, or a storm drain.
The trench must drop at least 1/8 inch per foot. Measure the slope with a line level. If the ground is flat, a French drain will not work.
Dig the trench 18 to 24 inches deep. Line it with filter fabric. Add 2 inches of washed 3/4-inch gravel.
Lay the pipe with holes facing down. Cover with 6 inches of gravel. Wrap the fabric over the top.
Test with a garden hose before backfilling. Water should flow out the other end. If it pools in the trench, the slope is wrong.
Backfill with soil in layers to prevent settling.
Cost & Effort Comparison for Each Solution
| Solution | DIY Cost | Pro Cost | Difficulty | Time |
|---|---|---|---|---|
| Downspout extension | $10–$50 | N/A | Easy | 1 hour |
| Core aeration + compost | $50–$150 | $150–$300 | Easy | 2–3 hours |
| Dry well | $100–$300 | $400–$800 | Moderate | 4–6 hours |
| Swale (simple) | $50–$150 | $300–$600 | Moderate | 4 hours |
| French drain (100 ft) | $300–$800 | $1,500–$3,000 | Hard | 1–2 days |
| Foundation drain | N/A | $3,000–$10,000 | Pro only | 2–5 days |
These are national averages based on contractor quotes from 2025. Local labor rates vary. Material costs do not change much across regions.
Mistakes to Avoid (That Everyone Makes)
Digging Without a Plan
The biggest mistake is digging a trench before you know where the water will go. A trench without an outlet becomes a long skinny pond. Water will sit in the pipe and breed mosquitoes.
Always confirm the outlet location before you break ground.
The Wrong Gravel or Pipe
Pea gravel clogs within months. The small pebbles lock together and stop letting water through. Use only washed 3/4-inch gravel.
It creates enough void space for water to flow.
Filter fabric is another common error. Some installers wrap the fabric inside the pipe or leave it out entirely. Both cause clogs.
Wrap the fabric around the outside of the gravel, not the pipe. And never flip the pipe with holes facing up. Holes face down to catch water from below.
Not Testing Before Backfilling
A hose test takes 10 minutes. It saves you from digging up a failed drain later. Run water through the pipe and watch the outlet.
If water does not come out freely, fix the slope before you bury it.
When to DIY vs. Call a Pro
DIY-Friendly Jobs
Downspout extensions, core aeration, filling low spots, and simple dry wells are all manageable for a homeowner with basic tools. These jobs require no heavy machinery and carry low risk.
Jobs Best Left to a Pro
French drains longer than 50 feet need proper slope calculation and heavy digging. Any work within 5 feet of the foundation should be handled by someone who understands structural risk. Water in the basement or crawlspace is always a pro job.
The cost of a mistake is far higher than the cost of hiring a contractor.
Maintenance for Long-Term Drainage
Check and Clean Gutters Twice a Year
Clogged gutters overflow and dump water against the foundation. Clean them in spring and fall. Install gutter guards if you have trees nearby.
Flush French Drains Every 1 to 2 Years
Stick a garden hose into the outlet end of the pipe and run water for 5 minutes. This flushes out silt and debris. If water pools above the drain line, the pipe is probably clogged.
Inspect Pop-up Emitters and Outlets
Pop-up emitters have a flap that can stick closed. Check it after heavy rain. Clear away grass and debris.
Make sure the flap opens freely when water flows.
Replenish Gravel in Dry Wells Over Time
Sediment slowly fills the voids in dry well gravel. Every 3 to 5 years, scoop out the top 6 inches and replace it with fresh washed gravel. This keeps the dry well working at full capacity.
Frequently Asked Questions
Can I just dig a hole and fill it with gravel?
That is essentially a dry well. It works if the hole is sized for your water volume. A small hole will overflow.
Calculate roughly 1 cubic foot of gravel per 7.5 gallons of water storage.
Do I need a permit to dig a trench?
It depends on depth. Shallow trenches under 18 inches usually do not need a permit. Anything deeper than 2 feet requires a call to 811 at minimum.
Check with your local building department.
How do I know if my soil is clay?
Dig a test hole 12 inches deep. Fill it with water. Measure how long it takes to drain.
If it drops less than 1 inch per hour, you have heavy clay soil.
Will a French drain work if the yard is flat?
No. French drains need a slope of at least 1/8 inch per foot. For flat yards, use a dry well or regrade the surface to create slope.
Can I connect my downspout directly to a French drain?
Yes, but only if the drain has an outlet that can handle the full volume of roof runoff. Many DIY setups get overwhelmed and back up. Test the system with a hose at full flow before burying anything.
Final Decision: Your 60-Second Drainage Fixer
| If you see… | Try this first | Or move to |
|---|---|---|
| Puddle in one spot, no incoming water | Aeration + topdressing | Dry well |
| Low spot after rain | Fill with topsoil + seed | Swale if large area |
| Water running off roof, pooling at foundation | Downspout extension (4+ ft) | Underground pipe to pop-up |
| Soggy yard after every rain, no obvious source | Perc test | French drain (pro if over 50 ft) |
| Water inside basement or crawlspace | Regrade outside wall | Interior drain tile + sump pump (pro only) |
Pick your row, start with the first fix, and move down only if needed. Most drainage problems solve with the cheapest option. Digging a French drain should be your last resort, not your first instinct.