Guide to DIY Gravel Walkway Guide for 2026: Explained Simply
You've got a muddy path between the garage and the garden. Maybe it's been on your to-do list for two summers. This DIY Gravel Walkway Guide covers the whole process so you can get it done in a weekend without hiring anyone.
A properly built gravel walkway costs about $2 to $5 per square foot in materials. That's roughly a third of what you would pay for poured concrete. But getting those numbers right means understanding what goes on underneath.
The base is what makes or breaks a gravel walkway, and that starts with the very first shovel of dirt.
Quick Answer
Build a gravel walkway by digging down 4 to 6 inches. Add a compacted crushed stone base. Install sturdy edging.
Lay landscape fabric. Fill with 2 to 3 inches of surface gravel. Compact each layer as you go.
Total cost runs $2 to $5 per square foot. Most DIYers finish a 50-foot path in one weekend.
Why a Gravel Walkway? (And Why You Need to See It Before You Build It)
A gravel walkway solves a handful of real problems. It stops mud from getting tracked into the house. It defines a clear path through the yard so people don't trample your beds.
And it does all of that without requiring concrete forms, mortar mixing, or specialized skills.
But here is the thing most online guides skip. The finished look depends entirely on what you cannot see. The base layer, the edging stakes, the fabric overlap.
Those hidden components determine whether your walkway stays flat for years or turns into a rutted mess after one rainy season.
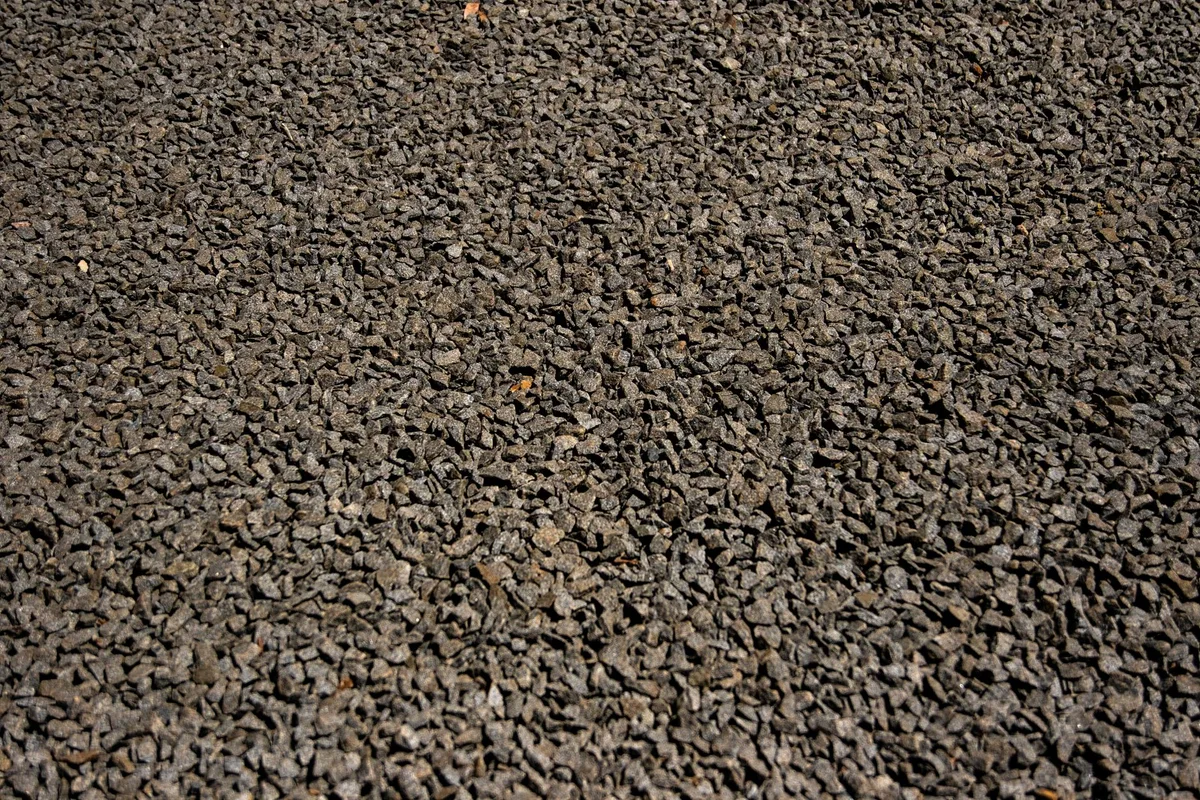
Look at the photo above. Notice how the gravel sits cleanly inside its edges. No stones spilled onto the lawn.
No sunken spots. That is the result of proper base preparation, not luck.
There are a couple of trade-offs to weigh. Gravel needs annual maintenance. You will rake it back into place and add fresh stone every year or two.
And walking on loose gravel takes a little getting used to. But for a path that connects the side gate to the shed or weaves through a flower bed, it is hard to beat the value.
Another advantage worth mentioning is water drainage. Unlike a solid concrete slab, a gravel path lets rain soak straight into the ground. That means less runoff toward your foundation and happier plant roots on either side.
If you have heavy clay soil, adding the right base gravel and fabric can also prevent the path from sinking into the mud after a storm.
One thing you rarely see in photos is what happens underneath after a hard freeze. In colder climates, the ground heaves. That pushes edging up and creates uneven spots.
The fix is a deeper base and flexible steel edging instead of rigid plastic. We will get into both of those in the steps ahead.
Gravel Types: What Each Looks Like and When to Use It
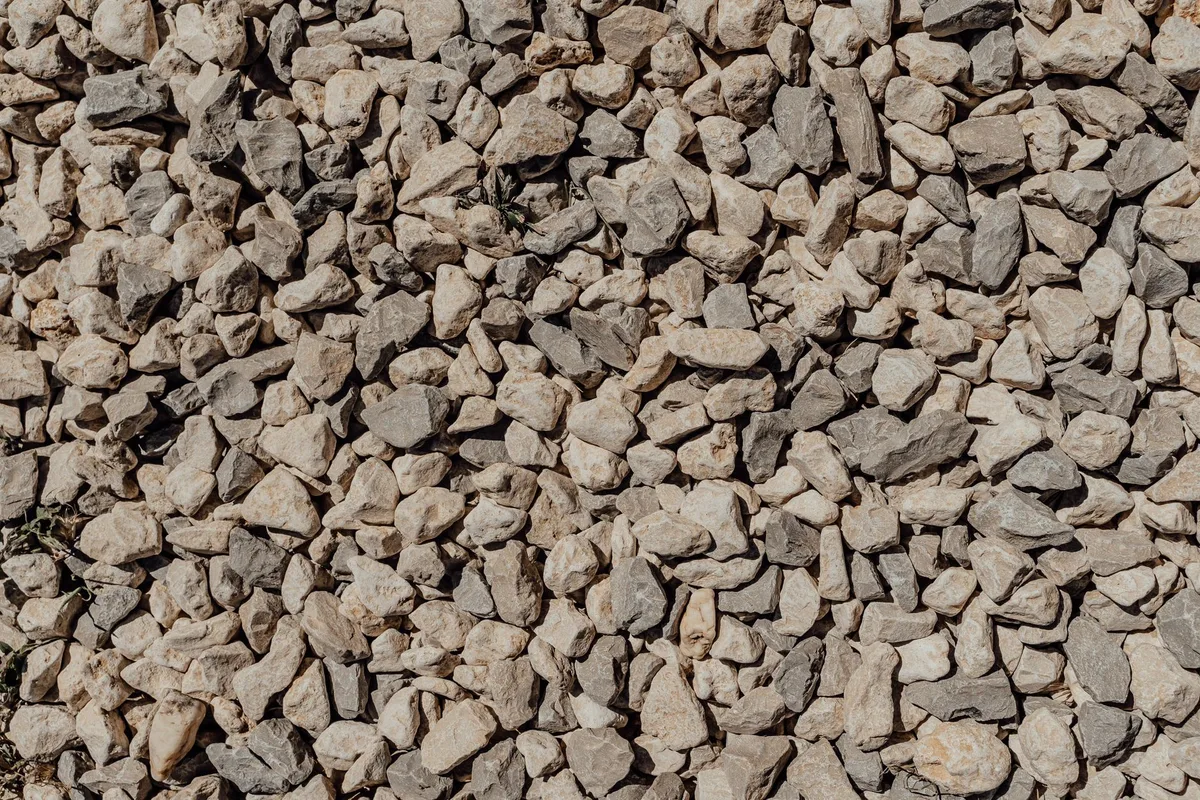
Not all gravel is the same. The photo above shows a few common types side by side. The differences in size, shape, and sharpness matter more than you might think.
Crushed stone (3/4-inch). This is the standard choice for the base layer. It has rough, angular edges that lock together when compacted. That interlocking action creates a stable foundation that resists shifting.
Use this for the bottom 3 to 4 inches of your walkway.
Pea gravel (3/8 to 1/2-inch). Smooth, rounded stones that look beautiful on top. They come in earthy tones from tan to gray to buff. The downside is they shift underfoot more than angular stone.
That makes them better for straight paths than for slopes. If you have kids or elderly family members using the walkway, consider a crushed surface stone instead.
Decomposed granite (DG). This is crushed granite that has broken down into a sand-like material with small stone particles. When compacted wet, it hardens into a firm surface that feels almost like concrete. It works well in dry climates.
In wet areas, it can turn muddy and require frequent raking.
Limestone chips. Angular, light-colored stone that compacts firmly. It is popular in the Midwest and parts of the South. The dust from limestone can stain light-colored shoes and clothing, so keep that in mind if the path leads to your front door.
River rock. Smooth, polished stones that look decorative but shift badly underfoot. They are not ideal for a functional walkway. Use river rock for dry creek beds or borders, not for the main walking surface.
If you are unsure where to start, talk to a local landscape supply yard. They can show you exactly what is available in your area and what works best for your specific soil type. For more detail on matching stone to your project, take a look at our breakdown of the best gravel for patio area applications.
The same principles apply to walkways.
Tools and Materials: A Visual Checklist
You do not need a truckload of specialized equipment. Most of these tools you probably already own or can rent for cheap. Here is what you will need for a standard 50-foot by 3-foot walkway.
Digging and grading tools
- Round-point shovel for digging
- Square-point shovel for moving gravel
- Garden rake or bow rake for spreading
- 4-foot level
- String line and line level
- Tape measure
- Garden hose or spray paint for marking the path
Compaction tools
- Hand tamper (for small paths under 20 feet)
- Plate compactor rental (recommended for anything longer)
- Water sprayer or hose for misting the base
Installation materials
- Crushed stone base (about 1 ton for a 50×3-foot path at 4 inches deep)
- Surface gravel (about 1/2 ton for the top layer)
- Landscape fabric (woven geotextile, 4 to 6 feet wide)
- Edging material (steel, plastic, or timber)
- Edging stakes (10 to 12-inch galvanized steel spikes)
- Rubber mallet or hammer
Safety gear
- Work gloves
- Safety glasses
- Sturdy boots with ankle support
- Hearing protection for the plate compactor
You can skip the plate compactor and use a hand tamper for very short paths. But our research shows that hand tamping rarely achieves the same density as a rented compactor. Loose base layers settle unevenly over time, creating dips that collect water.
If you are going through the work of digging and hauling gravel, spend the $50 to $80 on a compactor rental.
One tool that surprises people is a good rake. A landscape rake with stiff steel tines moves gravel much faster than a standard garden rake. We have a guide on the best rakes for pine needle cleanup that covers the same style of rake you would want here for spreading stone evenly.
Before You Dig: Planning Slope, Width, and Drainage
If you skip the planning step, you will be fixing problems later. Walkways are simple structures, but they still need a few basic measurements.
Width. A single person needs at least 2 feet of clear path. A couple walking side by side needs 3 feet. If you plan to push a wheelbarrow or garden cart, go with 4 feet.
Mark the width with spray paint or a hose before you start digging. That way you can adjust curves on the ground instead of guessing.
Slope. Water must drain off the walkway, not pool on top or run toward the house. Aim for a slope of 1/4 inch per foot across the width of the path. That is enough to shed rainwater without feeling tilted when you walk.
If your yard is mostly flat, slope the entire walkway slightly to one side or toward a low spot in the yard.
Drainage. Do not let the walkway trap water against your foundation. If the path runs alongside the house, slope it away from the foundation. In very wet areas, you may need a perforated drainage pipe under the base layer.
That is rare for a simple walkway, but worth considering if you have standing water issues in your yard.
Sight lines. Walk the intended path before you dig. Look for tree roots, sprinkler heads, low-hanging branches, and utility access covers. Moving the path a few feet to the left now beats digging around a stubborn root later.
If your yard has large trees with surface roots, consider a path that curves around them instead of cutting through.
Climate considerations. In freeze-thaw zones, the base needs to be at least 6 inches deep. In warm, dry climates, 4 inches is usually enough. If you live in an area with heavy rainfall, use angular crushed stone for the surface instead of smooth pea gravel.
It locks together better and resists washing out.
If you are building a path through an existing flower garden, take a minute to plan which plants will border the walkway. Low-growing flowers along the edge soften the look and help hide the edging. Our roundup of the best flowers for flower beds includes several compact varieties that work beautifully next to a gravel path.
And for hotter regions, check out our recommendations for the best trees for hot dry climates if you want shade over part of the walkway.
Step 1: Excavation – How Deep to Dig (And How to See If It's Enough)
This is the hardest physical part of the job. Do it right and everything else falls into place.
Mark the path first. Use your garden hose, spray paint, or a line of flour to outline the walkway. Make the outline 2 to 3 inches wider than your finished path on each side. That extra space gives you room to install edging and prevents the gravel from spilling out later.
Start digging. Remove sod and soil to a depth of 6 inches for a walkway with a vehicle base, or 5 inches for pedestrian-only. Here is how those depths break down:
| Layer | Pedestrian path (light use) | Wheelbarrow path (moderate use) |
|---|---|---|
| Surface gravel | 2 inches | 2 to 3 inches |
| Base crushed stone | 2 to 3 inches | 4 inches |
| Total excavation depth | 4 to 5 inches | 6 to 7 inches |
These depths assume you are digging into existing soil. If you are building on top of compacted clay or old concrete, you can subtract an inch. If you are digging into loose sandy soil, add an inch.
How to tell if you are deep enough. Lay a 4-foot level across the excavated trench. There should be a consistent gap of 4 to 6 inches between the level and the bottom of the trench. Use a tape measure at several spots along the path.
Inconsistent depth leads to wavy surfaces and ponding water.
Slope check. While the trench is open, run a string line from one end to the other at the finished surface height. Measure down to the trench bottom every 10 feet. The measurements should decrease by about 1/4 inch every 10 feet if you are sloping for drainage.
If they stay the same, water will sit on the walkway.
Remove roots and rocks. Any organic material left in the trench will decompose over time and create voids. Rake out roots, chunks of sod, and loose rocks. If you hit a thick tree root, do not cut it.
Reroute the path around it. Cutting major roots can damage or kill the tree.
Compact the soil. Before you add any base material, run the plate compactor over the bare soil. Wet it slightly first. The goal is a firm, level surface that will not settle under the weight of the gravel.
Walk the entire trench and feel for soft spots. Those are areas where the soil was looser and needs more compaction.
Once the trench is clean, level, and compacted, you are ready for the base layer. That is where the real stability comes from.
Step 2: The Base Layer – What Good Compaction Looks Like
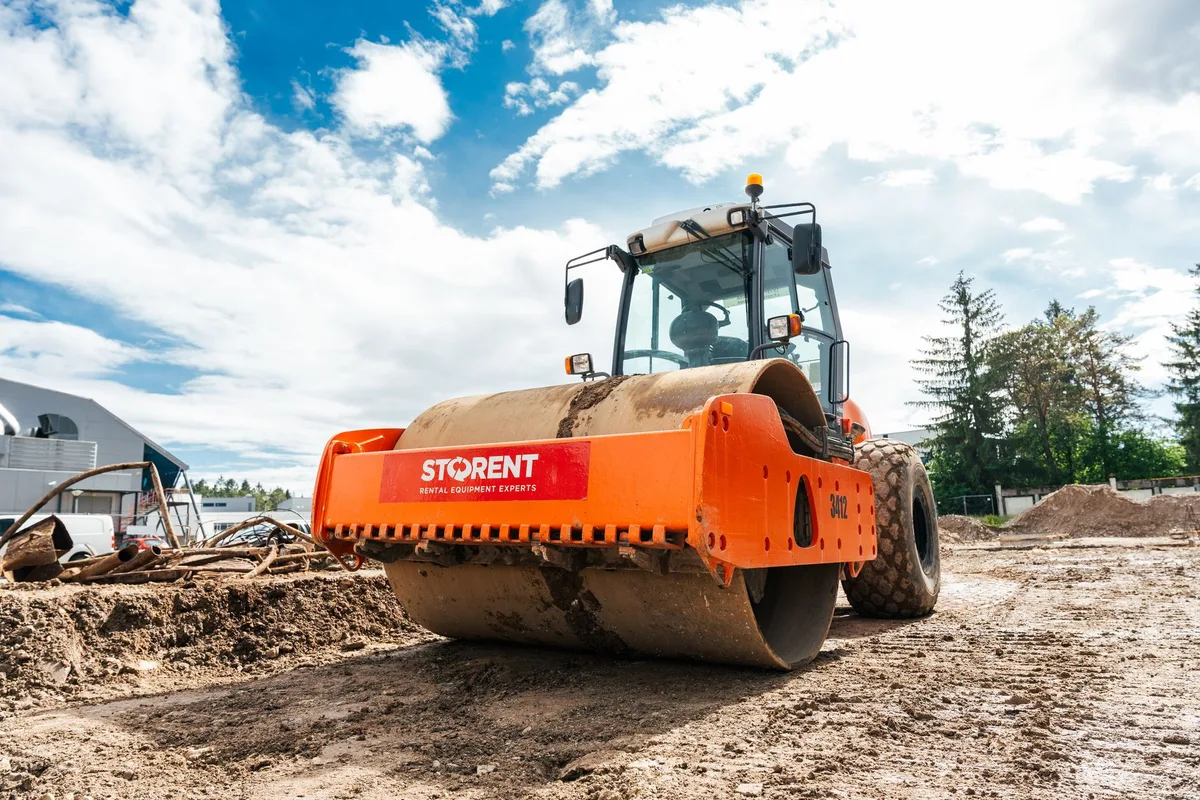
The base layer is the unsung hero of any gravel walkway. It is a 3 to 4 inch layer of angular crushed stone that supports everything above it. Without good compaction, that base will shift under your feet.
Spread the crushed stone evenly. Dump it in piles along the trench, then rake it flat. Fill to about 3 inches for pedestrian paths or 4 inches if you expect wheelbarrow traffic. Leave about 1 to 2 inches of space at the top for the surface gravel layer.
Wet the stone slightly. Dry crushed stone does not compact well. A light misting from a garden hose helps the particles lock together. Do not soak it.
Just enough to dampen the surface.
Run the plate compactor over the entire base. Make overlapping passes. Our research shows that three full passes over each section gives the best density. Walk the path afterward.
If you feel soft spots or see the compactor sinking, add more stone and compact again.
What proper compaction looks like. The surface should feel firm underfoot with no visible shifting. When you walk on it, your shoes should not sink more than 1/4 inch. If the stones move under your weight, the base is too loose.
Add another inch of crushed stone and compact it again.
Check for level. Lay a 4-foot level across the base at several points. Bumps or dips of more than 1/4 inch need to be corrected now. Fill low spots with more crushed stone, compact, and check again.
Once the base is firm and level, let it sit for a few hours or overnight. That gives any moisture time to settle. Then move on to edging.
Step 3: Edging – Which Style Holds Up and Looks Right
Edging keeps your gravel where it belongs. Without it, stones kick onto the lawn, the path edges blur, and you spend every weekend raking gravel back into place.
Steel edging. This is the most durable option. It comes in 10 to 12 foot strips that you stake into the ground. Steel holds up to freeze-thaw cycles without cracking.
Expect to pay $1 to $2 per linear foot. Installation takes more effort but the result lasts decades.
Plastic edging. A cheaper and easier alternative. It rolls out and stakes down quickly. The problem is longevity.
In our research, plastic edging tends to crack after 2 to 3 years in cold climates. It works fine for temporary paths or rental properties.
Timber edging. Pressure-treated lumber or landscape timbers create a natural look. They rot over time, especially in contact with damp ground. Treated wood lasts about 5 to 7 years.
Cedar or redwood lasts longer but costs more.
Concrete curb edging. Poured concrete curbs are permanent and expensive. They work well for formal gardens but are overkill for most DIY walkways.
How to install edging. Dig a shallow trench along both sides of the base layer. Set the edging flush with the finished gravel height. Drive stakes every 2 to 3 feet.
The top of the edging should sit about 1 inch above the base layer. That holds the surface gravel in without tripping anyone.
What the photo shows. Notice how the steel edging sits cleanly against the excavated edge. The stakes are hidden on the outside. The top edge aligns with where the gravel surface will be.
That is the look you are aiming for.
Step 4: Fabric and Gravel – The Final Layers (Don't Skip This)
Landscape fabric sits between the base and the surface gravel. It stops weeds from growing up through the path. It also prevents the surface gravel from mixing down into the base layer over time.
Choose woven geotextile fabric. Regular landscape fabric from the big box store works for light use. But heavy woven geotextile lasts much longer. It lets water through while blocking weeds and soil migration.
Lay the fabric over the compacted base. Unroll it so it overlaps the edges by at least 6 inches. Cut small slits for edging stakes if needed. Overlap seams by 12 inches minimum.
The goal is a continuous barrier with no gaps.
Add the surface gravel. Pour 2 to 3 inches of your chosen surface gravel over the fabric. Angular crushed stone works best here. Smooth pea gravel shifts more but looks softer.
Use a rake to spread it evenly.
Compact the surface layer. Run the plate compactor over the top gravel with one light pass. Do not over-compact. You want the surface to feel stable but still have a loose enough texture for rainwater to drain through.
Broom the final surface. A stiff broom knocks down small peaks and fills in low spots. It also settles some of the smaller stones into the gaps. The result is a cleaner, more even walking surface.
Granite and limestone fines work in this top layer if you want a firmer surface. Just know they will need refreshing more often than angular crushed stone.
5 Common Visual Mistakes (And How to Avoid Them)
Uneven depth in the trench. If the base layer varies by more than 1/2 inch, the finished surface will look wavy. The fix is to check depth with a string line before adding any stone.
Edging set too low. When edging sits below the gravel surface, stones spill onto the lawn constantly. The top of the edging should be visible all along the path edge.
Fabric exposed on the surface. If you skimped on gravel depth, the fabric shows through. That traps debris and looks unfinished. Add another inch of stone everywhere fabric is visible.
Gravel mixing with soil at the edges. Without fabric extending 6 inches past the base, soil and gravel blend into mud over time. Overlap the fabric generously.
Skipping the final compact. Gravel that was never compacted shifts every time you walk on it. That means constant raking and topping up. One pass with a compactor makes a huge difference.
Costs and Quantities: A Practical Reference
Here is a quick breakdown of what you will spend for a 50-foot by 3-foot walkway.
| Material | Quantity | Estimated Cost |
|---|---|---|
| Crushed stone base (3/4-inch) | 1 ton | $30 to $50 |
| Surface gravel (3/8 to 1/2-inch) | 0.5 ton | $20 to $40 |
| Landscape fabric (woven geotextile) | 50 feet x 4 feet | $20 to $40 |
| Steel edging (10-foot strips) | 5 strips | $50 to $100 |
| Edging stakes (10-inch) | 30 stakes | $15 to $25 |
| Plate compactor rental | 1 day | $50 to $80 |
| Total | $185 to $335 |
Gravel coverage per ton. One ton of crushed stone covers about 80 square feet at 3 inches deep. One ton of surface gravel covers about 100 square feet at 2 inches deep. Order 10 to 15 percent extra to account for compaction and spillage.
Where to save money. Skip the compactor rental for paths under 20 feet. Use a hand tamper instead. Buy gravel from a landscape supply yard rather than a big box store.
The bulk price is usually half the bagged price.
Where not to save. Cheap plastic edging costs less upfront but cracks within a few years. Steel edging pays for itself over time.
Maintenance: What to Look For Each Season
Gravel walkways need light upkeep. Rake the surface every few months to redistribute stones that have shifted. Top off low spots with fresh gravel once a year.
In spring, check for weeds poking through. Pull them early before roots spread beneath the fabric. In fall, blow leaves off the path.
Decaying leaves trap moisture and break down into soil that hosts weed seeds.
After winter, inspect the edging for frost heave. Reset any stakes that have pushed up. If you have a sloped path, watch for erosion at the low end.
Add a small trench or drain rock there to catch runoff.
Is a Gravel Walkway Right for You? Quick Guide
Gravel works best for casual garden paths, side yards, and connections between outbuildings. It suits homeowners who want a low-cost, permeable surface that they can install themselves in a weekend.
Skip gravel if you need a perfectly flat surface for wheelchairs or heavy carts. Choose concrete or pavers instead. Also skip it if you live in an area with extreme freeze-thaw cycles unless you commit to a deep base and steel edging.
For most people, a gravel walkway is the smart middle ground. It costs less than hardscaping, looks natural, and handles drainage better than any solid surface.
Frequently Asked Questions
How long does a gravel walkway take to build?
A 50-foot walkway takes one weekend for two people. Day one covers excavation and base compaction. Day two covers edging, fabric, and top gravel.
A shorter 20-foot path can be done in a single day.
Can I build a gravel walkway without digging?
You can lay gravel directly on top of soil for a temporary path. But skipping excavation means the path will sink, shift, and grow weeds within a year. The digging step is essential for long-term stability.
How do I stop gravel from spreading onto the lawn?
Good edging is the answer. Steel or rigid plastic edging that sits at least 1 inch above the gravel surface keeps stones contained. Wide fabric overlap at the edges also helps prevent migration.
What is the best gravel for a walkway?
Angular crushed stone in the 3/8 to 3/4-inch range locks together best. It resists shifting underfoot and drains well. Pea gravel looks softer but requires more maintenance and edging.
How often do I need to add new gravel?
Expect to top up the surface layer once a year. Add about 1/2 inch of fresh stone in spots that look low. In heavy traffic areas, you might need a top-up every 6 months.
Can I use a gravel walkway on a slope?
Yes, but only with angular crushed stone and strong edging. Round pebbles roll downhill. For slopes steeper than 5 percent, consider using a gravel grid system to lock the stones in place.