How to Test Lawn Soil Ph 2026
If your lawn looks patchy, yellow, or just isn’t growing the way it should, the problem might be hiding below the surface. Learning how to test lawn soil pH is the first step to figuring out what’s going on under your grass. It’s a simple check that tells you whether your soil is too acidic, too alkaline, or just right for the grass you’re trying to grow.
Most lawn grasses need a pH between 6.0 and 7.0 to absorb nutrients properly. As of 2026, home test kits and lab services make it easy to get an accurate reading. Once you know your number, you can decide exactly what to add to bring your lawn back to life.
Let’s start by looking at the signs that tell you it’s time to test.
Should You Test? Recognizing When Your Lawn Has a pH Problem
You don’t need to test your soil just for fun. You test when something feels off. Here are the common signs that your lawn’s pH might be out of whack.
Yellowing between leaf veins. If the grass blades turn pale or yellow while the veins stay green, that usually means iron deficiency. And iron deficiency is almost always a pH problem, the iron is present in the soil, but your grass can’t absorb it because the pH is too high or too low.
Moss or algae taking over. Moss loves acidic soil. If you’re fighting moss year after year without success, a pH test is your first move. Raising the pH with lime often kills the moss faster than any product you can spray.
Heavy weed pressure. Certain weeds thrive at specific pH levels. Dandelions and clover, for example, often appear when soil pH drops below 6.0. If your weed population suddenly changes, test the soil.
Weak response to fertilizer. You’ve watered, fed, and followed the label, but the lawn still looks thin. Chances are, nutrients are locked up by the wrong pH. You’re wasting money if you fertilize before correcting pH.
If you see any of those signs, it’s time to test. If your lawn looks healthy, a baseline test every two to three years is enough.
Quick Answer
Test your lawn soil pH with a home kit or a lab test. Collect soil from several spots. Mix it in a clean bucket.
Follow the kit’s instructions. Compare the color to the chart. Lab tests give more detail for a small fee.
The Fork in the Road: Home Test vs Lab Test
You have two main paths here. The choice depends on your budget, your time, and how sure you need to be.
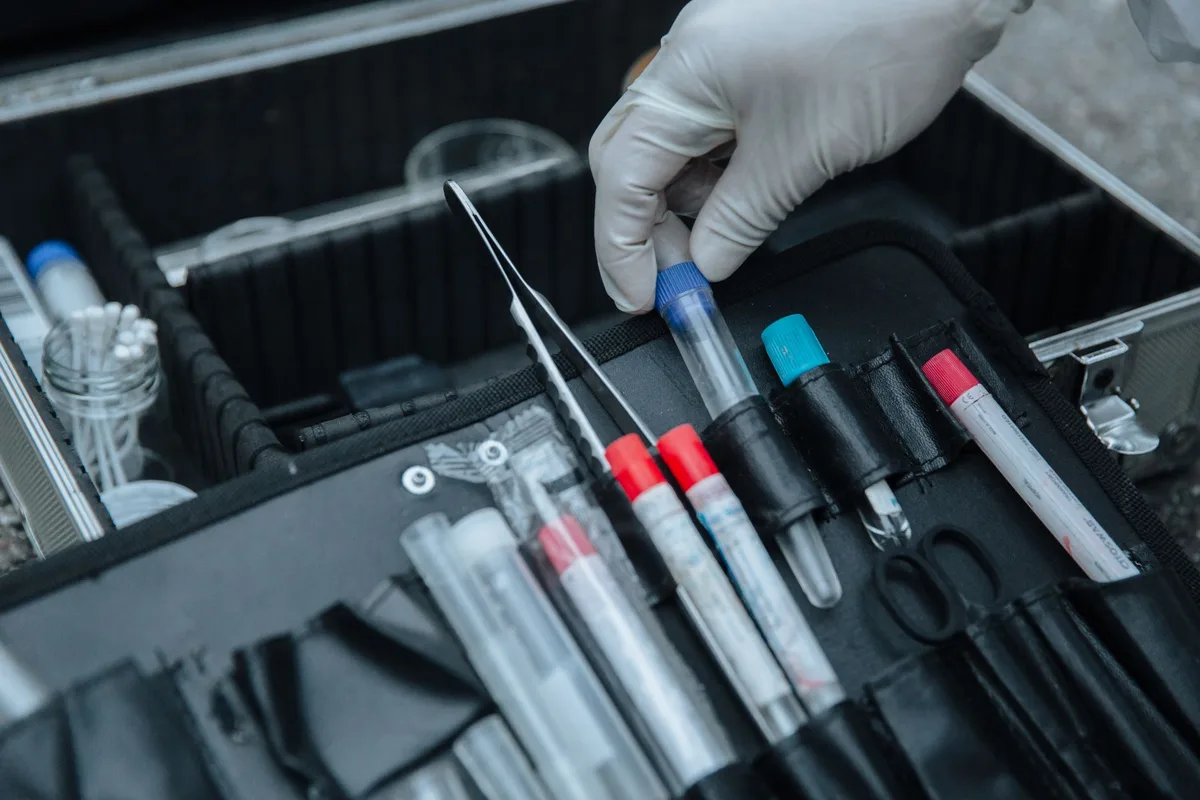
Home test kits include probe-style meters, color-match capsule kits, and pH test strips. They cost between $8 and $20. They give you a result in about 10 minutes.
The trade-off is accuracy, most home tests are plus or minus 0.3 to 0.5 pH points. That’s good enough for a general check, but not precise enough if you’re planning a major lime or sulfur application.
Lab tests involve sending a soil sample to a university extension service or a private agricultural lab. They cost $10 to $25, and results come back in one to two weeks. Lab tests are accurate to plus or minus 0.1 pH points.
They also measure buffer pH, which tells you exactly how much lime or sulfur to add. That saves you money and guesswork.
When to choose home test: You just want a quick idea. The lawn looks okay, and you’re doing a routine check. Or you’re on a tight budget and only need to know which direction your pH is leaning (too high or too low).
When to choose lab test: You have a problem lawn that won’t improve. You’re planning to add a large amount of lime or sulfur and need the exact rate. You’re starting a new lawn from seed or sod and want perfect conditions from day one.
Decision guide:
- If your lawn looks healthy and you just want a baseline: home test every 2, 3 years.
- If you see yellowing, moss, or weak growth: start with a home test for a quick direction check, then confirm with a lab test if you need a precise rate.
- If you’re renovating or seeding: lab test before you spend money on soil amendments.
How to Collect a Soil Sample the Right Way
This is where most people mess up. A bad sample gives you a useless result. Do it right and the test will tell you exactly what your lawn needs.
What you’ll need: A clean trowel or shovel, a clean plastic bucket, and a sealable bag or container for the lab sample.
Step-by-step:
Pick your spots. Walk your lawn in a zigzag pattern. Collect soil from 6 to 8 different spots across the yard. Avoid edges near driveways, sidewalks, or where you’ve recently added fertilizer or lime.
Go the right depth. Push your trowel in 3 to 4 inches deep. That’s the root zone for most lawn grasses. Don’t scrape just the surface, that gives you a false reading from thatch and topsoil.
Remove debris. Pick out any stones, roots, grass clippings, or thatch. You want only the soil itself.
Mix it up. Put all the samples from your different spots into the clean bucket. Stir them together thoroughly. This creates a “composite sample” that represents your whole lawn.
Air-dry if sending to a lab. Spread the mixed soil on a clean paper plate or tray. Let it dry for 24 to 48 hours. Lab tests need dry soil to get an accurate read.
Bag it. Put about a cup of the dry mixed soil into the sample bag. Label it with your name, lawn area, and date.

One critical rule: don’t test after you’ve just fertilized, limed, or watered heavily. Rain or recent fertilization will skew your numbers. Test when the soil is moist but not wet, and at least two weeks after any amendment.
The DIY Test Method: Kits, Probes, and Strips Step by Step
If you’re using a home test kit, here’s how to get the most accurate reading possible.
For color-match capsule kits (like the Luster Leaf Rapitest). This is the most common type. You mix a small amount of your soil sample with distilled water, add a capsule, shake it, let it sit for about 30 seconds to 2 minutes, then compare the color of the liquid to the chart on the box. The closer the color match, the more accurate your reading.
Use natural daylight to compare colors, incandescent bulbs and fluorescent lights shift the hues and can trick your eye.
For pH test strips. Scoop a tablespoon of soil into a clean glass. Add distilled water until it’s slightly soupy. Stir, let it settle for 5 minutes, then dip a strip into the clear liquid (not the mud).
Hold the strip for 30 seconds, then match the color to the chart. Strips are cheap and decent for a rough ballpark, but they’re less reliable than capsule kits because the color bands are narrow and hard to read.
For probe-style digital meters. Push the probe 2 to 3 inches into moist soil. Wait 60 seconds for the reading to stabilize. These meters are convenient, but their accuracy drops fast if the probe isn’t kept clean.
Aggregate reviews indicate that cheaper probes ($12 to $20) can drift by 0.5 to 1.0 pH points over a season. You need to calibrate them regularly with buffer solutions. If you buy a probe, spend a bit more for a model that includes a calibration function.
Common DIY mistakes to avoid:
- Using tap water instead of distilled. Tap water has its own pH and contaminates the test.
- Testing soil that’s bone dry. Moisture helps the chemical reaction. If your sample is dry, add distilled water and let it sit 10 minutes before testing.
- Reading the color chart under poor lighting. Use a north-facing window or go outside at midday.
- Skipping the mixing step. One scoop from one spot isn’t enough. Always use a composite sample.
What the Numbers Mean: Interpreting Your pH Result
Once you have your number, the real work begins. The pH scale runs from 0 to 14. A reading of 7.0 is neutral.
Below 7.0 is acidic. Above 7.0 is alkaline. For lawn grasses, the sweet spot is 6.0 to 7.0.
The Target Range for Your Grass Type
Different grasses have slightly different preferences. Here is a quick reference:
| Grass Type | Ideal pH Range |
|---|---|
| Tall fescue | 6.0 – 6.8 |
| Kentucky bluegrass | 6.0 – 7.0 |
| Perennial ryegrass | 6.0 – 7.0 |
| Bermuda grass | 6.0 – 6.5 |
| Zoysia grass | 6.0 – 6.5 |
| St. Augustine grass | 6.0 – 6.5 |
If your result falls inside that range, you are fine. No need to add anything. If your result is below 6.0, you need to raise the pH.
If it is above 7.0, you need to lower it.
When to Raise pH (Add Lime)
A pH between 5.0 and 5.9 means your soil is moderately acidic. A pH below 5.0 is strongly acidic. In either case, you add lime.
Lime comes in two main types: calcitic lime (calcium carbonate) and dolomitic lime (calcium magnesium carbonate). Dolomitic lime also supplies magnesium, which many acidic soils lack. A lab test will tell you which type is better for your soil.
The rate depends on your soil type. Sandy soils need less lime to raise pH. Clay soils need more.
A general rule: 50 pounds of lime per 1,000 square feet raises pH by about 1 point on sandy soil. On clay soil, you might need 100 pounds per 1,000 square feet for the same change.
Apply lime in the fall for best results. It takes several months to react fully. Spread it evenly using a drop spreader or rotary spreader.
Water it in lightly.
When to Lower pH (Add Sulfur)
A pH above 7.0 means your soil is alkaline. This is common in arid regions and places with limestone bedrock. In alkaline soil, iron, phosphorus, and zinc become unavailable to grass.
You lower pH with elemental sulfur. The rate again depends on soil type. In general, 5 to 10 pounds of sulfur per 1,000 square feet lowers pH by about 0.5 to 1 point.
Sulfur works more slowly than lime. It can take six months to a year to see the full change.
Apply sulfur in the spring or fall. Wear a dust mask when handling it. Water it in after application to start the chemical reaction.
Never apply both lime and sulfur together. They cancel each other out and waste your money.
Common Testing Mistakes That Ruin Your Results
Testing is straightforward, but a few common errors can send you down the wrong path. Avoid these.
Testing too soon after adding fertilizer or lime. Recent additions mask the true pH of your soil. Wait at least two weeks. Better yet, wait four weeks.
Using tap water in DIY kits. Tap water contains minerals that shift pH. Always use distilled water. You can buy it at any grocery store for about a dollar a gallon.
Taking soil from one spot only. One sample cannot represent your whole lawn. The pH in the front yard can differ from the backyard by a full point or more. If you only test one spot, you might amend the whole yard for a problem you have in one corner.
Testing wet or frozen soil. Wet soil dilutes the chemical reaction in kits. Frozen soil changes the structure. Test when the soil is moist but not dripping, and the ground is thawed.
Comparing the color chart indoors. Incandescent and fluorescent lights shift color perception. Take your test strip or capsule to a north-facing window or outside under an overcast sky.
Ignoring the buffer pH on lab reports. A lab test will include two numbers: the current pH and the buffer pH. The buffer pH tells you how much lime your soil actually needs. If you ignore it, you will under-apply or over-apply.
How Soil Type and Clay Content Change Your Plan
Your soil texture affects everything about how you test and amend.
Sandy soil drains fast and resists pH change. It is easy to shift the pH, but it also reverts quickly. You may need to test more often and apply smaller amounts of lime or sulfur each year.
Clay soil holds onto nutrients and resists pH change. It takes more lime or sulfur to move the needle, but the change lasts longer. Clay soils also need more careful sampling.
The clay particles can clump together and hide pockets of acidity.
Loam soil is the middle ground. It drains well but holds nutrients. It responds to amendments in a predictable way.
Here is a quick look at how texture affects amendment rates:
| Soil Texture | Lime to Raise pH by 1 Point | Sulfur to Lower pH by 1 Point |
|---|---|---|
| Sand | 30 – 50 lb/1,000 sq ft | 3 – 5 lb/1,000 sq ft |
| Loam | 50 – 70 lb/1,000 sq ft | 5 – 8 lb/1,000 sq ft |
| Clay | 70 – 100 lb/1,000 sq ft | 8 – 12 lb/1,000 sq ft |
You can determine your soil texture at home. Take a handful of moist soil. Squeeze it.
If it forms a tight ball that feels sticky, it is clay. If it crumbles easily, it is sandy. If it holds together but breaks apart with a gentle poke, it is loam.
Regional Context: Why Your Location Matters
Where you live shapes what your soil pH naturally does. You cannot fight the local geology entirely. You have to work with it.
Pacific Northwest and Northeast US. Heavy rainfall leaches calcium and magnesium out of the soil over time. These regions tend toward acidic soil, often in the 5.0 to 6.0 range. Moss is a common weed here.
Homeowners in these areas should test for pH every year or two and expect to add lime regularly.
Southeast US. Similar to the Northeast, but with more clay. Acidic soil is the norm. The humidity also speeds up organic matter breakdown, which can shift pH seasonally.
Test in both spring and fall for the first year to see the swing.
Southwest US and Mountain West. Alkaline soil is the standard here. Low rainfall and limestone deposits push pH up to 7.5 or 8.0. Iron chlorosis (yellowing with green veins) is a constant problem.
Lowering pH with sulfur works, but it takes persistence.
Midwest US. A mix of both. The eastern Midwest tends acidic. The western Midwest can be alkaline.
The south-facing slopes in your own yard can even be more alkaline than the north-facing slopes. Testing multiple zones matters here.
Coastal areas. Salt spray can raise soil pH over time. If you live within a mile of the ocean, test for salinity too. A standard pH test will not tell you if salt is the problem.
No matter where you live, you can grow a great lawn. You just need to match your amendments to your local soil chemistry. Check with your local extension office for regionally specific recommendations.
How Often to Retest and When to Do It
A single pH test is a snapshot. Your soil chemistry changes over time. You need to retest to keep things on track.
Healthy lawn with no signs of trouble: Test every 2 to 3 years. Do it in the fall or early spring. That gives you time to apply amendments before the main growing season.
Problem lawn or recent amendments: Test once a year. If you added lime or sulfur this year, test again the next year to see if you hit your target. It takes time for amendments to fully react.
New lawn installation: Test at least six months before you plan to plant. That gives you time to correct the pH before you spend money on seed or sod.
Seasonal timing for best results. Test in the same season each year for consistent comparisons. Spring and fall are the standard windows. Avoid testing in the middle of summer heat or during a drought.
The soil chemistry shifts when it is under stress.
The goal is not to chase a perfect number forever. It is to keep your lawn in the healthy range where nutrients are available. A half-point drift is normal.
A full-point drift means you need to act.
A Quick Yard Scenario: Following the Decision Tree in Real Life
Let’s put this all together. Imagine your lawn has yellow patches and some moss. That is your first fork in the road.
You grab a home test kit.
The home test reads 5.4. That confirms acidic soil. Your grass type is tall fescue, which needs 6.0 to 6.8.
So you need to raise the pH.
Next fork: do you guess the lime rate or get a lab test? Since you have a persistent problem and want to get it right, you send a sample to your local extension office. The lab confirms pH 5.4 and provides a buffer pH.
They recommend 60 pounds of calcitic lime per 1,000 square feet.
You apply the lime in the fall. In the spring, you retest. The pH is now 6.2.
The lawn greens up. Problem solved until next check.
Quick Reference: What to Test, When, and How
Use this as a cheat sheet.
- Healthy lawn, no issues: Test every 2, 3 years with a home kit.
- Yellowing or moss: Test now. Start with a home kit. Follow up with a lab test if needed.
- New lawn installation: Lab test at least six months before planting.
- After adding lime or sulfur: Retest in 6 to 12 months to confirm the change.
- Same season each year: Test in fall or spring for consistent comparisons.
Frequently Asked Questions
Can I test my soil pH with vinegar and baking soda?
Yes, but only for a rough yes/no check. Mix a scoop of soil with distilled water. Add vinegar.
If it fizzes, your soil is alkaline. If it does not, try a second scoop with baking soda. If that fizzes, your soil is acidic.
This tells you direction, not exact numbers.
How deep should I take the soil sample?
Go 3 to 4 inches deep. That is the root zone for most lawn grasses. Shallower samples pick up thatch.
Deeper samples miss the active root layer.
Do I need to test different zones of my lawn separately?
Yes. Front yards, backyards, and shady spots can have very different pH levels. If one area looks worse than another, test it separately.
How long does lime take to change soil pH?
It takes 3 to 6 months for the full effect. Apply in the fall so it works through winter and spring. Do not expect immediate results.
Is a digital pH meter accurate enough for lawn care?
It can be, if you keep it calibrated. Cheap meters drift quickly. A calibrated digital meter from a known brand gives results close to lab quality.
Test your meter against a known pH solution every few uses.
Can I over-lime my lawn?
Yes. Raising pH above 7.5 locks up nutrients just like low pH does. Always test before adding lime.
Follow the lab or kit recommendations precisely. More is not better.