How to Fix Uneven Lawn Areas in 2026 (Step-by-Step Guide)
You walk outside to mow the lawn and suddenly you're navigating a minefield. The mower dips, scalps a patch, then bounces over a root hump. Water pools in the low spots after every rain.
It's frustrating and it makes the whole yard look neglected. Learning how to fix uneven lawn areas is one of those DIY skills that pays off every single time you step outside.
The good news? Most uneven lawns are fixable with the right diagnosis and a weekend of work. Per manufacturer specifications on core aeration, you should never apply more than half an inch of topdressing in a single pass.
Exceed that and you risk smothering the grass roots. But with a systematic approach, you can get a level, healthy lawn by the next growing season. Let's walk through exactly how.
Quick Answer
You fix uneven lawn areas by identifying the root cause first. Low spots need topdressing. High spots need soil removal or root trimming.
Compacted soil needs core aeration. Animal damage needs exclusion and repair. Never apply more than half an inch of topdressing per pass.
Allow two to four weeks between passes. Water thoroughly after each application.
The Real Problem: Why Your Lawn Isn't Flat Anymore
A lot of people assume their lawn is just "naturally" bumpy. But uneven ground always has a cause. You just have to find it.
Soil settlement is the most common culprit. When a house is built, the topsoil gets disturbed. Over the first few years, that loose soil settles unevenly.
You end up with low spots near foundations, walkways, or where heavy equipment drove during construction. This is especially common on newer properties, but it can happen on older lawns too as organic matter decomposes unevenly.
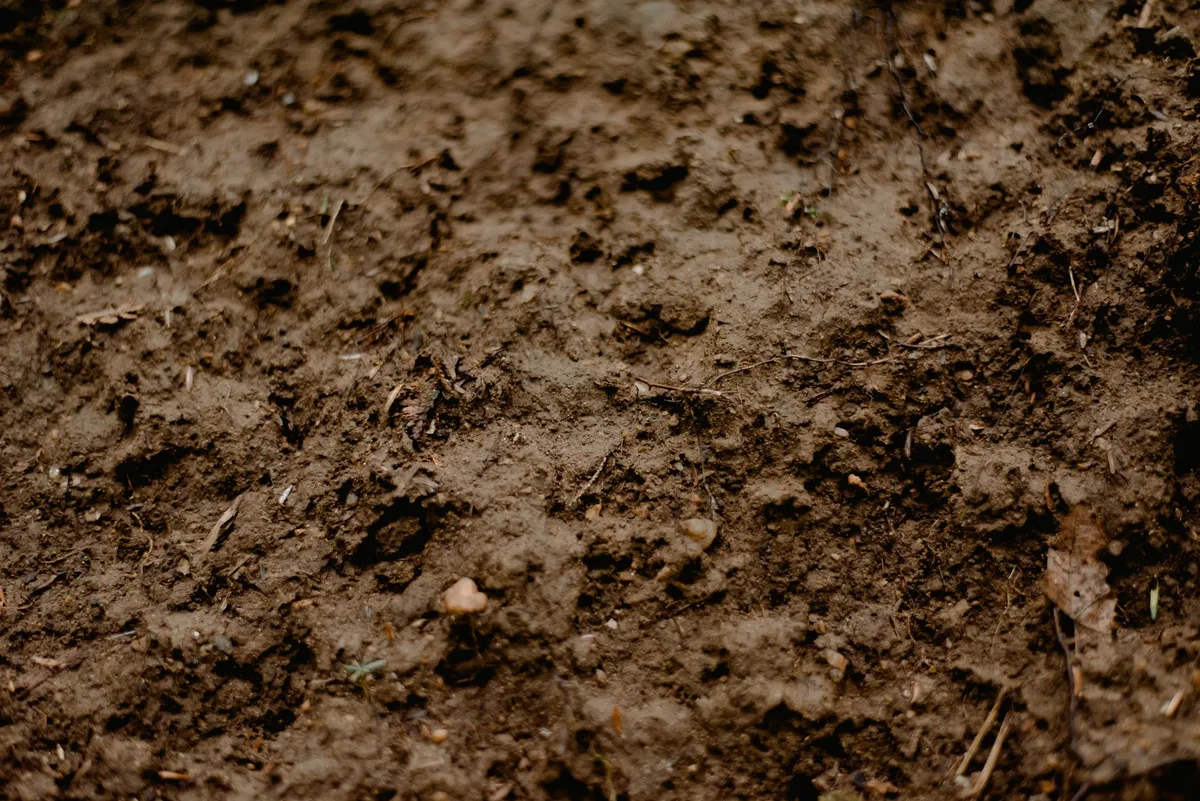
[hero image placement]
Water erosion is another big one. Think about where water flows during a heavy rain. It carries fine soil particles with it.
Low spots collect silt and organic debris, but the grass eventually dies in those wet patches. The depression gets deeper each season.
Then you have the hidden causes: tree roots pushing up from below, moles and voles tunneling through, or simple compaction from foot traffic. A path across the yard that everyone follows will eventually create a rut. Each cause demands a different fix.
That is why the diagnosis step is so critical. If you just throw topdressing on a compaction problem, you will waste time and material.
Step 1: Diagnose What's Causing the Unevenness
This is where most DIY guides skip a step. They tell you to "topdress the low spots" without asking why those spots exist in the first place. Let's break it down by what you actually see.
Low spots with standing water
This is the classic settlement or erosion problem. After a rain, water collects. The grass in that spot may look yellow or thin from drowning.
If the depression is deeper than two inches, you are looking at a more involved repair. Shallower than that? Topdressing will work.
[image: low spot water pooling in lawn]
High spots with bare soil
You see a bump where the grass is thin or missing entirely. This is often a tree root that has surfaced over time. Some trees like silver maples and elms are notorious for this.
You can also get high spots from soil pushed up by frost heave in colder climates. As of 2026, many homeowners in the upper Midwest report post-winter bumpiness that resolves partially on its own after the ground thaws.
Spongy, bouncy patches
When you walk across the lawn and it feels like a mattress, you are dealing with a thatch layer or animal tunnels. Moles and voles create hollow passages under the surface. The grass stays alive on top, but the ground caves in when you step on it.
The fix here is exclusion and trapping first, then leveling afterward.
Hard, compacted, and rutted areas
If the ground feels like concrete and the grass is thin, compaction is your enemy. This happens along pathways, near driveways, and in play areas. Aeration is the starting point.
You cannot level compacted soil until it breathes again.
Step 2: The Screwdriver Test and Other Quick Checks
Here is a diagnostic tool you already own. Find a standard flathead screwdriver. Push it into the ground in the bumpy areas.
In healthy, uncompacted soil, the screwdriver should sink three to four inches with moderate hand pressure.
If you meet resistance at one inch or less, the soil is compacted. That area needs core aeration before any leveling attempt. If the screwdriver slides in easily but the ground is uneven, you are dealing with settlement or erosion rather than compaction.
Another test: take a garden trowel and lift a small square of sod in a low spot. Check what is underneath. Is it loose fill soil?
Construction debris? A buried rock? You would be surprised how often builders bury leftover concrete chunks just below the surface.
If you find debris, you will need to remove it before you can level properly.
For deep depressions over two inches, use a level or a long straight board. Lay it across the depression and measure the gap. Write it down.
You will need that number to calculate how much topdressing material to buy. A cubic yard of sand covers roughly 1,000 square feet at a quarter-inch depth. So if you have a 50-square-foot low spot that is one inch deep, you need about one-third of a cubic yard.
Check the drainage patterns too. Walk the lawn during or right after a rain. Watch where water flows and collects.
If a low spot is also a drainage channel, you might need to address the grading first. Simply filling the spot could redirect water into your basement or garage.
Step 3: Pick Your Path Based on the Cause
Now you know the problem. Here is the decision tree.
If it is a low spot under two inches deep
Topdressing is your answer. Mix equal parts washed sand and screened compost. Sand provides structure and drainage.
Compost adds organic matter and nutrients. Apply the mix no deeper than half an inch at a time. Use a leveling rake or a drag mat to spread it evenly.
Water it in thoroughly. Wait two to four weeks for the grass to grow through.
If it is a low spot over two inches deep
You need a different approach. Lifting the sod, adding fill, and replacing the turf is more reliable than trying to fill a deep hole with topdressing. Cut the sod in that area with a sharp spade.
Roll it up like carpet. Add screened topsoil until the area is within half an inch of the surrounding grade. Replace the sod.
Water well.
If it is a high spot from tree roots
Removing the root is rarely the best option. Cutting a major root can destabilize a tree or invite disease. Instead, consider topdressing the surrounding area to bring the grade up around the root.
If the root is small enough to trim, use a sharp pruning saw but keep the cut at least six inches away from the trunk. You can also replace the sod over the root with a thin layer of topsoil to smooth the transition.
If the soil is compacted
Core aeration comes first. Rent a power aerator or hire a service. Remove plugs of soil two to three inches deep.
Leave the plugs on the surface to break down naturally. Do not topdress until aeration is done. The holes allow the topdressing mix to penetrate deep into the root