What Causes Root Rot 2026
You water your plant on a schedule. The leaves start yellowing. The soil feels damp.
You water again, thinking it needs more. Days later, the stems go soft and the pot smells sour. That's the exact moment most people realize something is wrong, and by then, root rot has already taken hold.
What causes root rot matters less than catching it early, but understanding the root cause is how you stop it from happening again.
Per research from university extension programs, root rot sets in when oxygen levels in the soil drop below 10% for extended periods. That creates an anaerobic zone where roots literally suffocate. It's not just "too much water", though overwatering is the trigger.
The real story involves oxygen, pathogens, and the environment inside your pot. Let's break down exactly what's happening under the soil.
What Causes Root Rot 2026
Quick Answer: What Actually Happens When Roots Rot
Root rot starts when roots sit in waterlogged soil. Oxygen can't reach them. The root cells die and decay.
That dead tissue attracts fungi and bacteria. Those pathogens spread fast. The rot moves up into the stem.
The plant can no longer take up water or nutrients. Yellowing leaves, wilting, and a sour smell are the first signs. Catch it early and you can save the plant.
Wait too long and it's a total loss.
The 5 Real Causes of Root Rot (And Which One Is Killing Your Plant)
Root rot doesn't have a single cause. It's usually a chain reaction. Here are the five real triggers, ranked from most to least common.
1. Overwatering and waterlogged soil. This is the big one. Water fills the air pockets between soil particles.
Oxygen gets pushed out. Roots that normally breathe start drowning. University of Florida extension research shows that just 24 hours of saturated soil can begin damaging fine root hairs.
The damage compounds fast.
2. Poor drainage. Even if you water sparingly, a pot without drainage holes traps water at the bottom. The same goes for soil that's too dense.
Garden soil in a container turns into a brick when wet. Water has nowhere to go. The roots at the bottom rot first, then the infection climbs up.
3. Compacted or wrong soil mix. Over time, potting soil breaks down and compacts. Air space shrinks.
Water pools on the surface instead of draining through. If you're using heavy garden soil or a mix with too much peat and not enough perlite, you're asking for trouble. A proper mix should feel light and crumbly.
4. Fungal and bacterial pathogens. These guys are the actual infection. Pythium, Phytophthora, Fusarium, and Rhizoctonia solani are the most common culprits. They live in the soil naturally.
Healthy plants fight them off. But stressed or waterlogged roots can't resist. The pathogens invade damaged tissue and spread like wildfire.
5. Wrong pot size or material. Oversized pots hold more moisture than the plant can drink. Plastic pots don't breathe.
Glazed ceramic pots trap humidity. Even with the best watering habits, these factors keep soil wet longer than it should be. For moisture-sensitive plants, choosing the right container makes all the difference.
Any one of these can cause root rot. Most of the time, it's a combination of two or three. The important thing is identifying which one is the root cause, no pun intended, so you can fix it long-term.
Core Causes: Oxygen Starvation, Fungus, Bacteria, and Your Watering Can
Why Overwatering Isn't Always the Only Villain
Overwatering gets all the blame. But here's the nuance: overwatering is the invitation, not the crime. The crime is oxygen starvation.
Plant roots need oxygen to respire and take up nutrients. When soil stays wet, those oxygen pockets disappear.
Think of it like this. A root cell is alive. It needs to breathe.
If you submerge it in water for days, it drowns. Dead cells start to decay. That decay signals to every pathogen in the soil that dinner is served.
Some plants can handle wet feet. Peace lilies, ferns, and papyrus don't mind. Succulents, snake plants, and pothos are the opposite, they need the soil to dry out between waterings.
Know your plant's native environment. A cactus and a calathea have wildly different water needs. Treating them the same is the fastest way to kill both.
The Pathogens That Move In When Roots Are Weak
Once root tissue dies, the real trouble begins. Soil is full of microorganisms, most are harmless or even helpful. But a few are opportunistic pathogens that only attack weakened plants.
The most common root rot pathogens include:
- Pythium species. Often called "water mold." It thrives in wet, poorly drained soil. Attacks seedlings and mature plants alike.
- Phytophthora species. Another water mold. It causes root and crown rot. Spreads through contaminated soil and water runoff.
- Fusarium species. A soil-borne fungus that causes wilt and rot. It can survive in dry soil for years.
- Rhizoctonia solani. Attacks roots and stems near the soil line. Causes damping-off in seedlings.
These pathogens don't need a wound to enter. They swim in the water film around soil particles and attack root tips directly. Once inside, they clog the vascular system.
The plant can't move water to its leaves, so it wilts, even though the soil is soaking wet. That's the cruel irony of root rot. If you're dealing with persistent fungal issues in your garden, a targeted fungicide application can help control the spread.
The Role of Pot Type, Soil Mix, and Drainage
Your pot and soil are the plant's entire world. Get them wrong, and no watering schedule will save you.
Pot material matters. Terracotta and unglazed clay are porous. They wick moisture away from the soil and let the pot "breathe." Plastic and glazed ceramic are non-porous. They hold moisture in.
For plants that like dry soil, succulents, cacti, snake plants, terracotta is the better choice. For moisture-loving plants like ferns, plastic can work fine.
Drainage holes are non-negotiable. A pot without drainage is a sealed container. Water pools at the bottom. Roots sit in it.
Rot follows. If you love a decorative pot with no holes, use it as a cachepot, put the actual plant in a plastic nursery pot inside the decorative one. Pull it out to water and drain.
Soil mix is critical. Standard potting soil from a bag is okay for some plants, but it often holds too much water for succulents and tropicals. A well-draining mix includes perlite, coarse sand, orchid bark, or pumice. Commercial succulent and cactus mixes are formulated specifically for fast drainage.
Pot size matters too. A pot that's too large holds surplus soil that stays wet long after the roots have drunk their fill. The wet soil creates a dead zone at the bottom. Always size up gradually, no more than one to two inches wider than the root ball.
Selecting a pot that fits properly is one of the simplest ways to prevent rot from ever starting.
How to Spot Root Rot Early: Symptoms That Don't Lie
Root rot happens below the soil, so you can't see it. But the plant sends up clear signals. The trick is knowing what to look for before the damage is irreversible.
Above-ground symptoms:
- Yellowing leaves. Not the crisp, dry yellow of underwatering. This yellow is dull and soft. It often starts on the lower leaves.
- Wilting despite wet soil. The classic contradiction. The soil is damp, but the plant droops. That's because damaged roots can't move water to the leaves.
- Soft, mushy stems. Near the soil line, stems may feel soft or look dark. This is rot moving upward.
- Stunted growth. New leaves are small or don't appear. The plant just stops.
- Sour, musty smell. Healthy soil smells earthy. Rotted soil smells like a wet basement. If you catch a whiff when you water, check the roots.
- Fungus gnats. Not a direct symptom, but a strong clue. Gnats lay eggs in moist soil. If you see them hovering, your soil is staying too wet.
Below-ground symptoms (the only definitive check):
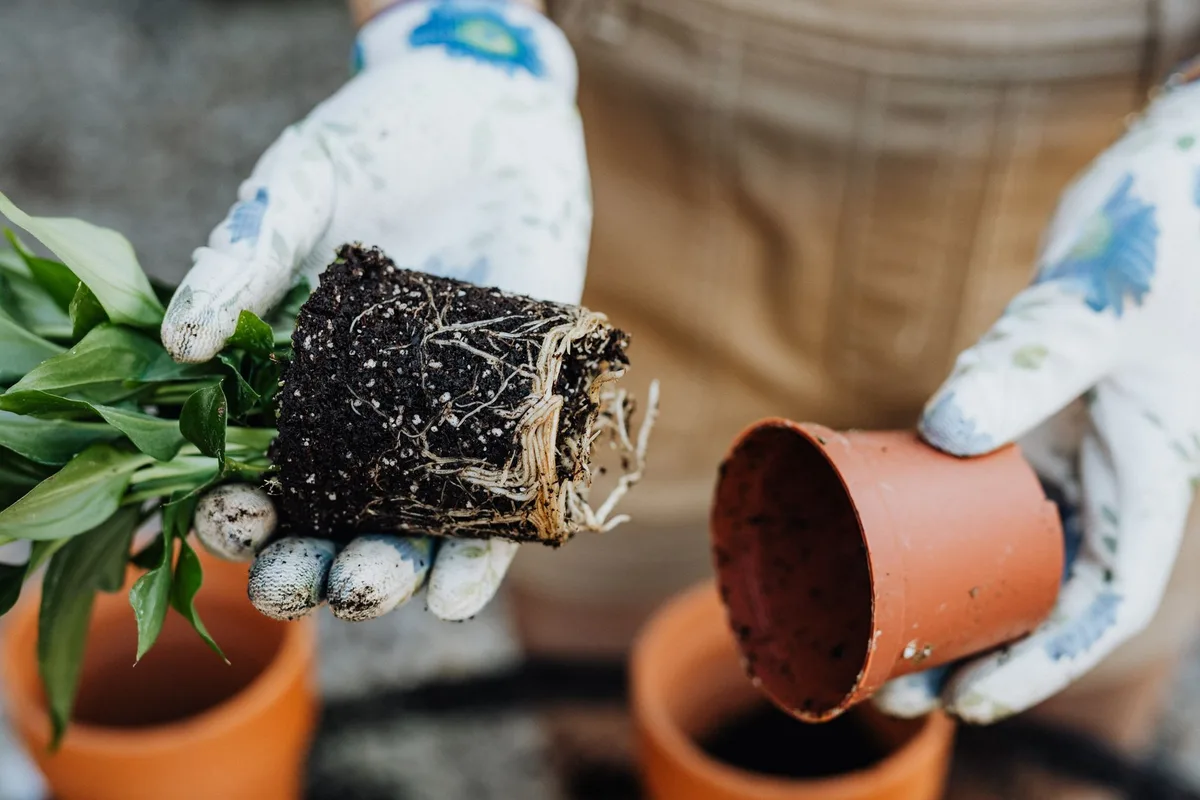
Gently remove the plant from its pot. Shake off loose soil. Healthy roots are firm, white or light tan, and smell like clean dirt.
Rotted roots are brown or black, mushy, and may slide off when you touch them. If the root ball smells sour or rotten, you've got active rot.
Check the roots of your houseplants at least once a season, especially if you're new to indoor gardening. Early detection is the difference between a quick trim and a full plant loss.
What to Do If You Suspect Root Rot (Step-by-Step Rescue Guide)
You spotted the signs. Now act fast. Root rot spreads quickly once it starts.
Here's the rescue process, step by step.
Step 1: Remove the Plant and Inspect the Roots
Carefully slide the plant out of its pot. Support the base of the stem, not the leaves. Gently shake off as much old soil as possible.
Rinse the root ball with lukewarm water to wash away remaining dirt. Now you can see the full picture.
Separate the good from the bad. Healthy roots are firm, white or pale, and springy. Rotted roots are dark, mushy, and may come off in your hand.
Sniff test: healthy roots smell like forest floor. Rotted roots smell like decay.
Step 2: Cut Away Rotted Tissue Safely
Use clean, sharp scissors or pruning shears. Sterilize them with rubbing alcohol before and after cutting. Trim every piece of rotted root, plus any that look borderline.
Cut about half an inch into healthy tissue above the rot line. If the rot has reached the base of the stem, you may need to remove lower leaves and cut the stem itself.
Be aggressive here. It's better to remove too much than to leave infected tissue behind. Any rot left on the plant will continue spreading.
Step 3: Treat the Roots
Once you've cut away all the rot, you have treatment options:
- Hydrogen peroxide dip. Mix one part 3% hydrogen peroxide with two to three parts water. Soak the remaining roots for 15 to 30 seconds. This kills residual pathogens on contact. Rinse with clean water afterward. Do not use stronger peroxide, it burns healthy root tissue.
- Copper fungicide dip. If you prefer a chemical treatment, a copper-based fungicide labeled for root rot can be used according to the package directions. These are OMRI-listed for organic gardening.
- Skip treatment if rot was minimal. If you caught it very early and only cut away a few rotted tips, clean water rinse is enough.
Let the roots air dry on a paper towel for 10 to 15 minutes before repotting. Wet roots are vulnerable to further damage.
Step 4: Repot Into a Well-Draining Mix
Choose a clean pot with drainage holes. Ideally go slightly smaller than the previous pot to reduce excess soil moisture. Fill the bottom with fresh, dry potting mix, one formulated for the specific plant type.
Position the plant at the same soil depth it was before. Backfill around the roots, gently tapping the pot to settle the soil. Do not pack it down.
Water sparingly, just enough to settle the soil around the roots. Then wait. The plant needs time to recover.
Step 5: Aftercare and Monitoring
Place the plant in bright, indirect light. Direct sun stresses a recovering plant. Hold off on fertilizer for at least four weeks, damaged roots can't absorb nutrients and fertilizer salts can burn them.
When you do resume feeding, use a balanced, diluted liquid fertilizer specifically designed for indoor plants.
Check the soil moisture with your finger before every watering. If the top inch is still damp, wait. A moisture meter can take the guesswork out of this step.
Watch for new growth. If you see fresh green leaves forming, the plant is recovering. If leaves continue yellowing or the stem softens further, the rot may have spread deeper than you could cut.
In that case, propagate a healthy cutting from above the rot line and start fresh.
Important: Do not reuse the old soil. It's contaminated with pathogens. Dispose of it in a sealed bag away from other plants.
Wash the old pot with a 10% bleach solution or hot soapy water before reusing it.
The Biggest Mistake People Make: Confusing Root Rot With Underwatering
Here's the trap. A plant with root rot wilts. Its leaves turn yellow and droop.
The soil is damp, but the plant looks thirsty. So you water it more. That's exactly the wrong move.
You're adding water to a plant that's already drowning.
Underwatering and root rot look nearly identical above ground. Both cause wilting. Both cause leaf drop.
But the soil tells the story. If the soil is bone dry, underwatering is the culprit. If the soil is damp or wet, root rot is the likely cause.
Check your plant before you water. Stick your finger an inch into the soil. Use a moisture meter if you want precision.
If the soil is wet and the plant is wilting, you have a root problem, not a thirst problem. Watering more will only accelerate the rot.
The same confusion happens with houseplants in low light. Drooping leaves can mean they need more light, not more water. Moving the plant to a brighter spot is often a better first step.
Some of the most common indoor varieties adapted for darker rooms can actually go longer between waterings.
When Hydrogen Peroxide Helps and When It Hurts (Safety & Warnings)
Hydrogen peroxide is a popular home remedy for root rot. And it works, in the right situation. A quick dip in diluted 3% hydrogen peroxide kills surface pathogens on contact.
It also adds extra oxygen to the soil, which helps recovering roots.
But there are important limits. Hydrogen peroxide is not selective. It kills good microorganisms in the soil along with the bad ones.
That includes beneficial mycorrhizal fungi that help roots absorb nutrients. Overuse can leave the soil biologically dead.
Use it only as a one-time treatment immediately after cutting away rotted roots. Never use it as a regular watering additive. Never use a concentration higher than 3%.
Higher strengths burn root tissue and can kill the plant. If you're treating a sensitive plant like a fern or orchid, skip the peroxide entirely. A clean water rinse and a fresh potting mix are safer.
For persistent fungal problems that keep coming back, a targeted fungicide labeled for root rot pathogens is a better long-term solution. Follow the label instructions exactly. More is not better.
Can You Save a Plant With No Healthy Roots Left?
Sometimes you pull the plant out of the pot and find nothing but mush. Every root is black, soft, and falling apart. Can you save it?
The honest answer is usually no.
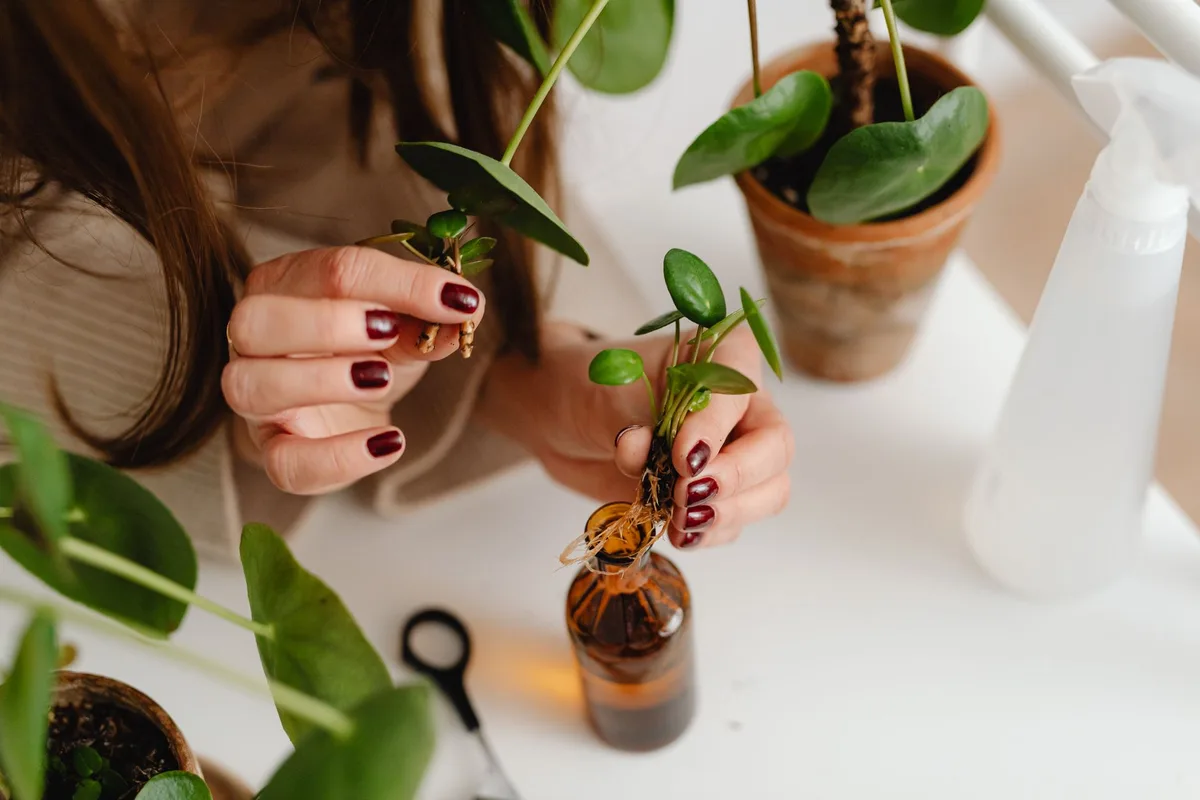
But there is one last option: propagation. If the stem above the rot line is still firm and green, you can take a cutting. Cut the stem at least an inch above any dark or soft tissue.
Remove the lower leaves. Place the cutting in water or a moist propagation medium like perlite or sphagnum moss.
Rooting hormone powder can speed things up. Dip the cut end before placing it in the medium. With luck, new roots will form in two to four weeks.
This is the same technique used to salvage overwatered plants across many species. It's not a guarantee, but it buys you a fresh start without the infected root system.
If the stem is also soft or brown, the rot has spread too far. That plant is gone. Dispose of the soil and clean the pot before reusing it.
Learn from the experience and adjust your watering habits.
How to Prevent Root Rot From Coming Back: Long-Term Care Adjustments
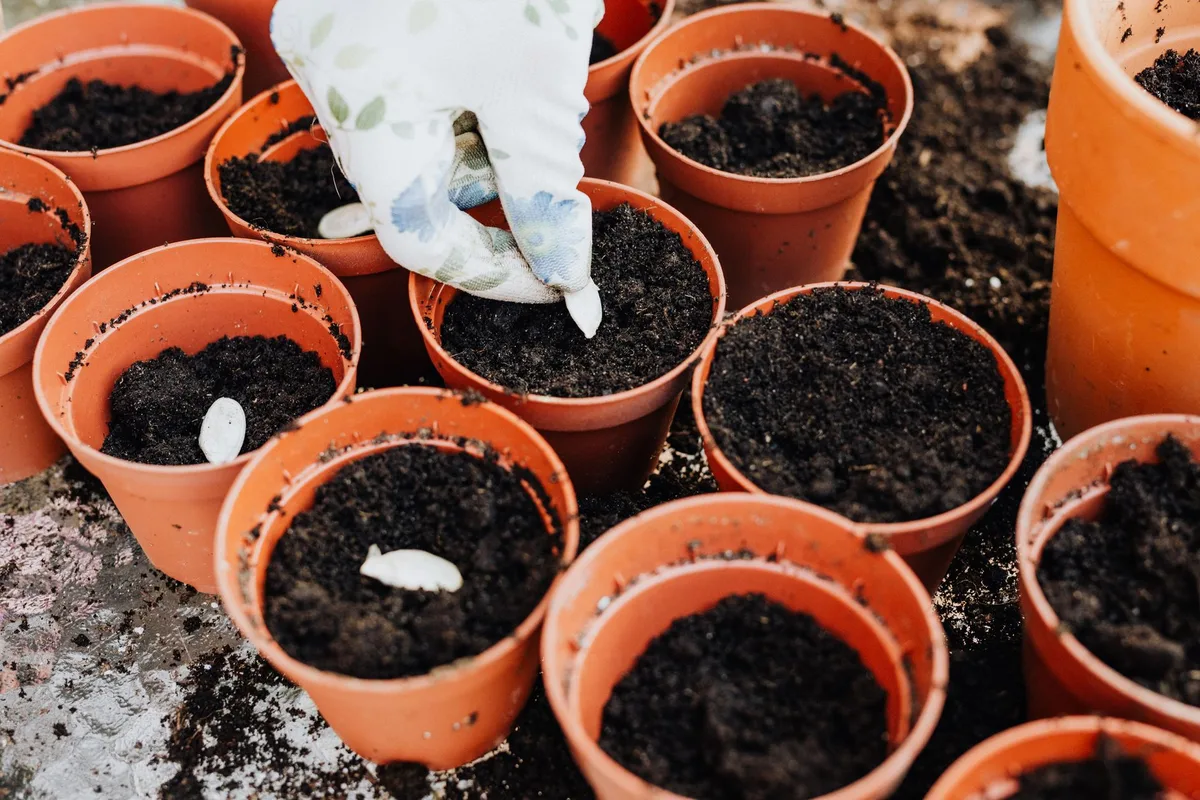
You rescued the plant. Now keep it healthy. Prevention is easier than treatment, and it starts with three things: pot choice, soil mix, and watering habits.
Choose the right pot. Terracotta and unglazed clay pots are porous. They let soil dry out faster. Plastic and glazed ceramic hold moisture.
For plants that like dry roots, go with terracotta. For moisture lovers, plastic works fine. Always use a pot with drainage holes.
Use the right soil. Standard potting soil retains too much water for many houseplants. Mix in perlite, pumice, or coarse sand to improve drainage. Commercial succulent and cactus mixes are pre-formulated for fast drying.
For tropical plants, add orchid bark to create air pockets.
Water correctly, not on a schedule. Check the soil before you water. Stick your finger in. If the top one to two inches are dry, water deeply until it runs out the drainage holes.
If the soil is still damp, wait. In winter, most plants need less water. In summer, they may need more.
Adjust to the plant, not the calendar.
Consider pot size. An oversized pot holds excess soil that stays wet too long. The roots can't drink it all. That wet soil creates a perfect environment for pathogens.
Only size up by one to two inches when repotting.
Monitor for early signs. Yellow leaves and drooping stems are early warnings. Catch them before the roots are affected. A consistent care routine with the right tools makes all the difference.
Using a balanced fertilizer formulated for indoor plants helps keep roots strong and resistant to disease.
Expert Tips: What Seasoned Growers Do Differently
Experienced growers don't just water less. They change their entire approach to plant care.
They use clear pots for monitoring. Nursery pots are often translucent. Growers can see root development and soil moisture without pulling the plant out. If you see condensation inside the pot, the soil is too wet.
They bottom water. Pouring water into the saucer instead of on top of the soil lets the plant drink from below. This prevents the top layer from staying wet and discourages fungus gnats. It also encourages roots to grow downward.
They let the soil breathe. After watering, they tilt the pot to let excess water drain completely. They never let the pot sit in a full saucer for more than 30 minutes. Standing water is a root rot invitation.
They quarantine new plants. New arrivals can carry pathogens in the soil. Isolate them for two to four weeks before placing them near other plants. This gives you time to spot any issues before they spread.
They adjust for seasons. Less water in winter. More air circulation in summer. They know that a plant's water needs change with the light and temperature.
Sticking to a fixed schedule is the fastest way to kill a plant in the long run.
Frequently Asked Questions
Does adding rocks at the bottom of the pot help drainage?
No. This is a persistent myth. Rocks at the bottom raise the water table inside the pot.
That actually brings soggy soil closer to the roots. A pot with drainage holes and a well-draining soil mix is all you need.
Should I let the soil dry completely between waterings?
It depends on the plant. Succulents and cacti need the soil to dry out fully. Many tropical houseplants prefer slightly moist soil.
The safest rule is to check the top inch of soil with your finger. If it's dry, water. If it's damp, wait.
Can root rot spread to other plants?
Yes. The pathogens that cause root rot travel through water runoff, contaminated soil, and even on your hands or tools. Always isolate an infected plant.
Clean your tools with rubbing alcohol between plants. Never reuse infected potting soil.
Is it safe to reuse the old soil?
No. Old soil from a rot-infected plant contains living pathogens. Those fungi and bacteria can survive in dry soil for months.
Dispose of it in a sealed bag. Wash the pot with a bleach solution before reusing it.
Final Takeaway: The One Rule That Stops Root Rot for Good
Root rot is a chain reaction. It starts with oxygen starvation in waterlogged soil. That invites pathogens.
The pathogens kill the roots. The plant dies. Break any link in that chain and you stop the rot.
The single most effective rule is simple: never water on a schedule. Check the soil first. Feel the weight of the pot.
Watch the plant. When you water based on what the plant actually needs instead of a calendar date, root rot rarely gets a foothold. Everything else starts from there.