How to Improve Poor Soil 2026
If you're wondering how to improve poor soil, you're not alone. Many gardeners start with dirt that's either too heavy, too sandy, or just plain dead. The good news is that soil isn't fixed permanently, it can be rebuilt with the right steps and a bit of patience.
Here's the reality check: the texture of your soil (the blend of sand, silt, and clay) dictates how it behaves. As of 2026, the USDA Natural Resources Conservation Service still defines an ideal loam as having roughly 40 percent sand, 40 percent silt, and 20 percent clay. Most poor soils are far from that ratio.
You can shift it over time with specific amendments, but you need to know what you're working with first. Let's start with the fast answer.
Quick Answer
Test your soil before you spend a dime. Add 2 to 3 inches of compost. Adjust pH with lime or sulfur.
Choose amendments for your specific soil type. Plant cover crops between growing seasons. The full process takes one to three seasons.
Step One: Diagnose Your Soil (Don't Skip This)
You can't fix what you haven't tested. A visual guess doesn't cut it. Every poor soil has a different root cause, and your fix depends on yours.
Let's run three simple tests you can do at home.
The DIY Jar Test for Texture
This test tells you your soil's sand / silt / clay ratio. Fill a clear jar one-third full with soil. Add water until the jar is nearly full.
Add a teaspoon of dish soap (it helps particles separate). Shake it hard and let it sit for 24 hours.
The sand settles first at the bottom. Silt lands on top of the sand. Clay stays suspended the longest and forms the top layer.
Measure each layer. That ratio is your texture. If sand is over 70 percent, you have sandy soil.
If clay is over 40 percent, you have clay soil.
How to Check pH Without a Lab
A simple home pH test kit costs under $15 at any garden center. It uses a colored strip that changes based on acidity. You can also buy an electronic pH meter for around $20 to $30.
For the most accurate reading, send a sample to your state's cooperative extension office. They charge $10 to $20 and give you full nutrient levels too.
A Simple Drainage Test
Dig a hole 12 inches deep and 6 inches wide. Fill it with water and let it drain completely. Fill it again and time how long the water takes to drain.
Garden soil should drain roughly 1 to 2 inches per hour. Faster means sandy. Slower means clay or compaction.
Decision Branch 1: You Have Heavy Clay Soil
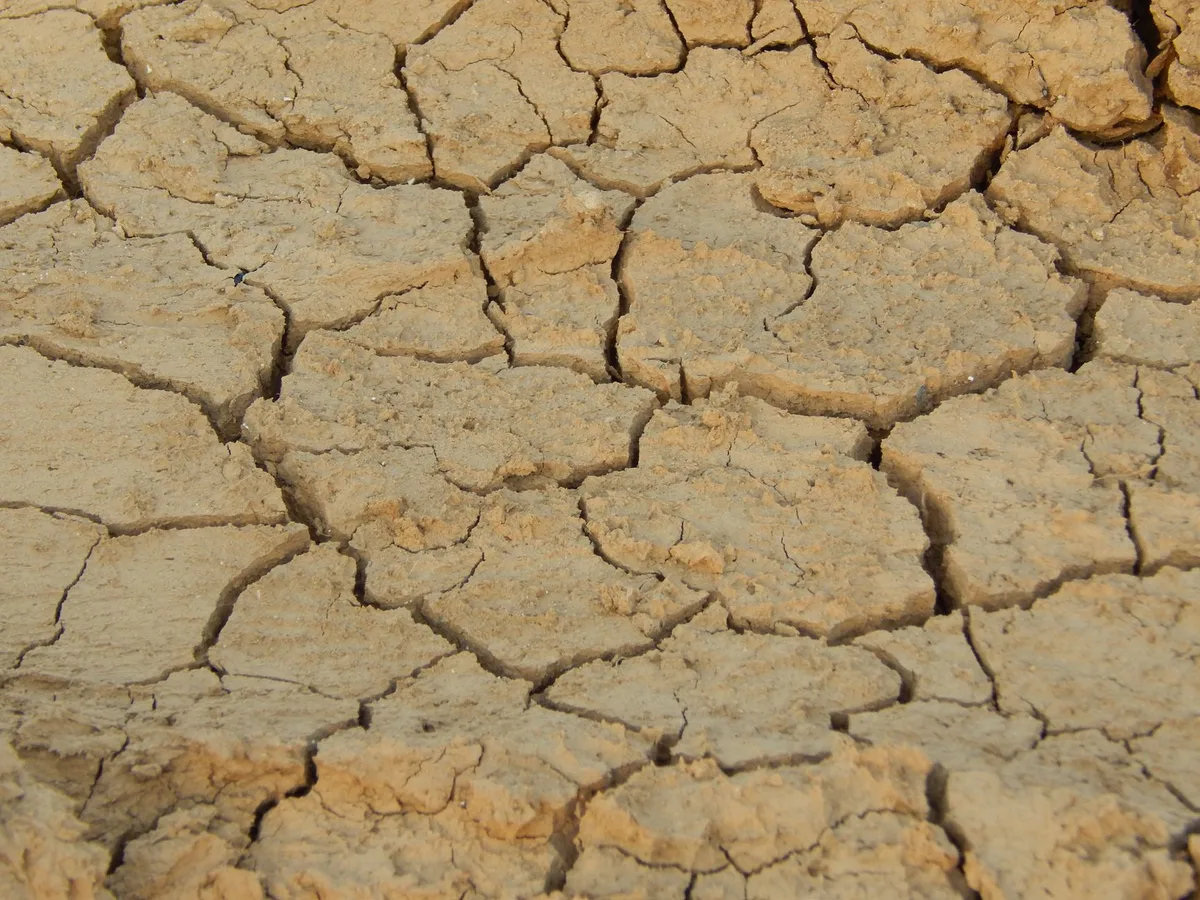
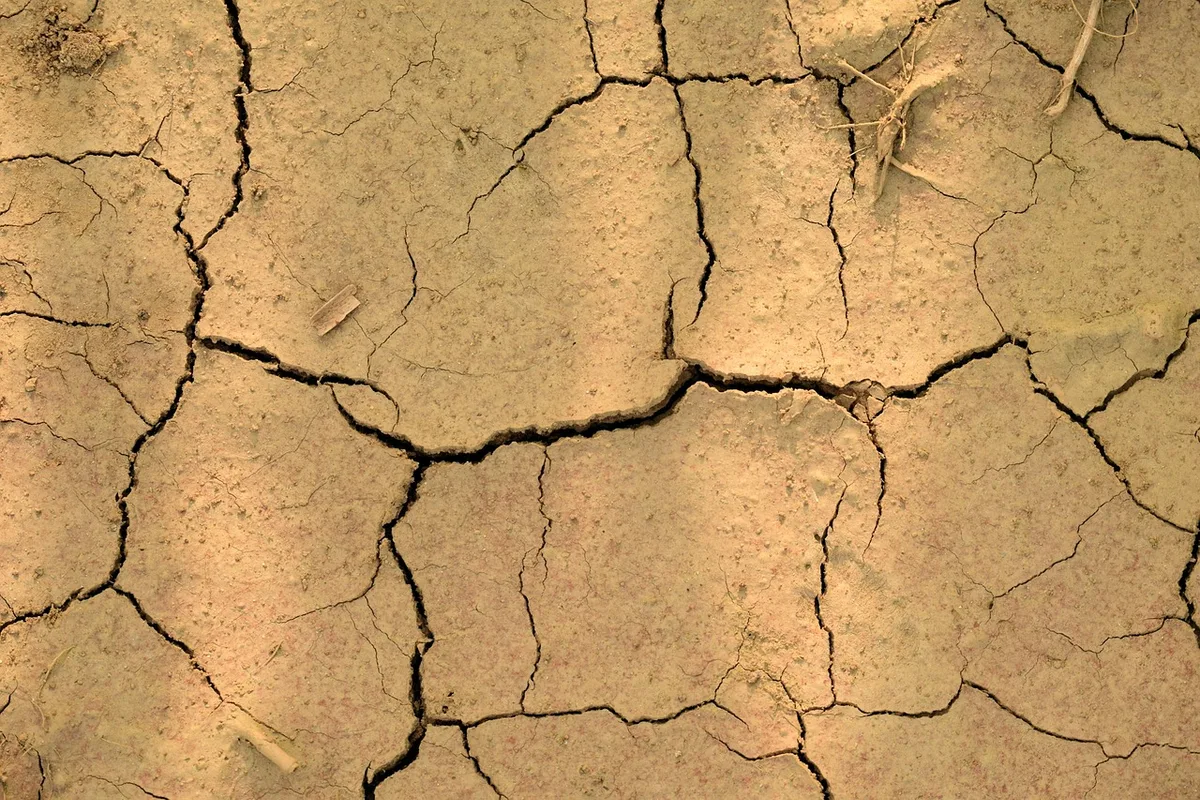
Clay soil is dense, sticky when wet, and rock hard when dry. It holds onto water and suffocates roots. But it's also rich in nutrients.
Your job is to break up the structure without making it worse.
What's the first rule of fixing clay soil?
Never work it when it's wet. Walking on or tilling wet clay creates concrete-like clods. Wait until a handful crumbles when you squeeze it.
Then you're good to go.
Physical Fixes (Aeration, Gypsum, Compost)
Start with aeration. Use a broadfork to open up channels without turning the soil over. This preserves the existing structure while letting air and water move.
Add 2 to 3 inches of coarse compost on top. Compost is the single best amendment for clay. It binds the tiny clay particles into larger crumbs, which improves drainage naturally.
Gypsum works for some clay types. It helps flocculate (clump) clay particles without changing pH. But gypsum only helps sodic clay (high sodium).
For most clay, compost does a better job.
Biological Fixes (Cover Crops, Worms, No-Till)
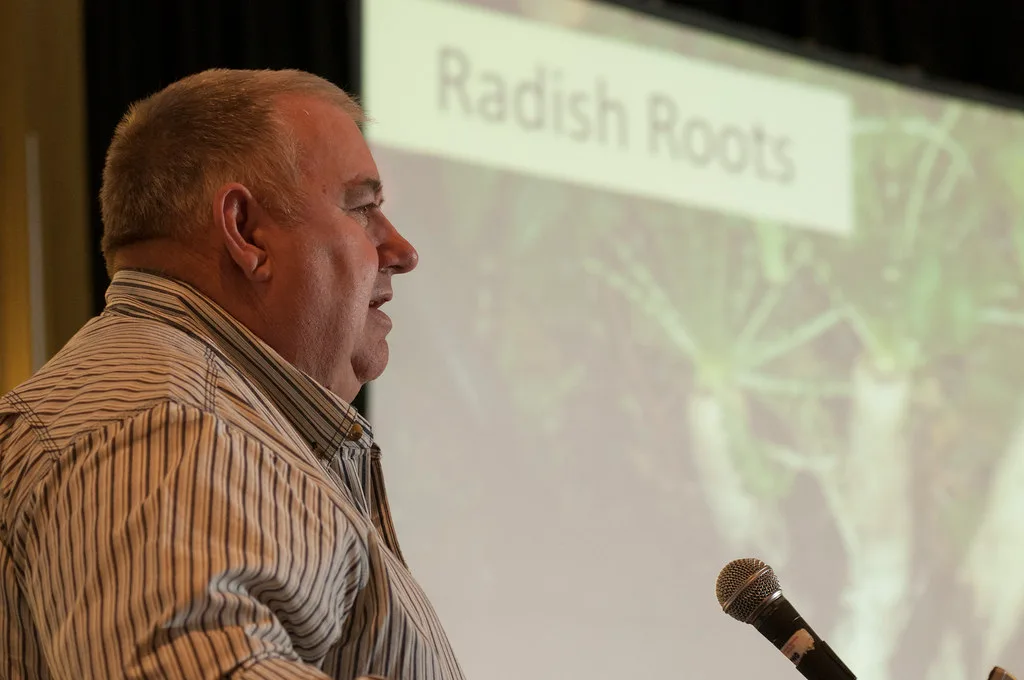
Plant deep-rooted cover crops like daikon radish or winter rye. These roots punch through compacted layers, creating natural drainage channels. As they decompose, they feed the soil food web.
Earthworms are your best friends. They move through clay, digest organic matter, and leave behind castings that improve structure. Adding worm-rich compost introduces them naturally.
Adopt a no-till approach. Tilling destroys the aggregates you're trying to build. Each time you till, you break apart the crumbs and compact the soil underneath.
The Biggest Mistake People Make With Clay
They add sand to loosen it. That's a disaster. Sand plus clay creates something closer to concrete.
Never mix sand into clay soil. Stick to organic matter.
Decision Branch 2: You Have Sandy Soil
Sandy soil is the opposite problem. It drains too fast, and nutrients wash away before plants can use them. Water runs through like a sieve.
The fix is to slow everything down.
How to Improve Water and Nutrient Retention
Add organic matter, and then add more. Compost is again your best tool. A 3 to 4 inch layer tilled into sandy soil dramatically improves water holding capacity.
Use a thick mulch layer on top. Straw, wood chips, or shredded leaves protect the soil surface from drying out and slow evaporation. Mulch also feeds the soil as it breaks down.
Apply a balanced gardening fertilizer after amending. Sandy soil holds nutrients poorly, so you'll need to feed plants more frequently.
Organic Matter: The Only Real Solution
Sandy soil has little to no organic matter. Building that percentage from under 1 percent to a healthy 3 to 5 percent takes time. Expect to add compost twice a year for at least two seasons.
Consider planting a dense cover crop like buckwheat or cowpeas in the off-season. The roots hold the soil in place, and the residue adds organic matter when you cut it down.
Coconut Coir vs. Compost for Sand
Coconut coir holds several times its weight in water. It's excellent for water retention in sandy soil. But it has low nutrient value.
Compost provides both water retention and nutrition.
Your best approach is a mix. Use coir for immediate water holding and compost for long-term nutrient and structure building.
Decision Branch 3: Your Soil pH Is Off
Even perfect texture won't help if your pH is wrong. Most vegetables and flowers grow best at a pH between 6.0 and 7.0. Outside that range, nutrients get locked up, and plants starve no matter how much you feed them.
Raising pH (Lime, Wood Ash)
If your test shows pH below 6.0, you need to raise it. Pelletized dolomitic lime is the standard choice. It's easy to spread and works gradually over three to six months.
Wood ash works faster. But it's also more alkaline, so use sparingly. Apply no more than 10 to 15 pounds per 1,000 square feet per season.
Apply lime in the fall for spring planting. It takes time to react, and working it into the top 6 inches speeds things up.
Lowering pH (Sulfur, Acidifying Fertilizers)
If your pH is above 7.0, you need to lower it. Elemental sulfur is the most common and effective option. It converts to sulfuric acid in the soil, which drops pH.
Apply about 10 to 20 pounds of sulfur per 1,000 square feet to lower pH by one unit. That's a general guideline, and it depends on your soil texture.
Acidifying fertilizers like ammonium sulfate also lower pH. They work faster than sulfur but can burn plants if overapplied.
How Much to Apply (And How Long It Takes)
Here's a quick reference for pH adjustments.
| Amendment | Rate per 1,000 sq ft | Time to see results |
|---|---|---|
| Pelletized lime | 50 lbs to raise pH one point | 3 to 6 months |
| Wood ash | 10 to 15 lbs per year | 2 to 4 weeks |
| Elemental sulfur | 10 to 20 lbs to lower pH one point | 3 to 6 months |
| Ammonium sulfate | 5 to 10 lbs per application | 2 to 4 weeks |
Test again three months after applying any pH amendment. Adjust again if needed. Soil pH changes slowly, and overshooting is common.
Decision Branch 4: Your Soil Is Compacted or Dead
Compacted soil feels like concrete under your feet. Water pools on the surface. Roots can't penetrate.
The problem is usually years of foot traffic, heavy machinery, or repeated tilling that collapsed the pore spaces.
A dead soil has almost no smell. It's pale, powdery, and crumbly in a bad way. You won't find earthworms.
A healthy soil smells sweet and earthy. A dead one smells flat or sour.
How do you fix compaction without tilling?
Use a broadfork. Push it into the ground and rock it back. This opens channels without turning the soil layers upside down.
Your soil food web needs those layers intact.
Liquid aeration products exist, but our research shows they work inconsistently. Mechanical aeration with a core aerator (for lawns) or a broadfork (for beds) delivers reliable results.
Restoring Microbial Life
Microbes need food and air. You provide food with organic matter. You provide air by breaking compaction.
A single tablespoon of healthy soil contains billions of microbes. A compacted dead soil might have thousands.
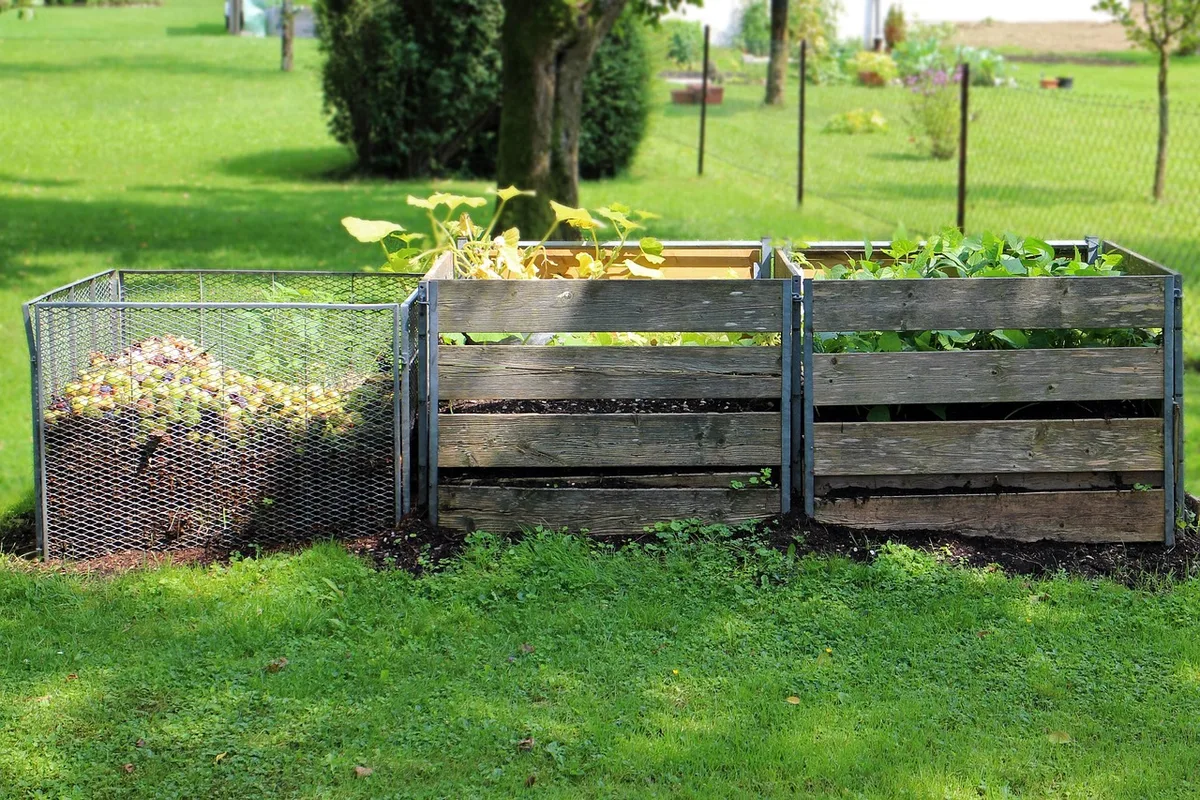
Compost introduces both organic matter and living organisms. It's the fastest way to jump-start biology. Apply a 2 inch layer and water it in.
Consider mycorrhizal fungi inoculants. These beneficial fungi attach to plant roots and extend their reach for water and nutrients. Our research confirms they help plants establish faster in degraded soils.
They work best when applied directly to roots at planting time.
Biochar is another option. It's a charcoal-like material that creates habitat for microbes. But it needs to be "charged" by mixing it with compost or worm castings first.
Raw biochar pulls nutrients away from plants.
The Universal Step-by-Step Action Plan
You've diagnosed your soil. Here's the sequence that works for every type.
Step 1: Test first. Revisit your jar test, pH reading, and drainage check. Write down your numbers. This saves you from guessing.
Step 2: Choose your primary amendment. Clay gets compost and aeration. Sand gets compost and coir. Low pH gets lime.
High pH gets sulfur. Compacted soil gets a broadfork and compost.
Step 3: Apply amendments. Spread compost evenly over the surface. Add the correct amount per your soil area. For pH amendments, follow the rates in the table in the previous section.
Step 4: Incorporate lightly. For beds, use a digging fork to work amendments into the top 6 inches. For lawns, top-dress with compost and let the worms do the work.
Step 5: Water in and wait. Water thoroughly after amending. Then wait two weeks before planting. This gives the soil biology time to settle in.
Step 6: Mulch. Cover the soil with 2 to 3 inches of organic mulch. This protects the surface and feeds the soil as it decomposes.
Step 7: Retest in one season. Soil improvement is gradual. Test again next spring to see your progress. Adjust your approach based on the new numbers.
Building Organic Matter Over Time (The Real Secret)
Organic matter is the engine of soil health. It feeds microbes, holds water, stores nutrients, and binds particles into stable crumbs. The goal is to push your organic matter content from under 1 percent toward 3 to 5 percent.
This doesn't happen in one season. It's a slow, steady process. Here's how you accelerate it.
Green Manures and Cover Crops
Plant cover crops in the off-season instead of leaving soil bare. Bare soil loses organic matter to erosion and oxidation. Cover crops add it.
Winter rye is a workhorse. It grows in cold weather and produces lots of biomass. In spring, cut it down and leave the residue on the surface.
Buckwheat grows fast in warm weather. It smothers weeds and its tender leaves break down quickly. Till it in or cut it at flowering.
Clover fixes nitrogen from the air into the soil. It feeds your next crop naturally. Plant it as a living mulch between rows.
Sheet Mulching and Lasagna Gardening
This is the ultimate no-dig method. Lay down cardboard or several layers of newspaper directly on the soil. Wet it thoroughly.
Add 4 to 6 inches of compost, straw, or leaves on top.
The cardboard blocks light and kills grass or weeds. The organic layer above feeds the soil. Worms move up through the cardboard and start processing the material.
This technique builds rich organic matter in place. It works especially well for starting a new bed on poor or compacted ground.
Why Tilling Hurts More Than It Helps
Tilling destroys soil aggregates. It breaks apart the crumb structure you're trying to build. It also burns up organic matter by exposing it to oxygen.
Our research shows that no-till soils have higher organic matter after three years than tilled soils. They also have better water infiltration and more earthworms.
Use a broadfork or digging fork instead of a rototiller. The less you disturb the soil, the faster it improves.
Common Soil Improvement Mistakes (And How to Avoid Them)
Mistakes waste time and money. Here are the ones we see most often.
Over-amending. More is not better. Adding too much compost can create nutrient imbalances. Stick to 2 to 3 inches per season.
For pH amendments, follow the rates and retest before adding more.
Over-watering after amending. Wet soil needs to breathe. Overwatering after adding organic matter can drown the microbes you're trying to encourage. Water deeply once a week, not lightly every day.
Working soil when it's too wet or too dry. Wet soil compacts easily. Dry soil turns to dust. The sweet spot is when a handful of soil crumbles under gentle pressure.
Wait for that window.
Ignoring pH while adding fertilizer. You can dump all the fertilizer you want, but if your pH is off, plants can't absorb it. Fix pH first. Then fertilize.
This applies whether you're choosing a plant fertilizer for indoor plants or an option for your vegetable garden.
Using the wrong manure or compost. Fresh manure burns plants. It needs to be aged at least six months or hot-composted. Dog and cat manure can carry pathogens.
Stick to aged cow, horse, or chicken manure from trusted sources.
Forgetting about mulch. Bare soil loses moisture and organic matter. A 2 inch mulch layer reduces watering needs and feeds the soil slowly. Cedar or pine bark mulches work well.
When You Should Bring in a Professional (Or Just Start Over)
Most poor soil can be fixed at home. But some situations need expert help.
Heavy metal contamination. If you're gardening in an urban area near old buildings, roads, or industrial sites, test for lead and arsenic. Your local cooperative extension office offers this test for $20 to $50. Levels above 400 ppm for lead mean you should use raised beds with clean soil instead.
Soil that won't drain after months of effort. If you've added compost and aerated but water still pools for days, you might have a hardpan layer. This is a dense layer of compacted soil or bedrock. Breaking it requires a backhoe or a professional excavator.
When to switch to raised beds. If your native soil is full of construction debris, rocks, or has a contamination issue, raised beds are the practical answer. They let you control the soil from the ground up. For small spaces, this is often faster and cheaper than trying to fix the ground below.
Your county cooperative extension office is your best first call. They offer low-cost soil testing, local advice, and sometimes even free workshops. They're funded by the USDA and staffed by trained horticulturists.
Start there before hiring a private consultant.
Frequently Asked Questions
How long does it take to fix poor soil?
Expect visible improvement in one season. Full transformation to healthy loam takes two to three years. Compost and cover crops accelerate the process. pH adjustments work in three to six months.
Can I improve soil without digging?
Yes. No-till methods work well. Sheet mulching with cardboard and compost builds soil from the top down.
Worms and microbes do the digging for you. It takes longer but preserves soil structure.
What's the cheapest way to improve soil?
Start with homemade compost from kitchen scraps and yard waste. It costs nothing but time. Cover crop seeds are inexpensive.
A $15 pH test kit saves you from wasting money on the wrong amendments.
Should I buy topsoil or build my own?
Buying topsoil only helps if you're filling raised beds. For existing poor soil, building your own is cheaper long-term. Bagged topsoil often contains weed seeds and inconsistent quality.
Your native soil with added compost outperforms cheap imported topsoil.
How do I know if my soil is fixed?
The soil crumbles easily in your hand. Earthworms are visible in the top few inches. Water soaks in within minutes instead of pooling.
Plants grow without yellowing or stunting. A follow-up soil test confirms your organic matter and pH targets.
The Final Decision Guide (See Your Result, Take Your Path)
Here is your quick reference for every common soil problem.
| Your symptom | Your fix | Timeline |
|---|---|---|
| Heavy clay, slow drainage | Compost, broadfork, cover crops | 1 to 2 seasons |
| Sandy soil, fast drainage | Compost, coconut coir, thick mulch | 1 to 2 seasons |
| Low pH (acidic) below 6.0 | Pelletized lime in fall | 3 to 6 months |
| High pH (alkaline) above 7.0 | Elemental sulfur | 3 to 6 months |
| Compacted, water pools | Broadfork, core aeration, compost | 1 to 2 seasons |
| No worms, pale color | Compost, worm castings, mulch | 1 season to start |
Start with your soil test results. Match them to the row above. Apply the fix.
Retest each year. Your soil will improve with every season you feed it.