How to Repair Lawn After Winter in 2026 (Step-by-Step Guide)
Winter can hit a lawn hard. If you’re staring at a patchy, matted, or oddly bumpy yard right now, you’re not alone. Knowing how to repair lawn after winter starts with one simple thing: figuring out what you’re actually looking at.
Our research shows that most winter damage falls into four clear categories. Each one needs a different fix. Jumping in with the wrong tool or the wrong timing can set you back weeks.
As of 2026, university turfgrass programs still recommend waiting until the soil is workable. Let’s walk through how to diagnose your lawn first.
Why a Visual Diagnosis Matters Before You Touch Your Lawn
It’s tempting to grab a rake and start scratching. Don’t. The single biggest mistake homeowners make after snow melts is treating everything like dead grass that just needs raking and seed.
Here’s the problem. What looks like a uniform brown patch could be snow mold, frost heave, or compaction. Each requires a totally different approach.
Raking active snow mold spreads fungal spores across the whole yard. Rolling frost-heaved soil when it’s still wet compacts it into concrete.
A real visual diagnosis saves you time, money, and frustration. Look closely before you do anything. Check the color, the texture, and whether roots are exposed.
Check for webbing, white fuzz, or crusty patches. These visual cues tell you exactly what winter left behind.
In our research, we found that homeowners who spend five minutes diagnosing their lawn before touching it have a much higher success rate by mid-spring. It’s the difference between a quick recovery and a full renovation.
When Is It Safe to Start? The “Squeeze Test” and Other Visual Cues
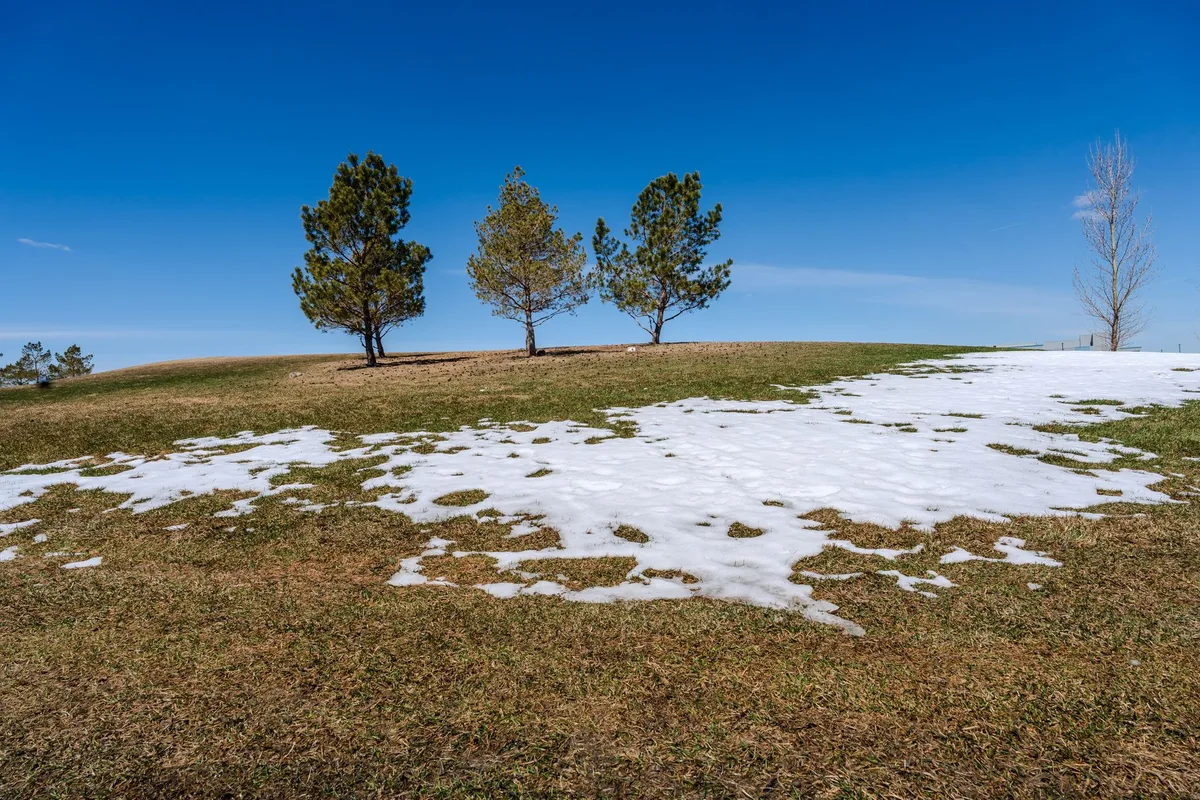
This is where most people mess up. They start working the lawn the moment the snow disappears. The soil is still waterlogged.
Walking on it or running a machine over it causes compaction that lasts all season.
The gold standard is the squeeze test. Grab a handful of soil from a few inches down. Squeeze it in your palm.
If water drips out, it’s too wet. If it holds together in a muddy ball, it’s too wet. If it crumbles apart when you open your hand, you’re good to go.
There are other visual cues too. Puddles that linger after rain mean the ground is still frozen underneath. A dark, glossy surface on the soil means it’s saturated.
Footprints that stay visible after you walk across the lawn are a clear sign of excess moisture.
Here’s a quick reference table that helps you decide:
| Cue | What It Means | Safe to Work? |
|---|---|---|
| Water drips from squeezed soil | Fully saturated | No |
| Soil holds a muddy ball shape | Too wet, compactible | No |
| Soil crumbles on release | Moist but workable | Yes |
| Footprints remain visible 10 minutes later | Excess surface moisture | No |
| Soil feels warm to the touch (above 50°F) | Active biological zone | Yes |
Don’t rush this. A few extra days of waiting often makes the difference between a good repair and a wasted season. For a smooth start when the ground is ready, make sure your mower is prepped too.
Cleaning the air filter and doing a spring start-up after winter is simple and saves frustration later.
The Four Most Common Winter Problems (With Visual Signs)
Winter damage isn’t random. It follows predictable patterns. Here are the four main problems you’ll encounter, with the visual signs that identify each one.
Snow mold. You’ll see circular patches of matted, dead grass. Look for white, pink, or grayish fuzz on the blades, especially around the edges. This appears as the snow melts and the ground stays cool and damp.
It’s common after long snow cover.
Frost heave. The ground looks bumpy or uneven. Small clumps of grass are lifted up, sometimes with roots partially exposed. You’ll see little pedestals of soil with grass on top.
This happens when the freeze-thaw cycle pushes soil upward.
Vole damage. Look for narrow, meandering trails of dead grass across the lawn. These look like little runways. The grass itself is chewed off at the base.
Voles live under the snow and eat the crowns of grass plants throughout winter.
Compaction and bare spots. Large, flat areas where grass is thin or missing. The soil surface looks hard and crusty. Water pools on top instead of soaking in.
This happens from foot traffic, snow piles, or heavy equipment sitting on wet ground.
Each problem needs a different first step. Mixing them up leads to wasted seed and time. If you’re dealing with a fungal issue like snow mold, applying a targeted fungicide early can prevent it from spreading.
That’s a smart move before you start seeding.
Snow Mold vs Dead Grass: How to Tell the Difference
This is the hardest visual distinction to make early in spring. Dead grass from winter cold looks almost identical to snow mold damage at first glance. Here’s how to tell them apart.
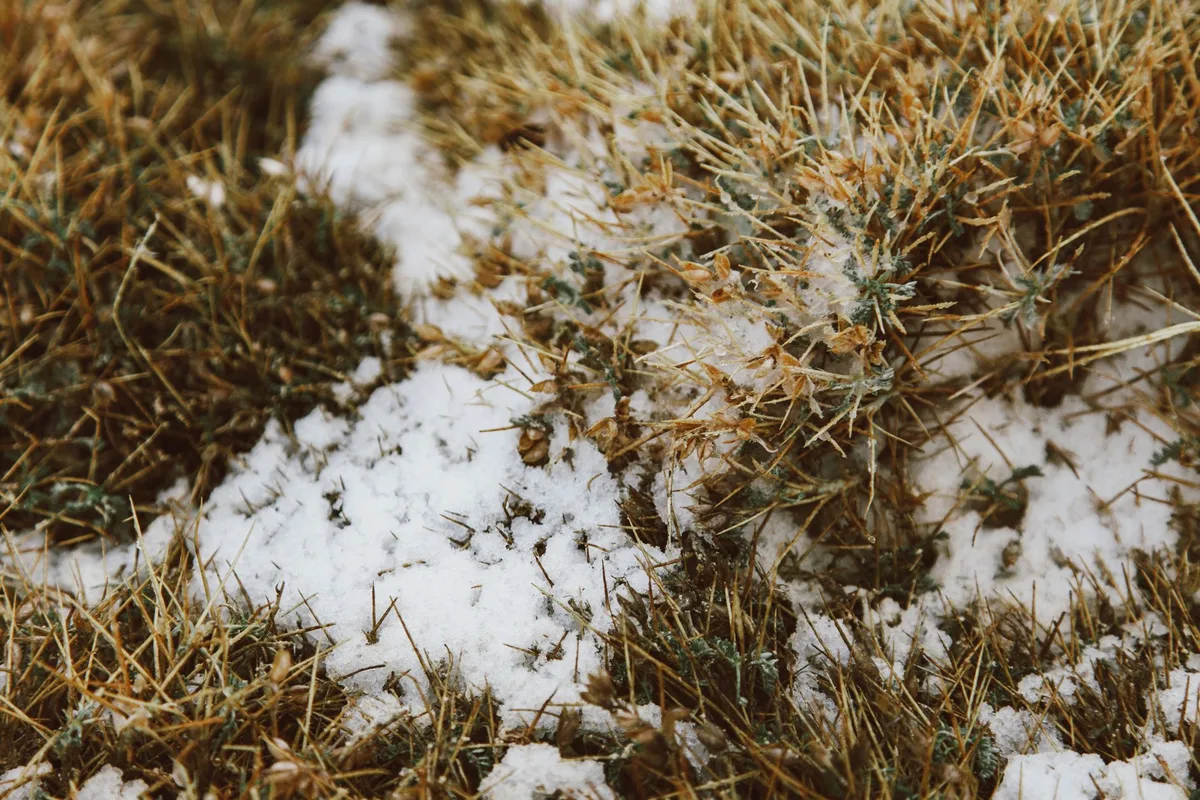
The color test. Healthy grass that went dormant is uniformly tan or straw-colored. Snow mold damage tends to have a bleached look. Gray snow mold looks like dirty white patches.
Pink snow mold has a faint salmon tint around the edges.
The feel test. Run your fingers over the patch in the morning when dew is present. Snow mold feels slimy or greasy. Dead grass feels dry and brittle.
The fuzz test. Look closely at the base of the grass blades. Snow mold has visible mycelium. It looks like fine cobwebs or a thin layer of dust.
You might need to part the grass to see it.
The pattern test. Snow mold patches are round and distinct. They follow the shape of old snow piles. Dead grass from winter kill is more uniform across the whole lawn.
If you see fuzz or slime, don’t rake aggressively. Raking spreads the spores. Instead, wait for the soil to dry out and the temperature to rise above 50°F consistently.
Lightly fluff the matted areas with a garden rake, then let the sun and air do the work. A gentle hand here prevents the problem from spreading across your whole lawn.
Frost Heave: What It Looks Like and Why It Needs Different Care
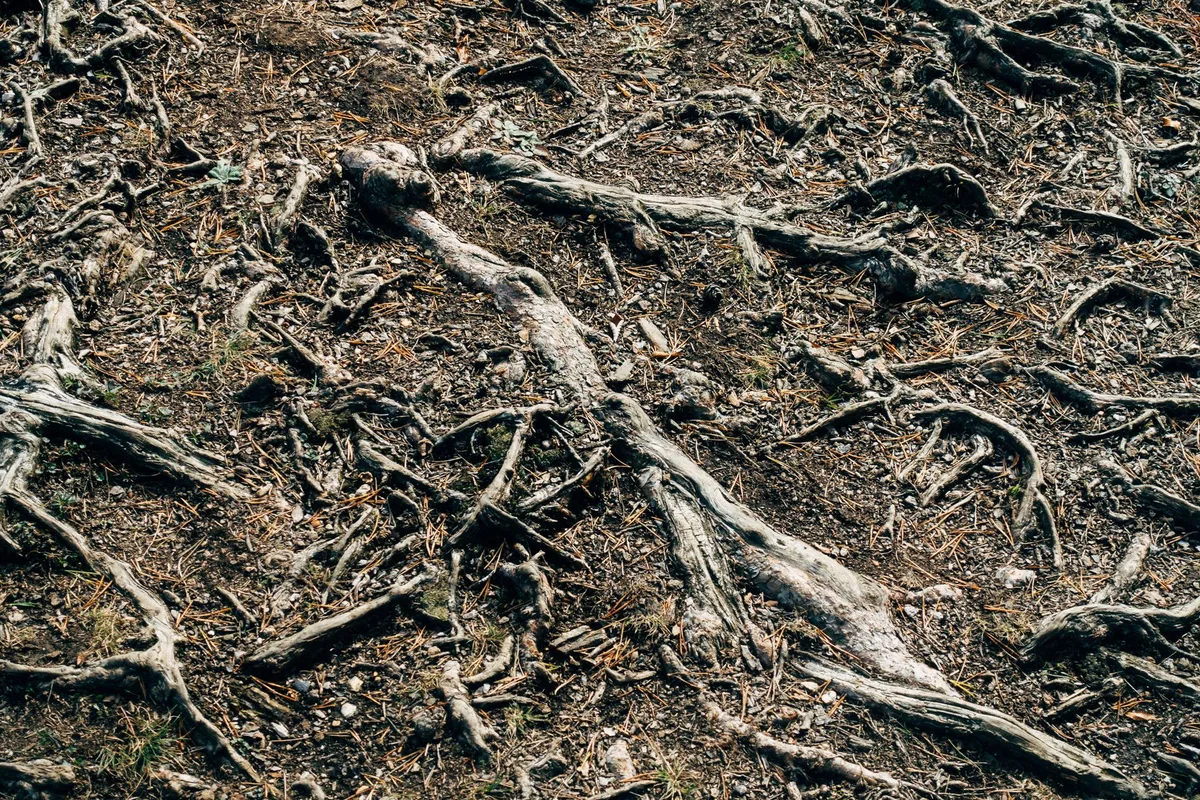
Frost heave looks alarming. Little islands of grass sitting an inch or two above the surrounding soil. Roots exposed to air.
It looks like someone lifted the grass up and didn’t put it back.
The natural reaction is to stomp the clumps back down or roll the whole lawn. That’s a mistake. Pushing the soil down when it’s wet creates compaction.
The grass roots have already been stressed. Adding more pressure makes it worse.
Here’s what actually works. Wait until the soil is dry enough to pass the squeeze test. Then take a different approach for each severity.
- Heaves less than an inch high: Leave them alone. The roots will reestablish naturally as the soil settles. Lightly water if no rain is coming.
- Heaves one to two inches high: Gently press each clump down with your hand or the sole of your shoe. Don’t stomp. Push firmly until it sits level.
- Heaves over two inches or roots fully exposed: Lift the grass clump gently, loosen the soil underneath with a trowel, set the grass back in place, and water it in. Topdress with a thin layer of compost if the root zone is shallow.
Don’t use a lawn roller for frost heave. University extension research consistently shows that rolling compacts the soil more than it fixes the problem. You’ll end up with a flat, hard surface and struggling grass.
After you’ve addressed the heave, overseed any bare spots. A thin layer of compost over the seed helps hold moisture and keeps the new roots stable. If you’re prepping flower beds nearby, look for options that thrive in your existing soil conditions.
Vole Damage and Pet Urine Patches: Spotting the Patterns
Voles and pets leave very different marks. But they both show up as patches of dead or thin grass in early spring. Getting them wrong means using the wrong fix.
Vole damage looks like narrow trails. Think of a little highway system running through your lawn. The grass is chewed right down to the crown.
You might see small round holes at the ends of the trails. This happens under snow cover, so you only see the damage after melt.
Pet urine patches look different. They’re round or irregular, with a dark green ring around a brown center. The dead grass in the middle is completely yellow or brown, not chewed.
This is a nitrogen burn from concentrated urine on thawed ground.
Here’s a quick side-by-side comparison:
| Clue | Vole Damage | Pet Urine Patch |
|---|---|---|
| Shape | Narrow, winding trails | Round or splotchy |
| Grass condition | Chewed off at base | Dead from root burn |
| Soil disturbance | Small holes or tunnels | None |
| Recovery time | Weeks to months | Faster with watering |
For vole damage, rake the dead trails lightly and overseed. The tunnels usually collapse on their own. For urine patches, water the area deeply a few times over a week to flush the salts.
Then overseed if the grass doesn’t bounce back.
If voles return every winter, consider reducing thick mulch or ground cover near the lawn. That’s their hiding spot.
How to Assess Soil Compaction After Snow Melt (Visual Tells)
Compaction is silent. It doesn’t look dramatic. But it’s one of the most common reasons spring repairs fail.
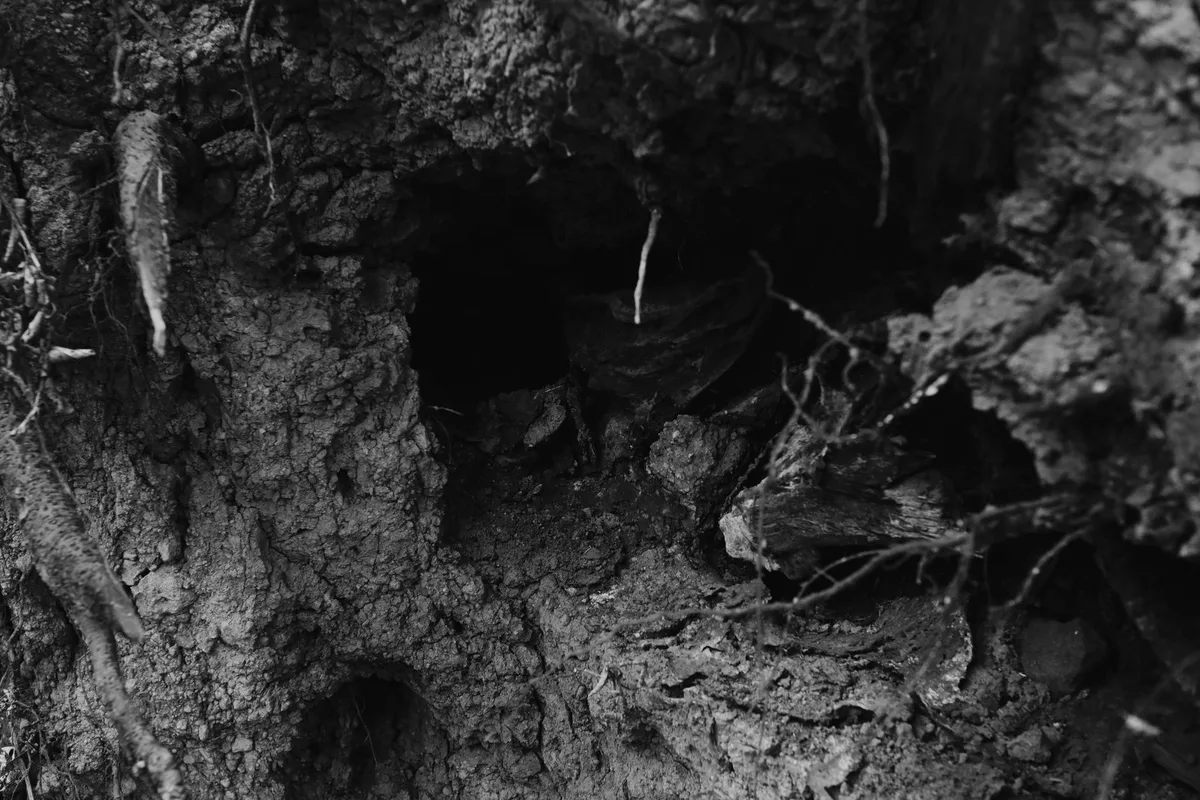
Here’s what to look for. Water puddles in low spots long after rain. The grass grows thin or weedy in patches.
When you try to push a screwdriver into the soil, it barely goes an inch.
A more precise test: take a small garden trowel and try to dig a 3-inch hole. If it feels like you’re hitting concrete, your soil is compacted. You’ll also see a crusty layer on the surface with small cracks.
Compaction happens when wet soil gets walked on or driven over. Snow piles, foot traffic, and equipment all do it. The fix is aeration.
But only when the soil is dry enough to crumble, not muddy.
You can also check for thatch. Pull up a small square of sod. If the brown thatch layer between the grass and soil is thicker than half an inch, you need to dethatch before aerating.
A thatch layer acts like a sponge, holding water and blocking roots.
Step-by-Step Repair Process for Each Damage Type
Now let’s put it all together. Each damage type has a slightly different first step. Here’s the process broken down by problem.
For snow mold:
- Wait for dry weather and soil above 50°F.
- Lightly rake the matted areas to fluff the grass. Don’t dig in.
- Let sunlight and airflow do the work for a week.
- If the patch is bare after a week, overseed with a blend that matches your lawn.
- Apply a light starter fertilizer to encourage new growth.
For frost heave:
- Wait until soil passes the squeeze test.
- Gently press down heaves under 2 inches with your hand or foot.
- For taller heaves, lift the grass, loosen soil underneath, reset, and water.
- Topdress with a thin layer of compost if roots are exposed.
- Overseed any bare areas after leveling.
For vole damage:
- Rake out the dead grass from the trails.
- Fill in shallow tunnels with topsoil if they’re more than an inch deep.
- Overseed the trails with a compatible grass seed.
- Keep the area moist until germination.
For compaction and bare spots:
- Core aerate the entire lawn or just the compacted areas.
- Spread a 1/4-inch layer of compost or topdressing over the aerated spots.
- Overseed with a quality seed blend.
- Water lightly twice a day until the new grass is 3 inches tall.
For pet urine patches:
- Soak the area with water for 10 minutes a day, three days in a row.
- Wait a week to see if the grass rebounds from the edges.
- If the center stays bare, scratch up the soil and overseed.
Now you might wonder about timing with other spring tasks. If you need to apply a pre-emergent for crabgrass, do it after the new grass has been mowed twice. Applying it too early will kill your seedlings.
Common Visual Mistakes That Ruin Spring Recovery
Let’s be honest. Most people make at least one of these errors. Here are the ones that cost the most.
Raking snow mold too aggressively. You spread the spores. The patch gets bigger. Instead, just fluff the matted grass with a light touch.
Rolling frost heave. Lawn rollers compact the soil. The roots can’t breathe. You end up with a hard, flat surface and struggling grass.
Seeding too early. Soil needs to be at least 50°F for cool-season grass to germinate. If you seed into cold mud, the seed rots. You waste money and time.
Applying fertilizer before the grass is actively growing. Dormant grass can’t absorb nitrogen. The fertilizer either runs off into storm drains or feeds weeds.
Mowing too short on the first cut. Scalping weakens the grass. Set your mower to the highest setting for the first two mows. Let the grass build energy.
Ignoring the thatch layer. Thatch over half an inch blocks water and seed. Dethatch before you aerate or overseed.
Treating every brown patch the same. We covered the four main problems. If you treat vole damage like snow mold, you’ll miss the real fix.
Quick Visual Reference: Damage Type, Fix, and Timing
Use this table as a cheat sheet when you’re standing in your yard trying to decide what to do.
| Damage Type | Visual Cue | First Fix | When to Fix |
|---|---|---|---|
| Snow mold | Circular patches with fuzz | Lightly rake, let air dry | Soil 50°F+ and dry |
| Frost heave | Bumpy, lifted grass clumps | Hand-press or reset | Soil crumbly, not muddy |
| Vole damage | Narrow trails, chewed grass | Rake, fill tunnels, seed | Soil 50°F+ |
| Compaction | Hard crust, puddling | Core aeration | Soil crumbly, not wet |
| Pet urine | Brown center, green ring | Deep water, then seed | Any time, but warm helps |
| Thatched lawn | Spongy feel, thick brown layer | Dethatch or power rake | Soil dry, grass growing |
The timing column is critical. Working wet soil is the fastest way to create new problems. If your lawn has a mix of issues, start with the most aggressive fix first.
For example, if you have both compaction and frost heave, aerate after the heaves are smoothed out. Then overseed everything at once.
For a smooth start when the ground is ready, make sure your mower is prepped too. Cleaning the air filter and doing a spring start-up after winter is simple and saves frustration later. If you’re dealing with a stubborn fungal issue, check out the best fungicide options to get ahead of it before reseeding.
Real Scenarios: Suburban Lawn, Northern Lawn, Transition Zone
Theory is useful. Seeing how this works on actual yards is better.
Suburban lawn scenario. You have a mix of shade and sun. Kids and pets ran across the yard all winter. You see compacted patches near the gate, a few urine spots near the patio, and light snow mold under the maple tree.
Start with aeration for the high-traffic areas. Hand-press any frost heave you find. Then overseed the urine spots and the mold patches together.
Water everything lightly. You’ll see green-up unevenly for the first two weeks. That’s normal.
Northern lawn scenario (zones 3 to 5). Heavy snow cover lasted four months. You’ve got significant snow mold in low spots and vole trails along the fence line. Don’t touch anything until the soil is fully thawed and dry.
Lightly rake the mold patches and let them dry for a week before seeding. Fill the vole tunnels with topsoil first. Overseed everything at once with a cool-season blend like Kentucky bluegrass.
Expect recovery to take three to four weeks.
Transition zone lawn (zones 6 to 7). You get freeze-thaw cycles all winter. Frost heave is your biggest issue. You might also have thin grass from warm-season species that went dormant.
Wait for the soil to crumble. Press down the heaves by hand. If you have a warm-season lawn like Bermuda or Zoysia, don’t overseed with cool-season grass unless you want a two-tone look.
Let the warm-season grass green up on its own. It will fill in by late May.
Frequently Asked Questions
How long should I wait before working on my lawn after snow melts?
Wait until the soil passes the squeeze test. Grab a handful from a few inches down. If it crumbles when you open your hand, you’re good.
If it holds a muddy shape or drips water, wait another week.
Can I just seed over dead grass without raking it first?
No. Seed needs direct contact with soil to germinate. Rake away the dead debris first.
Otherwise the seed sits on top of the mat and dries out. Light raking is enough.
Should I use a lawn roller to fix frost heave?
Avoid it. Rolling frost heave compacts the soil. The roots are already stressed from being lifted.
Push heaves down by hand or reset them with a trowel. Rolling creates more problems than it solves.
What’s the best grass seed for repairing winter damage?
Use a blend that matches your existing lawn. Cool-season lawns do well with perennial ryegrass or tall fescue. Warm-season lawns need Bermuda or Zoysia.
If you’re unsure, a sun/shade mix works for most yards.
How do I prevent winter damage next year?
Mow shorter in late fall to prevent matting. Rake leaves thoroughly. Avoid walking on frozen grass.
Apply a winterizing fertilizer in late October. These steps reduce snow mold and vole habitat significantly.
When should I apply crabgrass preventer after winter repairs?
Wait until the new grass has been mowed at least twice. Pre-emergent herbicides stop all seeds from germinating, including your new grass. Usually that means late April or early May depending on your zone.