How to Grow Grass From Seed 2026
You want a thick, green lawn, but every time you try growing grass from seed, it comes up patchy, weedy, or just plain weak. That’s because the process isn’t as simple as tossing seed on dirt and hoping for rain. Knowing how to grow grass from seed the right way means making a handful of critical decisions based on your specific yard conditions.
In our research, the single most important number is this: a soil temperature of 50, 65°F for cool-season grasses and 65, 75°F for warm-season types. Get that wrong, and you’re already behind. The rest of this guide walks you through the decision tree so you can stop guessing and start growing.
Quick Answer
Test your soil first. Then choose a grass type suited to your climate and sun. Prepare the seedbed by clearing debris, loosening soil, and adding amendments.
Sow seed at the correct rate, cover lightly, and water daily. In 7, 21 days you’ll see germination. Mow when the grass reaches 3, 4 inches.
The Real Problem: Why Most Lawns Fail From Seed
Most failures trace back to one of three things. First, people plant at the wrong time, they scatter seed in summer heat or winter cold when the ground isn’t warm enough. Second, they skip the soil test and throw down seed on compacted, nutrient-starved dirt.
Third, they water either too little (seed dries out and dies) or too much (seed rots or fungus takes over).
Birds are a symptom, not the cause. If birds are feasting on your seed, it means you didn’t cover it with soil or peat moss. A light rake or a thin layer of straw solves that problem fast.
The truth is, grass seed needs consistent moisture, good contact with the soil, and the right temperature window. Miss any one of those, and you’ll be reseeding in a month. The good news?
Once you understand the decision branches ahead, you can avoid every one of these traps.
Step 1: Know Your Climate & Grass Type
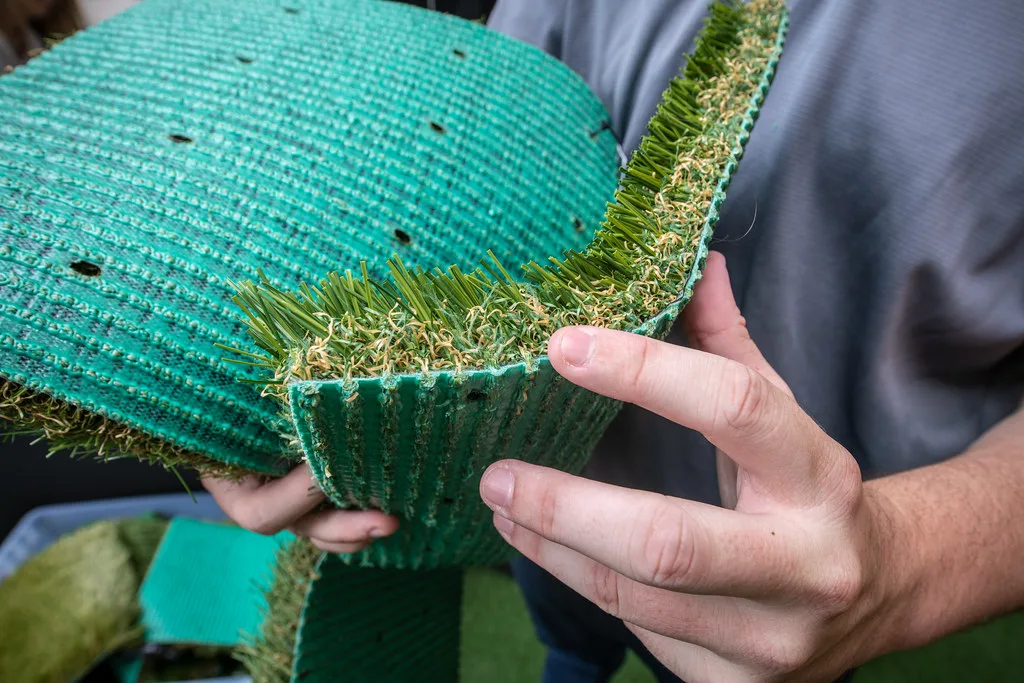
This is your first fork in the road. Cool-season grasses (tall fescue, Kentucky bluegrass, perennial ryegrass) thrive in the North and transition zones. They germinate best in early fall or spring when soil temps are 50, 65°F.
Warm-season grasses (Bermuda, Zoysia, centipede) rule the South and need soil temps above 65°F, perfect for late spring or early summer seeding.
How do you know which zone you’re in? Check the USDA Plant Hardiness Zone Map for your area. If your winters are cold and your summers mild, go cool-season.
If you live where summers are scorching and winters are short, go warm-season. In the transition zone, turf-type tall fescue is a reliable middle ground because it tolerates both heat and cold.
Sunlight matters too. Full sun (6+ hours direct), most grasses are fine. Partial shade (4, 6 hours), choose a shade-tolerant blend like fine fescue.
Dense shade under trees, you might need a specialty mix, and even then, expect it to be thin. No grass grows in deep shade. If you’re in a hot dry climate, Bermuda or buffalo grass will outperform anything else.
(Choosing a grass for dry conditions is a lot like choosing the best trees for hot dry climates, it’s about matching the plant to the environment.)
Step 2: Test Your Soil (Before You Do Anything Else)
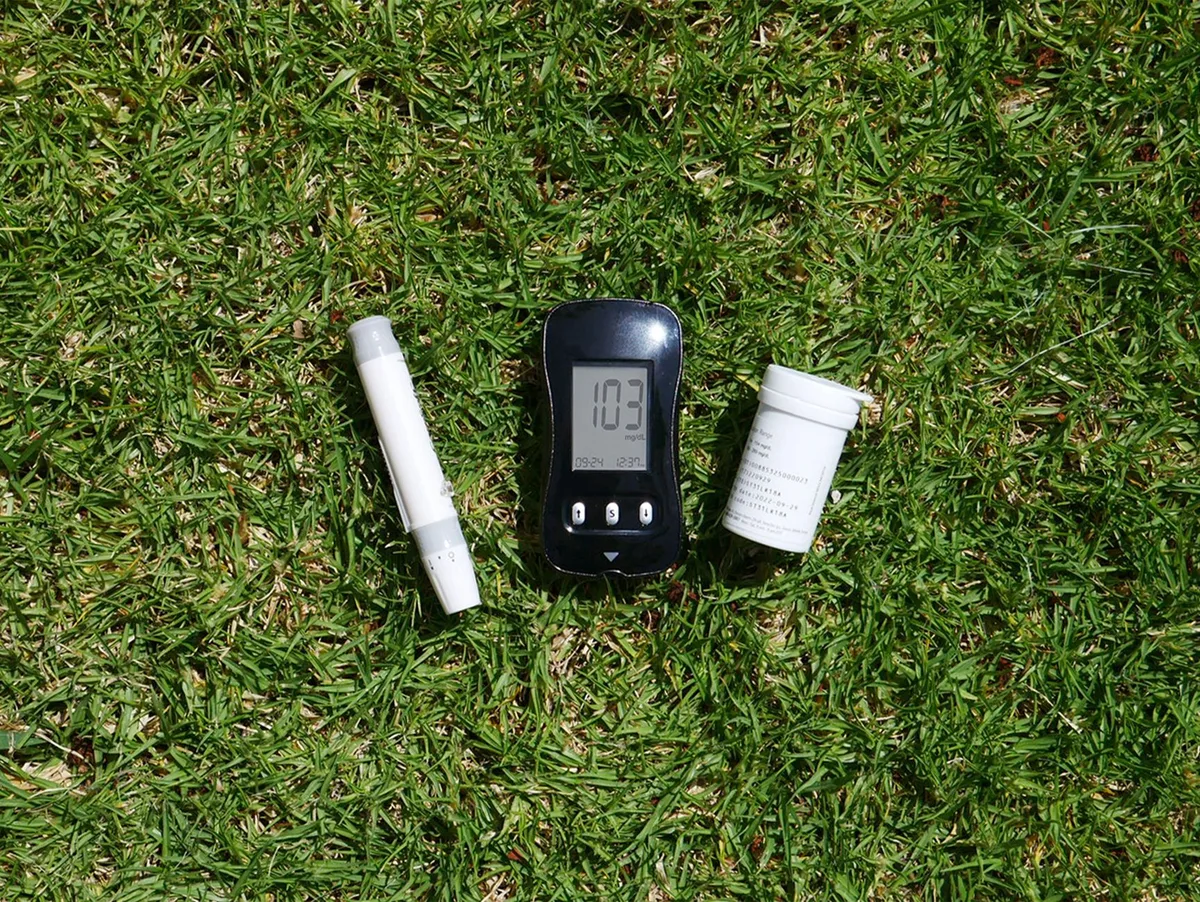
You wouldn’t bake a cake without checking if you have flour. Soil testing is that simple and that overlooked. Most grass prefers a pH between 6.0 and 7.0.
If your soil is too acidic (below 6.0), lime will raise the pH. If it’s too alkaline (above 7.5), sulfur will bring it down.
A home soil test kit gives you a quick read on pH and basic nutrients. For a more detailed breakdown, including phosphorus, potassium, and organic matter, send a sample to your local cooperative extension service (a .edu lab). It costs around $10, 20 and comes with specific recommendations for your region.
Why does this matter for how to grow grass from seed? Because phosphorus is critical for root development in young seedlings. If your soil is deficient, you’ll need a starter fertilizer high in phosphorus (look for a middle number like 10-20-10).
Without it, grass will be weak and slow to establish. Also, if you have heavy clay, you’ll need to add compost or organic matter to improve drainage. Sandy soil needs organic matter to hold moisture.
Both problems show up clearly in a soil test.
Step 3: Choose Your Seed – Blends vs. Single Varieties
Once you know your climate and soil, it’s time to pick the seed. The label is your cheat sheet. Look for three numbers: germination percentage (aim for 85% or higher), weed seed content (should be less than 0.5%), and the test date (seed older than 12 months loses viability fast).
Single variety seed (like 100% tall fescue) gives you a uniform lawn with predictable traits. It’s great if you know exactly what you want and your conditions are consistent. The downside?
It’s less forgiving if disease hits or conditions shift.
Seed blends (a mix of two or more varieties of the same species) offer genetic diversity. If one variety struggles in a shady spot, another might thrive. For most homeowners, a blend is the safer bet.
For example, a Kentucky bluegrass blend with three different varieties will fill in bare spots better than a single type.
If you’re overseeding an existing lawn, match the new seed to what’s already there. If you’re starting from scratch, pick a blend that matches your sun and use patterns. And always buy from a reputable source, big-box store clearance racks often sell old seed with poor germination.
Paying a few cents more per pound for fresh seed is cheaper than buying twice.
Step 4: Prepare the Seedbed – Your Decision Tree Based on Current Lawn Condition
Your approach depends entirely on what you’re starting with.
Branch A: Seeding bare dirt (new lawn or full renovation)
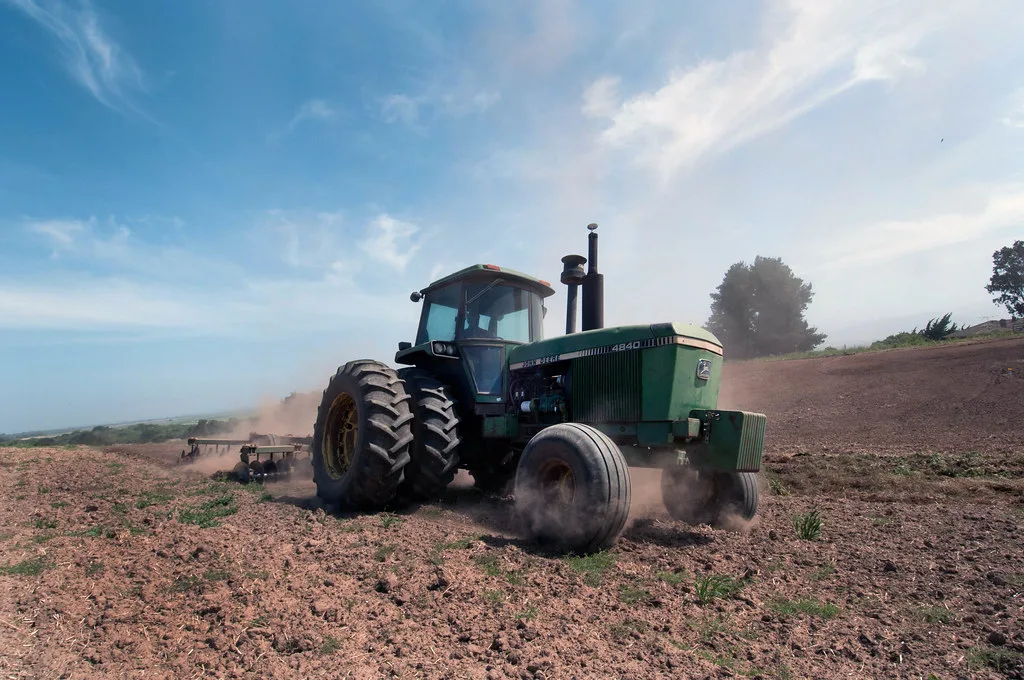
Start by killing existing vegetation. You can use a non-selective herbicide (wait 7, 10 days) or solarize with plastic for a few weeks. Then till the soil to a depth of 4, 6 inches.
Remove rocks, roots, and debris. Rake it smooth and level. Add any needed amendments (compost, lime, starter fertilizer) and rake them into the top 2, 3 inches.
Finally, firm the surface with a lawn roller or by walking over it, you want firm, not compacted.
Branch B: Overseeding an existing thin lawn
Mow the lawn shorter than usual, down to 1.5, 2 inches. Rake up the clippings. Aerate the soil with a core aerator to reduce compaction and create holes for seed.
If there’s a thatch layer thicker than ½ inch, dethatch first. Then apply seed using a spreader. Lightly rake to work seed into the aeration holes.
This method gives the new seed direct contact with soil.
Branch C: Patch repair for bare spots
Scuff up the bare area with a garden rake or a cultivator to break the soil surface. Add a thin layer of topsoil or compost. Sprinkle seed, then cover with a ¼-inch layer of peat moss or straw.
Water gently. Keep the area moist but not soggy.
In all branches, good seed-to-soil contact is non-negotiable. Seed sitting on top of hard soil won’t germinate. Use a rake or roller to press it in.
If you’re dealing with a large, compacted area, consider using a slit seeder, it cuts a groove and drops seed in one pass, saving you time and guaranteeing contact.
Step 5: Sow the Seed – Rate, Depth, and Method
Now comes the actual planting. The seed rate varies by grass type. Here’s a quick reference:
| Grass Type | Seeds per 1,000 sq ft (new lawn) | Seeds per 1,000 sq ft (overseeding) |
|---|---|---|
| Tall fescue | 6–8 lbs | 3–4 lbs |
| Kentucky bluegrass | 2–3 lbs | 1–2 lbs |
| Perennial ryegrass | 4–5 lbs | 2–3 lbs |
| Bermuda (unhulled) | 1–2 lbs | Not recommended for overseeding |
| Zoysia | 1–2 lbs | Not typically overseeded |
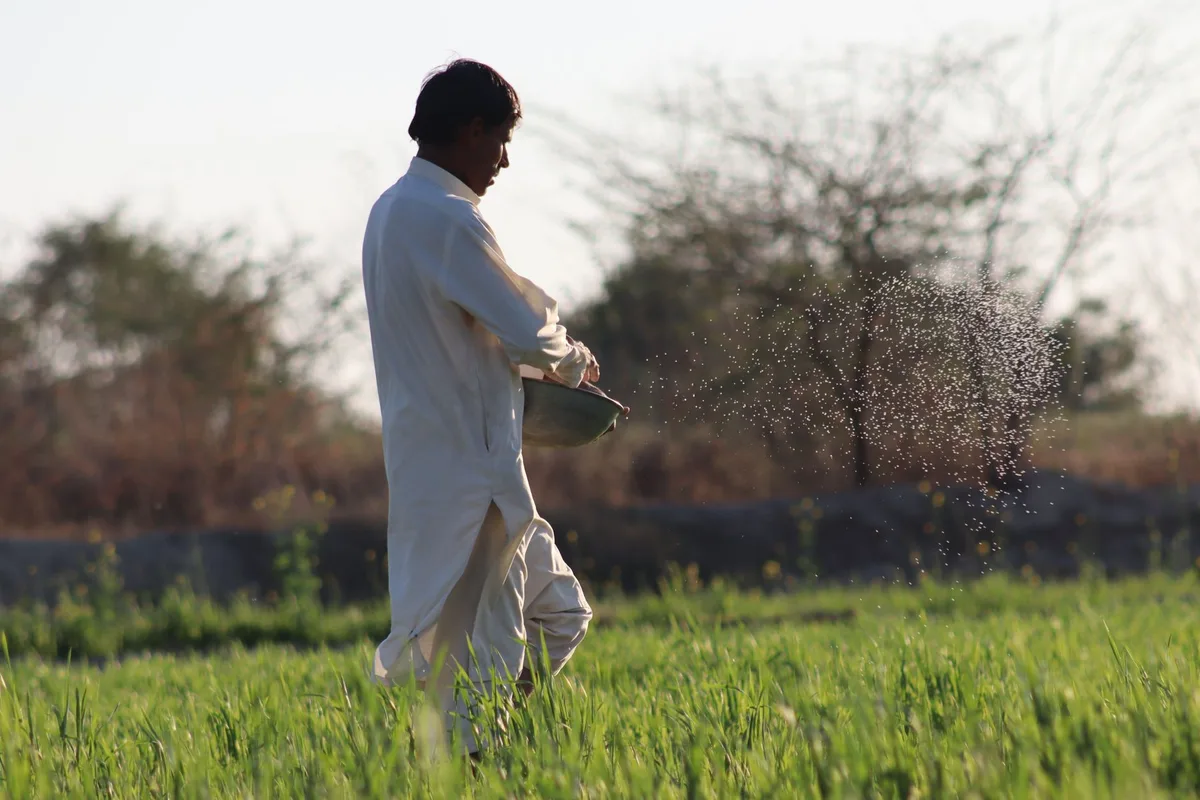
Use a spreader, a drop spreader gives precise rows, a broadcast spreader covers more area faster. Calibrate it by running a few passes with a small sample to see how much seed comes out. If you’re unsure, use the lower end of the range for even coverage.
Planting depth is critical. Grass seed needs to be buried no deeper than ¼ inch. If you go deeper, it won’t have enough energy to push through.
After spreading, lightly rake the seed in so it’s partially covered. Then roll the area with a lawn roller (partially filled with water) to press seed into contact with soil. If you want extra protection from birds and erosion, spread a thin layer of straw or peat moss, just enough to see the soil through it, not a thick blanket.
Remember, good raking practices help. Use a flexible leaf rake or a specialized seedbed rake. A stiff garden rake might bury the seed too deep.
If you have pine needles or tough debris to clear beforehand, a rake designed for that job makes the prep easier.
After Step 5, the next critical phase is watering, but that’s a whole decision branch on its own, which we cover in the full guide. For now, focus on getting the seed in the ground correctly. Get these first five steps right, and you’re already 80% of the way to a lawn that will make your neighbors ask what you did differently.