The Magic Trick to Cleaning a Barbecue Grill 2026
You've asked for the "magic" way to clean a barbecue grill, and honestly, we get it. You've scrubbed, you've cursed, you've wondered if that black crust is actually part of the grill now. The good news?
There's no single trick, but there is a right way to do it, and it depends entirely on what you're working with. So, what is the magic way to clean a barbecue grill? It's a combination of heat, the correct tool for your grate material, and a little bit of patience.
In our research, manufacturer specifications and safety reports point to one undeniable fact: the wire brush you probably have in your garage is the riskiest part of your cleaning routine. As of 2026, the U.S. Consumer Product Safety Commission still reports incidents of wire bristles breaking off and ending up in food.
That's why the real "magic" starts with a quick, honest look at your grill grate and a shift away from outdated tools. Let's break down exactly how to get it clean without the danger or damage.
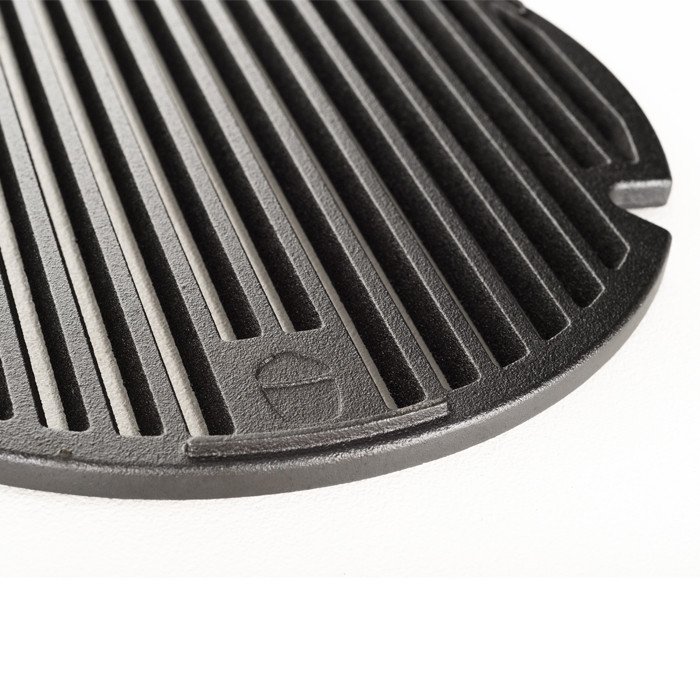
Image source: Bing (Web (fair-use with source credit))
Quick Answer
The magic way to clean a barbecue grill is to heat it, scrape it, and wipe it. Preheat your grill on high for 15 minutes. Scrape with a tool suited to your grate material.
Wipe with a cloth dipped in oil. Do this while the grill is warm. It's fast, safe, and effective for most grills.
The Honest Truth: There Is No Single "Magic" Method
If you were hoping for a secret potion or a fancy gadget that does all the work, we're here to set the record straight. The "magic" isn't a product. It's a system.
And that system changes based on what your grill is made of and how you cook.
Think of it like washing dishes. You wouldn't use a steel wool pad on a non-stick pan, right? The same logic applies to your grill grates.
Using the wrong method on the wrong surface can ruin a perfectly good grill. Cast iron needs gentle love, porcelain needs kid-glove treatment, and stainless steel needs a specific touch. The good news is that once you understand your surface, the cleaning process becomes almost automatic.
It takes less time and effort than you'd think.
The real trick is to stop treating grill cleaning as a big, dreaded chore. Instead, it becomes a simple, three-step ritual that takes about ten minutes. You don't need to scrub for hours.
You need to be smart about the heat, the tool, and the timing. Once you get that down, you've found your magic.
Know Your Grill Surface First (This Changes Everything)
Before you even pick up a scraper, you need to figure out what kind of grates you have. This single detail determines which cleaning tools are safe to use and which ones will cause permanent damage. It's the most important step in the entire process, and most people skip it.
Cast Iron: The Delicate Heavyweight
Cast iron grates are beloved for their heat retention and that perfect sear. They're also the most demanding to maintain. They need seasoning to stay non-stick and rust-free.
Because of that, you should never soak them in water or run them through a dishwasher. Aggressive wire brushes can scrape off the seasoning and ruin the surface. A brass brush or a wooden scraper is your best friend here.
After cleaning, you always need to re-oil and re-season.
Stainless Steel: The Tough All-Rounder
You'll find stainless steel on many mid-to-high-end gas grills. It's durable, resists rust, and can handle a good amount of scrubbing. That doesn't mean it's invincible.
Harsh steel wool can leave permanent scratches that become spots for rust to start. A standard grill brush with stainless steel bristles is fine, but we prefer a flat-edged scraper for the bulk of the work. Just be sure to scrub in the direction of the grain to keep it looking sharp.
Porcelain-Coated: The Chip Prone
Porcelain-coated cast iron or steel is common because it's easy to clean and doesn't rust. However, that glass-like coating chips and cracks easily. The cardinal rule here is to never use any kind of metal tool.
A single scrape with a steel brush can chip the porcelain, and once it's chipped, the underlying metal will rust. Use a nylon brush, a grill stone, or even a damp paper towel while the grate is warm. You'll be amazed at how well a gentle touch works.
Chrome-Plated: The Budget Option
Chrome-plated grates are typically found on cheaper grills. They're thin and the coating can peel off if you're too aggressive. Treat them like porcelain.
Use soft tools and avoid high heat cleaning methods that might cause the chrome to flake. If they start peeling, it's honestly time to replace the grates. They're not built to last forever.
The Heat-and-Scrape Method: The Closest Thing to Magic
This is it. The industry standard, the chef's secret, the one technique that makes cleaning a grill feel almost effortless. It's called heat-and-scrape, and it works because it uses the grill itself to do the heavy lifting.
The science is simple. The heat from your burners or coals turns the stubborn, greasy carbon buildup from your last cook into a soft ash. Once it's softened, a simple scrape wipes it right off.
No soaking, no chemical sprays, no elbow grease required.
Here's the step-by-step process we recommend based on consumer safety guidelines and manufacturer manuals:
- Crank the Heat. Turn your grill to high and close the lid.
- Let It Burn. Wait for 10 to 15 minutes. You want the grill to reach around 500°F to 600°F. This burns off the loose stuff and softens the rest.
- Scrape Vigorously. Use a tool appropriate for your grate material. Work in a crisscross pattern to get the top and underside of the grates.
- Wipe Down. Take a wad of paper towels, dip them in a little vegetable oil, and use tongs to wipe down the grates. This picks up any remaining ash and leaves a light protective coating.
Why This Works So Well
The magic is that you're working with the heat, not against it. When you let the grill run hot, you're essentially pre-burning the gunk. This turns what would be a tedious scrubbing session into a quick wipe-down.
On a gas grill, this is the only cleaning method you'll really need, as long as you do it after every couple of cooks.
For charcoal grills, the process is slightly different. You'll want to wait until the coals are still hot but the flames have died down. The heat from the coals will do the same work.
Just make sure you have a good scraper that can get into the corners. This method is quick, chemical-free, and safe, provided you're using a tool that matches your grate type. For more on choosing the right scraper for your setup, you might want to compare the best grill cleaning tools to see what fits your needs.
The Bristle Brush Danger: What You Need to Know
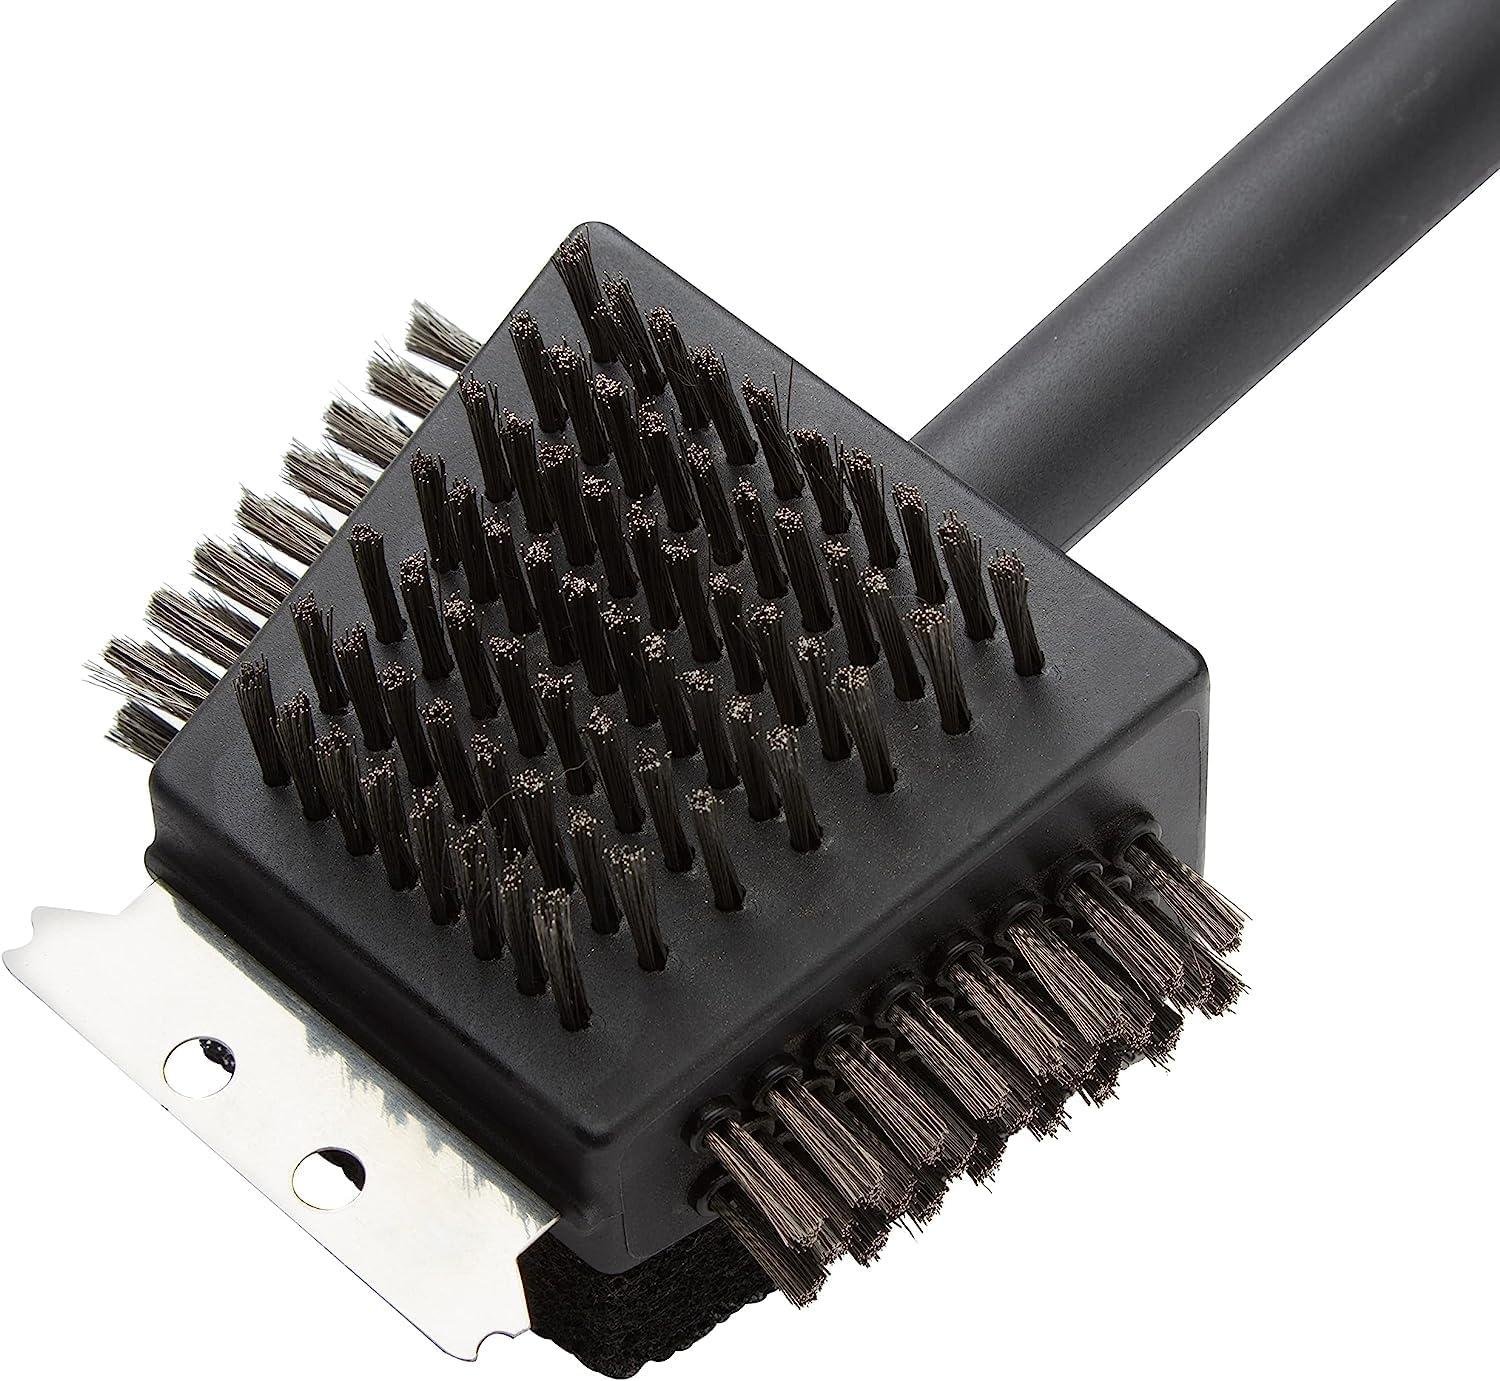
Image source: Bing (Web (fair-use with source credit))
For decades, the stainless steel wire brush was the standard for grill cleaning. But things have changed. The risks now outweigh the convenience for many home cooks, and that's worth understanding.
The problem is that the thin metal bristles can break off and stick to the gratings. They're nearly invisible. More concerning, these tiny wires can end up in your food and cause serious internal injuries if swallowed.
Reports to emergency rooms about ingested wire bristles have been documented by health authorities in recent years, and that's enough to make any expert pause.
Safer Alternatives That Work
Thankfully, you don't need to risk it. There are several tools that do the job just as well, without the health hazard. We recommend switching to one of these:
- Bristle-Free Grill Brushes: These use a nylon or synthetic pad, often with a plastic or wooden handle, to scrub away residue. They're safe for all grate types.
- Grill Stones: Made of porous pumice, these work like a high-tech eraser. They're perfect for porcelain and cast iron. You just wet the stone and rub it across the warm grate.
- Wooden Scrapers: A simple piece of hardwood shaped like a spatula works wonders on stubborn buildup. It conforms to the grate's curves without scratching.
- Aluminum Foil Ball: If you're in a pinch, wad up a ball of heavy-duty foil and use tongs to scrub the hot grates. It's cheap, effective, and safe.
How to Check Your Grates
Even if you've already switched to safer tools, it's wise to get into the habit of inspecting your grates before you cook. After preheating and scraping, take a clean paper towel and wipe the grid down. The towel should pick up any debris you missed.
If you see any metal fragments clinging to the grates or the towel, it's time to deeply clean again or simply replace your old brush if you haven't.
This isn't about fear-mongering. It's about being smart with your tools. The good news is that a simple swap to a bristle-free brush eliminates the risk entirely and actually cleans just as well.
If you're dealing with a serious layer of built-up carbon, you may need more than just a wipe-down. Check out these tips for handling stubborn carbon buildup to get your grates back to new.