How to Identify Spider Mite Damage for 2026: Easy Methods
You’ve spotted something wrong with your plant. Maybe the leaves look like someone took a tiny sandblaster to them. Or you see fine webs that weren’t there last week.
If you’re wondering how to identify spider mite damage, the answer starts with knowing exactly where to look and what to feel for.
Spider mites are barely visible without a hand lens, adults are about 0.4 mm long, but the destruction they cause is unmistakable once you tune your eye. In our research, the biggest mistake people make is confusing the damage with a nutrient deficiency or simple dust. That mix-up costs weeks of plant health.
Let’s fix that.
Why Visuals Matter – This Isn’t Like Other Plant Problems
Most plant issues give you a clear visual signal. Yellow leaves? Could be overwatering.
Brown spots? Fungal infection. But spider mite damage is subtle at first.
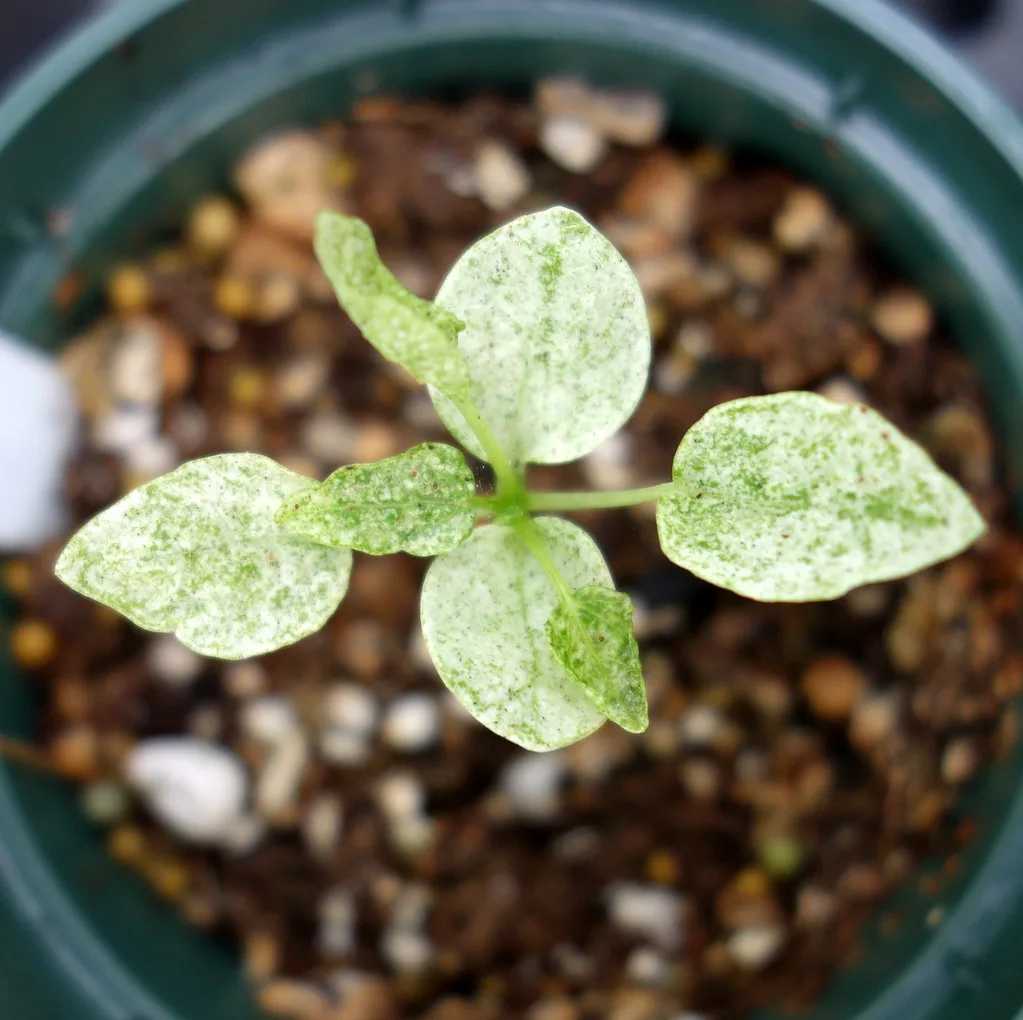
It shows up as tiny pale specks, stippling, scattered across the leaf surface. Without a hand lens, those specks look like dust or variegation.
The real giveaway is the fine webbing. Spider mites spin silk on the undersides of leaves and along stems. But here’s the catch: webbing only appears once the population is already heavy.
In early stages, you’ll see stippling and nothing else. That’s why visual inspection alone isn’t enough if you’re not looking at the right angle or magnification.
That’s also why this topic demands clear photos and comparisons. For instance, nutrient deficiencies cause uniform yellowing between veins, not random speckles. Thrips leave silvery streaks and black droppings.
Fungal spots are defined and brown, not diffuse and pale. A picture really is worth a thousand good guesses. If you’re growing houseplants, check our guide on best plants for a bedroom for species that are especially prone to mite attacks.
Quick Answer – What to Look for in 30 Seconds
Look for yellow or white dots on the upper leaf surface. Flip the leaf over. Inspect with a 10x hand lens.
Live mites look like tiny moving specks. Tap the leaf over white paper. If you see specks that move, you have spider mites.
Fine webbing confirms it.
Core Explanation – How Spider Mite Damage Actually Looks
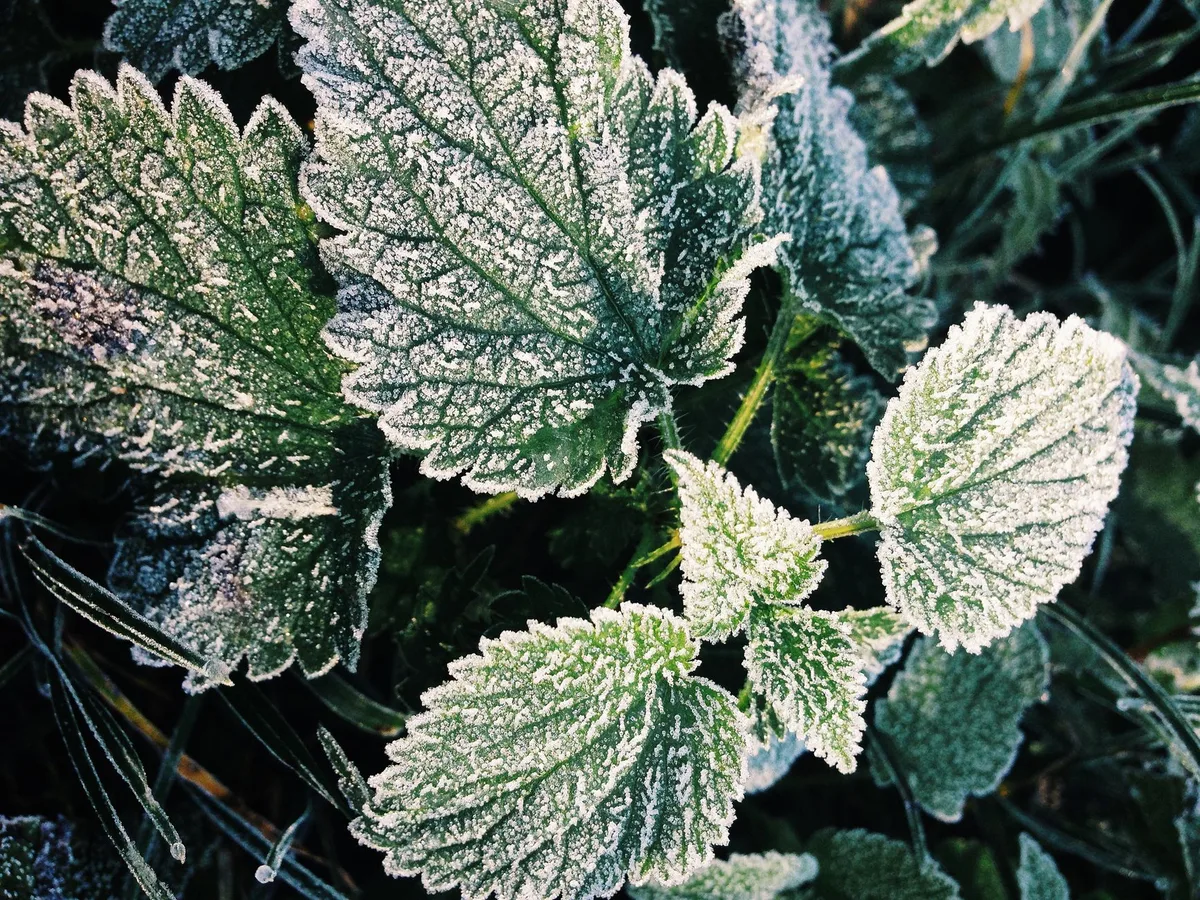
Spider mite damage progresses through three overlapping stages. Knowing each one helps you catch the problem early, before the plant is overwhelmed.
The Stippling Pattern (Yellow/White Specks)
Stippling is the earliest symptom. It looks like thousands of tiny pale dots, almost like the leaf was spray-painted from a distance. Each dot is where a mite punctured a plant cell and sucked out the chlorophyll.
The spots are evenly distributed across the leaf, with a higher concentration along the leaf veins. Check the oldest leaves first, especially near the bottom of the plant. Mites start low and move upward as the infestation grows.
The Fine Webbing (Where and When to Find It)
Webbing is the smoking gun. It appears when mite numbers exceed about 50 per leaf. The silk is thin, almost transparent, and often collects in the crotch where the leaf stem meets the main stem.
You might see it stretching between leaves.
Light dust can look like webbing. To tell them apart, gently touch the silk with a finger, it feels sticky and stringy. Dust just smears.
If you’re growing in a hot, dry room, keep a close eye on leaf undersides. Mites thrive when humidity drops below 50%.
Leaf Discoloration and Bronzing (Late Stage)
When the damage is severe, the stippling merges into larger patches. Leaves turn bronze, then brown, then crispy. The plant stops growing.
Leaf drop follows. By this point, the webbing is usually thick and easy to spot.
You might also see a faint reflection on the upper leaf surface, that’s the silk making a canopy over the colony. Peeling back a leaf shows a chaotic mess of mites, eggs, and frass. This is where most people realize something is wrong, but by then treatment options are limited.
Step-by-Step Inspection – How to Check Your Plants
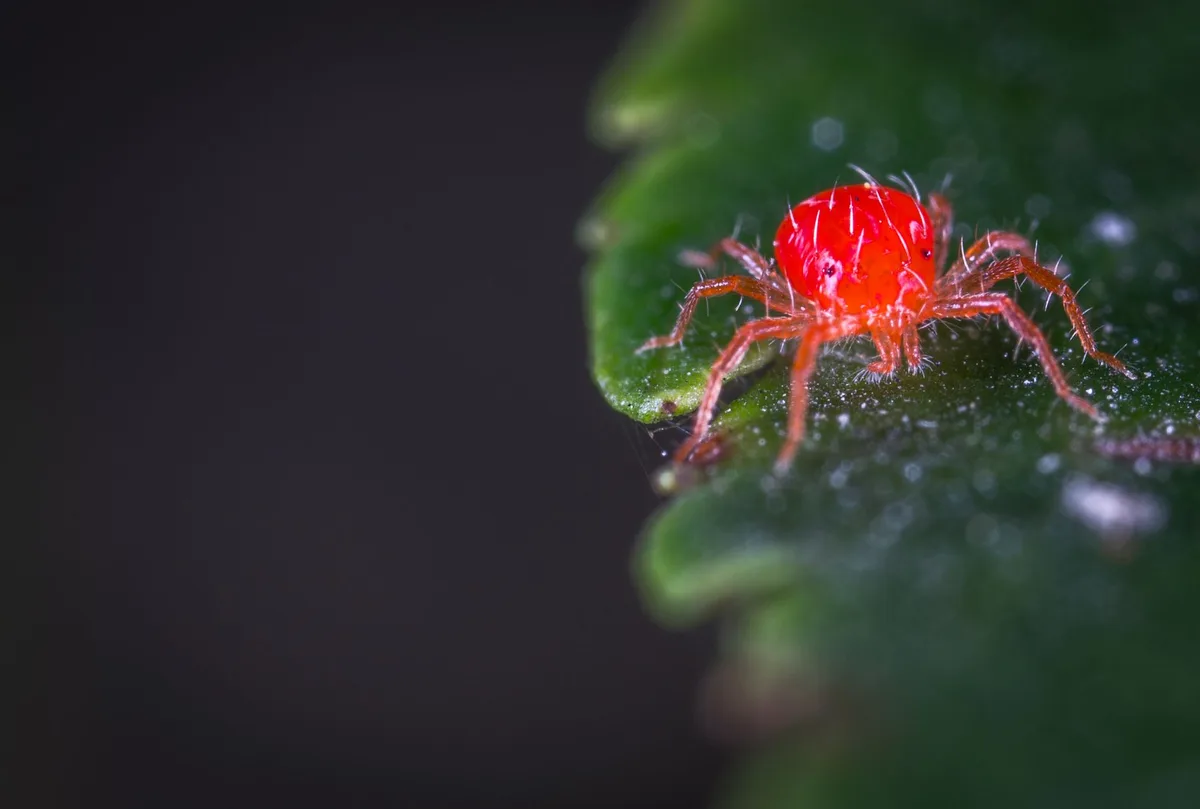
You don’t need a lab kit or a microscope. Just your eyes, a magnifier, and a piece of white paper. Here’s the process we recommend from our research.
1. Flip the Leaves – Focus on the Undersides
Start with the lowest leaves. Hold the leaf stalk and gently turn it over. Look for any moving specks.
If you see them, you’ve found your culprits. No magnifier needed if the infestation is heavy.
2. Use a Hand Lens (10x–30x) – What to Spot
A hand lens makes the invisible visible. At 10x, adult mites look like tiny dots with legs. At 30x, you can see their color, often reddish, greenish, or brown depending on the species.
You’ll also see round, translucent eggs.
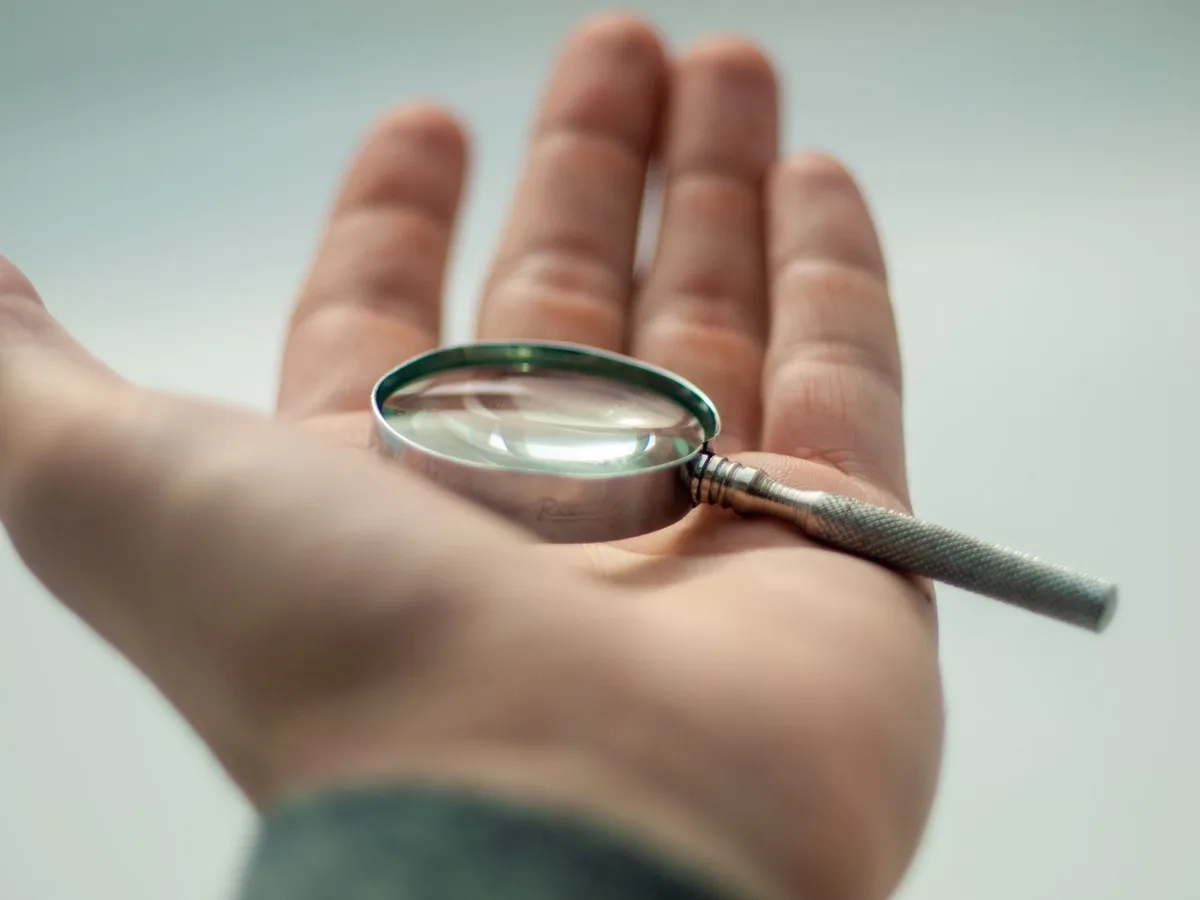
Many people skip this step and miss the early signs. Don’t. A hand lens is cheap and saves you weeks of frustration.
If you use a grow light setup, consider checking our guide on best grow light for seedlings for tips on managing indoor humidity.
3. The White Paper Test – Confirm Live Mites
Take a leaf that shows stippling. Hold it over a sheet of white paper. Tap or shake the leaf firmly.
Watch the paper. If you see tiny specks that crawl or move, those are spider mites. The white background makes them pop.
This test works even when mites are too small to see directly on the leaf.
4. Feel for Webbing – A Simple Touch Test
Run a finger gently along the underside of the leaf. If you feel a slight resistance or sticky residue, that’s silk. Also check between stems.
Webbing feels different from plant hairs, it’s finer and tacky.
Key Visual Identifiers – Side-by-Side with a Photo Reference
Once you know what to look for, the confusion fades. Here’s a quick comparison table for common look-alikes.
| Visual Sign | Spider Mites | Nutrient Deficiency | Thrips | Fungal Spot |
|---|---|---|---|---|
| Pattern | Random speckles, pale dots | Uniform yellow between veins | Silvery streaks, black specks | Defined brown or black lesions |
| Location | Lower leaves first, leaf undersides | New or old leaves depending on nutrient | Upper leaf surface, along midrib | Random, often with yellow halos |
| Webbing | Yes, fine silk on undersides | No | No | No |
| Movement on white paper | Tiny crawling specks | None | Tiny fast-moving insects | None |
| Confirmation tool | Hand lens + white paper test | Soil test | Sticky trap | Lab culture |
Keep that table handy when you spot suspicious damage. It cuts through the guesswork. If you see bronzing on a plant that also looks underfed, check your fertilization routine.
Our guide on best plant fertilizer for indoor plants covers how to strengthen plants against pest pressure.
For a more authoritative look at spider mite biology and management, the University of California’s Integrated Pest Management program maintains a detailed fact sheet on their site (ipm.ucanr.edu). That resource is the gold standard for North American gardeners as of 2026.
Next, we’ll cover the common visual mistakes that trip up even experienced growers, and what damaged plants look like when it’s too late.
Common Visual Mistakes – What Gets Confused with Mite Damage
You see speckled leaves and reach for the miticide. But pause. Several common problems look almost identical to spider mite damage, and treating for the wrong pest wastes time and money.
Nutrient Deficiency vs. Stippling
Iron or magnesium deficiency causes yellowing between the veins of new or old leaves. The yellowing is uniform across the leaf, not random dots. Hold the leaf up to the light.
Nutrient deficiency shows a consistent pale web pattern between veins. Stippling looks like scattered pinpricks.
If your plant also shows stunted growth or purple stems, it’s likely a nutrient issue, not mites. Check our guide on best slow release fertilizer for flowers for tips on correcting deficiencies before assuming pests.
Thrips vs. Spider Mites
Thrips leave silvery streaks and tiny black dots of frass on the upper leaf surface. The damage looks more like a scratch than a dot. Spider mite damage is round and pale.
Thrips are also fast. Tap a leaf over white paper. If you see slender, fast-moving insects, you have thrips.
If you see tiny round specks that crawl slowly, it’s mites.
Dust vs. Webbing
Dust settles on leaves, especially in dry indoor air. It looks like a fine powder. Wipe it with your finger.
Dust smears and disappears. Mite webbing feels sticky and stays put.
Blow gently on the leaf surface. Dust puffs away. Webbing doesn’t.
Fungal Spots vs. Mite Bronzing
Fungal leaf spots have defined edges. They start as small brown circles and grow into larger lesions with yellow halos. Mite bronzing is diffuse and gradual.
The leaf turns an overall rusty shade, not spotty.
If you see fuzzy growth or concentric rings, it’s likely a fungus. Treat with a fungicide, not a miticide. For lawn-specific fungal issues, our article on best fungicide for lawns covers timing and product selection.
When Damage Becomes Severe – Signs You Missed Earlier Detection
By the time you notice widespread bronzing, the mite population has already exploded. University research shows that at moderate temperatures, a single female can produce 100 eggs in her three-week lifespan. That’s a colony of thousands in under a month.
Look for these late-stage signs:
- Leaves curl upward at the edges
- Leaf drop from the bottom up
- Stems look bare and dry
- Webbing covers entire leaf clusters
- Plant growth stops entirely
At this point, soft treatments like water sprays or insecticidal soap may not be enough. You might need a targeted miticide. But the bigger lesson is to inspect earlier and more often.
If you’re growing indoors, a simple weekly check with a hand lens catches problems before they spiral.
Expert Pro Tips – Reading the Plant’s “Story” Beyond the Damage
Spider mite damage tells you something about your growing environment. Mites thrive in hot, dry, dusty conditions. If you keep finding them, your humidity is probably too low or your air circulation is poor.
Check your humidity. Levels below 50% RH encourage rapid mite reproduction. Raising humidity to 60% or higher slows them down.
This is especially useful for indoor growers. If you have houseplants in a dry room, grouping them together or using a pebble tray helps.
Also look at your watering habits. Stressed plants produce chemical signals that attract mites. Overwatered roots and underwatered leaves both stress the plant.
Consistent care reduces pest pressure. For plants in lower light spots, our guide on best plants for dark bathroom includes species that handle lower humidity better.
Another pro tip: check new plants before bringing them home. Quarantine them for a week. Inspect leaf undersides with a hand lens.
Many mite outbreaks start from a single infested nursery plant.
Real Scenarios – Mite Damage on Common Host Plants
Tomatoes, Cucumbers, and Beans
These are mite magnets in the garden. On tomatoes, the stippling shows up first on the lower leaves. The leaves look dusty from a distance.
Cucumbers show a similar pattern but the webbing appears faster.
In a greenhouse setting, mite populations explode in summer. Regular scouting every 3 to 4 days is critical. If you grow cucumbers, you’ll notice the bronzing spreads fast because the leaves are large and soft.
Houseplants (Fiddle-Leaf Fig, Ivy, Palms)
Fiddle-leaf fig is a common victim. The stippling shows on the broad upper leaf surface. It’s easy to mistake for sunburn if the plant is near a window.
But flip the leaf. If you see webbing at the petiole junction, you have mites.
Ivy is especially prone because it grows densely. The webbing hides between overlapping leaves. Palms show stippling on the leaflets, and the damage looks like a general decline.
For strong indoor plants, check our recommendations for best pots for bromeliads since proper drainage reduces stress.
Cannabis (Indoor Grow Rooms)
Cannabis growers know spider mites as the number one indoor pest. The damage shows on fan leaves as tiny yellow dots. In flower, the buds can develop webbing that ruins the harvest.
Cannabis plants are sensitive to stress. A mite infestation during early flower can cut yield by 20% or more. Growers should inspect daily during veg and weekly during flower.
A preventative spray of neem oil or insecticidal soap at the first sign of stippling stops mites before they spread.
Frequently Asked Questions
Can spider mites live on humans or pets?
No. Spider mites are plant-specific pests. They feed on plant cells, not blood or skin.
They can crawl on you temporarily, but they won’t bite or infest your home.
Will a plant recover from spider mite damage?
Yes, if caught early. Remove the worst leaves and treat the rest. New growth should come in clean.
But plants with heavy bronzing and leaf drop may not fully recover. In severe cases, it’s better to replace the plant.
What temperature kills spider mites?
Heat above 100°F for several hours kills them. Cold below freezing also works but damages most houseplants. In a greenhouse, raising the temperature to 110°F for a few hours can clear an infestation, but check plant tolerance first.
How fast do spider mites spread?
Very fast. At 85°F, a mite completes its life cycle in 5 to 7 days. A single female can start a colony of thousands within a month.
Weekly scouting is essential during warm weather.
Is neem oil effective for spider mites?
Yes, but only with direct contact. Neem oil smothers mites and eggs on the leaf surface. It degrades in sunlight, so apply in the evening.
Repeat every 3 to 4 days for two weeks to break the egg cycle.
Should I throw away a plant with spider mites?
Not necessarily. Isolate it first. Treat with soap or neem.
If the plant is heavily infested and not a collectible, discarding it may be safer for your other plants. But many plants bounce back with consistent treatment.
Final Verdict – Your Action-Ready Identification Checklist
You now know exactly what spider mite damage looks like and how to confirm it. The difference between catching it early and finding it too late comes down to a simple habit.
Inspect your plants weekly. Flip the lowest leaves. Use a hand lens.
Do the white paper test if you see any stippling. That 30-second check saves you weeks of frustration and keeps your plants healthy.
Here’s your quick reference checklist:
- Check lower leaves first (mites start low)
- Look for yellow/white stippling on upper surface
- Flip leaves and inspect undersides with a 10x lens
- Tap suspect leaves over white paper
- Feel for fine webbing between stems
- Compare against the lookalike table (nutrient deficiency, thrips, dust, fungus)
- Confirm before treating, wrong treatment wastes time
If you spot mites, act fast. A strong water blast knocks off many adults. Follow up with insecticidal soap or neem oil every 3 to 4 days for two weeks.
Raise humidity if you can. Quarantine new plants before introducing them to your collection.
Spider mites are persistent, but they’re not invincible. You just have to catch them before they settle in. Now you know how.