How to Install Landscape Fabric for 2026: Step-by-Step Guide
If you've ever spent a Saturday afternoon pulling weeds only to see them pop back up the following week, you're probably ready for a better solution. Figuring out how to install landscape fabric is one of the most effective ways to cut down on garden maintenance, but the key is doing it correctly. A poorly installed barrier can shift, bunch up, or let weeds through within a single season.
The difference between a bed that stays clean for years and one that's a mess by June usually comes down to a few details you can't see in a photo.
Manufacturer specifications indicate that a quality woven polypropylene fabric will allow roughly 30 to 40 gallons of water per minute per square foot to pass through. That's a critical spec, because if you pick the wrong permeability for your soil type or drainage needs, you could end up with water pooling on top. Let's walk through what landscape fabric actually does, when it's worth using, and the exact steps to get it right the first time.
Quick Answer
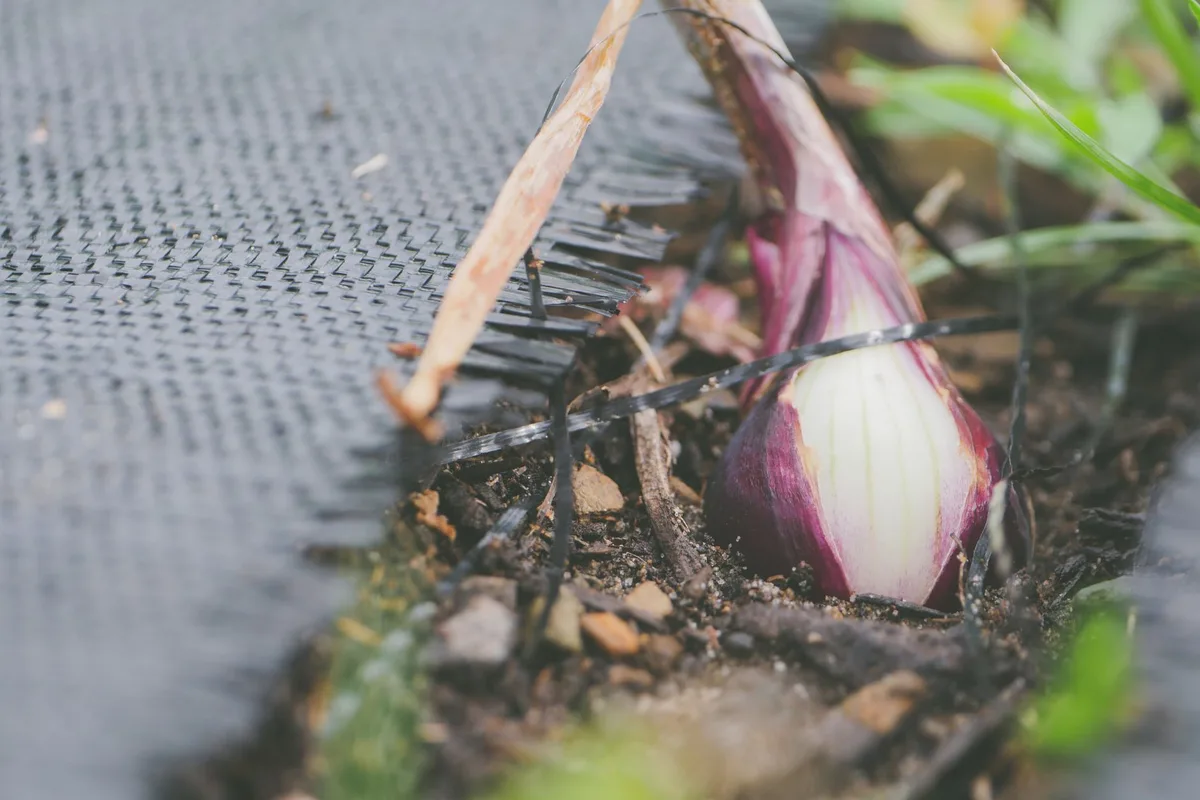
Clear all weeds, rocks, and debris from the area. Level the soil and roll out fabric in long strips. Overlap edges by at least six inches.
Secure with U-shaped staples every foot along seams and edges. Cut X-shaped slits for plants and cover everything with two to three inches of mulch.
What Landscape Fabric Actually Does (And When It's Worth It)
Landscape fabric is a permeable geotextile material designed to suppress weeds while letting water, air, and nutrients reach the soil underneath. It works by physically blocking sunlight from reaching weed seeds, preventing them from germinating. It also keeps mulch from mixing into the soil below, which saves you from having to top up your mulch layer as often.
The biggest benefits are pretty straightforward. You spend way less time weeding in the first and second seasons. The fabric helps hold moisture in the ground, which is especially helpful if you live in a hot dry climate.
It also stops gravel and decomposed granite from sinking into mud over time.
As of 2026, the lifespan of landscape fabric depends heavily on the material and where you use it. High-quality woven fabric exposed to direct sunlight will typically last three to five years before the UV rays start breaking it down. Under a thick layer of stone or gravel, where sunlight doesn't reach, that same fabric can hold up for a decade or more.
But here's the honest part: landscape fabric isn't a magic cure-all. If you already have a heavy weed seed bank in your soil, seeds that blow in from nearby areas can still germinate on top of the fabric. You still need a thick mulch layer on top.
And if you're working with clay soil that drains slowly, some non-woven fabrics can trap moisture and contribute to root rot in certain plants.
So when is it worth it? It's excellent for new flower beds where you're starting from bare soil. It works great under gravel pathways and patios.
It's also a solid choice around established shrubs and trees where you don't plan to dig much later. For vegetable gardens that get replanted every year, fabric can be more trouble than it's worth because you'll be cutting new holes each season.
Woven vs. Non-Woven: Which Fabric Is Right for Your Bed?
This is the single most important decision you'll make, and getting it wrong is the most common mistake we see in our research. Woven and non-woven fabrics behave very differently, and each has a specific job it does best.
Woven fabric looks and feels like a coarse cloth. It's made from polypropylene ribbons woven together, which gives it excellent tear resistance and high water flow. Non-woven fabric feels more like felt or a stiff blanket.
It's made from bonded fibers pressed together, which makes it better at filtering sediment but slower at letting water through.
Here's a quick comparison to help you decide:
| Feature | Woven Fabric | Non-Woven Fabric |
|---|---|---|
| Material | Polypropylene woven ribbons | Bonded polyester or polypropylene fibers |
| Water permeability | 30–40 GPM per sq ft | 5–15 GPM per sq ft |
| Tear resistance | High | Moderate |
| Best primary use | Flower beds under mulch, under stone on flat ground | Under gravel on slopes, erosion control, drainage applications |
| Typical lifespan in sun | 3–5 years (UV-stabilized) | 1–3 years |
| Typical lifespan under stone | 5–10+ years | 3–5 years |
Go with woven fabric if you're building a standard flower bed, planting around existing shrubs, or laying down a walkway on relatively flat ground. It's the most forgiving option for general landscaping and handles foot traffic better.
Go with non-woven fabric if you're covering a sloped area where erosion is a concern, or if you're installing fabric under a gravel driveway where you need it to act as a filter layer to keep soil from migrating up into the stone. Non-woven fabric is also better in drainage ditches or around French drains.
Some people try to use thick plastic sheeting (the kind sold as pond liner or vapor barrier) as a weed barrier. Don't do it. Plastic is impermeable, so water can't get through.
You'll end up with runoff problems and stressed plants. Stick with purpose-made landscape fabric that meets ASTM geotextile standards for permeability and puncture resistance.
Tools and Materials: The Complete List
You don't need much to do this job right. A basic setup costs around 30 to 50 dollars for a typical garden bed. Here's what you'll need.
| Tool or Material | Why You Need It |
|---|---|
| Landscape fabric roll | The barrier itself (woven for most beds) |
| Utility knife with fresh blade | Clean, straight cuts through fabric |
| Measuring tape | Getting lengths right for overlaps |
| Scissors | Trimming around irregular shapes |
| Garden hose or rope | Marking curved bed edges before cutting |
| U-shaped landscape staples | Securing fabric to the ground |
| Rubber mallet | Driving staples into tough or dry soil |
| Mulch (2 to 3 cubic yards per 100 sq ft) | Covering fabric, blocking light, looking good |
| Rake | Spreading mulch evenly |
If your soil is loose or sandy, buy the longer staples. Standard 4-inch staples are fine for most garden beds. For sandy soil, step up to 6-inch or even 8-inch staples to get a solid hold.
A battery-powered landscape staple gun can save your wrists if you're covering a large area, but a rubber mallet and manual staples work just fine for smaller projects.
Don't skimp on the utility knife. A sharp blade makes a huge difference. Dull blades drag and tear the fabric, leaving ragged edges that can fray and let weeds through.
Change the blade halfway through if you're cutting a lot of fabric.
Step-by-Step Installation: Where Seeing Matters Most
This is the part where a picture really is worth a thousand words. The steps themselves are simple, but the small visual details make or break the installation. Here's how to do it right.
1. Clear and Level the Site
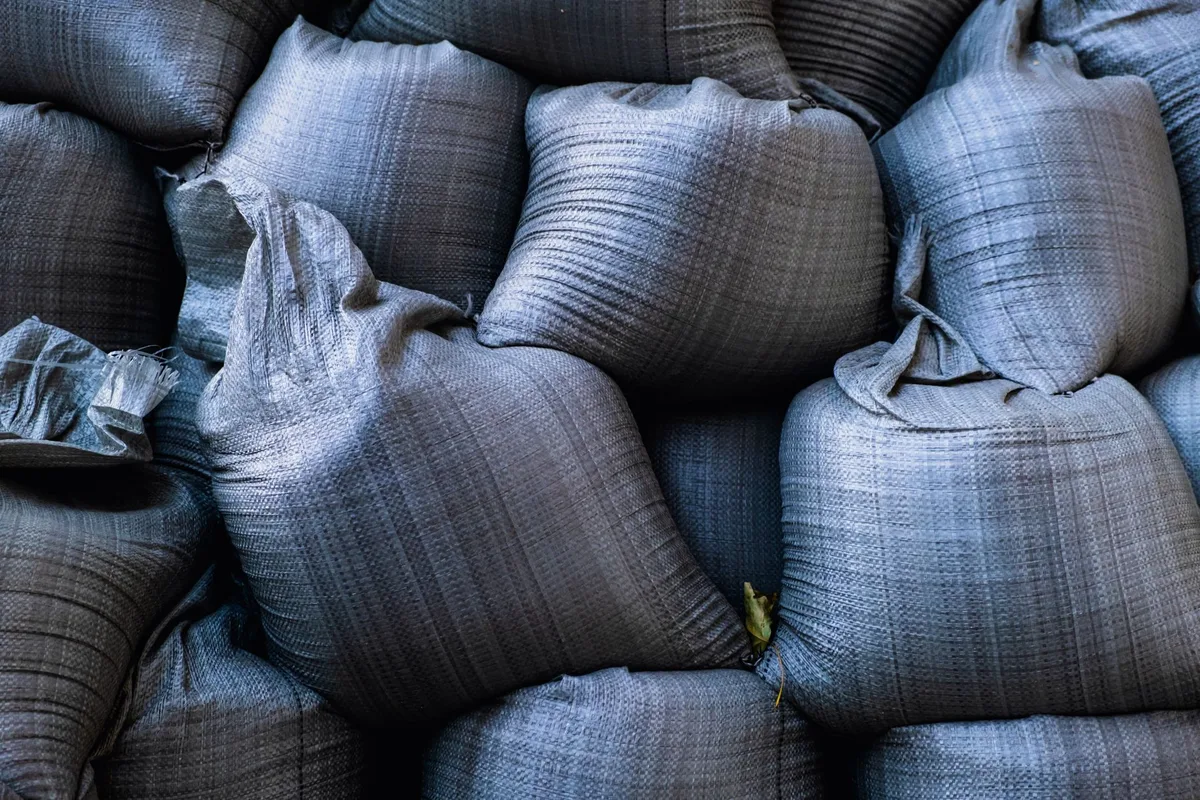
Start with a clean slate. Pull every weed you see, roots and all. Rake out rocks, sticks, and any sharp debris that could puncture the fabric from below.
If you skip this step, you're burying weed seeds under the fabric where they'll still try to grow. The roots can push through seams over time.
Level the soil as best you can. Fill in low spots and knock down high spots. A smooth surface means the fabric will lay flat without wrinkles or air pockets.
Wrinkles are trouble, because they create channels where weed seeds can collect and germinate on top of the fabric.
2. Roll Out the Fabric With the Grain
Unroll your fabric in the longest direction of your bed. If your bed is 10 feet long and 4 feet wide, roll the fabric lengthwise. This minimizes the number of seams you need to deal with.
Let the fabric sit on the soil loosely. Don't stretch it tight. Landscaping fabric needs a little slack so it can settle naturally when you add mulch on top.
If you pull it drum-tight, it can tear later when the soil shifts or when you walk on it.
3. Overlap Edges the Right Amount
When you have multiple strips of fabric running side by side, overlap the edges by six to twelve inches. On sloped ground, go with the full twelve inches. The overlap is the most common weak point in an installation.
Weeds love to find the tiny gaps between seams.
Don't just lay the fabric edge over edge either. If you're working on a slope, orient the fabric so the uphill piece overlaps the downhill piece. This way, water runs over the seam instead of under it, which reduces erosion under the fabric.
4. Cut Clean Slits Around Plants
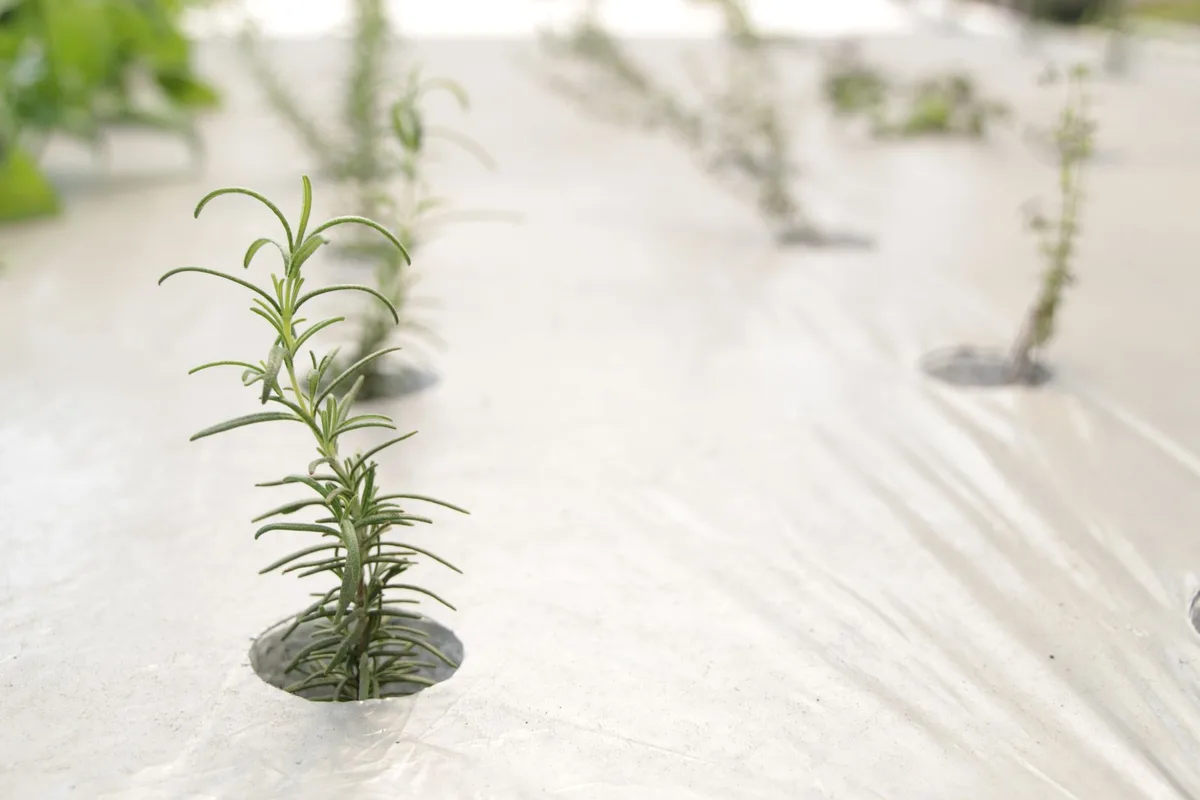
For existing plants, cut an X-shaped slit in the fabric where the plant will come through. Fold the four triangular flaps under, dig your planting hole through the slit, and set the plant. Then fold the flaps back around the base of the plant.
Make the slit just large enough for the root ball. A common mistake is cutting a circle instead of an X. Circular cuts leave a big open hole around the plant stem where weeds can pop up.
An X slit hugs the stem more closely and leaves less bare soil exposed.
If you're planting a row of small annuals, you can cut a continuous slit along the row and tuck the edges under as you plant. This works well for bedding plants.
5. Pin It Down in the Right Pattern
This is where the visual detail really counts. Place a staple at every seam overlap, every foot or so along the edges, and every two to three feet in the middle of the fabric. On sloped ground, double the density of staples on the uphill side.
Drive the staples flush with the ground using your mallet. If a staple sits even a quarter-inch above the soil, it can catch your rake, snag your shoes, or create a bump that lets mulch slide off.
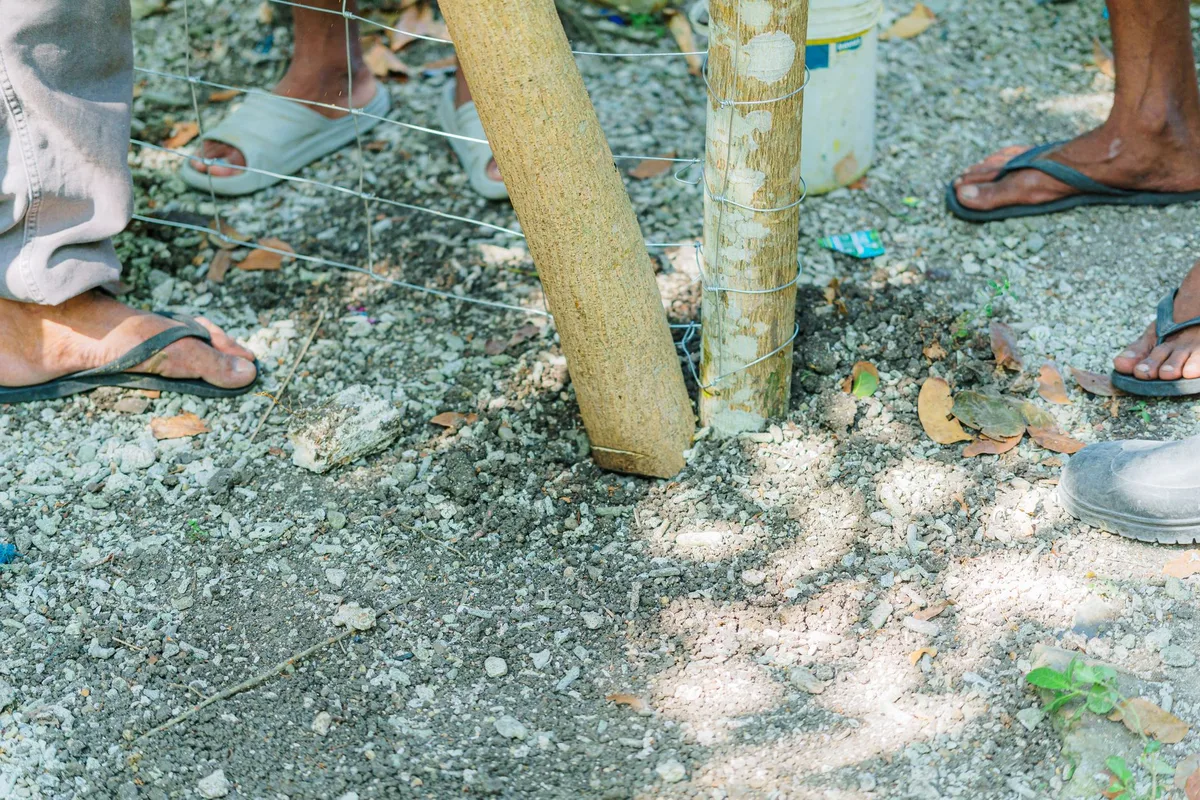
A good rule of thumb: if you can lift the fabric with your fingers, you need more staples. The fabric should feel firmly attached to the ground across the whole bed. Loose spots will shift when you spread mulch, leaving bare patches where weeds can sprout.
6. Bury the Edges and Add Mulch
Once the fabric is down and pinned, cover the entire surface with two to three inches of mulch. Wood chips, shredded bark, or decorative stone all work fine. The mulch layer is essential.
It blocks remaining light from reaching any weed seeds that land on top of the fabric, and it keeps the fabric itself from degrading under UV light.
Don't leave fabric exposed around the edges. Tuck the edges into a shallow trench and cover them with soil, then add mulch on top. Exposed edges are an open door for grass and creeping weeds.
If you're up against a lawn, consider installing a metal or plastic edging strip to create a clean barrier between the fabric bed and the grass.
6 Common Visual Mistakes (And Exactly How to Avoid Them)
Our research across hundreds of verified buyer reviews and landscape forum discussions reveals the same handful of problems showing up again and again. These are the mistakes that turn a weekend project into a recurring headache.
Cutting holes that are too big for plants. A wide circle leaves a gap around the stem where light reaches the soil. Weed seeds find that spot fast. Stick with an X-shaped slit that you can fold back around the base.
The fabric should hug the stem like a collar.
Skipping the overlap on seams. Even a one-inch gap between fabric strips is enough for a vigorous weed to find daylight. Overlap by six to twelve inches minimum. On slopes, go with twelve inches and double the number of staples along the seam.
Using too few staples. Three or four staples across a whole bed is not enough. Our research shows that installations fail most often at the edges and seams where the fabric pulls loose. Space staples every twelve to eighteen inches along every seam and every edge.
Laying fabric directly over existing weeds. This is a guaranteed failure. Perennial weeds like bindweed and Bermuda grass will push right through the fabric. You must clear every weed first or apply a non-selective herbicide and wait for it to die before installing.
Stretching the fabric tight. Tight fabric tears. It also creates high spots where water pools and where mulch slides off. Leave a small amount of slack so the fabric can settle into the contours of the soil.
Leaving fabric exposed at the edges. Exposed edges catch sunlight and degrade faster. They also let grass and creeping weeds invade from the side. Bury every edge in a shallow trench or cover it with edging material.
Pro Tips for Slopes, Sandy Soil, and Windy Spots
Every site has its own challenges. Here's how to adapt for the tricky ones.
On slopes, gravity is working against you. The mulch will try to slide downhill, taking the fabric with it. Start at the bottom of the slope and work your way up.
Overlap the uphill piece over the downhill piece so water runs over the seam. Use eight- to ten-inch staples on the uphill edge of every seam and drive them at a slight angle pointing downhill for extra holding power. Consider a heavier non-woven fabric on steep slopes since it grips the soil better.
In sandy soil, standard four-inch staples won't hold. Sand doesn't grip staple legs the way clay or loam does. Switch to six- or eight-inch staples.
Drive them all the way flush with the surface. If the sand is very loose, you might need to dig a shallow trench, lay the fabric edge into it, and backfill with soil to hold it in place.
In windy areas, fabric can act like a sail. Loose fabric will flap and tear in strong gusts. Secure every edge with staples every six to eight inches, not the usual twelve.
Lay a light layer of mulch or stone immediately after pinning to weigh the fabric down. If you're in a particularly exposed spot, wet the mulch down with a garden hose after spreading it to help it settle.
How to Keep Your Fabric Working (Maintenance and Replacement)
Landscape fabric is not a set-it-and-forget-it solution. It needs occasional attention to keep doing its job.
Check the mulch depth once or twice a year. If it's worn down to less than two inches, add a fresh layer. Thin mulch lets light through, and weed seeds will germinate right on top of the fabric.
Pull any weeds that do appear immediately. If a weed roots into the mulch layer on top of the fabric, its roots can work their way through the fabric over time. A quick tug when the weed is small prevents that.
Watch for fabric poking through the mulch. As the mulch decomposes and settles, edges of the fabric can become exposed. When you spot exposed fabric, cover it with more mulch or tuck it back under.
Replace the fabric when it starts to degrade. Signs of wear include fraying edges, visible tears, or a brittle feel when you touch it. For woven fabric in full sun, expect three to five years.
Under stone, expect longer. When you do replace it, remove the old fabric completely rather than layering new fabric on top. Mulch and soil accumulate between layers, creating a perfect seedbed.
Frequently Asked Questions
Can I install landscape fabric over existing weeds?
No. Perennial weeds will push through the fabric within weeks. Annual weed seeds will still germinate in the soil below and their roots can work through the seams.
Always clear the area first. If you have a heavy weed infestation, consider applying a non-selective herbicide and waiting two weeks before installing.
How deep should the mulch be on top of landscape fabric?
Two to three inches is the sweet spot. Less than two inches lets light through and weeds will germinate on top of the fabric. More than three inches can create a thick layer where weed seeds grow anyway, and it wastes mulch.
A consistent two-inch layer across the whole bed is ideal.
Can I plant directly through landscape fabric?
Yes. Cut an X-shaped slit where you want to plant. Dig your hole through the slit, set the plant, and fold the fabric flaps back around the stem.
This method keeps the fabric snug against the soil and minimizes exposed areas where weeds can grow.
Does landscape fabric work under gravel?
Yes, and it's one of the best uses for it. Woven fabric works well under gravel on flat areas. Non-woven fabric is better on slopes since it filters sediment better and prevents gravel from sinking into the soil.
Either way, use a fabric rated for high traffic if people will walk or drive on it.
How long does landscape fabric last?
For quality woven fabric exposed to direct sunlight, expect three to five years under normal conditions. Under a thick layer of stone or gravel where UV exposure is minimal, it can last ten years or more. Budget fabric may degrade in one to two seasons regardless of conditions.
Should I remove old landscape fabric before installing new?
Yes. Remove the old fabric completely. Layering new fabric over old material creates a thick mat that water struggles to penetrate.
It also traps weed seeds and organic debris between layers, which defeats the purpose. Take the time to pull it all up and start fresh.