Guide to Mulching Checklist 2026
You can't just throw mulch down and hope for the best. A proper mulching checklist walks you through the prep work, material choices, and application steps that prevent common mistakes like suffocated roots, weed invasions, and wasted money. Skip even one step and you'll either redo the work next season or watch your plants struggle.
Most landscaping beds need 2 to 4 inches of mulch to suppress weeds and retain moisture, but the right depth depends on whether you're mulching annuals, perennials, or trees. Timing, bed prep, and mulch type all change based on your plants and climate. Here's how to get it right the first time.
Quick Answer
A mulching checklist guides you through measuring your beds, choosing the right mulch type, clearing weeds, edging borders, and applying 2 to 4 inches of material. It prevents over-mulching around tree trunks and ensures proper depth for each plant type. Following the checklist saves time, money, and protects root health.
Most homeowners mulch once in spring and refresh annually.
Why a Mulching Checklist Matters (And What Happens Without One)
Mulch does more than look neat. It holds moisture in the soil, blocks weed seeds from germinating, regulates soil temperature, and adds organic matter as it breaks down. But bad mulch application causes more harm than skipping it entirely.
Piling mulch against tree trunks creates what arborists call volcano mulching. The mound traps moisture against the bark, invites rot, and gives rodents and insects a protected home. The International Society of Arboriculture reports that improper mulching is one of the top five causes of urban tree decline.
Applying mulch too thin wastes your effort. A one-inch layer won't stop weeds or hold enough moisture to reduce watering. Too thick and you suffocate roots, block oxygen exchange, and create anaerobic pockets that smell sour.
Without a checklist you're also likely to mulch over existing weeds, skip bed edging, or buy the wrong volume. One cubic yard of mulch covers roughly 100 square feet at 3 inches deep, but most people guess and either run short or haul away leftovers. A systematic approach eliminates guesswork and rework.
Before You Start: Assessing Your Current Situation
Walk your property and note what you're working with. Every bed is different, and the checklist adjusts based on whether you're refreshing old mulch, starting fresh in a new bed, or switching mulch types mid-season.
Is This a Refresh or a New Installation?
If you mulched within the past year, check the existing layer. Rake it lightly with your hand. Does it clump into matted sheets?
That's a sign the old mulch has compacted and needs removal before you add new material.
Fresh mulch on top of old compacted mulch creates a barrier that sheds water instead of soaking it in. Remove or break up the matted layer first. If the old mulch has decomposed into fine, crumbly texture, you can leave it and top-dress with 1 to 2 inches of new material.
Brand-new beds need full-depth mulch. You'll apply the full 3 to 4 inches in one go after completing all prep work.
What Type of Garden Beds Are You Mulching?
Annual flower beds, perennial borders, vegetable gardens, and tree rings all need different approaches. Annuals get replanted each season, so a finer mulch like shredded hardwood or compost works well. It breaks down faster and mixes into the soil when you till or replant.
Perennial beds and shrub borders benefit from coarser, longer-lasting mulch like pine bark nuggets or double-shredded hardwood. These materials hold their shape for 18 to 24 months and won't need full replacement every spring.
Tree rings require special care. Keep mulch 6 inches away from the trunk, spread it out to the drip line if possible, and never pile it into a cone. Trees also tolerate wood chips well, since they mimic the natural forest floor.
Vegetable gardens are a special case. Straw, compost, or untreated wood chips work best. Avoid dyed mulch or any product treated with chemicals near edibles.
Some gardeners use pine straw for acid-loving crops like blueberries.
When Should You Mulch? Spring vs. Fall Timing
Spring mulching happens after the soil warms but before weeds take over. In most U.S. climates that's late March through May. You'll lock in soil moisture from spring rains and block the first flush of annual weeds.
Fall mulching protects roots through winter and gives perennials insulation. Apply it in October or November after the first frost. Don't mulch too early in fall or you'll keep the soil warm longer and delay dormancy.
In warmer zones (USDA 8 and higher), you can mulch almost any time except the peak of summer. Laying fresh mulch in July or August wastes labor because it won't suppress weeds that have already sprouted, and you'll bake yourself doing the work.
If you're refreshing old mulch, spring is better. If you're planting new trees or shrubs in fall, mulch right after planting to help roots establish before winter.
How Much Mulch Do You Actually Need?
Guessing volume is the fastest way to over-order or run out mid-job. Measure your beds, calculate coverage, and decide whether bulk or bagged mulch makes sense for your project size.
Measuring Your Beds and Calculating Coverage
Walk each bed with a tape measure. Break irregular shapes into rectangles and estimate. Multiply length by width to get square footage for each bed, then add them all together.
Once you have total square footage, use this formula:
Square feet × desired depth in inches ÷ 324 = cubic yards needed
For example, if you have 600 square feet of beds and want 3 inches of mulch:
600 × 3 ÷ 324 = 5.56 cubic yards
Round up to 6 cubic yards to account for settling and overlap.
Most landscape suppliers sell mulch by the cubic yard. Bagged mulch is sold in 2-cubic-foot bags. One cubic yard equals 27 cubic feet, so you'd need about 13.5 bags per yard.
That conversion helps you compare bulk vs. bagged pricing.
If you're only topping off existing mulch, measure the current depth with a ruler. If it's 2 inches and you want 3, you're adding 1 inch. Adjust the formula accordingly.
Bulk vs. Bagged: Which Makes Sense for Your Project?
Bagged mulch costs $3 to $7 per 2-cubic-foot bag at most home centers. That's roughly $40 to $95 per cubic yard once you account for the 13.5 bags. Bulk mulch from a landscape supplier runs $25 to $45 per cubic yard as of 2026, and many deliver for $50 to $100 depending on distance.
If you need 5 or more cubic yards, bulk is almost always cheaper even with delivery. You also skip the hassle of loading dozens of bags into your car and dealing with plastic waste.
Bagged makes sense for small jobs, one or two beds, or if you don't have truck access. It's also easier to store leftovers. One or two extra bags fit in the garage; a half-yard pile of bulk mulch sits in your driveway until you use it or haul it away.
Some suppliers offer mulch blowing services. A truck with a hose shoots mulch directly into your beds from the curb. It's faster and cleaner than wheelbarrowing, but you pay a premium and you lose control over precise placement.
It works best for large, open beds without tight corners or delicate plantings.
Order 10 percent extra if you're doing bulk delivery. Mulch settles in transit and as you spread it. Running short halfway through means paying another delivery fee or making an emergency bag run.
Choosing the Right Mulch Type for Your Beds
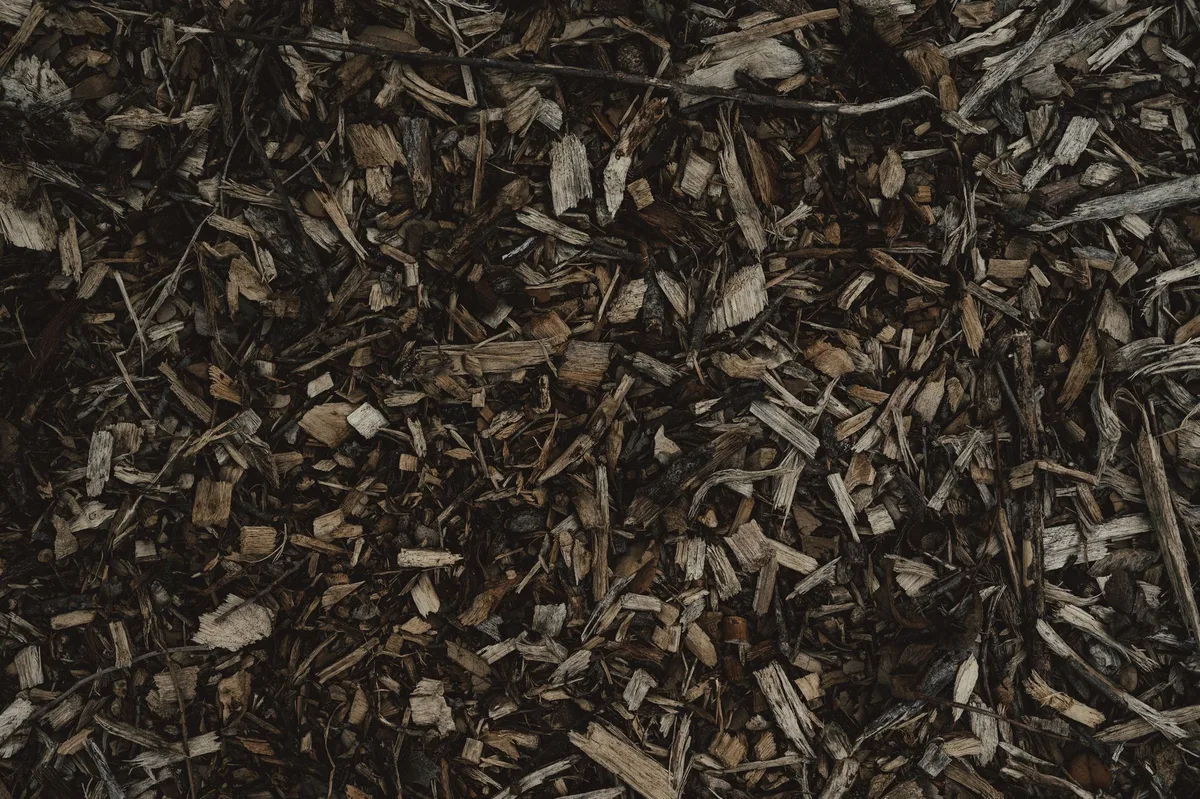
Mulch isn't one-size-fits-all. Organic mulches break down and feed the soil but need replenishing. Inorganic mulches last longer but don't improve soil structure.
Match the material to your plants, budget, and how often you want to refresh.
Organic Mulch Options: Wood Chips, Bark, Straw, and Pine Needles
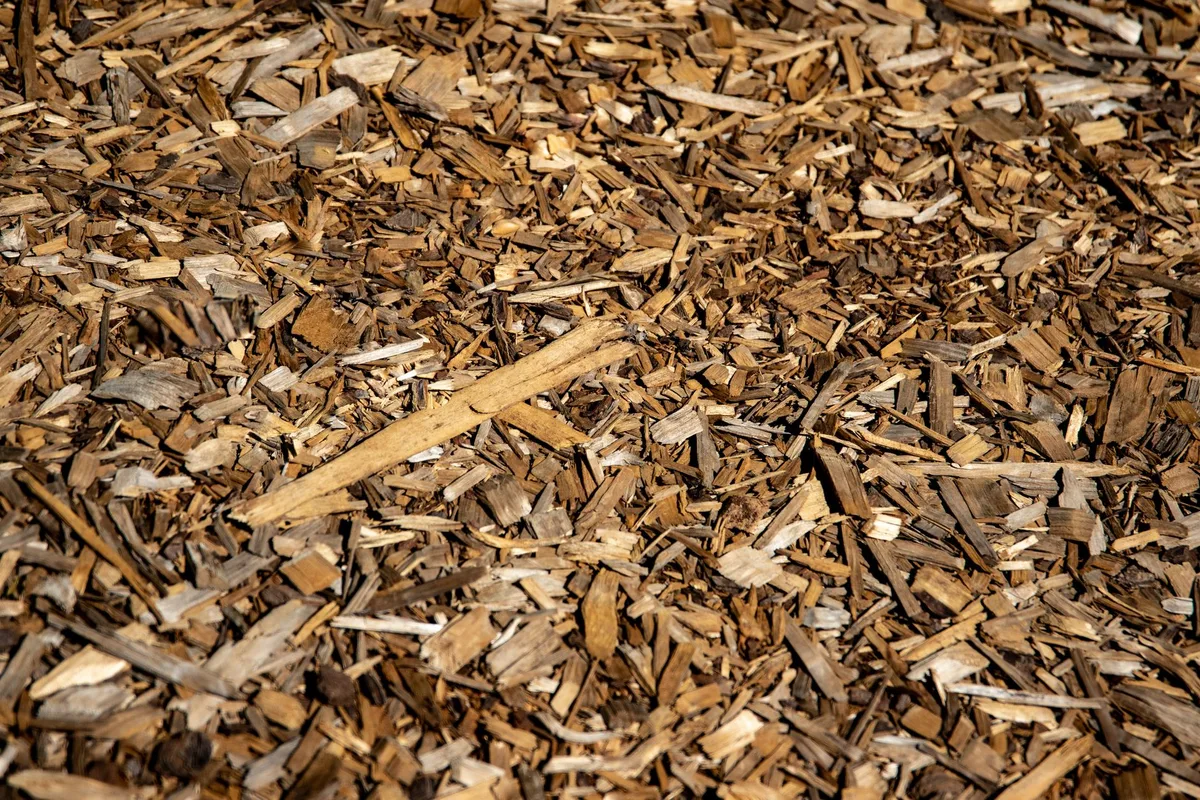
Shredded hardwood mulch is the most common choice. It's affordable, widely available, and works for almost any bed. Double-shredded or triple-shredded versions break down slower and hold their color longer.
Dyed varieties (red, brown, black) keep their look for one season but fade by the next spring.
Pine bark comes in nuggets or shredded form. Nuggets are chunky and last two seasons or more, but they float in heavy rain and can wash onto walkways. Shredded pine bark stays in place better and works well on slopes.
It's slightly acidic, which benefits best trees for hot dry climates and azaleas.
Wood chips are coarser and often free from tree services or municipal yard waste programs. Fresh chips need to cure for a few weeks because they tie up nitrogen as they start decomposing. Spread them in a pile, let them sit, then use them in ornamental beds.
Don't use fresh chips in vegetable gardens.
Straw works well for vegetable beds and annual flowers. It's light, easy to spread, and breaks down in one season. Avoid hay, which contains weed seeds.
Straw is almost seed-free if you buy clean bales.
Pine straw (pine needles) is popular in the Southeast. It's cheap, renewable, and doesn't compact. It also acidifies soil slightly, so it pairs well with blueberries and camellias.
It blows away in high wind, so it's not ideal for exposed sites.
Compost can serve as mulch in vegetable gardens. It adds nutrients directly and integrates into the soil as you work the bed. Use finished, well-aged compost to avoid weed seeds and avoid piling it against plant stems.
Inorganic Mulch: When Stone, Rubber, or Fabric Fits Better
Gravel and stone mulch last indefinitely and work well in low-water landscapes, around foundations, and in fire-prone areas. They don't add organic matter, so pair them with a weed barrier fabric underneath. Over time, dirt and debris settle into the stones and weeds sprout anyway, but maintenance is still lower than organic mulch.
River rock, pea gravel, and crushed granite are common choices. Use them around succulents, cacti, and Mediterranean plants that prefer dry, fast-draining conditions. They also make sense for pathways and areas where you want a clean, permanent look.
For more on gravel options, check which sizes drain best.
Rubber mulch is made from recycled tires. It's long-lasting, doesn't decompose, and meets ASTM F1292 safety standards for playgrounds. It's also controversial.
Some studies show it leaches trace metals and chemicals, so avoid it near vegetable gardens or anywhere runoff enters wells or ponds. It's best reserved for play areas or commercial landscapes where longevity and cushioning matter more than soil health.
Landscape fabric (weed barrier) goes under inorganic mulch, not over bare soil in planting beds. It blocks weeds for a few years but eventually clogs with organic debris and becomes a maintenance nightmare. Many professional landscapers skip it entirely in organic mulch beds because it prevents mulch from breaking down into the soil.
Matching Mulch to Plant Types and Garden Zones
Acid-loving plants like azaleas, rhododendrons, and blueberries thrive under pine-based mulches. The slight pH drop as the mulch decomposes keeps soil conditions ideal.
Roses and perennials prefer neutral mulches like shredded hardwood or composted bark. Avoid fresh wood chips near these plants because the nitrogen tie-up can stunt growth during the first growing season.
In hot, dry climates (zones 8 through 10), use organic mulch to conserve moisture. A 3-inch layer can cut watering frequency in half. In wet, humid zones, keep mulch thinner (2 inches) to avoid creating soggy conditions that invite fungal diseases.
If you're working with fungicide treatments, proper mulch depth reduces splash-back that spreads spores.
Northern gardeners mulch heavily in fall to insulate roots through freeze-thaw cycles. Southern gardeners mulch year-round to moderate soil temperature and reduce evaporation.
Vegetable gardens need mulch that breaks down in one season so you can till it under. Compost, straw, and grass clippings (pesticide-free only) work best. Avoid treated wood products and rubber near edibles.
The Pre-Mulching Checklist: Prep Work You Can't Skip
Prep determines whether your mulch job lasts one season or three. Skipping these steps causes weeds to push through, mulch to wash away, and plants to suffer. Do this work before you order or open a single bag.
Weeding and Clearing the Beds
Pull or dig every visible weed before you mulch. Mulch blocks new weed seeds from germinating, but it won't kill established weeds. If you lay mulch over actively growing weeds, they'll punch right through or send runners underneath.
Hand-pull small weeds and use a hoe or garden fork for deep-rooted perennials like dandelions and thistle. Get the whole root or they'll resprout.
If the bed is overrun, consider a pre-emergent herbicide or a non-selective herbicide like glyphosate. Apply it, wait the recommended interval (usually 7 to 14 days), then remove dead vegetation. This step is optional, but it saves hours of hand weeding in neglected beds.
Some gardeners lay down cardboard or several sheets of newspaper as a biodegradable weed barrier before mulching. It smothers existing weeds and breaks down in 6 to 12 months. Wet the cardboard, overlap seams by 6 inches, and mulch directly on top.
Don't use glossy inserts or heavily printed sections.
Dealing with Old, Matted, or Decomposed Mulch
If last year's mulch has broken down into fine, dark crumbles, you can leave it. That's organic matter enriching your soil. Rake it smooth and add fresh mulch on top.
If the old mulch is matted, compacted, or water-repellent, remove it or break it up. Use a garden rake or pitchfork to fluff and aerate the layer. If it's too far gone, shovel it out and compost it or use it as pathway fill.
Check for sour mulch. Rake it and smell it. If it smells like vinegar, sulfur, or rotten eggs, the mulch has gone anaerobic.
That means it decomposed without oxygen, producing acids and ammonia that can burn plant roots. Spread sour mulch out in the sun, turn it daily, and let it air out for a week before using it. Or discard it entirely.
Old dyed mulch that's faded to gray can stay if it's not matted. Fresh mulch on top will restore color.
Edging Your Beds for Clean Lines and Containment
Edging defines the bed perimeter and keeps mulch from spilling onto lawns or walkways. It also makes mowing easier and gives the landscape a finished look.
Use a flat-blade spade or a manual edging tool to cut a clean line 2 to 3 inches deep along the bed border. Angle the cut slightly away from the bed so the edge is a shallow trench.
For a more permanent solution, install metal, plastic, or stone edging. Metal and aluminum edging is nearly invisible and lasts decades. Plastic edging is cheaper but can heave in freeze-thaw cycles.
Brick or stone edging adds visual interest but takes more time to install.
If you skip edging, mulch will migrate. Rain, foot traffic, and mowing scatter it onto grass and pavement. You'll spend the season shoveling it back into place.
Should You Use Landscape Fabric or Skip It?
Landscape fabric works under inorganic mulch like gravel. It keeps stones from sinking into the soil and slows (but doesn't stop) weeds.
In organic mulch beds, fabric is usually a mistake. It prevents mulch from decomposing into the soil, blocks earthworms and beneficial microbes, and turns into a maintenance nightmare. After two or three years, organic debris settles on top of the fabric and weeds sprout there anyway.
Pulling weeds becomes harder because roots tangle in the fabric.
If you want a barrier, use cardboard or newspaper. Both break down naturally and don't interfere with long-term soil health.
The exception: newly installed beds with aggressive weeds like bindweed or Bermuda grass. In that case, fabric can buy you a season while you establish plants. Remove it after a year or two once the bed is stable.
How to Apply Mulch the Right Way: Step-by-Step

Spreading mulch is simple, but small details make the difference between a bed that thrives and one that struggles. Follow these steps for every bed type, then adjust depth and placement based on what you're mulching.
Getting the Depth Right: 2-4 Inches Depending on Bed Type
Aim for 2 inches in annual beds and vegetable gardens. This is enough to suppress weeds and hold moisture without smothering shallow-rooted annuals or warming the soil too late in spring.
Use 3 inches for perennial borders, shrubs, and most landscape beds. This is the sweet spot for weed control, moisture retention, and root insulation.
Go 4 inches on slopes, in windy areas, or anywhere erosion is a problem. The extra depth anchors the mulch and prevents washout.
Never exceed 4 inches. Deeper mulch blocks oxygen, encourages shallow rooting, and creates habitat for voles and other pests.
Measure depth with a ruler after spreading. Mulch settles 10 to 20 percent in the first few weeks, so starting at the high end of your target range is fine.
If you're topping off old mulch, measure the existing layer first. If it's already 2 inches, add 1 to 2 inches of fresh material for a total of 3 to 4 inches.
Mulching Around Trees Without Creating Volcanoes
Tree mulch should form a flat donut, not a cone. Start 6 inches away from the trunk and spread mulch out toward the drip line. The wider the ring, the better for roots.
Keep the root flare visible. That's the spot where the trunk widens at the base. Burying it invites rot, insect damage, and girdling roots.
If the tree already has a mulch volcano, pull it back. Rake the excess away from the trunk until you see the root flare. Spread the extra mulch farther out in the ring.
Young trees benefit most from wide mulch rings. Extend the mulch 3 to 4 feet out from the trunk if space allows. This reduces competition from grass and retains moisture where feeder roots grow.
Mature trees with established root systems tolerate smaller rings, but wider is always better. Never pile mulch against the bark.
Spreading Technique and Tools That Make It Easier
Dump mulch in small piles around the bed, then spread it with a rake or your hands. Don't dump one giant pile in the center and try to spread it. You'll compact the soil and waste energy dragging mulch across the bed.
Use a steel garden rake or a mulch rake (wider and lighter). Pull mulch toward bare spots and smooth it into an even layer. Check depth as you go.
Wear gloves. Wood mulch picks up splinters, and some varieties irritate skin.
For tight spaces around plants, spread mulch by hand. Push it gently under lower branches but leave a small gap around each stem. Direct contact between mulch and plant stems invites rot and insect damage.
If you're working with pine straw, fluff it as you spread. Compressed bales expand to several times their packed size.
Work on a calm day if you're using lightweight mulch like straw or pine needles. Wind scatters it before you finish spreading.
Watering Before or After: What Works Best
Water the beds lightly after mulching. This settles the mulch, knocks dust off plant leaves, and helps it start bonding into a mat. A light spray from a hose is enough.
Don't soak it.
If the soil was dry before mulching, water before and after. Mulch locks in existing moisture, so starting with dry soil means your plants stay dry until the next rain or irrigation.
Avoid heavy watering right after mulching. It can wash lightweight mulch into clumps or float it out of the bed entirely. A gentle shower or misting works best.
The Biggest Mulching Mistakes (And How to Avoid Them)
Volcano mulching kills more trees than most homeowners realize. Piling mulch against the trunk traps moisture, rots bark, and invites borers and disease. Always leave 6 inches of clearance and expose the root flare.
Applying mulch over uncleared weeds wastes time and money. The weeds grow through the mulch or send runners underneath. Pull everything before you spread.
Too-thin layers don't suppress weeds or hold moisture. One inch looks done but fails by midsummer. Stick to 2 to 4 inches depending on bed type.
Skipping bed edging lets mulch scatter across lawns and walkways. You'll spend the season pushing it back. Cut a clean edge before you start.
Using fresh wood chips in vegetable beds ties up nitrogen as the chips decompose. Cure them in a pile for a few weeks or save them for ornamental beds only.
Mulch Maintenance: When and How to Refresh Your Beds
Most organic mulch needs refreshing every 12 to 18 months. Wood-based mulches decompose about 1 to 2 inches per year depending on climate and particle size.
Check depth each spring. If it's down to 1 inch, add 2 inches of fresh mulch. If it's still 2 to 3 inches and looks good, you can skip a year.
Fluff matted mulch with a garden rake in early spring. This aerates the layer, breaks up clumps, and improves water penetration. If it won't fluff, remove it and start fresh.
Plan to replace dyed mulch annually if color matters. Natural mulch can go two seasons before it looks worn. Pine bark nuggets and coarse wood chips last longer than shredded products.
Safety and Placement: Fire Risk, Termites, and Clearance Rules
Keep mulch at least 6 inches away from house siding, deck posts, and any wood structure. Direct contact creates moisture problems and gives termites a highway into your home.
In fire-prone areas, use gravel or stone within 5 feet of the foundation. Organic mulch is flammable, especially when dry. Some insurance policies and local fire codes require noncombustible materials in the home ignition zone.
Termites don't eat mulch, but they travel through it. Mulch provides cover and moisture, making it easier for termites to move between soil and wood. Keeping a clearance zone reduces risk but doesn't eliminate it.
Cocoa mulch smells great but contains theobromine, which is toxic to dogs. Avoid it if pets have access to your beds. Most other organic mulches are safe.
Cost Breakdown: What to Expect When Buying and Applying Mulch
Bulk mulch costs $25 to $45 per cubic yard as of 2026. Delivery adds $50 to $100 depending on distance and load size. Expect to pay more for premium products like double-shredded hardwood or colored mulch.
Bagged mulch runs $3 to $7 per 2-cubic-foot bag. For a 300-square-foot bed at 3 inches deep, you'll need about 2.8 cubic yards, or roughly 38 bags. That's $115 to $265 in bags versus $70 to $125 for bulk delivery.
Professional installation costs $50 to $100 per cubic yard on top of materials. For a typical residential job (5 to 10 yards), expect $400 to $800 total including mulch and labor.
DIY saves money but takes time. Plan 1 to 2 hours per cubic yard for spreading, plus prep work. If you're mulching large beds or lack equipment, professional installation often makes sense.
Frequently Asked Questions
How often should I replace mulch?
Replace or refresh mulch every 12 to 18 months for most organic types. Check depth each spring. If it's decomposed below 2 inches, add fresh material.
Dyed mulch fades faster and usually needs annual replacement.
Can I put new mulch over old mulch?
Yes, if the old layer is loose and crumbly. Rake it smooth and add 1 to 2 inches of new mulch. If the old mulch is matted or compacted, remove it first or break it up thoroughly.
What's the best mulch for vegetable gardens?
Straw, compost, or aged wood chips work best. Avoid treated wood, dyed mulch, and fresh chips that tie up nitrogen. Keep mulch thin (2 inches) to let the soil warm in spring.
Does mulch attract termites?
Mulch doesn't attract termites, but it provides cover and moisture that help them travel. Keep mulch 6 inches away from wood structures and monitor for activity if termites are common in your area.
How deep should mulch be around trees?
Apply 3 to 4 inches of mulch in a ring around the tree. Start 6 inches from the trunk and extend out toward the drip line. Never pile mulch against the bark.
When is the best time to mulch?
Spring (late March through May) is ideal for most climates. Mulch after the soil warms but before weeds sprout. Fall mulching (October to November) works for winter protection and new plantings.
Your Final Mulching Checklist: The One-Page Summary
Print this checklist and keep it with your garden tools. Walk through every step before you order mulch or start spreading.
Before You Order:
- Measure bed square footage (length × width for each bed)
- Calculate cubic yards needed (square feet × depth in inches ÷ 324)
- Decide bulk vs. bagged based on volume and budget
- Choose mulch type (organic for most beds, inorganic for permanent areas)
- Schedule delivery or pickup for a calm, dry day
Prep Work (do this first):
- Pull or treat all visible weeds
- Remove or fluff old matted mulch
- Edge bed borders with a spade or install permanent edging
- Expose tree root flares and remove any existing mulch volcanoes
- Water beds if soil is dry
Application:
- Spread mulch in small piles around the bed
- Rake to 2 inches (annuals), 3 inches (perennials), or 4 inches (slopes)
- Keep 6 inches clear of tree trunks, house siding, and wood structures
- Leave small gaps around plant stems
- Water lightly to settle the mulch
Post-Mulching:
- Check depth with a ruler in several spots
- Adjust thin areas and pull back any piles against trunks
- Mark your calendar to refresh in 12 to 18 months