Guide to Tree Health Inspection Guide in 2026 (Quick Guide)

You don’t need a forestry degree to spot a dangerous tree before it falls. This Tree Health Inspection Guide walks you through the visual checks that catch structural defects, disease, and decay while there’s still time to act. We’ve pulled together the process arborists use, the same one taught by the International Society of Arboriculture (ISA), and streamlined it for homeowners.
One bad storm or a single missed crack can turn a healthy shade tree into a $10,000 property claim. Per the ANSI A300 (Part 9) standard on tree risk assessment, a routine walkaround inspection catches about 80% of high-risk defects before they cause damage. That’s why learning this process matters, and we’ll show you exactly what to look for.
Quick Answer
A tree health inspection is a systematic visual check for defects that raise the risk of limb failure or whole-tree toppling. Walk around the tree, look for cracks, leans, decay, and deadwood. Use the sound test.
Measure lean angle. Document defects. Assign a risk level.
Call a certified arborist if you find severe issues.
Why This Matters: What a Missed Defect Could Cost You
That big oak in your backyard might look fine from the patio. But up close, a vertical crack in the trunk or a root collar buried under too much mulch can turn a quiet afternoon into an emergency. We’re not being dramatic here, the data backs it up.
- Insurance claims: Tree-related property damage in the U.S. averages $4,500 per claim according to industry reports.
- Injury risk: Falling limbs and toppling trees cause hundreds of serious injuries each year, many from trees that showed visible warning signs.
- Removal costs: Emergency tree removal after a storm often costs 2, 3 times more than a scheduled removal.
A 20-minute inspection twice a year can save you that headache and expense. And it’s not just about money, it’s about sleep. Knowing your trees are structurally sound lets you enjoy them without that knot in your stomach when the wind picks up.
Before You Start: When You Can DIY — and When You Absolutely Shouldn’t
Let’s be honest about what you can and can’t do. A ground-based visual inspection is a great first step, but it has limits. Here’s the honest breakdown.
| What you can do yourself | What you need a pro for |
|---|---|
| Spot large cracks, cavities, and leans | Decay detection inside the trunk (resistograph/sonic tomography) |
| Identify deadwood and major dieback | Climbing inspection of high branches |
| Check root collar for girdling roots | Advanced risk assessment (ISA TRAQ) |
| Perform the sound test on the trunk | Diagnosis of specific diseases |
| Document defects and monitor over time | High-risk trees near targets |
You should absolutely call a certified arborist if you see any of these red lines:
- A lean greater than 15% from vertical with soil heave at the base.
- A crack wider than 6 inches or running vertically more than 3 feet on the trunk.
- Large fungal conks (mushrooms) growing at the base or on the trunk.
- A tree that has already dropped significant limbs without an obvious reason.
Pro tip: You can find an ISA Certified Arborist through the official ISA directory. As of 2026, the credential requires ongoing education and adherence to ANSI standards, so you’re getting someone who knows their stuff.
The 10-Step Walkaround Inspection Process
Now let’s get into the meat of this guide. These ten steps take about 20 minutes per mature tree once you’ve done it a couple times. Grab a notebook, a pair of binoculars, a rubber mallet, and a measuring tape.

Step 1: The 50-Foot Overview — Look for the Big Picture
Stand at least 50 feet away from the tree. Scan the whole shape. Ask yourself:
- Is the tree leaning noticeably compared to surrounding trees?
- Does the crown look lopsided or thin on one side?
- Are there large dead branches sticking out?
- Is there obvious dieback (no leaves) in the upper canopy?
This overview gives you a sense of whether the tree has moved or lost structure. Trees don’t suddenly lean overnight, a gradual change often means root failure. Compare with a photo of the tree from last year if you have one.
Step 2: Check the Root Collar — This Is Where Trees Die First
Walk up to the base. Clear away any mulch, soil, or grass that’s piled against the trunk. You should be able to see the root flare, the natural widening at the base where the trunk meets the roots.
If you can’t see the root flare, that’s a problem. Buried root collars can lead to girdling roots (roots that wrap around the trunk and strangle it), decay, and eventual failure.
Signs to look for:
- Soil pushed up on one side (heaving indicates root breakage).
- Mushrooms or fungal growth at the base.
- Cracks or soft spots in the bark near ground level.
- Girdling roots visible above ground.
Step 3: Scan the Trunk for Cracks, Cankers, and Seams
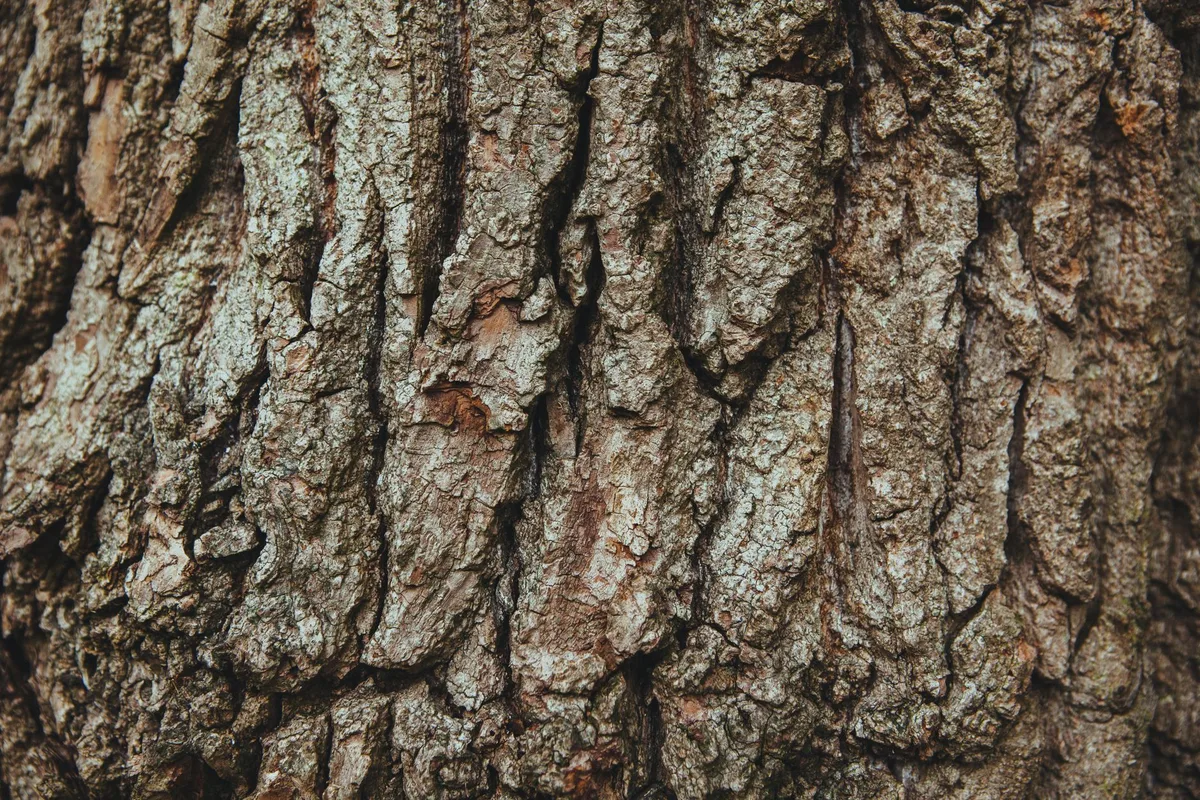
Now walk around the trunk. Look for vertical cracks, horizontal cracks, or spiral cracks. Not all cracks are equal.
- Vertical cracks: If they’re shallow and old (healed over bark), they’re often cosmetic. If they’re deep, open, and oozing sap, they’re a structural concern.
- Horizontal cracks: Worse. They indicate a shear failure risk, especially on large limbs.
- Cankers: Sunken, discolored areas where bark has died. They can weaken the trunk.
Use your rubber mallet to lightly tap the trunk. A solid thud means sound wood. A hollow sound suggests internal decay, call an arborist.
Step 4: Evaluate Branch Attachments — Spot Included Bark
Look up at where major branches meet the trunk. The ideal attachment is a branch with a “U” shape and a bulging collar of wood at the junction.
What you don’t want is a “V” shape with included bark, bark that grows inward between the branch and trunk. This creates a weak union. The branch is essentially wedged into the trunk, not attached with interlocking wood fibers.
Signs of included bark:
- A narrow crotch angle (less than 30 degrees).
- No visible bark ridge or branch collar.
- The branch and trunk appear to be squeezed together.
Included bark branches are the most common cause of limb failure in storms. If you see a large one over a house or driveway, it needs professional attention.
Step 5: Assess the Crown — Dieback, Deadwood, and Leaf Signs
Use binoculars to inspect the top third of the tree. Look for:
- Dead branches: No leaves, no buds, bark peeling off. Any dead branch larger than 2 inches in diameter is a hazard if it’s over a target.
- Crown dieback: If the top 30% or more of the canopy has no leaves, the tree is in decline.
- Leaf discoloration: Off‑season yellowing or spotting can indicate root stress, nutrient deficiency, or disease.
- Epicormic shoots: Clusters of small shoots emerging from the trunk or lower branches. These are a stress response, often from root damage, drought, or decay.
Step 6: The Sound Test (Rubber Mallet Method)
This is quick and surprisingly effective. Tap the trunk at several heights, base, mid‑trunk, and just below the main branches. The mallet should produce a consistent, solid thud.
A hollow, drum‑like sound means internal decay has hollowed out the wood.
Note: This test only works on trees with relatively thin bark. On thick‑barked species like older oaks or redwoods, the sound is dull regardless. Use it as a screening tool, not a definitive diagnosis.
Step 7: Measure Lean Angle — When Is It Dangerous?
Hold a plumb line (string with a weight) next to the trunk. See where the string falls. If the lean is more than 15% from vertical, that’s concerning, especially if there’s soil heave at the base.
You can measure roughly: use a level app on your phone to check the angle. A lean of 10, 15% warrants monitoring. Above 15% with any root disturbance is a high-risk candidate.
Step 8: Check for Fungal Growth and Decay Indicators
Fungal fruiting bodies (conks, mushrooms) on the trunk or at the base are a clear sign of decay inside. Not all fungi are dangerous, but the ones that cause wood rot (like Armillaria, Ganoderma, Laetiporus) can hollow out a tree completely while the bark looks fine.
If you see any of these, especially at the root flare, do not ignore them. The tree’s structural integrity is compromised.
Step 9: Look for Recent Construction or Soil Disturbance
If you’ve done any digging, grading, paving, or construction within the root zone in the past few years, that tree is at higher risk. Roots extend far beyond the drip line. Compaction and root severing can cause decline over 2 to 5 years.
Check for:
- New concrete or asphalt near the trunk.
- Soil grades changed (higher or lower than before).
- Heavy equipment tracks in the root zone.
Step 10: Document and Assign a Risk Level
Take photos of each defect. Note the location (compass direction), size, and date. Then assign a risk level:
| Risk level | Description | Action |
|---|---|---|
| Low | No visible defects or minor cosmetic issues | Monitor annually |
| Moderate | Minor cracks, small deadwood, slight lean | Re‑inspect after storms; prune if needed |
| High | Significant cracks, decay, large leaning | Call arborist within 30 days |
| Extreme | Active failure signs (soil heave, large cracks, major lean) | Call arborist immediately; consider evacuation of target area |
When To Call a Certified Arborist (Red Lines You Should Never Cross)
You don’t need to overthink this. If the tree shows any of the following, stop your DIY inspection and pick up the phone.
- Lean with soil heave: The root plate has started to lift. This tree could fall in the next storm.
- Large cracks: A crack deeper than 1/4 the trunk diameter, or a horizontal crack on a limb over a structure.
- Major decay: Hollow sound on more than 1/3 of the trunk circumference.
- Fungal conks at the base: Especially if multiple or large.
- Tree over a house or high‑use area: If it’s within striking distance of a bedroom, driveway, or playground, any defect should be evaluated by a pro.
The cost of a professional risk assessment ($150, $500) is a fraction of what emergency removal or property damage would cost. And if the tree is healthy, you get peace of mind.
Internal link: If you’re considering replacing a removed tree, our guide to trees for hot dry climates can help you choose a species that will thrive.
Common Mistakes That Make DIY Inspections Dangerous
We see homeowners make the same errors year after year. Here’s what to avoid.
Mistake #1: Only Looking Up
Many people stand at the base and look up. They miss the root collar and the soil. The most dangerous defects often start below ground.
Mistake #2: Ignoring Small Cracks
A hairline crack today can become a split tomorrow, especially after a freeze or heavy rain. Document cracks and monitor them. If they widen, call an arborist.
Mistake #3: Assuming a Thick Trunk Means Healthy Wood
Internal decay can hollow out a tree while the outer bark looks perfect. The mallet test is essential. If you can’t do it, at least look for fungal signs.
Mistake #4: Overlooking Included Bark
People love the shape of a multi‑stemmed tree, but that V‑shaped union is a ticking time bomb. If it’s over your patio, it’s worth a professional opinion.
Mistake #5: Waiting Until Storm Season
Inspect twice a year: once in spring (to see leaf‑on structure) and once in late fall (to see bare branches and defects). Don’t wait for the hurricane forecast.
Internal link: Regular tree maintenance also means keeping the root zone healthy. Check our guide on organic fertilizer for fruit trees for tips on feeding established trees without overdoing it.
(Continued in next sections: Species-Specific Red Flags, Seasonal Timing, Liability, Real Scenario, FAQs)
Species-Specific Red Flags for Common Landscape Trees
Not all trees fail the same way. Knowing what your species tends to do helps you spot problems earlier.
| Species | Common Failure Mode | What to Watch For |
|---|---|---|
| Oak | Limb drop from included bark | Tight V‑shaped unions, heavy horizontal limbs |
| Maple | Trunk splitting at co‑dominant stems | Two or more main trunks with included bark |
| Pine | Whole‑tree toppling from root rot | Lean above 10%, soil heave, fungal conks at base |
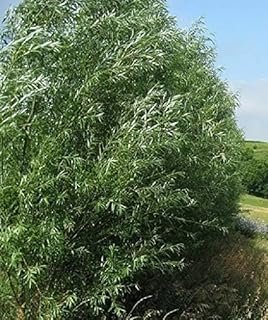
| Willow | Branch failure from weak wood | Cankers, cavities, dieback in upper crown |
| Eucalyptus | Sudden limb drop without warning | Epicormic shoots, cracks at branch junctions |
| Birch | Trunk decay from birch borer damage | Thinning crown, D‑shaped exit holes in bark |
If you have a tree from a hot climate region, our guide on trees suited to arid conditions covers species that handle stress better and resist common defects.
Seasonal Timing: When To Inspect for Best Visibility
You get two clear windows per year for a thorough inspection.
Late spring (leaf‑on) is best for spotting crown dieback, leaf discoloration, and epicormic shoots. The full canopy reveals density issues you can’t see in winter.
Late fall (leaf‑off) reveals branch structure, cracks, and decay pockets hidden by foliage. You can also see the root collar more clearly when ground plants have died back.
A third pass after any major storm is smart. High winds and heavy snow expose weaknesses you might have missed. If a branch came down in a light wind, something’s wrong above.
The Liability Side: Your Duty of Care as a Property Owner
Here’s the legal reality. If a tree on your property fails and damages a neighbor’s house, car, or person, you may be liable. The legal standard is “reasonable care”, that means you inspected it and addressed known defects.
Courts look at several factors:
- Did you know the tree had a defect?
- Did you ignore visible warning signs?
- Did you have a professional assessment done?
A documented inspection with photos and notes is your best defense. It shows you took reasonable steps. If you’re a landlord, HOA board member, or property manager, you have an even higher duty of care.
If you’re dealing with pests or decay issues, our fungicide for lawn trees article covers treatments that can extend a tree’s safe life.
Real Scenario: What a Routine Check Found Before a Hurricane
A homeowner in coastal Florida had a 30‑year‑old live oak about 18 feet from the house. She did a spring inspection using this guide and noticed a 4‑inch vertical crack on the trunk facing away from the house. The sound test gave a hollow thud near the base.
She called an ISA Certified Arborist. They used a resistograph and found internal decay affecting about 40% of the trunk cross section. The tree was removed two weeks before a Category 2 hurricane hit that same property line.
The removal cost $1,800. The neighbor’s similar tree (not inspected) fell through two bedrooms during the storm. The damage claim exceeded $65,000.
That’s the difference a 20‑minute inspection can make. It’s not fancy. It just works.
Frequently Asked Questions
How often should I inspect my trees?
Twice a year at minimum, once in late spring when leaves are full, once in late fall after leaf drop. Also inspect after any severe storm or heavy wind event.
Can I inspect a tree myself or do I need a pro?
You can do a ground‑based visual inspection yourself. It catches about 80% of visible defects. But for internal decay detection or any high‑risk tree near a structure, call an ISA Certified Arborist.
What tools do I need for a tree inspection?
A pair of binoculars, a rubber mallet, a measuring tape, a notebook or phone for photos, and a plumb line or level app for lean measurement. That’s it.
How do I know if a tree is dangerous?
Look for three things: a lean over 15% from vertical, a crack deeper than a few inches, and fungal growth at the base. Any one of these warrants a professional call.
What’s included bark and why is it bad?
Included bark is bark that grows inward between two stems or a branch and trunk. It creates a weak attachment point. These branches are prone to splitting during storms.
Does tree insurance cover damage from a falling tree?
Usually yes, but only if the tree was healthy and the damage was accidental. If you ignored a known defect, the insurer may deny coverage. Documentation from inspections helps your case.
Quick-Reference Decision Checklist
Use this when you’re standing in front of a tree and need a fast answer.
| If you see this | Do this |
|---|---|
| Lean over 15% with soil heave | Call arborist immediately |
| Crack deeper than 1/4 trunk diameter | Call arborist within 30 days |
| Fungal conks at base | Call arborist within 30 days |
| Dead branch over 2 inches near a structure | Prune or call arborist |
| Included bark on a main limb | Evaluate risk; call if over a target |
| Minor cracks, no lean, no decay | Monitor annually |
Final rule: When in doubt, call a pro. A $200 consultation beats a $10,000 roof repair every time. Document everything you see.
That paper trail protects you legally and gives you a baseline for next year’s inspection.