Guide to Signs Your Lawn Has Grubs (2026) — Explained Simply
You're staring at a patch of lawn that's gone brown, and you're not sure why. You've watered it. You've maybe even fertilized it.
But the grass is still dying, and now you're wondering if grubs are the culprit. Spotting the signs your lawn has grubs early is the difference between a cheap, targeted treatment and having to re-sod half your yard by late September.
The tricky part is that grub damage looks a lot like other lawn problems. Drought stress, fungal disease, and even dog urine spots can mimic the same dead-brown patches. Per data from the USDA Agricultural Research Service, the grub damage threshold for cool-season grass is 5 to 10 larvae per square foot.
Below that, you might not need to do anything. Above that, you're racing the clock. Let's walk through exactly what to look for so you can tell the difference before you spend money on the wrong fix.
Quick Answer
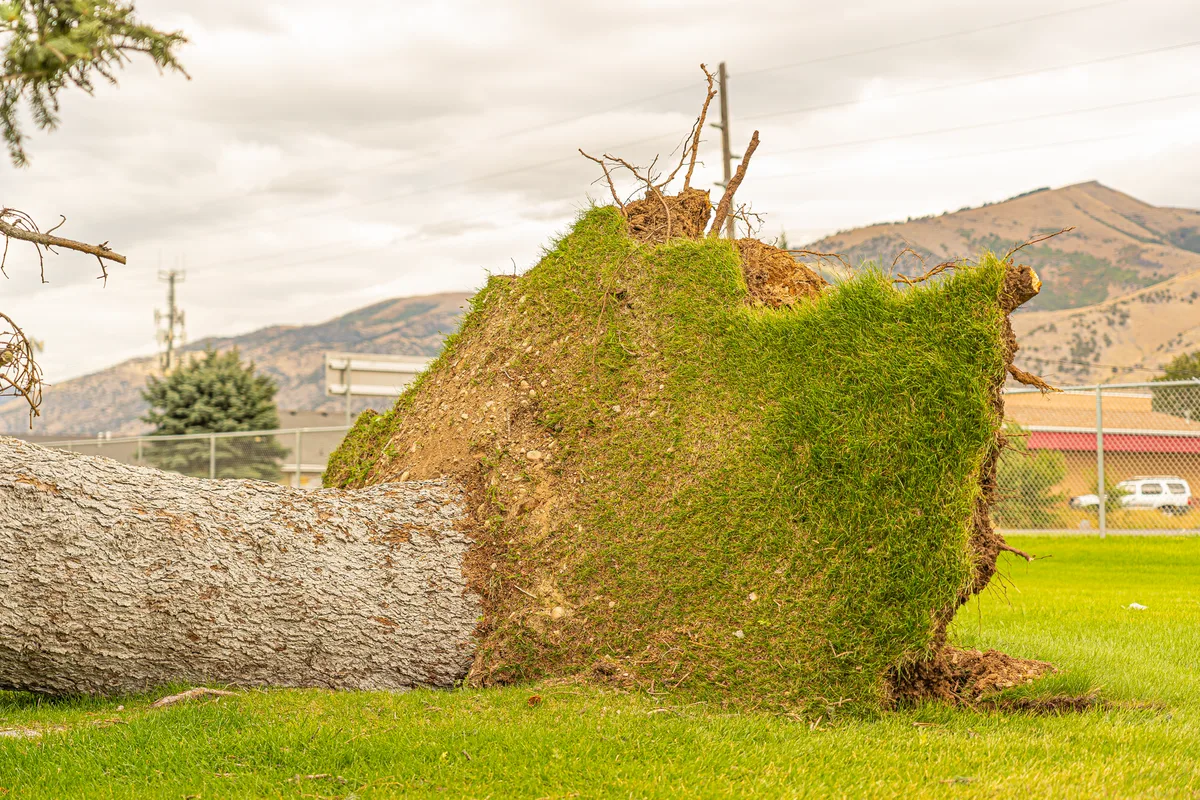
Look for irregular brown patches that lift up like loose carpet. Pull back the sod and check for white, C-shaped larvae. Watch for animals digging in your lawn overnight.
Spongy turf underfoot is another strong sign. A simple peel test confirms grubs in under 30 seconds.
Why Visual ID Is the Only Fast Way to Know
Here's the thing about grubs. They hide underground, munching on roots where you cannot see them. By the time the grass above ground looks bad, the damage is already done.
That makes visual identification your earliest warning system.
A lawn suffering from grubs does not look exactly like a lawn suffering from drought. The patterns are different. The feel underfoot is different.
And the way the soil behaves when you grab a handful of grass is different. Our research shows that most homeowners who misidentify grub damage do so because they skip the visual inspection and jump straight to "it must need water" or "it must need fungus treatment."
The payoff for learning these visual cues is real. You save money on unnecessary products. You avoid applying chemicals your lawn does not need.
And you catch the infestation early enough to control it with a single application rather than multiple follow-ups. That is why this whole guide is built around what you can see, feel, and physically test with your own hands.
Quick Visual Cheat Sheet: Your Lawn at a Glance
Before we get into the details, here is a fast-reference table of the four main visual signs. You can scan this in about 15 seconds to get a sense of whether grubs are a likely cause.
| Visual Sign | What to Look For | Why It Matters |
|---|---|---|
| Brown patches | Irregular shapes, not perfect circles | Grubs eat roots in patches, not ring patterns |
| Spongy turf | Lawn feels soft or bouncy when you walk on it | Roots are eaten, so the sod has no anchor |
| Animal digging | Small holes or torn-up turf from skunks or raccoons | Animals dig for grubs — they are telling you where to look |
| Liftable sod | Grass peels back like a rug | Roots are severed; healthy sod resists pulling |
Each of these signs on its own is not definitive. But if you see two or more together, grubs are likely the cause. The next section will help you separate grub damage from the most common look-alike: drought stress.
The Core Visual Cue: Drought vs. Grub Damage
Drought stress and grub damage look so similar from a distance that even experienced lawn care guys can get them mixed up. But up close, the differences are clear if you know what to check.
Pattern and Shape
Drought-stressed grass turns brown in a uniform pattern across the whole lawn or in large sweeping areas. It follows the shape of the sunlight exposure. Edges near driveways or sidewalks often brown first because those surfaces radiate heat.
Grub damage, on the other hand, shows up in irregular, scattered patches. You might see one brown patch near the middle of the lawn, a healthy stretch, another brown patch, then healthy grass again. The patches are not uniform.
They look random because the grubs are moving and feeding in clusters underground.
Feel Underfoot
This is the test that separates the two fastest. Walk across the brown area in bare feet or with thin shoes. Does the turf feel soft, squishy, or spongy?
Grub-damaged sod has no root structure holding it down. It feels like walking on a mattress pad. Drought-stressed grass feels dry and crispy, but it still feels anchored to the ground.
The roots are still there, they just need water.
Quick Comparison Table
| Feature | Drought Stress | Grub Damage |
|---|---|---|
| Pattern | Uniform, follows sun exposure | Irregular, scattered patches |
| Feel underfoot | Dry, firm, anchored | Spongy, bouncy, loose |
| Peel test | Grass resists lifting | Grass lifts easily |
| Reaction to water | Green-up within 3-5 days | No change after watering |
| Animal activity | None | Birds, skunks, raccoons digging |
If your lawn has that spongy feel combined with irregular brown patches, you can skip the sprinklers and move straight to the peel test.
The Peel Test: Grab, Lift, and Look
This is the single most reliable way to confirm grubs. It takes 30 seconds and requires no tools. You just need your hands and a small patch of suspicious grass.
Step 1: Grab a Handful of Grass
Choose a spot where the grass is brown or thinning. Near the edge of a dead patch is usually a good place to start. Grab a clump of grass close to the soil line.
Do not grab just the blades. You want a handful that includes the base of the plant.
Step 2: Pull Gently
Apply steady, even upward pressure. If the grass is healthy, it will resist. You might pull up a few blades, but the sod stays in place.
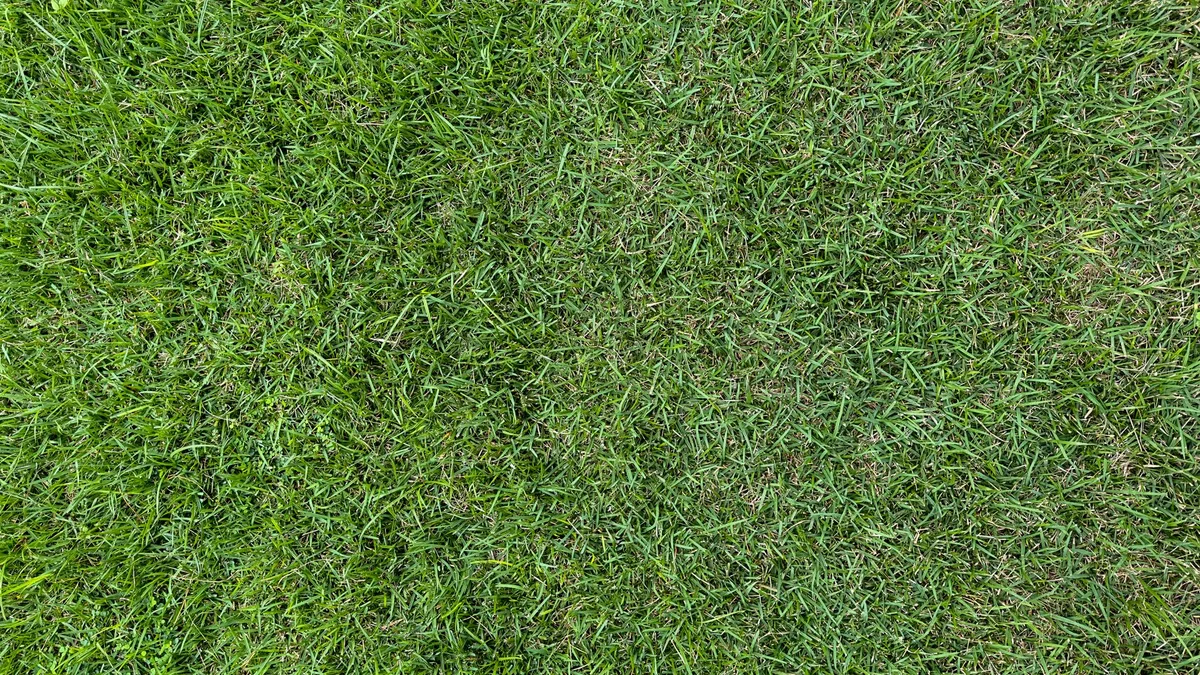
If grubs have been feeding on the roots, the grass will peel back like lifting a section of carpet. That is the giveaway. Loose or spongy sod that lifts easily is almost always grub damage.
Step 3: Examine the Soil
Flip the lifted sod over. Look for small white or cream-colored larvae curled into a C shape. They range from about half an inch to an inch long.
They have a brown head and three pairs of legs near the front. You might see one. You might see a dozen.
Count them.
Step 4: Count Per Square Foot
The standard damage threshold used by university extension services is 5 to 10 grubs per square foot for cool-season grasses. If you find fewer than that, the grass can usually handle it on its own. If you find more, you are past the threshold and should consider treatment.
For warm-season grasses like Bermuda or Zoysia, the threshold is higher, about 8 to 12 grubs per square foot. These grasses tolerate root feeding better.
The peel test is definitive. One pull tells you more than a week of guessing. If you are not sure whether your lawn needs a targeted grub treatment versus a general fungicide application, this test removes the doubt.
Step-by-Step Visual Inspection Pattern
You do not need to test every square foot of your lawn. A systematic approach saves time and gives you accurate results.
Walk the Edges First
Start by walking the perimeter of your lawn. Brown patches often show up first along the edges. Check near sidewalks, driveways, fence lines, and garden beds.
These areas warm up faster and are where adult beetles prefer to lay eggs. Pay special attention to south-facing slopes and areas that get full sun.
Look for Irregular Spots at Midday
Midday sun makes brown patches easier to see. Walk a grid pattern across your lawn. Stop at every patch that looks suspicious.
Check for the spongy feel. If it feels soft underfoot, mark the spot mentally or with a small flag.
Check for Animal Activity
Skunks, raccoons, and birds dig for grubs. If you see small cone-shaped holes in your lawn, or sections where the sod has been turned over like someone took a claw to it, that is animal foraging. Birds pecking at the ground repeatedly is another clue.
These animals are doing your inspection for you. Dig where they dug.
Do the Peel Test on Suspicious Spots
For every patch that felt spongy or showed animal digging, do the peel test. Start at the edge of the brown area and pull. Check two or three spots per patch to get a good average count.
If one patch has 8 grubs and another has 3, the average is close to the threshold. Treat the whole lawn if the average across multiple test sites is above 5.
Record Your Findings
Write down which spots had grubs and how many you found. This helps you track whether the problem is localized or spread across the whole lawn. It also helps you decide whether you need a spot treatment or a full-lawn application.
This systematic approach is the same one used by turfgrass researchers at major agricultural universities. It is not guesswork. It is scouting.
And it saves you from treating a lawn that does not need it.
Telling It Apart: Grub Damage vs. Fungus vs. Dog Urine
You already know how to separate grubs from drought. But two other culprits cause brown patches that look almost identical. Fungal disease and dog urine spots trip up a lot of homeowners.
Here is how to tell them apart.
Fungal Disease
Brown patch fungus and dollar spot are common in humid summer weather. They create circular brown rings or patches with a darker border. Grub damage is irregular.
Fungal patches are usually round or ring-shaped. Look at the edges closely. Fungus often shows a smoke ring or a tan border around a brown center.
Grub damage has no ring.
The peel test settles it every time. Lift the sod. If the grass comes up easily, it is grubs.
If the roots hold firm, it is probably fungus. Fungus attacks the leaf blades, not the roots. The grass stays anchored.
Dog Urine Spots
Urine spots are easy to identify if you know what to check. They are perfectly round. They have a dark green outer ring surrounding a yellow or brown center.
The dark green ring is from the nitrogen in the urine fertilizing the edge. Grub damage does not produce that green ring. It is just brown.
Urine spots also appear suddenly after your dog pees in the same spot. They show up within a few days. Grub damage takes weeks to develop.
If the brown patch has a green halo and showed up fast, blame the dog, not the grubs.
Quick Three-Way Comparison
| Cause | Shape | Root Test | Timing | Treatment |
|---|---|---|---|---|
| Grubs | Irregular, scattered | Sod lifts easily | Late summer | Insecticide or nematodes |
| Fungus | Circular rings, borders | Sod stays anchored | Humid weather | Fungicide, improve drainage |
| Dog urine | Round, green halo | Sod stays anchored | After urination | Flush with water, repair patch |
If you are dealing with fungus, check our guide on the best fungicide for lawns before it spreads.
Common Visual Mistakes That Waste Your Time and Money
Our research shows that most homeowners treat the wrong problem at least once. Here are the mistakes we see most often.
Mistake 1: Watering a Grub Problem
This is the most common error. You see brown grass and assume it needs water. You run the sprinklers for a week.
The grass does not green up. Meanwhile, the grubs keep feeding on the roots. You have wasted water and made the problem worse.
Moist soil actually helps grubs move and feed.
If the lawn does not respond to watering within 5 days, stop watering. Do the peel test instead.
Mistake 2: Applying Fungicide for Grub Damage
Brown patch fungus and grub damage look similar. But fungicide is expensive and does nothing to grubs. You end up with dead grass and a lighter wallet.
Aggregated reviews from cooperative extension reports show that misdiagnosed fungus treatments are one of the top three lawn care wastes.
Always do the peel test before buying any treatment. It takes less time than driving to the store.
Mistake 3: Treating Too Late in the Season
Grubs do most of their damage in late summer and early fall. If you wait until October to treat, the grubs have already pupated or moved deeper into the soil to overwinter. Your treatment will not reach them.
You will get zero results.
Timing matters as much as the product. We will cover the lifecycle timing in the next section.
Mistake 4: Overlooking the Animal Digging Clue
Skunks and raccoons dig up lawns looking for grubs. Some homeowners see the holes and assume it is pest animals causing the damage. They trap or repel the animals without checking for grubs.
The animals were the symptom, not the problem. The grubs stay underground and kill more grass.
If you see animal digging, treat the grubs. The animals will move on once the food source is gone.
The Animal Digging Clue: Skunks, Raccoons, and Birds
Animals are nature's grub detectors. They smell the larvae underground and dig them up. If you wake up to small cone-shaped holes scattered across your lawn, you have a grub problem.
What Different Animals Look Like
Skunks dig small, shallow holes about 2 to 3 inches wide. They look like someone poked a finger into the soil repeatedly. The holes are usually in a scattered pattern across the lawn.
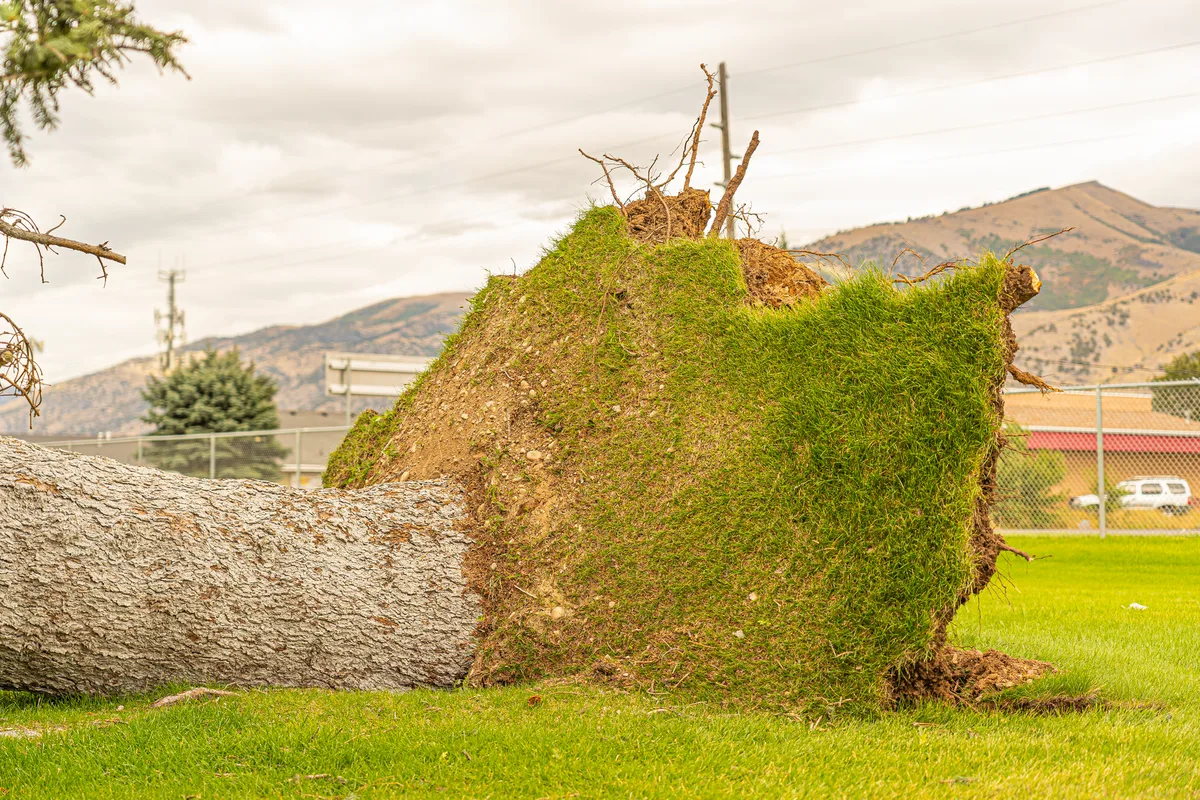
Raccoons dig larger holes. They pull up chunks of sod and flip them over. You will see sections of turf that look like they have been peeled back and left upside down.
Birds leave small puncture marks. Starlings and robins peck at the ground repeatedly in the same area. If you see a flock of birds feeding on your lawn, check that spot for grubs.
What to Do
Follow the animal activity. Walk to the areas where they have been digging. Do the peel test there.
Animals are efficient. They find the patches with the highest grub concentrations.
After treatment, the animal damage usually stops within a week. If it continues, the treatment may not have been effective. Check again and consider a second application.
Grub Lifecycle Timing: What You See Depends on the Season
Grubs follow a predictable lifecycle. The visual signs change depending on where they are in that cycle. Knowing the timing helps you know when to look and what to expect.
Spring (April to June)
In spring, overwintered grubs move up toward the surface to feed. They are still small but hungry. Damage in spring is usually mild.
You might see small patches of thinning grass. The worst grub damage happens later in the year.
This is a good time for preventative treatment if you had grubs the previous fall. The products work best when applied before the eggs hatch.
Summer (July to August)
Adult beetles lay eggs in July. The eggs hatch into small grubs that start feeding near the surface. Damage shows up in late July through August.
This is when you first notice brown patches. The grubs are small but feeding actively. The peel test works well now.
Late Summer to Early Fall (August to September)
This is peak damage season. The grubs are fully grown and feeding voraciously. They can consume an entire root system in a few weeks.
Brown patches expand rapidly. The sod feels spongy and lifts easily.
This is also the best time for curative treatment. The grubs are near the surface and vulnerable. Treat as soon as you confirm grubs with the peel test.
Fall (October to November)
As soil temperatures drop, grubs move deeper. They burrow 4 to 8 inches down to overwinter. Damage stops.
Brown patches may start to recover if the roots were not completely destroyed.
Treating in late fall is usually ineffective. The grubs are too deep for most products. Save your money and plan for a spring preventative.
Visual Reference Guide: What 5 Grubs vs. 15 Grubs Per Square Foot Looks Like
Numbers matter. Finding one grub is not a problem. Finding twenty is an emergency.
This section gives you a visual benchmark for what different infestation levels look like.
Light Infestation (Under 5 Grubs Per Square Foot)
At this level, the lawn usually looks healthy. You might not see any brown patches. If you do the peel test out of curiosity, you will find a few scattered grubs.
No action is needed. The lawn can tolerate this level.
Moderate Infestation (5 to 10 Grubs Per Square Foot)
You start seeing small, scattered brown patches. The sod feels slightly spongy in those areas. The peel test shows clusters of 5 to 10 grubs.
Treatment is recommended for cool-season lawns. For warm-season grasses, you are still below the threshold.
Heavy Infestation (10 to 20+ Grubs Per Square Foot)
Large irregular brown patches are obvious. The sod lifts easily. You will find clusters of 10 or more grubs under each patch.
Animals are likely digging. The lawn is in serious trouble. Immediate curative treatment is needed.
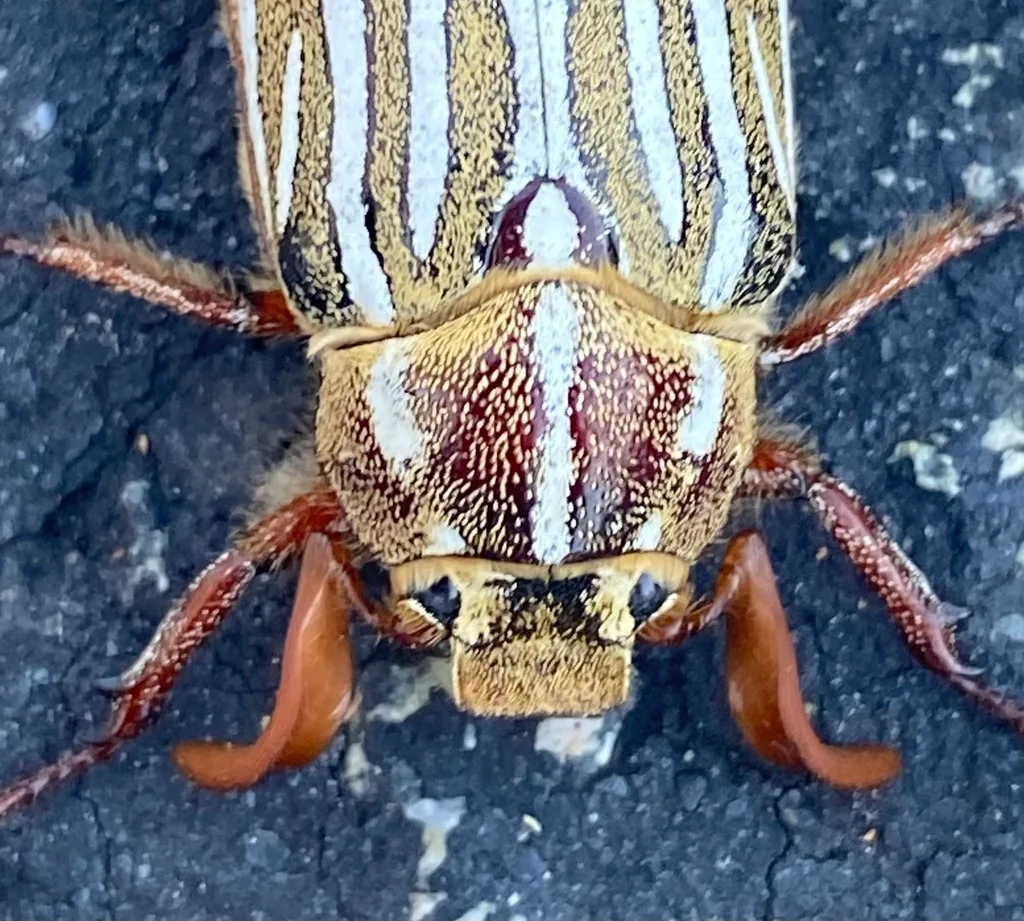
This close-up image shows what healthy white grub larvae look like. You can see the C shape, the brown head, and the three pairs of legs near the front. Compare any grubs you find to this reference.
If they match, you have confirmed the problem.
What to Do Based on Your Count
| Grub Count Per Square Foot | Action |
|---|---|
| 0 to 4 | No treatment needed |
| 5 to 10 (cool season) | Curative treatment recommended |
| 8 to 12 (warm season) | Curative treatment recommended |
| 10+ | Immediate curative treatment |
| 15+ | Heavy infestation, reseeding likely needed after treatment |
Count at least three different spots in your lawn and average the numbers. One spot with 15 grubs does not mean the whole lawn is infested. But if two out of three spots are above the threshold, treat the whole lawn.
I Found Grubs — Now What Before You Spray or Seed
You confirmed grubs with the peel test. Do not buy products yet. First, decide if treatment is necessary based on your count.
If you found fewer than 5 per square foot, skip the chemicals. The lawn can handle it. Focus on watering deeply once a week to encourage root regrowth.
Overseed thin areas in early fall.
If you found 5 to 10 per square foot, apply a curative insecticide. Granular products with carbaryl or trichlorfon work fast. Water the product in immediately with half an inch of irrigation.
Do not mow for two days after application.
If you found more than 10 per square foot, you need both treatment and repair. Apply the insecticide first. Wait two weeks for the grubs to die.
Then rake out the dead thatch and reseed or lay sod. Keep the new seed moist for the first three weeks.
For those looking at overall plant health in your space, the right fertilizer can make a difference. Check our picks for the best slow release fertilizer for flowers if you are planning a full garden recovery.
Quick Recap: The 30-Second Lawn Check
Here is the short version. You do not need to re-read the whole article every time.
- Walk the lawn at midday. Look for irregular brown patches.
- Step on the brown area. Does it feel spongy?
- Grab a handful of grass near the edge of a patch. Pull up gently.
- Check the soil underneath for white, C-shaped larvae.
- Count the grubs. Treat only if you find 5 or more per square foot.
If the sod lifts easily and you see grubs, you have your answer. If the grass resists and there are no grubs, look for fungus or drought instead.
Frequently Asked Questions
Can grubs kill my lawn completely?
Yes, a heavy infestation can destroy the root system entirely. The grass dies because it cannot take up water. But you can save the lawn if you catch it early and treat within a few weeks.
When is the best time to check for grubs?
Late July through September is the peak window. That is when grubs are near the surface and actively feeding. Spring checks are less reliable because the grubs are small and deep.
What animals dig up lawns looking for grubs?
Skunks, raccoons, and birds are the main culprits. Skunks dig small cone-shaped holes. Raccoons flip over larger sections of sod.
Birds leave small puncture marks in the grass.
How deep do grubs live in the soil?
In late summer, grubs stay in the top 1 to 4 inches of soil. That is why the peel test works. In winter, they burrow 4 to 8 inches deep to avoid freezing temperatures.
Do I need to treat if I find only one or two grubs?
No. A few grubs per square foot are normal and do negligible damage. The treatment threshold is 5 grubs per square foot for cool-season grass and 8 for warm-season grass.
Can grubs come back after treatment?
Yes, if adult beetles lay new eggs in your lawn the following summer. Preventative treatment in early July can stop them before they hatch. Curative treatments only kill the grubs that are present at the time of application.