Why Is My Lawn Dying in Patches for 2026: Pro Tips & Tricks
Noticing those brown patches creeping across your lawn is maddening, especially when you’re watering and mowing on schedule. You’re not alone in wondering “Why Is My Lawn Dying in Patches”, it’s one of the most common frustrations for homeowners. The good news?
Patchy grass almost always has a handful of clear, fixable causes.
Research from the Cooperative Extension System shows that roughly 60% of patchy-lawn complaints in humid regions stem from fungal disease. But insects, drought stress, dog urine, and even fertilizer mishaps can create nearly identical spots. The trick is learning to read what the grass is telling you.
Once you spot the pattern, the solution gets a whole lot simpler.
Quick Answer
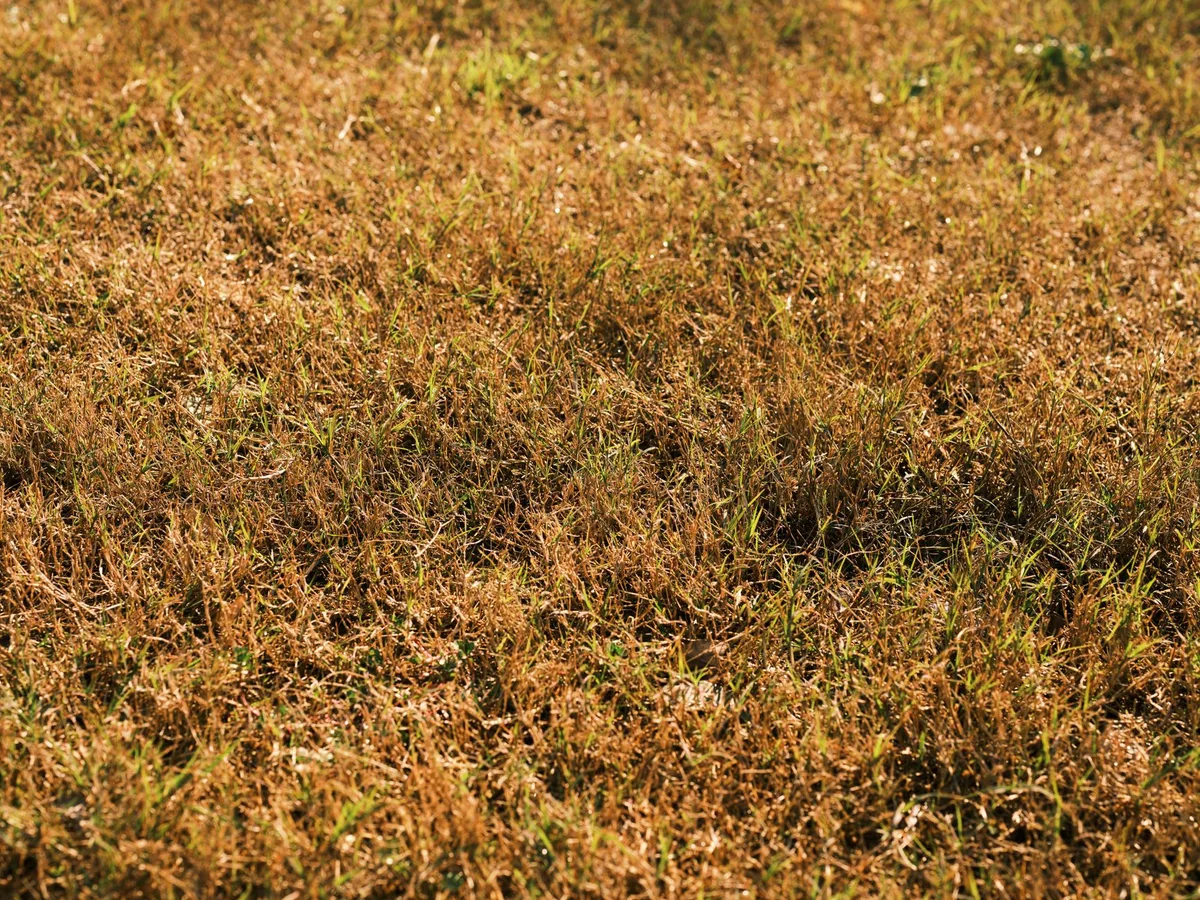
Your lawn is dying in patches from one of three causes. Fungal disease loves warm, wet conditions. Grubs chew the roots underground.
Environmental stress like drought or dog urine burns the blades. Look at the patch shape first. It almost always points to the real culprit.
Why Your Lawn Looks Like a Spotted Leopard
Patchy grass is rarely random. The pattern, color, and season tell a story. A perfectly round brown spot that grows outward week by week?
That’s almost certainly fungus. Irregular scorched patches that show up after a dry spell? Likely drought stress or a thirsty tree root system stealing water.
The frustrating part is that different causes can look the same to the untrained eye. A grub infestation and a bad case of brown patch fungus both create irregular dead areas. Without looking closer, you might treat for one when the problem is the other.
That wastes time and money, and the patches keep spreading.
That’s why the first rule of lawn repair is: don’t guess. Diagnose. And the fastest way to diagnose is by walking the lawn and paying close attention to three things: shape, color, and root condition.
The Seasonal Clue You Can’t Ignore
Timing is a huge hint. Fungal diseases like brown patch and dollar spot flare up in warm, humid weather, typically late spring through early fall. Grubs cause visible damage from late summer into early autumn when they’re actively feeding.
Drought stress shows up in the heart of summer during a dry spell. Dog urine spots appear year-round but are most noticeable in spring when grass is waking up.
If you can tie the patch to a weather event or a season, you’re already halfway to the right treatment. And if you’re leaning toward a fungal issue, choosing the right product makes a difference, our research on the best fungicide for lawns can help narrow it down.
The Two-Minute Visual Check That Saves You Weeks of Guesswork
Here’s a simple routine you can do in about two minutes with zero tools. Walk your lawn and look for these five visual cues.
Edge definition. Does the dead area have a sharp, distinct border, or does it fade gradually into healthy grass? Sharp edges often point to a chemical burn (fertilizer or dog urine) or grubs. Soft, blurry edges are more common with fungal disease.
Center of the patch. Is the center completely dead, or is there a small patch of green grass in the middle? A “frog-eye” pattern, green center with a dead ring, is a classic sign of necrotic ring spot or another fungal issue. Fully dead patches with no green at all lean toward insects or environmental stress.
Color of the dead grass. Straw-yellow is typical of drought stress or grub damage. Dark brown or black suggests a fungal disease like brown patch. If you see a reddish or orange tint at the base of the blades, that’s a strong indicator of a fungal infection.
Time of day the grass looks worse. Grass that looks fine in the morning but flops over or looks wilted by afternoon? That’s often root damage from grubs or compaction, the roots can’t pull up enough water during the heat of the day.
Presence of other plants. If weeds or moss are thriving in or around the dead patches, that tells you something about the soil condition. Moss loves compacted, acidic, wet soil. Weeds like crabgrass thrive in thin, stressed lawns.
Take mental notes (or snap a couple photos) and compare what you see to the next few steps. This visual-first approach is what professional lawn care teams do before they ever grab a sprayer.
Step 1: Read the Patch Shape (It Tells You Almost Everything)
The shape of the dead patch is your single best clue. Let’s break down the most common patterns.
Circular spots, coin-sized (1, 6 inches). These are almost always dollar spot fungus. It’s called dollar spot because the patches are roughly the size of a silver dollar when they first appear. As it spreads, the spots can merge into larger irregular areas, but you’ll still see the individual circular starting points if you look closely.
Dollar spot thrives in warm days, cool nights, and heavy dew.
Irregular blotches, several inches to a foot across. This is the classic “I have no idea what’s wrong” shape. It could be brown patch fungus, grub damage, or drought stress. Check the edges, if the grass blades at the border of the patch have dark, water-soaked lesions near the base, that’s brown patch.
If the turf lifts up like a loose rug when you pull on it, that’s grubs.
Ring patterns (green center, dead ring). This “fairy ring” or “frog-eye” look is a sure sign of certain fungal diseases, including necrotic ring spot and summer patch. The fungus attacks the roots, killing the grass in a ring while the center survives, for now. These patches usually appear in spring or early summer and can be stubborn to treat.
Scattered dead spots with no clear pattern. Random, scattered brown spots that don’t merge into larger areas are often caused by dog urine, spilled fertilizer, or gasoline drips from the mower. If the spots are perfectly spaced along the path you walk the dog, you’ve found your culprit.
What to Do Next Based on Shape
Here’s a quick if/then guide:
- Circular spots ≤ 6 inches → Suspect dollar spot. Treat with a fungicide labeled for dollar spot. Improve air circulation by mowing at the right height and watering early in the morning.
- Irregular blotches → Do the tug test (next step). If grass pulls up easily, treat for grubs. If not, suspect drought or compaction.
- Ring pattern → Fungal. Use a fungicide with a systemic mode of action and consider core aeration to reduce soil compaction.
- Scattered, no pattern → Rule out dog urine and chemical spills. Flush the affected area with water to dilute nitrogen.
If you’re leaning toward a soil nutrition issue, choosing the right fertilizer matters. A slow-release fertilizer for flowers works well for lawns too, since it feeds the grass gradually without burning the roots.
Step 2: The Tug Test and the Peel-Back Test
This takes about 30 seconds and can confirm or rule out grubs, the most destructive underground pest for lawns in North America as of 2026.
The tug test. Walk to the edge of a dead patch. Grab a handful of grass and pull firmly, straight up, like you’re trying to lift a patch of turf. If the grass comes up easily with little resistance, exposing short, chewed roots or no roots at all, you have grubs.
Healthy grass holds firm and won’t pull up without a fight.
The peel-back test. When the tug test is positive, take it a step further. Use a garden trowel or a shovel to cut a small square of turf about 4 inches by 4 inches on the edge of the dead patch. Fold the sod back like you’re lifting a carpet flap.
Look for white, C-shaped grubs in the top 2, 3 inches of soil. They’re about half an inch to an inch long with a brown head and three pairs of tiny legs near the front.
What counts as an infestation. A few grubs here and there is normal. The treatment threshold is generally 10 or more grubs per square foot for cool-season grasses, and 5, 8 per square foot for warm-season grasses like Bermuda and Zoysia. If you find fewer than that, the dying grass likely has another cause.
What to Do If You Find Grubs
If grub counts are above the threshold, treatment depends on timing. In late summer or early fall when grubs are small and actively feeding near the surface, a curative insecticide like carbaryl or trichlorfon works quickly. In spring or early summer, a preventative product with imidacloprid or chlorantraniliprole is better, but it won’t kill grubs that are already large.
Apply the insecticide according to label directions, water it in with at least half an inch of irrigation, and keep foot traffic off the treated area for 24 hours. Within a week or two, the grass should begin to show signs of recovery.
If you prefer an organic approach, consider that building healthy soil with compost and the right fertilizer can reduce grub pressure over time. Adding organic fertilizer for fruit trees to your lawn care regimen can boost microbial activity that naturally suppresses grub populations.
When the Tug Test Is Negative
If the grass holds firm and no grubs appear when you peel back the sod, move on to the next step. You’re looking at either a fungal disease, environmental stress, or a soil issue. Don’t skip this test, treating for grubs when there are none is a common and costly mistake that delays real solutions.
Step 3: Look for the “Smoking Gun” on the Grass Blades
The grass blades themselves carry the next big clue. Get down on your hands and knees at the edge of a dead patch. Look at the individual leaves for three specific signs.
Dark lesions near the base. If you see water-soaked, dark brown or purplish spots where the blade meets the stem, that’s brown patch fungus. These lesions look like the blade is rotting from the bottom up. In humid weather, you might also see a faint gray or white moldy growth early in the morning before the dew dries.
Yellowing between the veins. Dollar spot creates a distinct pattern. The leaf blade turns yellow or straw-colored in a band across the middle, while the tip and base stay green longer. This “hourglass” lesion is a textbook sign.
If you see it, you’re looking at dollar spot, not grubs and not drought.
White or pink cottony growth. In wet conditions, some fungi produce visible mycelium, a thin, web-like white or pink fuzz on the grass blades. This is most common with red thread and pink patch diseases. You’ll see it in spring and fall when temperatures are cool and the lawn stays damp for long stretches.
Healthy Blades, Dead Roots
If the blades look clean with no lesions, spots, or fuzz, the problem is likely below the surface. That points back to grubs, compaction, or a soil chemistry issue. Don’t let clean-looking grass blades trick you into thinking everything is fine.
A lawn can look green on top while the roots are struggling underground.
Per the Cooperative Extension System guidelines, root damage from grubs or poor soil structure often shows no signs on the leaves until the grass is already beyond saving. That’s why the next two steps matter.
Step 4: The Simple Soap Flush for Surface Pests
Chinch bugs are small. Really small. About the size of a sesame seed.
They hide in the thatch layer and suck the sap out of grass blades, causing patches that look like drought stress. The easiest way to find them costs about two cents in dish soap.
The soap flush test. Mix one tablespoon of liquid dish soap with one gallon of water. Pour it slowly over a 1-square-foot area at the edge of a suspicious patch. Wait two to three minutes.
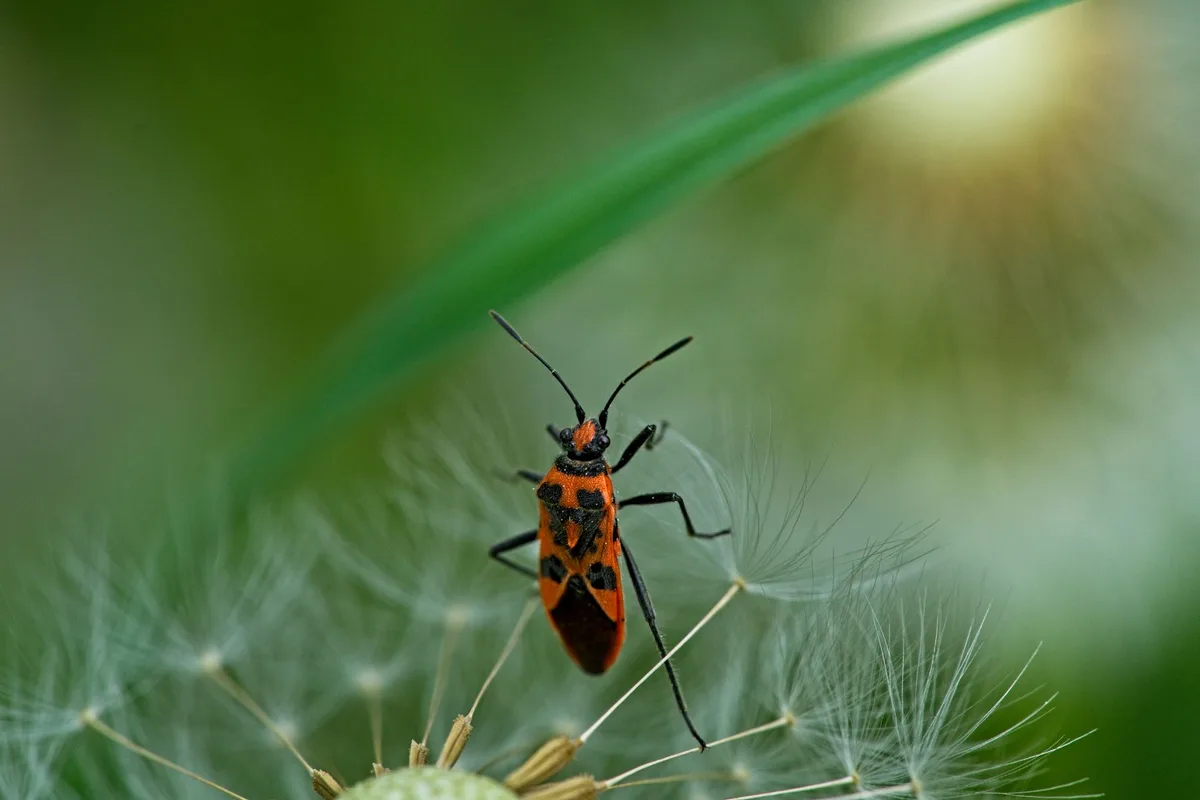
If chinch bugs are present, they’ll climb up the grass blades to escape the soapy water. You’ll see tiny black bugs with white wings (adults) or bright red bugs (nymphs) scrambling upward.
What the Numbers Mean
Count the chinch bugs in that one square foot. If you find 20 to 30, the population is high enough to cause damage. Treatment is warranted.
If you find fewer than 10, they’re probably not the culprit.
Chinch bugs are most active in hot, dry weather from June through September. They love sunny areas and rarely bother shaded turf. If your patches are in full sun and the tug test came back negative, the soap flush should be your next move.
Treatment options. For confirmed chinch bug infestations, a contact insecticide like bifenthrin or lambda-cyhalothrin works fast. Apply in the early morning when dew is present (the bugs are more active) and water in lightly. Keep pets and kids off the lawn until the spray dries.
For a less chemical approach, insecticidal soap sprays can knock down small populations, but they require repeat applications every few days.
If chinch bugs are a recurring problem in your area, consider our research on targeted insecticide options for persistent lawn pests. The principles for surface-feeding insects overlap.
Other Surface Pests to Watch For
Sod webworms and billbugs can also create patchy damage. Sod webworms are the larvae of small tan moths you might see fluttering over the lawn at dusk. Billbugs leave a sawdust-like frass (insect droppings) near the base of the grass.
The soap flush brings both of these to the surface too, making it a useful all-purpose test.
Step 5: Check What’s Happening Underground
You’ve checked the blades and tested for surface pests. Now it’s time to look at the soil and root zone. Three underground issues cause patches you’d never spot from above.
Excessive thatch buildup. Thatch is the layer of dead stems, roots, and runners between the soil and the green grass. A thin layer (under half an inch) is normal and healthy. Once it passes an inch thick, it acts like a sponge.
It holds water at the surface, suffocates roots, and creates perfect conditions for fungal disease. Cut a small wedge of turf with a trowel and measure the brown spongy layer. If it’s above ½ inch, thatch is likely contributing to your patches.
Soil compaction. Hard, compacted soil prevents roots from breathing and draining. Water pools on top or runs off instead of soaking in. Grass roots stay shallow and weak.
To test for compaction, try pushing a screwdriver or a soil probe into the ground in a healthy area and then inside a dead patch. If it goes in easily in the healthy area but meets strong resistance in the dead patch, compaction is your problem. Core aeration is the fix.
Poor drainage. Sometimes the patchy area is simply the lowest spot in the yard where water collects after rain. Grass roots drown in standing water. If you notice the patches get worse after heavy rain and improve during dry spells, poor drainage is the likely cause.
French drains, regrading, or simply switching to a rain-tolerant grass species can solve it.
The Soil Test You Should Do Once a Year
Even if none of the above is obvious, a basic soil pH test can reveal problems. Most lawn grasses prefer a pH between 6.0 and 7.0. If your soil is too acidic (below 5.5) or too alkaline (above 7.5), grass struggles to absorb nutrients and becomes vulnerable to disease and drought.
Home test kits are cheap and fast. For a more detailed analysis, your local county extension office (a .gov resource) will test a soil sample for a small fee. As of 2026, most state extension services offer this service for $10 to $20.
The report tells you exactly which nutrients are low and how much lime or sulfur to add.
If you find thatch is your main issue, using a sturdy dethatching rake can break up the layer without damaging the healthy turf underneath.
The Big Visual Comparison: Fungus vs. Grubs vs. Dog Urine vs. Drought
By now you’ve gathered enough clues to make a solid diagnosis. Here’s a side-by-side reference that sums up the four most common patch causes. Keep this table handy when you’re walking the yard next time.
| Cause | Patch Shape | Blade Appearance | Root / Soil Sign | Season |
|---|---|---|---|---|
| Fungal disease | Circular or ring-shaped, often merging | Lesions, yellow bands, white fuzz | Thatch layer thick, soil stays wet | Warm humid weather (late spring to early fall) |
| Grub damage | Irregular, can lift like a rug | Clean blades, no lesions | Roots chewed short or gone. Turf pulls up easily | Late summer to early fall |
| Dog urine | Circular, bright yellow with green ring edge | Blade tips brown, base green | Soil may crust white from salt buildup | Any season, worse in dry weather |
| Drought stress | Large irregular, follows slope or sun exposure | Straw-yellow, blades fold in half | Soil bone dry, roots shallow | Peak summer heat, extended dry spells |
How to Tell Drought from Disease at a Glance
This is the trickiest split. Both create irregular yellow-brown patches. The difference is in the soil.
Stick a screwdriver into the ground near the patch. If it goes in easily and the soil feels moist, it’s not drought. Look harder for fungus or grubs.
If the soil is dry down to 4 inches and the rest of the lawn looks thirsty too, water deeply and watch for recovery within a week.
If drought is a recurring problem, consider drought-resistant landscaping choices for the areas around your lawn. Trees with deep root systems can outcompete turf for water, which might explain why patches appear near established trees.
How to Treat Each Patch Type the Right Way
Once you know the cause, the treatment becomes straightforward. Here’s the targeted plan for each one.
Fungal disease. Apply a fungicide labeled for the specific fungus you identified. For dollar spot, look for products containing azoxystrobin or propiconazole. For brown patch, a combination product with both a contact and systemic fungicide works best.
Apply early in the morning when dew is present. Repeat every 14 to 28 days per label instructions. Between applications, adjust your watering schedule to water deeply but infrequently, and water only in the early morning so the grass dries during the day.
Grub infestation. If your count was above 10 per square foot and it’s late summer or early fall, use a curative insecticide like carbaryl or trichlorfon. Water it in immediately with half an inch of irrigation. The grass should stop declining within a week and start showing new growth within two to three weeks.
If it’s spring or early summer, switch to a preventative like imidacloprid. It won’t kill large grubs but will stop the next generation.
Dog urine spots. Flush the area with water as soon as you see the spot. Use a hose on low flow for several minutes to dilute the nitrogen and salt in the urine. For chronic spots, train your dog to use a designated gravel or mulch area instead of the lawn.
You can also add a lawn-safe soil amendment like gypsum to help leach salts out of the root zone.
Drought stress. Water deeply. The goal is 1 to 1.5 inches of water per week, applied all at once or split into two sessions. Water in the early morning (between 4 a.m. and 8 a.m.) to minimize evaporation.
If the lawn goes dormant (turns brown but the crown is still alive), leave it alone. It will green up when rain returns. Do not fertilize a dormant lawn; you’ll burn the roots.
Compaction or poor drainage. Core aeration is the fix. Rent a core aerator from a local equipment shop or hire a lawn service to do it. Run the aerator over the affected area when the soil is moist but not wet.
Follow up with a thin layer of compost (topdressing) to improve the soil structure. For drainage issues, consider installing a French drain or regrading the area to move water away.
Common Mistakes That Make Patches Worse
The biggest error is treating for fungus when the real problem is grubs. That wastes weeks and lets the actual damage spread. The second most common mistake is overwatering after applying fungicide.
Mowing too short. Scalping the lawn weakens roots and invites disease. Keep cool-season grass at 3 to 4 inches and warm-season grass at 1 to 2 inches. Never cut more than one-third of the blade height at once.
Applying fertilizer during a drought or disease outbreak. Nitrogen feeds the grass but it also feeds the fungus. Wait until the lawn is actively growing and the patches are under control before fertilizing. If you need to boost recovery, a slow-release formula is safer than a quick-release synthetic.
Ignoring the thatch layer. A thick thatch layer (over half an inch) acts like a sponge. It traps moisture at the crown of the grass and creates a perfect breeding ground for fungus. Dethatch in early spring or early fall before you apply any treatments.
When to Reseed or Patch Repair (and How to Do It)
Reseeding is the right move when the grass in a patch is completely dead and the soil is bare. Wait until the underlying problem is fixed first. Seeding into an active fungal infection or a live grub population wastes seed and money.
Timing matters. For cool-season grasses, early fall is ideal. The soil is warm, the air is cool, and there is less competition from weeds. For warm-season grasses, late spring to early summer works best.
Seeding outside these windows means lower germination rates and weak seedlings.
How to do it. Rake away the dead grass and loosen the top quarter-inch of soil. Spread a patch repair mix that matches your lawn's grass type. Press the seed into the soil with the back of a rake or your foot.
Water lightly twice a day until the new grass reaches mowing height.
Keeping Patches From Coming Back
Prevention is about building resilient turf that can shrug off minor stress. Three habits make the biggest difference.
Water deeply and infrequently. One inch of water per week, applied in a single session, encourages deep roots. Shallow, frequent watering creates weak roots that rely on constant moisture.
Mow at the right height. Taller grass shades the soil, reduces evaporation, and crowds out weeds. It also supports a deeper root system. Stick to the high end of the recommended range for your grass type.
Core aerate once a year. Aeration relieves compaction, breaks up thatch, and improves drainage. For most lawns, fall is the best time for cool-season grass and late spring for warm-season grass. Follow aeration with a thin layer of compost for maximum benefit.
Your Quick-Reference Decision Guide
| If you see this | Do this first | Then do this |
|---|---|---|
| Circular spots ≤ 6 inches | Apply a dollar spot fungicide | Water early morning, improve air circulation |
| Irregular blotches, turf lifts easily | Tug test and peel-back test | Treat for grubs if count exceeds 10 per sq ft |
| Irregular blotches, turf holds firm | Check for chinch bugs with soap flush | Treat with contact insecticide if count exceeds 20 per sq ft |
| Ring pattern (green center, dead ring) | Apply systemic fungicide | Core aerate and reduce thatch |
| Bright yellow spots with green edges | Flush area with water | Consider redirecting pet to a designated area |
| Large straw-colored patches, dry soil | Water deeply (1 inch per week) | Wait for recovery before fertilizing |
Frequently Asked Questions
Can a lawn recover from brown patch on its own?
Not usually. Brown patch can kill the grass entirely if left untreated. The fungus damages the leaf tissue and the crown.
Without treatment, the dead patches expand and merge. Apply a fungicide at the first sign of lesions near the base of the blades.
How long does it take for grass to grow back after grub damage?
You will see improvement within two to three weeks after applying a curative insecticide. The existing grass stops dying and new shoots appear from the crown. Full recovery takes four to six weeks if the soil is healthy and you water appropriately.
Is it safe to apply fungicide and insecticide at the same time?
Yes, if both products are labeled for tank mixing. Check the label on each product for compatibility. Apply both only when you have confirmed the presence of both fungus and insects.
Guessing and treating blindly increases chemical runoff and wastes money.
Why do dog urine spots turn yellow with a green ring?
The nitrogen in dog urine burns the grass in the center of the spot. The diluted nitrogen that spreads to the edges acts as a mild fertilizer. That is why you see a bright yellow center surrounded by a ring of lush green grass.
Flushing the spot with water immediately after urination prevents the burn.
Should I fertilize a lawn that has patchy dead spots?
Not until you know the cause. If the patches are from a fungal disease, nitrogen fertilizer will make the fungus spread faster. If the patches are from drought, fertilizer will burn the stressed roots.
Wait until the lawn is actively growing and the patches are resolved.