How to Kill Spurge Without Chemicals 2026
Spurge is that low-growing weed that seems to appear overnight, spreading across your lawn, garden beds, and patio cracks before you even notice it’s there. If you want to know how to kill spurge without chemicals, you’re in the right place, the good news is you don’t need harsh herbicides to get rid of it. You just need the right method for your specific situation.
A single spurge plant can produce up to 5,000 seeds over its lifetime. Those seeds stay viable in the soil for as long as five years, which is exactly why spurge keeps coming back even after you think you’ve removed it completely. That’s why the method you choose matters more than how hard you work.
Let’s start with the most important step: making sure you’re actually dealing with spurge.
Quick Answer
To kill spurge without chemicals, pick your method based on where the weed grows. Hand pull it in lawns using a weeding tool that gets the whole taproot. Smother it in garden beds with cardboard and a thick layer of mulch.
Use boiling water or a propane flame weeder on hardscapes and patios. Stay persistent, the seed bank in your soil requires two to three years of consistent removal.
First, Make Sure It’s Actually Spurge
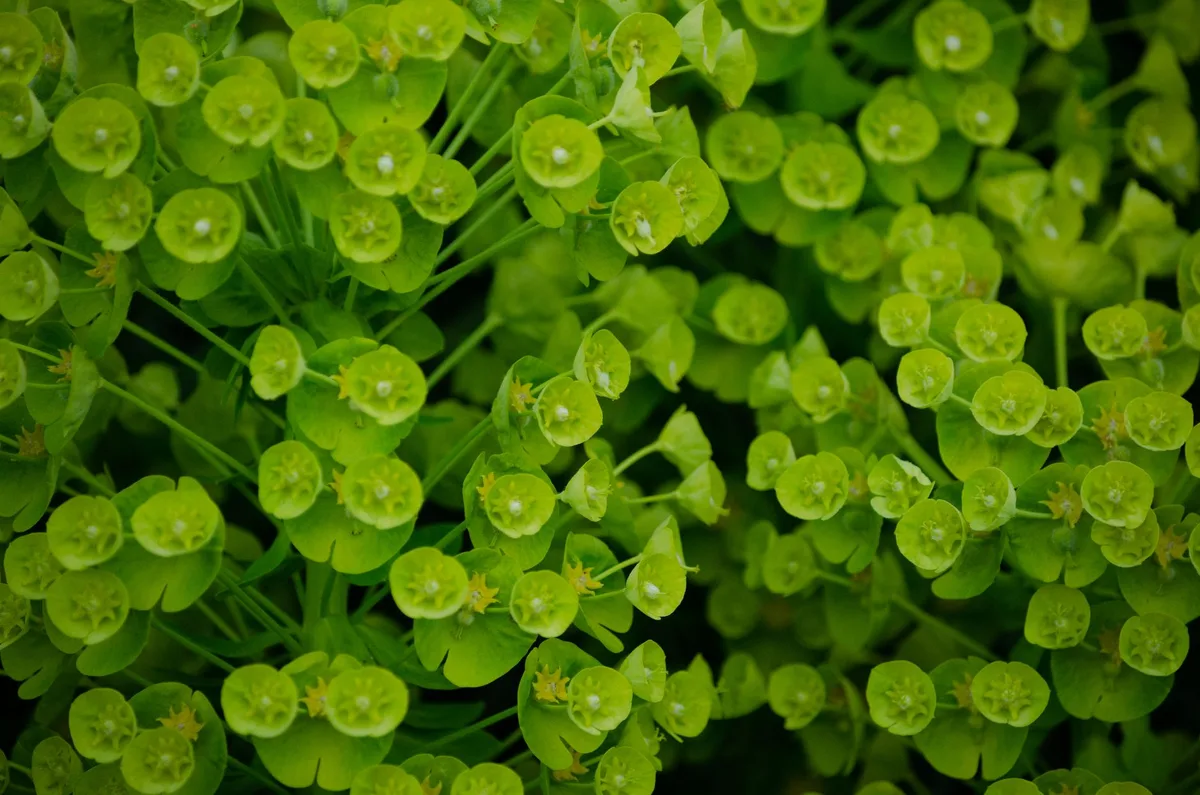
Not every low-growing weed in your yard is spurge. Mistaking it for something else means you waste time on the wrong removal method. Spurge has a few dead-giveaway traits you can check in seconds.
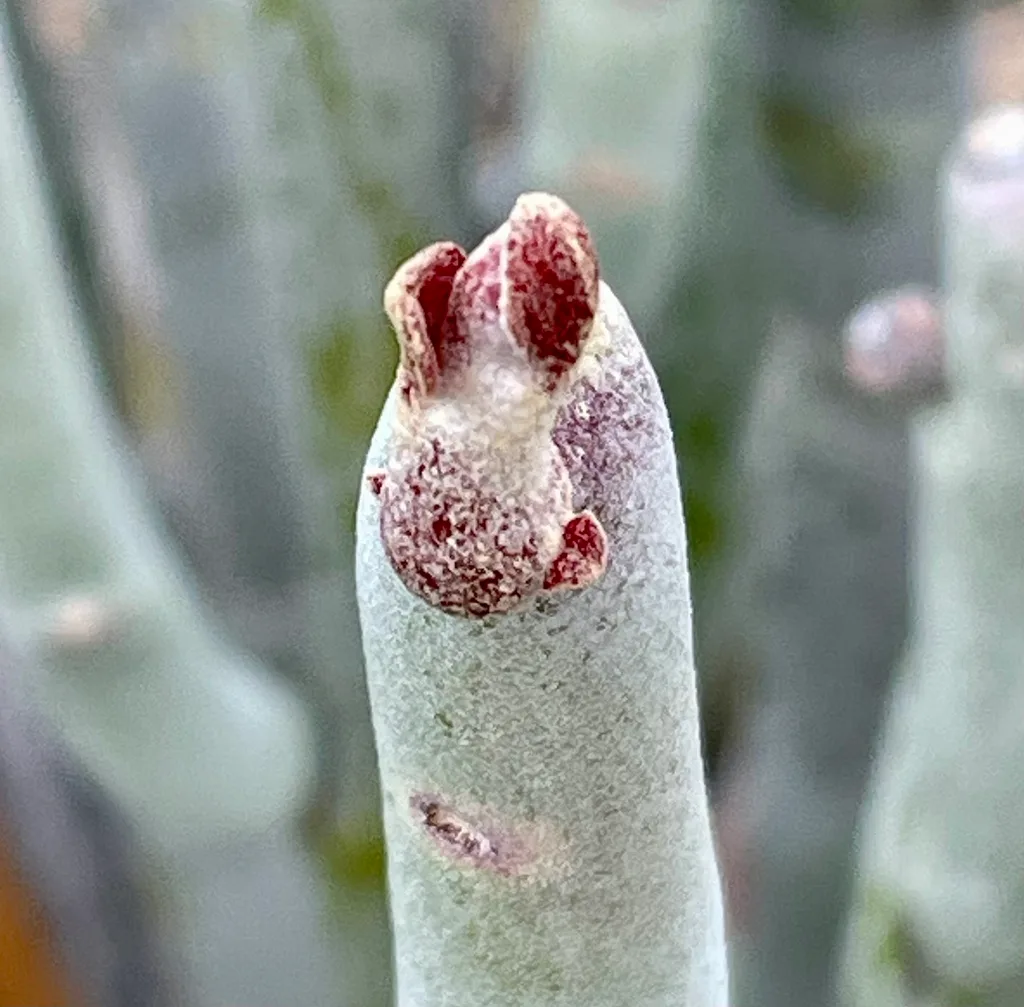
Break a stem or leaf. If you see a milky white sap oozing out, that’s spurge. That sap is a latex compound, and it’s the trademark of the entire Euphorbia genus.
No other common lawn weed produces that same white fluid.
Here’s what else to look for:
- Growth pattern. Spurge grows flat against the ground in a mat. The stems radiate outward from a central taproot like spokes on a wheel.
- Leaves. Small, oval-shaped, and arranged opposite each other on the stem. Each leaf usually has a reddish or purplish spot in the center, that’s why it’s called spotted spurge.
- Stems. Thin, reddish, and hairy. When broken, the white sap is unmistakable.
- Seed pods. Tiny, green, and round. When they dry out, they explode and fling seeds several feet away. This is why spurge spreads so fast.
The purslane trap
Purslane looks almost identical to spurge at first glance. It grows in the same low mats and appears in the same places. But purslane has a smooth, fleshy, succulent-like leaf with no white sap.
It also pulls out of the ground with almost no effort. If you’re wrestling with a weed that refuses to let go, that’s a clue you have spurge with its deep taproot.
As of 2026, spurge has been documented in every U.S. state except Alaska and Hawaii. It thrives in compacted, dry, poor soil, which means it targets exactly the spots most gardeners neglect. Identifying it correctly is the first step toward actually getting rid of it for good.
The Decision Tree: Which Method Works for Your Spot?
Your approach depends entirely on where the spurge is growing. What works in a garden bed will fail in a lawn, and what works on a patio will damage your grass. Use this decision tree to match your situation to the right method.
Spurge in a lawn (scattered or patchy)
If you have isolated spurge plants scattered across a healthy lawn, hand pulling is your best bet. Water the area the day before to soften the soil. Use a fishtail weeder or a Cobrahead tool to reach the taproot.
Pull straight up and try to get the entire root system.
If the infestation covers more than 30 percent of your lawn, pulling every plant individually becomes impractical. In that case, sheet mulching with cardboard followed by overseeding is the better long-term fix. You’ll kill the spurge and all its seeds while building healthier soil for new grass.
Spurge in garden beds or around edibles
Garden beds give you more options because you can work the soil and apply barriers. A deep layer of mulch, three to four inches of wood chips, bark, or straw, prevents spurge seeds from getting the light they need to germinate. Lay the mulch over wet cardboard for even better suppression.
Spurge loves the same dry, lean conditions that challenge many ornamental plants. Building healthy soil that supports your flowers and shrubs naturally crowds out weeds. A well-maintained flower bed with proper spacing leaves less room for spurge to take hold in the first place.
Spurge in between pavers, cracks, or gravel
Hardscapes are the easiest places to kill spurge without chemicals because you don’t have to worry about harming nearby plants. Boiling water works instantly, pour one to two cups directly onto each plant. It kills the foliage on contact, though the taproot may survive and resprout. You’ll need to repeat the treatment every few weeks until the root starves.
Flame weeding is faster and more effective. A propane torch passed over each plant for one to two seconds collapses the cell structure. The plant wilts visibly within hours.
The right base material helps prevent spurge from getting established on patios and walkways in the first place.
Spurge on bare dirt or newly cleared ground
Bare soil is an open invitation for spurge seeds to germinate. If you have a patch of exposed dirt with a heavy infestation, solarization is the most thorough non-chemical solution.
Clear the area of debris. Water the soil deeply. Cover it with clear UV-stabilized plastic and bury the edges.
Leave it in place for four to six weeks during the hottest part of summer. The trapped heat cooks the top few inches of soil, killing seeds and roots alike. You need to hold soil temperatures at 120 to 140 degrees Fahrenheit at a six-inch depth for consistent results.
| Where is the spurge? | Best non-chemical method | Why it wins |
|---|---|---|
| Lawn (scattered) | Hand pulling with a fishtail weeder | Gets the taproot with minimal damage to grass |
| Lawn (heavy patch) | Sheet mulching + overseeding | Kills the seed bank and resets the lawn |
| Garden beds | Cardboard + 4 inches of mulch | Prevents germination; feeds the soil |
| Patio cracks / gravel | Flame weeding or boiling water | Precision kill with zero chemical drift |
| Bare dirt / new beds | Solarization | Cooks the entire seed bank in one season |
Step-by-Step: Hand Pulling That Actually Gets the Root
Hand pulling seems simple, but most people do it wrong. Yanking the top of the plant leaves the taproot in the ground, and the spurge grows back stronger within two weeks. Here’s the right way to do it.
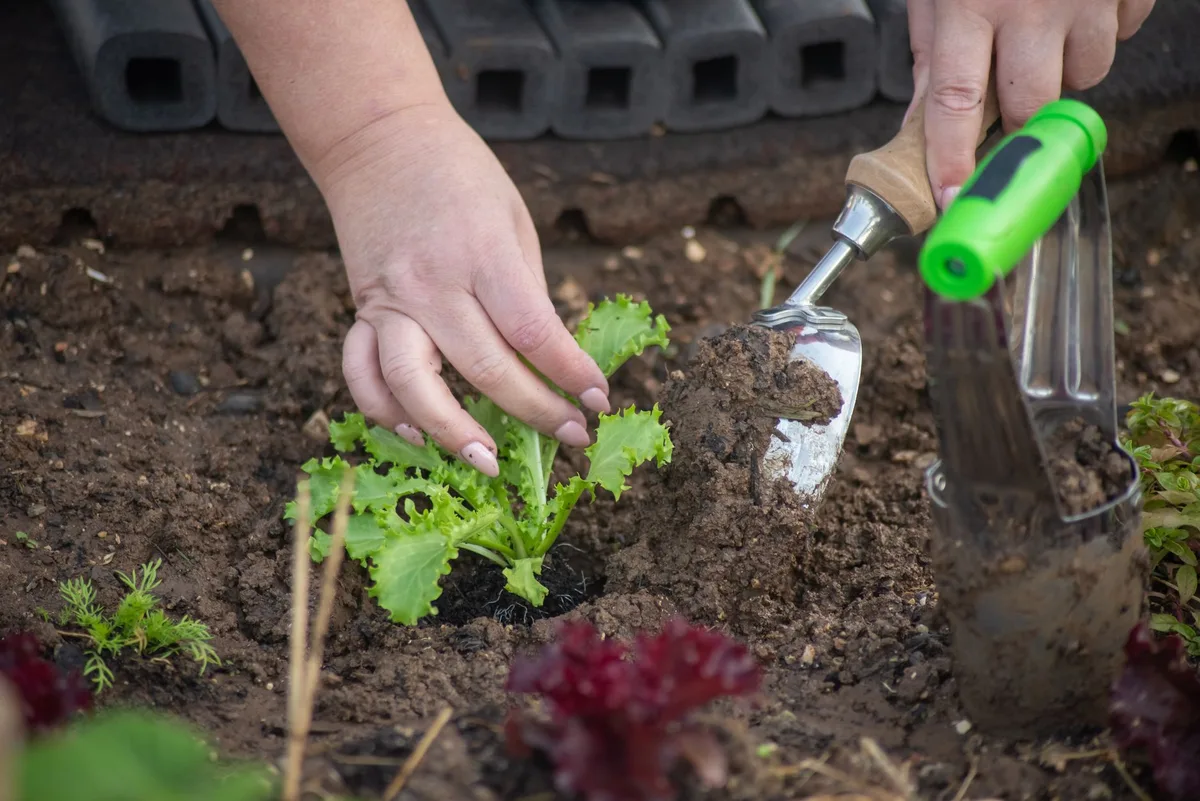
Step 1: Water first. Irrigate the area 12 to 24 hours before you plan to pull. Wet soil is much looser and allows the taproot to slide out instead of breaking off.
Step 2: Use the right tool. Your fingers alone won’t cut it for mature spurge. A fishtail weeder or a soil knife (hori hori) gives you the leverage to dig down alongside the taproot. Insert the blade a few inches away from the plant stem at a slight angle.
Step 3: Lever, don’t yank. Push the handle down to lift the root mass upward. You should feel the taproot release from the soil. If it resists, wiggle the tool side to side to loosen the grip before pulling.
Step 4: Get the whole root. The ideal pull brings up a single white taproot with smaller feeder roots attached. If the root breaks, use your weeder to dig out the remaining piece. Any fragment longer than an inch can regrow.
Step 5: Bag it immediately. Spurge stems reroot easily if left on the soil surface. Place every pulled plant into a sealed yard waste bag. Do not put spurge in your compost pile, the seeds survive composting and the stems can reestablish.
Step 6: Repeat weekly. Check the same spots every seven to ten days. New spurge seedlings appear quickly from the remaining seed bank. Each round of pulling depletes that bank a little more.
Consistent effort over two to three growing seasons will exhaust it completely.
Step-by-Step: Sheet Mulching (Cardboard + Mulch)
Sheet mulching is the go-to method for heavy infestations in garden beds or lawn areas you plan to convert into planting space. It smothers existing spurge and prevents new seeds from germinating. Plus, it improves your soil as the cardboard and mulch break down.
Step 1: Cut or pull the worst of it. If the spurge is tall or thick, trim it down to ground level or pull the largest plants. You don’t need to remove every root, the cardboard does the killing, but cutting it back makes laying the cardboard easier.
Step 2: Water the area. Moisten the soil before you lay the cardboard. This activates soil microbes that help break down the cardboard later, and it gives the spurge a final growth push that makes it more vulnerable to suffocation.
Step 3: Lay cardboard with overlaps. Use plain corrugated cardboard. Remove all tape, labels, and staples. Overlap each piece by at least six inches so no light gets through.
Spurge seedlings need light to germinate, and even a small gap lets them through.
Step 4: Soak the cardboard. Wet the cardboard thoroughly with a hose. This softens it so it conforms to the ground and stays in place. Dry cardboard can curl up at the edges and create gaps.
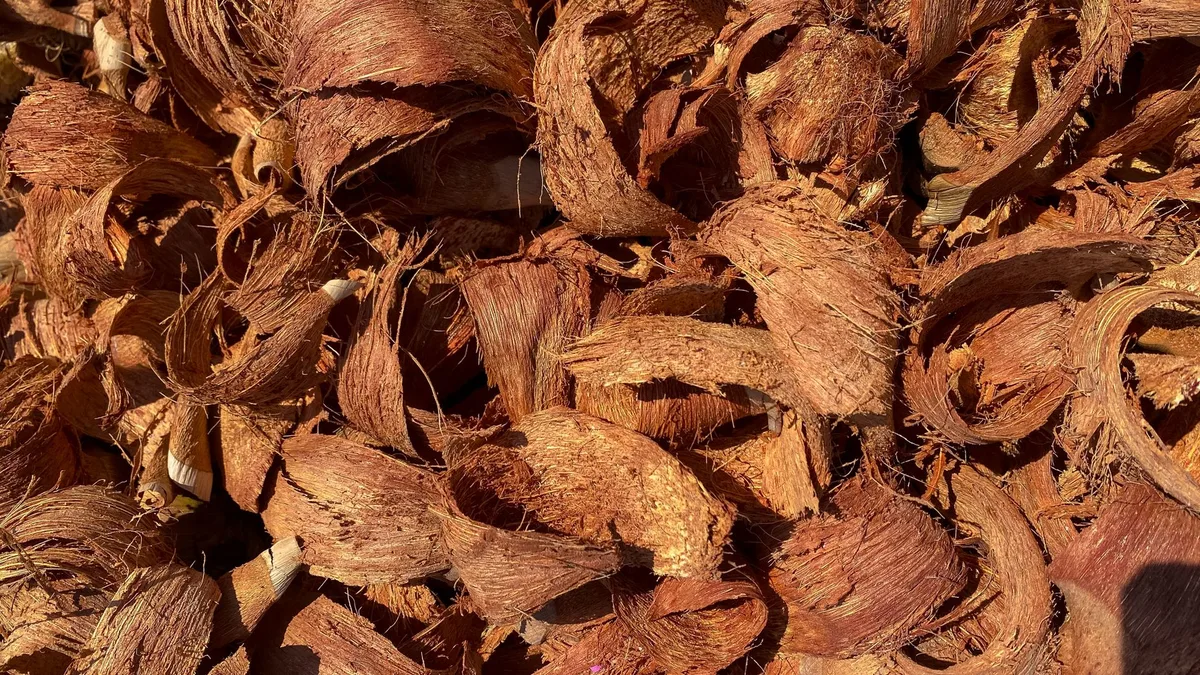
Step 5: Apply mulch three to four inches deep. Spread wood chips, bark, or straw evenly over the cardboard. The weight holds the cardboard down and blocks any remaining light. A four-inch layer is the minimum for reliable spurge suppression.
Step 6: Wait one full growing season. Leave the sheet mulch in place for at least one summer. The spurge underneath dies from lack of light. The cardboard decomposes into the soil, adding organic matter.
After the season ends, you can plant directly into the mulch layer.
Step 7: Top up the mulch annually. Each year, add one to two inches of fresh mulch to maintain that critical four-inch depth. Spurge seeds can still blow in from neighboring yards, and a thick mulch layer stops them before they establish.
Sheet mulching works especially well in hot dry climates where spurge thrives. It conserves soil moisture while suppressing weeds, which makes it a double win for gardeners in challenging conditions.
Step-by-Step: Solarizing the Soil
Solarization uses the sun’s heat to cook weed seeds and roots in the top few inches of soil. It’s the most thorough non-chemical option for bare dirt with a heavy spurge infestation. The catch is that it requires a full six weeks during the hottest stretch of summer.
Step 1: Clear and level the area. Remove all existing vegetation, rocks, and debris. Rake the soil smooth. The plastic needs direct contact with the ground to transfer heat effectively.
Step 2: Water deeply. Soak the soil to a depth of at least 12 inches. Moist soil conducts heat much better than dry soil. University extension research shows that moist soil under clear plastic reaches lethal temperatures faster and holds them longer.
Step 3: Lay clear UV-stabilized plastic. Clear plastic is essential. Black plastic blocks light but doesn’t heat the soil enough to kill seeds. Use 1 to 4 mil clear polyethylene sheeting.
Bury the edges in the soil to trap the heat inside.
Step 4: Leave it for four to six weeks. The soil temperature at a six-inch depth needs to reach 120 to 140 degrees Fahrenheit. Check progress with a soil thermometer inserted under the plastic. If you live in a cooler climate, you may need the full six weeks or longer.
Step 5: Remove the plastic and plant. After the treatment period, pull back the plastic. The top layer of soil is essentially sterile. Wait a week before planting to let beneficial microbes recolonize.
Mulch the area immediately after planting to prevent new spurge seeds from blowing in.
Solarization works best in regions with consistent high heat. Gardeners in the southeastern U.S. and parts of the southwest get reliable results. Northern gardeners may find the soil never reaches the required temperature for long enough.
Step-by-Step: Flame Weeding and Boiling Water for Hardscapes
Hard surfaces like patios, driveways, and gravel walkways are the easiest places to kill spurge without chemicals. You don’t have to worry about damaging nearby plants. You just need heat.
Flame weeding
A propane torch with a wand attachment lets you target individual plants with precision. Pass the flame over each spurge plant for one to two seconds. The goal is not to burn the plant to ash.
It’s to heat the cell walls until they burst. The plant wilts within a few hours and dies within a day.
Safety rules for flame weeding:
- Never use flame weeding during a drought or burn ban. Check your local ordinances first.
- Keep a garden hose nearby with the water running.
- Avoid dry grass, wooden fences, and anything flammable near the flame.
- Do not dwell on one spot for more than two seconds. Extended heat damages soil biology.
Flame weeding is fast. A standard propane tank lasts for about 30 minutes of continuous use, which covers a typical driveway and patio. The upfront cost of a torch wand is around $30 to $50.
Boiling water
Boiling water is slower but uses tools you already have. Pour one to two cups directly onto each spurge plant. The water kills the foliage instantly.
The taproot may survive and resprout within two to three weeks.
The main limitation is precision. Boiling water spreads across the surface and can damage nearby plants if you’re not careful. It also cools quickly on cold days, which reduces its effectiveness.
Use it only in small areas where you can control the pour.
For hardscapes, flame weeding is the better choice. It’s faster, more precise, and the heat penetrates deeper into cracks where spurge roots hide.
The Vinegar Trap – When It Works and When It Doesn’t
Vinegar is the most popular non-chemical weed killer people try first. And it’s also the one that fails most often. Here’s why.
Household vinegar contains 5 percent acetic acid. That’s enough for salad dressing but not for killing spurge. Spraying 5 percent vinegar on a mature spurge plant causes the leaves to wilt temporarily.
The taproot remains unharmed. The plant regrows within a week.
Horticultural vinegar with 20 percent acetic acid does kill spurge foliage on contact. Apply it on a sunny, warm day when temperatures are above 70 degrees Fahrenheit. The acetic acid strips the waxy cuticle from the leaves, causing them to dehydrate and die.
The problem with horticultural vinegar:
- It’s non-selective. It kills any plant it touches, including grass and ornamentals.
- It doesn’t travel to the roots. The taproot survives and resprouts.
- It works only on young, actively growing plants. Mature spurge with a thick taproot laughs it off.
- Repeated applications are required every two to three weeks to starve the root system.
Our research shows that vinegar is best reserved for seedling spurge in areas where you don’t mind bare soil. For established plants, hand pulling or sheet mulching is more reliable. Use vinegar as a spot treatment and expect to reapply.
Common Mistakes That Bring Spurge Back Stronger
Even experienced gardeners make these errors. Here’s what to avoid.
Mistake 1: Pulling dry soil. Yanking spurge from hard, dry ground snaps the taproot every time. Water the area the day before you pull. Wet soil is the difference between success and frustration.
Mistake 2: Leaving pulled plants on the ground. Spurge stems reroot when they contact moist soil. The white sap helps them seal the wound and start growing again. Bag every pulled plant immediately.
Mistake 3: Composting spurge. Home compost piles rarely reach temperatures high enough to kill spurge seeds. The seeds survive and spread when you use the compost later. Always send spurge to the landfill or municipal green waste facility.
Mistake 4: Mowing too low. Mowing your lawn below three inches stresses the grass and creates bare patches. Spurge needs bare soil to germinate. Keep your mower deck high to maintain a thick lawn that crowds out weeds.
Mistake 5: Giving up after one season. A single spurge plant produces thousands of seeds, and those seeds last up to five years in the soil. One season of removal is rarely enough. Commit to two to three growing seasons of consistent pulling for complete control.
Mistake 6: Ignoring the neighbor’s yard. Spurge seeds blow in from adjacent properties. If your neighbor has a heavy infestation, you’re fighting a losing battle. A physical barrier like a fence or a deep mulch strip along the property line helps reduce reinfestation.
Tools That Make Chemical-Free Removal Easier
The right tools turn a frustrating chore into a manageable task. Here are the ones that actually help.
Fishtail weeder. This long-handled tool has a forked tip that slides alongside the taproot. It gives you the leverage to lift the root out without breaking it. Look for one with a comfortable grip and a carbon steel blade that holds its edge.
Cobrahead weeder. A curved blade that hooks under the taproot. It’s short-handled, so you work close to the ground. Good for garden beds where you need precision.
Soil knife or hori hori. A Japanese gardening knife with a serrated edge. It works for cutting roots, digging out stubborn taproots, and transplanting. One tool handles multiple jobs.
Propane torch with wand. The standard tool for flame weeding. A 14-ounce propane tank attaches to the wand. You get about 30 minutes of burn time per tank.
Keep a spare tank on hand.
Yard waste bags. Heavy-duty paper bags or plastic contractor bags. Never use open bins for spurge. Stems escape and reroot.
Mulch fork. Moving three to four inches of mulch across a garden bed is heavy work. A mulch fork with wide tines makes spreading and leveling much faster than using a shovel.
Kneeling pad or garden stool. Hand pulling spurge requires time on the ground. A kneeling pad protects your knees and keeps you working longer without discomfort.
Our research shows that a fishtail weeder combined with a good kneeling pad is the best investment for small to medium lawns. For larger areas or hardscapes, a propane torch pays for itself in time saved.
Preventing Return: Mulch, Corn Gluten, and Turf Health
Killing the spurge you see is only half the battle. The other half is stopping new seeds from germinating. A thick, healthy lawn is your best long-term defense.
Grass that’s mowed at three inches or taller shades the soil and leaves no room for spurge seedlings to establish.
Corn gluten meal works as a natural pre-emergent. Apply it in early spring at a rate of 20 pounds per 1,000 square feet. Water it in lightly.
It inhibits root formation on germinating seeds, including spurge. It won’t kill existing plants, but it stops new ones. Reapply every four to six weeks through the growing season.
In garden beds, maintain a three to four inch layer of organic mulch. Top it up annually. Spurge seeds need light to germinate, and deep mulch denies them that.
Combine mulch with dense ground covers or closely spaced perennials to leave zero bare soil.
Real Scenarios: What Worked for Different Yards
Scenario 1: Scattered spurge in a lawn. A homeowner in zone 6 with about 30 plants across a quarter-acre lawn. They watered the night before, used a fishtail weeder, and pulled every plant. After 10 minutes a week for six weeks, the spurge was gone.
They maintained the lawn at three inches and saw no regrowth the following season.
Scenario 2: Heavy spurge in a gravel driveway. A property in zone 8 with a 50-foot driveway. The owner used a propane torch once in late June. It took 20 minutes and used about half a tank.
They spot-treated resprouts every three weeks for three months. By the second summer, only a few seedlings appeared.
Scenario 3: Spurge in a vegetable garden bed. A gardener in zone 5 with a 4×8 bed. They pulled the worst plants, laid wet cardboard, and added four inches of straw mulch. They planted tomatoes and peppers through the mulch layer.
No spurge emerged all season. They topped up the straw the next spring.
Your 3-Minute Decision Guide (Flowchart in Text)
Where is the spurge growing?
- Lawn, scattered plants → Hand pull with fishtail weeder after watering. Pull every 7-10 days for 2-3 seasons.
- Lawn, large patch → Sheet mulch with cardboard, then reseed or sod the area.
- Garden beds → Cardboard + 4-inch mulch. Top up annually.
- Cracks/gravel/hardscapes → Flame weed or pour boiling water. Repeat as needed.
- Bare dirt, new beds → Solarize with clear plastic for 4-6 weeks in summer.
Pro tip: If you don’t know which method to use, default to hand pulling for small patches and sheet mulching for large ones. Both work reliably in most situations.
Frequently Asked Questions
How long does it take to kill spurge without chemicals?
It depends on the method. Hand pulling gives instant removal of visible plants, but the seed bank requires two to three years of persistent effort. Solarization kills everything in four to six weeks.
Mulching suppresses it for the growing season.
Does vinegar kill spurge permanently?
No. Horticultural vinegar (20% acetic acid) kills the leaves but not the deep taproot. The plant regrows within one to two weeks.
Repeated applications can eventually starve the root, but hand pulling is more reliable for mature plants.
Can I compost spurge?
No. Spurge seeds survive home compost piles. The stems can also reroot if the compost is moist.
Always bag pulled spurge and send it to the landfill or municipal green waste facility.
What kills spurge faster: boiling water or flame weeding?
Flame weeding is faster and more effective. Boiling water cools quickly and may not reach the root in cracks. A propane torch kills foliage in one to two seconds and requires fewer repeat treatments.
Will spurge come back after I pull it?
It can. If any piece of the taproot longer than an inch remains in the soil, the plant will regrow. Also, the seed bank in the soil contains thousands of seeds.
Consistent monitoring and pulling over two to three seasons is necessary for complete control.
Is spurge harmful to pets?
The white sap can irritate skin and mucous membranes. If your pet ingests spurge, it may cause drooling or vomiting. Keep pets away from areas where you’re pulling or treating spurge, and wash any exposed skin promptly.