How to Apply Granular Fertilizer 2026: What Actually Works
If you have ever tossed a handful of granular fertilizer onto your lawn and hoped for the best, you already know the problem. It either burns the grass in patches, creates uneven growth, or simply washes away before doing any good. Getting it wrong is easy.
But learning how to apply granular fertilizer the right way is actually pretty straightforward once you understand the basics.
Standard university extension guidelines, as of 2026, recommend splitting your yearly nitrogen into at least two applications for most cool-season lawns. This single change reduces the risk of runoff and improves how much the grass actually uses. Let’s walk through what you need to know to do this correctly.
Quick Answer
Spread granular fertilizer evenly using a drop or broadcast spreader. Apply at the rate recommended by your soil test. Water the lawn immediately after with about half an inch of water.
Use a crisscross pattern for even coverage. Never apply before heavy rain.
Why Accuracy Matters More Than You Think
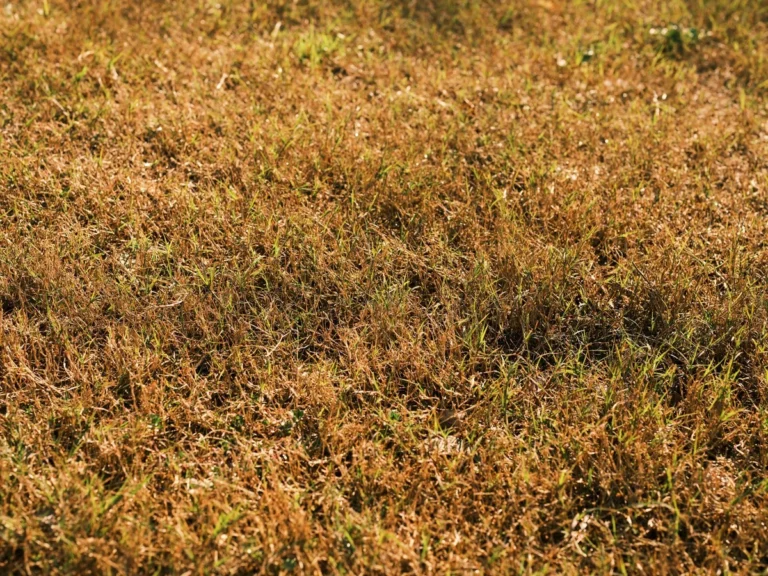
Granular fertilizer is concentrated. A little mistake can do a lot of damage. Put down too much, and you risk fertilizer burn, those ugly yellow or brown stripes that make your lawn look sick.
Put down too little, and you wasted your time without seeing any real benefit.
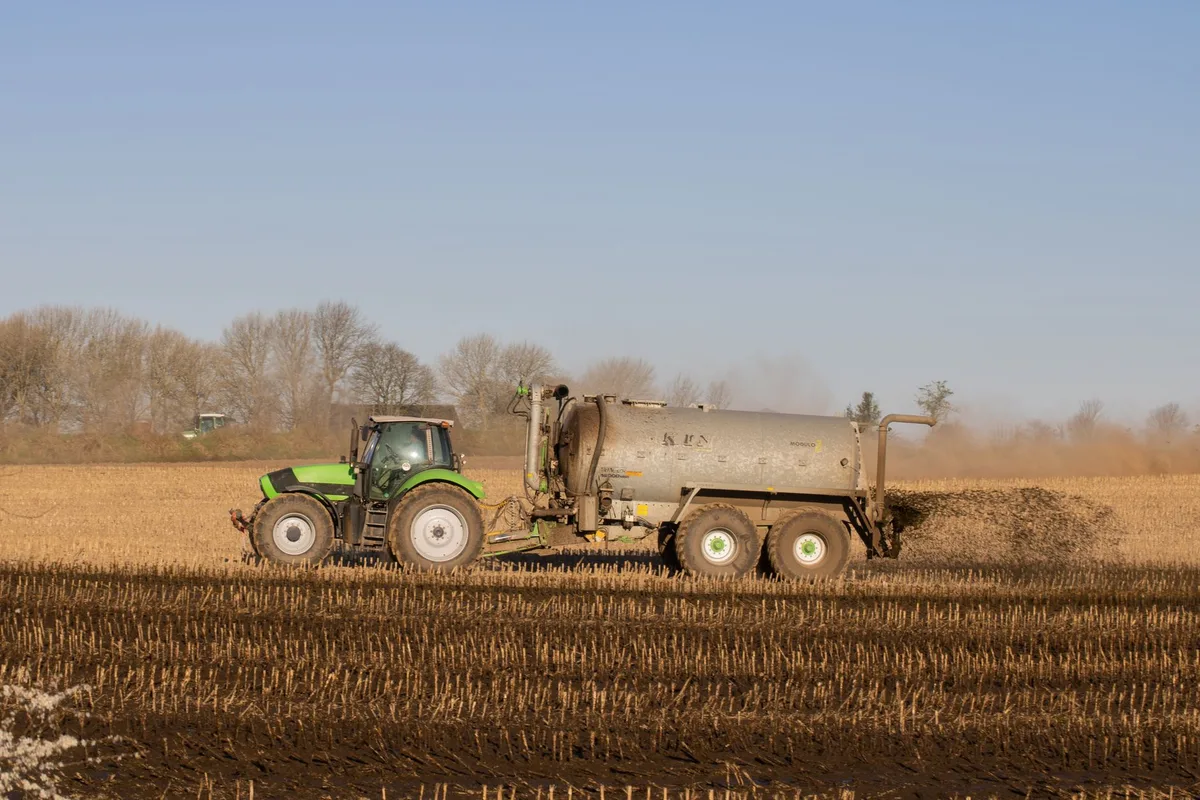
The stakes go beyond your lawn, too. Excess nitrogen runs off into storm drains and local waterways. This contributes to algae blooms that harm fish and pollute drinking water sources.
In some areas, local regulations restrict how much phosphorus you can apply or when you can fertilize at all.
The numbers back this up. Research from university turf programs shows that over application of nitrogen by just 50% can double the amount lost to runoff. That means wasted money and measurable environmental harm.
What happens when you get it wrong
| Mistake | Result |
|---|---|
| Too much in one spot | Fertilizer burn, dead patches |
| Uneven spread | Stripes of fast and slow growth |
| Wrong timing | Weak grass, more weeds |
| No watering in | Nitrogen gas loss (volatilization) |
| Skipping soil test | Wrong nutrients, wasted money |
Getting accuracy right is not about being perfect. It is about following a repeatable process that any homeowner can do. The same principles apply whether you are feeding a small flower bed or half an acre of lawn.
What Granular Fertilizer Is (And When to Use It)
Granular fertilizer comes in small dry pellets or prills that you spread over soil or turf. Unlike liquid fertilizer that gets absorbed immediately, granular feeds need soil moisture and warmth to break down. This makes them slower acting but longer lasting.
There are two main types: quick release and slow release. Quick release granules dissolve fast and give plants a rapid green up. But they also burn more easily and need careful timing.
Slow release products use a coating or organic material to meter out nutrients over weeks or months. They cost more but require fewer applications and carry less burn risk.
When should you use granular?
Granular makes sense when you want steady feeding over time. It is ideal for established lawns, vegetable gardens, and flower beds where you can water it in after application. It also works well for starter fertilizer when you are planting a new lawn or tilling a garden bed.
Liquid fertilizer is better for fast correction of a deficiency or for feeding during a cool stretch when soil microbes are less active. But for most routine feeding, granular is simpler, cheaper, and more forgiving once you know the process.
When to skip granular
Skip granular if the ground is frozen or waterlogged. The pellets will not break down properly and can sit on the surface until they wash into a drain. Also skip it if you cannot water it in within 24 hours, especially with products high in urea.
The One Step Most People Skip: Soil Testing First
Here is the honest truth: you do not know what your lawn needs until you test the soil. Guessing leads to over fertilization, under fertilization, or feeding the wrong nutrients entirely. A soil test tells you the exact N-P-K ratio you need and saves you money.
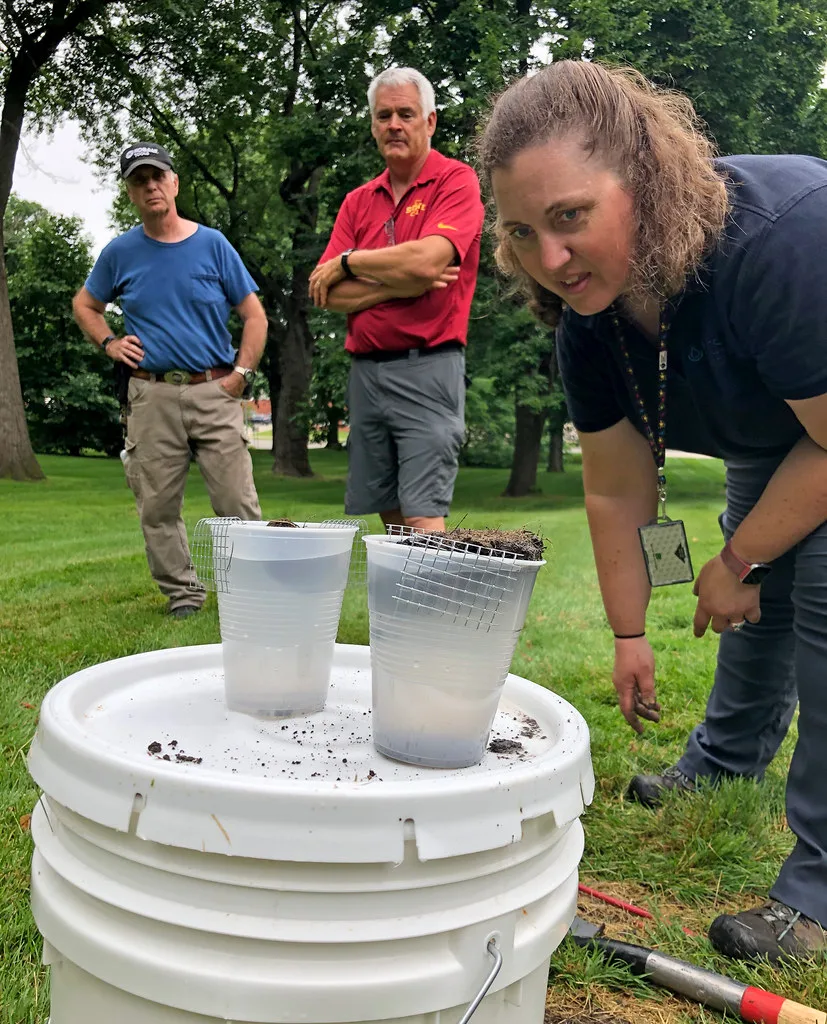
Testing is not complicated. You collect a few scoops of soil from different spots in your lawn, mix them together, and send the sample to a lab. Many university extension services offer this for 10 to 20 dollars.
You get back a report with your pH level, nutrient availability, and specific fertilizer recommendations.
What the test tells you
The test reveals three critical values: pH, phosphorus (P), and potassium (K). Most lawns grow best between pH 6.0 and 7.0. If your soil is too acidic or too alkaline, nutrients stay locked up no matter how much fertilizer you add.
Fix the pH first, then add fertilizer.
Phosphorus is especially important. Many soils already have plenty of it. Adding more does nothing for your lawn but can trigger local phosphorus bans because it pollutes waterways.
A soil test prevents this completely.
How often to test
Test every two to three years for established lawns. Test every year for vegetable gardens or flower beds where you grow heavy feeders. If you are starting a new lawn from scratch, test before you plant.
Choosing the Right Spreader: Drop vs. Broadcast
Your spreader is the tool that determines whether your fertilizer goes where you intend it to. Two main types dominate the market. Each has a clear best use.
Drop spreader
A drop spreader has a hopper with holes in the bottom that open when you pull the trigger. Fertilizer drops straight down in a precise path as wide as the spreader. This gives you perfect control with zero drift.
Best for: Small lawns, flower beds, gardens, and areas near sidewalks or driveways where you want zero overlap onto hard surfaces.
Drawback: It leaves stripes if your passes do not align exactly since there is no overlap. You also need to walk a clean pattern or you miss strips.
Broadcast spreader (rotary)
A broadcast spreader has a spinning disk that throws fertilizer in a fan pattern. This creates a wide path with natural overlap. It covers ground faster and hides small alignment errors.
Best for: Medium to large lawns and open fields where speed matters and you have room to work.
Drawback: It scatters fertilizer onto sidewalks, driveways, and flower beds if you are not careful. You also have less precise control over the edges.
Which one should you choose
| Spreader type | Best for |
|---|---|
| Drop | Small yards, precision work, tight spaces |
| Broadcast | Large lawns, speed, open areas |
| Handheld | Garden beds, small patches, bagged fertilizer |
For a typical suburban lawn of a quarter acre or less, a drop spreader gives you more control and less waste. For anything larger, a broadcast spreader saves time and frustration.
How to Read a Fertilizer Bag (N-P-K Numbers and Rates)
Every bag of fertilizer has a set of three numbers like 20-5-10 or 10-10-10. These are the N-P-K values. They stand for the percentage of nitrogen (N), phosphate (P2O5), and potash (K2O) in the bag.
What the numbers mean
A 20-5-10 bag means 20% nitrogen, 5% phosphorus, and 10% potassium. The rest is filler material that helps with spreading. Higher numbers mean more concentrated fertilizer, so you need less product to deliver the same amount of nutrients.
How to figure out the rate
The bag label tells you how many pounds to apply per 1000 square feet. But that rate assumes an average soil. If you have a soil test, adjust accordingly.
Here is a quick example: if your soil test says you need 1 pound of actual nitrogen per 1000 square feet, and your bag is 20-5-10 (20% nitrogen), you divide 1 by 0.20. That gives you 5 pounds of fertilizer per 1000 square feet.
Common ratios and their uses
| N-P-K ratio | Typical use |
|---|---|
| 20-5-10 | General lawn maintenance |
| 10-10-10 | Garden beds, vegetables |
| 15-0-15 | Fall fertilizer, potassium boost |
| 30-0-0 | High nitrogen, established lawns only |
Stick with a balanced ratio like 20-5-10 for most lawns unless your soil test says otherwise. For flower beds or vegetable gardens, a 10-10-10 works well. If you are specifically feeding indoor plants or container gardens, you can use a slow-release formula designed for those conditions.
Weight vs coverage
Pay attention to the bag weight and the coverage area listed. A 40-pound bag covering 5000 square feet means you apply at roughly 8 pounds per 1000 square feet. Check this against your target rate to avoid over application.
This is also where you should check for slow-release content. Some products list the percentage of slow-release nitrogen on the bag. Aim for at least 50% slow release for lawns, especially in sandy soils where nutrients leach quickly.
Step-by-Step: How to Apply Granular Fertilizer Evenly and Safely
Once you have your soil test results, the right spreader, and the correct bag, it is time to actually put the fertilizer down. Follow this sequence for consistent results every time.
Step 1: Measure your lawn area
You cannot apply the right amount if you do not know how big your lawn is. Measure the length and width of each section. Multiply for square footage.
Subtract areas like flower beds and walkways.
For irregular shapes, break them into rectangles and triangles. There are also free satellite measuring tools online that trace your property lines. Accuracy within 10% is good enough for fertilizer rates.
Step 2: Set your spreader to the right opening
Check the bag label for the recommended spreader setting. Most bags have a chart for common spreader brands. If your spreader model is not listed, start at a medium setting and calibrate (more on that in a moment).
Write the setting down on the bag with a marker. You will forget by next season.
Step 3: Apply in a pattern
Start along the edges of your lawn. Walk at a steady pace. For a broadcast spreader, overlap your passes by about 50% to avoid stripes.
For a drop spreader, make sure each pass lines up exactly with the previous one.
Use a crisscross pattern for the best coverage. Apply half the total rate going north to south. Then apply the other half going east to west.
This evens out any minor calibration errors.
Step 4: Water it in
Granular fertilizer needs water to start breaking down. Apply about half an inch of water within 24 hours. This moves the nutrients into the root zone and prevents nitrogen loss to the air.
Do not overwater. Heavy rain right after application washes the fertilizer off your lawn and into the gutter. Check the forecast before you spread.
Step 5: Clean up
Sweep any fertilizer off sidewalks, driveways, and patios back onto the lawn. Left on hard surfaces, it washes straight into storm drains. A broom and dustpan take two minutes.
This step alone prevents most runoff problems.
Rinse your spreader after every use. Fertilizer residue is corrosive and will rust the metal parts. A quick spray with a garden hose keeps it working for years.
Calibrating Your Spreader (So You Don’t Waste or Burn)
Here is the step most people skip that causes the most damage. Your spreader’s dial setting is a starting point, not a guarantee. The actual output depends on your walking speed, the fertilizer’s particle size, and the condition of your spreader.
Calibration takes ten minutes and saves you from burning your lawn.
The simple calibration method
Set your spreader to the number recommended on the bag. Put a known weight of fertilizer in the hopper. Mark a test strip on your driveway or sidewalk that is 50 feet long and the same width as your spreader’s spread pattern.
Walk at your normal pace over the test strip and trigger the spreader. Collect the fertilizer that landed on the strip. Weigh it on a kitchen scale.
Now do the math. If your test strip is 50 feet by 2 feet, that is 100 square feet. Multiply the weight you collected by 10 to get the rate per 1000 square feet.
Compare that to your target rate.
Adjusting the setting
If the test shows you applied too much, close the dial by one or two numbers and repeat. If you applied too little, open it up. Keep testing until the output matches your target within 10%.
Write that final setting on the bag. Next time you use that fertilizer, you pick up right where you left off.
When to recalibrate
Recalibrate whenever you switch fertilizer brands or formulas. Different particle sizes flow differently. Also recalibrate at the start of each season.
Spreader parts wear and change the flow rate over time.
The Biggest Mistakes That Ruin Lawns and Waste Money
Even experienced gardeners make these errors. Knowing them ahead of time keeps your lawn looking good and your wallet full.
Applying on wet grass
Granules stick to wet grass blades instead of falling through to the soil. They sit there and burn the leaves on contact. Wait until the grass is dry.
Apply in the morning after the dew has evaporated.
Using the same rate everywhere
Shady areas need less fertilizer than sunny spots. Slopes lose nutrients faster than flat ground. Adjust your rate based on conditions.
A blanket approach guarantees uneven growth.
Ignoring the spreader pattern
Broadcast spreaders throw fertilizer farther on one side than the other. This is normal. You compensate by overlapping your passes and walking a crisscross pattern.
If you walk straight lines only, you get stripes.
Overlapping without adjusting
If you double back without offsetting your path, you dump twice the rate in a narrow strip. That strip burns. Mark your starting point with a garden flag or a stick so you know where you began.
Fertilizing at the wrong time
Late fall fertilizer is great for roots. Late spring fertilizer feeds weeds just as much as grass. Timing matters as much as the product.
We will cover exact timing next.
When to Fertilize: Timing by Grass Type and Season
Applying at the right time is half the battle. Grass has natural growth cycles. Feed when it is actively growing, not when it is dormant.
Cool season grasses
These grasses grow best in spring and fall. They slow down or go dormant in summer heat. Kentucky bluegrass, fescue, and ryegrass fall into this category.
Apply in early spring when the grass starts greening up. Then again in late spring. Skip the height of summer.
Make your final application in early to mid fall. This last feeding builds root reserves for winter.
Warm season grasses
Bermuda, Zoysia, St. Augustine, and Centipede grass grow best in summer heat. They go dormant and brown in winter.
Start fertilizing in late spring after the last frost. Feed every 6 to 8 weeks through the summer. Stop in early fall.
A late application encourages tender growth that gets killed by frost.
A simple schedule for most lawns
| Season | Cool season | Warm season |
|---|---|---|
| Early spring | Light feeding | None |
| Late spring | Moderate feeding | First feeding |
| Summer | Skip | Feed every 6-8 weeks |
| Early fall | Main feeding | Last feeding |
| Late fall | Light feeding | None |
Safety, Runoff, and Local Regulations You Should Know
Fertilizer is a chemical product. Treat it with respect. The risks are not just to your lawn but to your family and the environment.
Personal safety
Wear gloves when handling granular fertilizer. The salts can irritate your skin. Wear a dust mask if you are applying in dry, windy conditions.
Wash your hands thoroughly after you finish.
Keep children and pets off the lawn until the fertilizer has been watered in and the grass is dry. This usually takes about 24 hours. The granules themselves can cause stomach upset if ingested.
Environmental safety
Phosphorus runoff is the biggest concern. It feeds algae in lakes and ponds. Many states now restrict phosphorus fertilizer on established lawns unless a soil test shows a deficiency.
Check your local regulations before you buy.
Never fertilize within 10 feet of any water body. Use a drop spreader near ponds, streams, or drainage ditches. The precision keeps the fertilizer on your lawn where it belongs.
Storage
Store fertilizer in a cool, dry place. Humidity causes clumping. Temperature extremes degrade the coating on slow release products.
Keep the bag off the concrete floor. Moisture wicks up through the concrete and ruins the granules.
Seal the bag after every use. Open fertilizer attracts moisture and pests.
Disposal
Never dump excess fertilizer in the trash or down a drain. If you have leftover product you cannot use, check with your local waste management facility. Some areas have hazardous waste collection days for garden chemicals.
Better yet, buy only what you need for the season. A 40 pound bag covers most suburban lawns. Do not buy the giant sack just because it is cheaper per pound.
It will go bad before you use it.
When to Call a Professional or Get a Soil Lab Test
Most homeowners can handle granular fertilizer application on their own. But some situations call for expert help.
If your lawn has persistent problems like large dead patches, heavy thatch, or severe weed infestations, a professional lawn care service has equipment and products you cannot buy at a garden center. They can also handle complex terrain or large properties efficiently.
A soil lab test is worth doing every few years even if you are comfortable with DIY. University extension labs cost 10 to 20 dollars. They give you exact N-P-K recommendations and pH correction steps.
Skip the cheap home test kits. They are not accurate enough for fertilizer decisions.
Quick Reference: What to Do for Different Lawn or Garden Situations
| Situation | Action |
|---|---|
| New lawn from seed | Use a starter fertilizer high in phosphorus (e.g., 20-27-5) |
| Established lawn | Use a balanced formula like 20-5-10 based on soil test |
| Sandy soil | Use slow-release nitrogen; split applications into 3-4 per year |
| Clay soil | Apply lower rates but more frequently; avoid when wet |
| Flower beds | Use 10-10-10 or slow-release flower formula; water in well |
| Vegetable garden | Side-dress with granular after planting; repeat every 4-6 weeks |
Frequently Asked Questions
How often should I apply granular fertilizer?
Most lawns need two to four applications per year. Cool season grasses get spring and fall feeds. Warm season grasses get late spring through summer.
Follow your soil test recommendations for exact frequency.
Can I apply granular fertilizer before rain?
Light rain is fine. Heavy rain washes the granules off your lawn. Check the forecast.
If more than half an inch is expected within 24 hours, wait.
How long does granular fertilizer take to work?
Quick release formulas show results in a few days. Slow release takes two to four weeks. You will see greener growth and stronger root development over that period.
Can I use granular fertilizer on potted plants?
Yes, but use a formula designed for containers. Use about half the outdoor rate. Water thoroughly after applying.
Granules sitting on top of potting soil can burn roots.
Is organic granular better than synthetic?
Organic releases nutrients slowly and improves soil health over time. Synthetic gives faster results and is easier to fine tune. Both work well.
The best choice depends on your goals and budget.
What do I do if I accidentally applied too much?
Water the area deeply immediately. This dilutes the salts and moves them below the root zone. You may still see some burn, but it limits the damage.
Do not reapply for at least six weeks.