Guide to Mulching Maintenance Guide: What Actually Works
Most landscape beds don’t fail because you chose the wrong mulch. They fail because nobody told you that mulch is a living system that breaks down, compacts, shifts, and loses function over time. A proper mulching maintenance guide isn’t about dumping fresh wood chips once a year and calling it done.
It’s about reading what your mulch layer is telling you, knowing when to refresh versus replace, and adjusting your approach based on mulch type, climate, and the specific problems showing up in your beds.
Organic mulches like shredded hardwood or pine bark decompose at rates between one and three years depending on particle size, moisture, and microbial activity. That decomposition is beneficial for soil structure, but it also means your protective layer thins, compacts, and eventually stops doing its job. Here’s how to keep your mulch beds working year after year without wasting time, money, or hurting your plants.
Quick Answer
Mulch maintenance means inspecting beds quarterly and acting when depth drops below two inches. Organic mulches need topdressing every 12 to 18 months. Inorganic types like rubber or gravel need less frequent care.
Pull mulch back from plant crowns and tree trunks each spring. Fluff compacted layers to restore permeability. Replace completely when matting, sour smell, or heavy weed invasion occurs.
Why Mulch Maintenance Isn’t Optional (And What Happens When You Skip It)
Mulch serves three non-negotiable functions in landscape beds. It suppresses weeds by blocking light. It moderates soil temperature swings that stress roots.
It slows moisture evaporation, cutting your watering workload by 30 to 50 percent in most climates.
When you neglect maintenance, those benefits vanish faster than most homeowners realize. A two-inch layer of hardwood mulch can compact to less than one inch in a single humid summer. Once depth drops below two inches, weed seeds germinate freely and surface roots bake in direct sun.
Organic mulches break down into humus, which is great for soil biology. But as particle size shrinks, the layer mats together and becomes hydrophobic, meaning water beads up and runs off instead of soaking through to roots. You’ll water more often and still see wilting plants.
Mulch that’s piled too thick or pushed against tree bark creates a perfect habitat for fungal pathogens, carpenter ants, and termites. The “mulch volcano” problem, where mulch is mounded against a trunk, kills more young trees than drought does.
Skipping seasonal checks means small problems compound. A thin spot turns into a weed patch. A compacted zone becomes a drainage problem.
Fungal growth that could’ve been flipped and dried out spreads across the bed. Maintenance isn’t optional if you want the mulch to do what you paid for.
How to Know When Your Mulch Actually Needs Attention
You don’t need a calendar to tell you when mulch needs work. The bed itself will show you. Walk your landscape every three months and look for specific visual cues that signal action is overdue.
Visual Signs Your Mulch Layer Is Failing
Check depth first. Push a finger straight down to the soil line. If you’re hitting dirt before your finger reaches two inches, the layer is too thin.
Measure in multiple spots because beds thin unevenly, especially near high-traffic edges or on slopes.
Color fading is normal, but it’s also a sign of advanced UV breakdown. Dyed mulches gray out in 12 to 18 months. Natural cedar and hardwood fade more slowly but still lose that fresh look.
Fading doesn’t hurt function, but it’s a visual cue that the layer is aging and likely thinning too.
Look for compaction and matting. If the surface feels crusty or water pools instead of soaking in, the mulch has compressed into a dense mat. You’ll see this most often under trees where falling leaves pack the layer down, or in beds that get heavy rain without good drainage.
Weed breakthrough is a red flag. Mulch should block 95 percent of weed germination when applied correctly. If you’re pulling weeds weekly, either the depth is inadequate or the mulch has decomposed so much that light is reaching the soil.
Fungal growth shows up as bright yellow slime mold, white cobweb-like mycelium, or small brown “bird’s nest” structures. Most are harmless to plants but signal that the mulch is staying too wet or has compacted into an anaerobic layer. A sour, ammonia-like smell means the same thing.
That’s anaerobic decomposition, also called sour mulch, and it can release compounds toxic to young roots.
Seasonal Timing: When to Inspect and When to Act
Inspect beds in early spring before new growth starts, mid-summer after the heaviest rains, early fall before leaf drop, and late winter if you live in a freeze-thaw region. Each season creates different stresses.
Spring is your main action window. Pull mulch back from perennials and shrubs that have been buried over winter. Check for mold or matting from snow cover.
Top-dress thin areas before summer heat hits.
Mid-summer inspection catches erosion and displacement. Afternoon thunderstorms wash mulch down slopes or into low spots. Redistribute before the layer gets too thin to protect roots during peak heat.
Fall prep matters in leaf-heavy zones. If you leave fallen leaves on top of mulch, they’ll mat down and create a compacted, soggy mess by spring. Either rake them off or shred and incorporate them lightly.
Don’t let a thick leaf layer smother the mulch beneath.
Winter checks are quick in snow-belt areas. Look for heaving, where freeze-thaw cycles push mulch away from plant crowns. Settling snow compresses mulch, so plan to fluff and topdress in early spring.
The Decision Point: Topdress, Turn, or Replace Completely?
Not every mulch problem needs a full replacement. Your action depends on what’s wrong, how old the mulch is, and what type you’re working with. Here’s how to decide.
When Fresh Topdressing Is Enough
Topdressing means adding a thin layer of new mulch over the existing material without removing what’s already there. It’s the right move when depth has dropped to one to two inches but the base layer is still loose, not compacted, and free of heavy weed pressure.
Add one to two inches of fresh mulch on top. Don’t exceed a total depth of four inches or you’ll create drainage problems and encourage pests. If the existing layer is faded but still functional, topdressing restores color and protection without the labor of full removal.
This works best for organic mulches like shredded hardwood, bark, or wood chips that are halfway through their lifespan. If you applied three inches of hardwood mulch 12 months ago and it’s now two inches and slightly faded, a one-inch topdress resets the bed for another 12 to 18 months.
Don’t topdress over compacted, matted, or sour-smelling mulch. Adding fresh material on top of a bad layer wastes money and doesn’t fix the underlying problem.
When You Need to Fluff and Redistribute
Fluffing means using a garden rake or cultivator to break up compaction and redistribute mulch that’s piled unevenly. Do this when the layer feels crusty, water isn’t penetrating, or you see thick spots next to bare spots.
Rake through the top two inches to loosen matted fibers. This reintroduces air pockets and restores permeability. If you uncover bare soil in low spots, rake mulch from the thick zones to even out coverage.
Fluffing is most effective in spring after snow melt or heavy rain has compacted the bed. It’s also the fix for hydrophobic mulch. Once organic mulch starts repelling water, turning it over exposes drier material underneath and breaks the waxy coating that forms on decomposing wood fibers.
You can combine fluffing with light topdressing. Turn the existing layer first, then add a thin fresh coat to fill gaps and restore depth.
When It’s Time to Remove and Start Over
Full replacement is necessary when mulch is heavily compacted, infested with weeds, smells sour, or has decomposed into a thin, unrecognizable mat. You’ll also replace if the bed has landscape fabric underneath that’s torn or clogged.
Use a flat shovel or garden fork to scrape the old layer into a wheelbarrow. If the mulch is still partially intact but too thin, you can compost it or use it as a soil amendment in vegetable beds. Sour or moldy mulch goes to the curb, not your compost pile.
Once you’ve cleared the bed, inspect the soil and fabric. Pull any weeds that rooted through. Repair or remove damaged landscape fabric.
If the fabric is more than five years old and clogged with organic matter, consider removing it entirely, as it often creates more problems than it solves.
Rake the soil smooth, redefine bed edges, and apply fresh mulch to a depth of three inches. Water lightly after spreading to settle the new layer and reduce wind displacement.
As of 2026, more landscape professionals are skipping fabric entirely in favor of thicker organic mulch layers, which decompose into valuable soil organic matter instead of creating a buried plastic barrier that impedes water movement.
Maintenance by Mulch Type: Why Your Approach Must Change
Mulch isn’t a one-size-fits-all material. The type you’re working with determines how often you inspect, what problems to expect, and how you refresh or replace it. Here’s what changes based on mulch category.
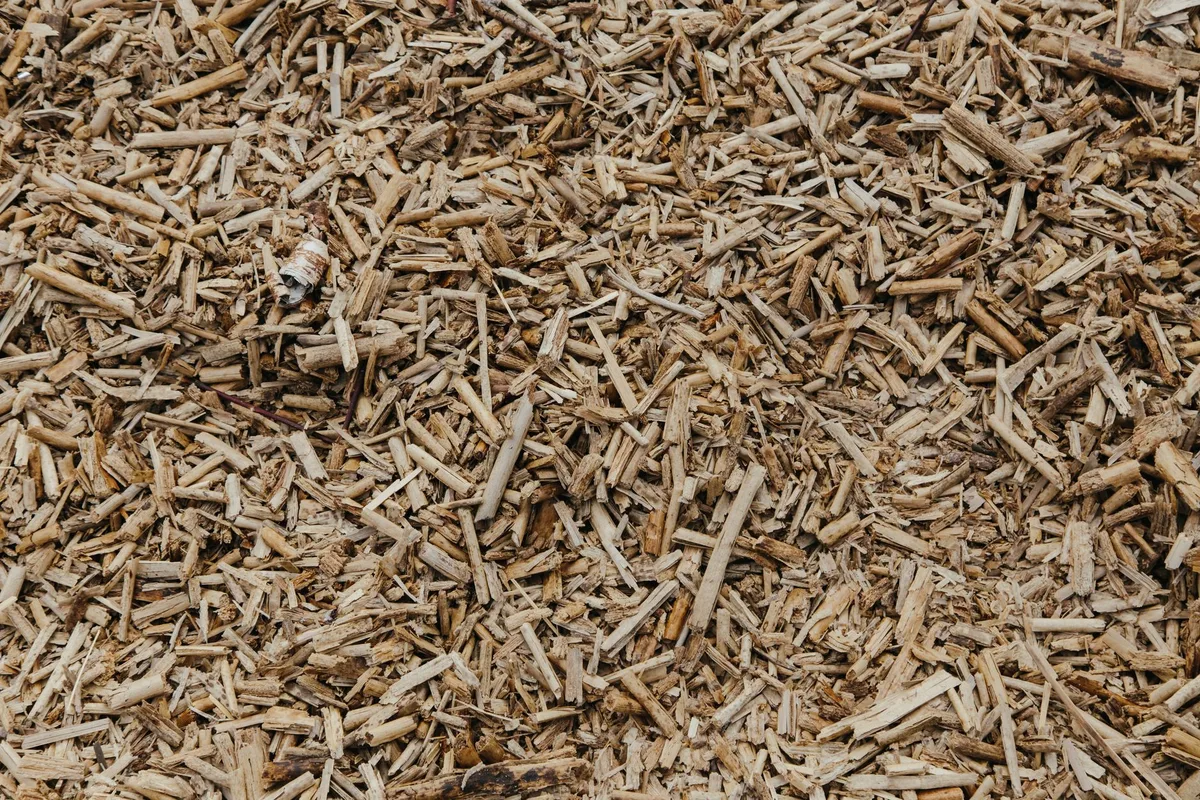
Organic Mulch (Wood Chips, Bark, Hardwood)
Shredded hardwood, bark nuggets, and wood chips are the most common organic mulches. They break down over one to three years depending on particle size, wood species, and climate. Smaller particles decompose faster.
Hardwood breaks down quicker than cedar or cypress.
Inspect these beds every three months. You’ll see thinning and color fade first, usually within 12 months. Plan to topdress annually in most climates, more often in hot, humid regions where microbial activity accelerates breakdown.
Compaction is the biggest maintenance issue. Organic mulch mats down under rain and foot traffic, especially if it’s finely shredded. Fluff the layer every spring and redistribute thick spots.
Nitrogen tie-up occurs when fresh wood mulch contacts soil. Decomposing wood pulls nitrogen from the top few inches of soil as microbes break it down. If you’re mulching annual beds or vegetable gardens, this can stunt growth.
The fix is simple: keep mulch pulled back two to three inches from herbaceous plant stems and apply a light nitrogen topdress (like a slow-release flower fertilizer) in spring if you see yellowing.
Cedar and cypress mulches last three to five years thanks to natural oils that slow decomposition. They’re worth the extra cost if you want to stretch replacement intervals, though they still need depth checks and occasional topdressing.
Pine Straw and Needle Mulch
Pine straw is popular in the Southeast and other regions where pine trees are common. It’s lightweight, easy to spread, and knits together into a semi-stable mat. But it also blows away easily and breaks down faster than wood mulch.
You’ll need to refresh pine straw beds one to two times per year. Wind and rain displace it constantly, so inspect after every major storm. Rake displaced straw back into place and add fresh material to restore depth.
Pine straw doesn’t compact like wood mulch, which is a plus for drainage. But it also doesn’t suppress weeds as effectively once it starts decomposing. Weed breakthrough happens sooner, usually within six to nine months.
One advantage: pine straw is easy to remove and replace. You don’t need to scrape down to bare soil. Just rake off the old layer and spread fresh straw to three inches.
It’s also one of the few mulches you can layer year after year without creating drainage problems, since it decomposes into almost nothing.
Rubber and Inorganic Mulch
Rubber mulch, made from shredded tires, lasts 10 years or more without decomposing. It’s most common in playgrounds and high-traffic areas. Maintenance is minimal: rake to redistribute, pull weeds that germinate in accumulated dirt, and rinse if debris builds up.
Rubber doesn’t fade as dramatically as organic types, but it does lose color intensity over five to seven years. You won’t topdress rubber mulch. Instead, remove displaced pieces and add new rubber only where gaps appear.
The main issue is contamination. Leaves, dirt, and organic debris settle into rubber over time and create a growing medium for weeds. Rake and blow out debris annually.
If weed pressure becomes heavy, apply a pre-emergent herbicide in early spring.
Rubber mulch doesn’t moderate soil temperature or add organic matter, so it’s not ideal around trees and shrubs. Save it for functional areas like pathways or play zones.
Stone and Gravel Mulch
Stone, gravel, and river rock are permanent mulches. They don’t decompose, compact, or fade. Maintenance focuses on keeping them clean and preventing soil from mixing in.
Rake stone beds twice a year to level out displacement and remove leaf litter. If soil accumulates on top of the stone (it will, gradually, from dust and organic matter breakdown), you’ll need to rinse the bed with a hose or use a leaf blower to clear debris before weeds take root.
Landscape fabric is almost always installed under stone mulch. Check the fabric every two to three years by pulling back a section of stone. If the fabric is torn, clogged, or degraded, weeds will push through.
Repair with landscape staples or add a second layer of commercial-grade fabric.
Stone doesn’t provide the same weed suppression as organic mulch because it doesn’t block light completely. Weeds germinate in the gaps between rocks. Use a pre-emergent herbicide in spring and spot-treat with a post-emergent as needed.
For dealing with broader lawn fungus issues that might affect nearby beds, a targeted approach helps.
Stone is excellent for dry climates and xeriscaping, where organic mulch decomposes too slowly to be worth the cost. It’s a poor choice for planting beds that need soil amendment over time.
Step-by-Step: Refreshing Existing Mulch Beds
Start by clearing debris. Rake off leaves, twigs, and any accumulated organic matter sitting on top of the mulch layer. This gives you a clear view of what’s underneath and prevents you from burying problems under fresh material.
Check depth across the bed using a ruler or your hand. Mark spots that measure less than two inches. These are your topdress zones.
If the entire bed is thin, you’ll need uniform coverage. If only edges or low spots are bare, target those areas.
Fluff compacted zones with a garden rake or hand cultivator. Break up any crusty surface and turn the top inch to reintroduce air pockets. If the mulch is matted and won’t fluff, scrape it out and replace it.
You can’t fix severely compacted organic mulch by adding more on top.
Pull mulch back from plant crowns and tree trunks. Leave a two to three inch gap around stems and a six inch gap around tree bases. This prevents rot and pest problems.
Redistribute the pulled-back mulch to thin areas if possible.
Add fresh mulch to restore total depth to three inches. Spread it evenly with a rake. Don’t pile it.
If you’re topdressing over existing mulch, one to two inches is enough. Water lightly after spreading to help the new layer settle and reduce wind displacement.
Redefine bed edges if mulch has migrated into lawn or pathways. Use a flat spade to cut a clean line. Some homeowners install metal or plastic edging to hold mulch in place, which reduces future maintenance.
Step-by-Step: Full Mulch Replacement
Remove the old layer completely using a flat shovel, garden fork, or wheelbarrow. Work in sections if the bed is large. Pile the old mulch on a tarp for easy disposal or composting.
If the material smells sour or shows heavy mold, bag it for yard waste pickup instead of composting.
Inspect the soil once the bed is clear. Pull any weeds that rooted through the mulch. Check for buried landscape fabric.
If the fabric is torn, clogged, or more than five years old, remove it entirely. Fabric that’s degraded does more harm than good because it blocks water and air movement while still allowing weeds to root in the debris layer on top.
Rake the soil smooth and level. If the bed has settled or eroded, add a thin layer of compost or topsoil to restore grade. This is also the time to edge the bed cleanly and repair any borders.
Apply fresh mulch to a depth of three inches. Start at the back of the bed and work forward so you’re not walking on freshly spread material. Use a rake to distribute evenly and avoid piling near plant stems.
Water the bed lightly after spreading. This settles the mulch, reduces dust, and minimizes displacement from wind. If you’re using dyed mulch, watering also prevents color transfer to walkways or patios during the first rain.
Fixing the Most Common Mulch Problems
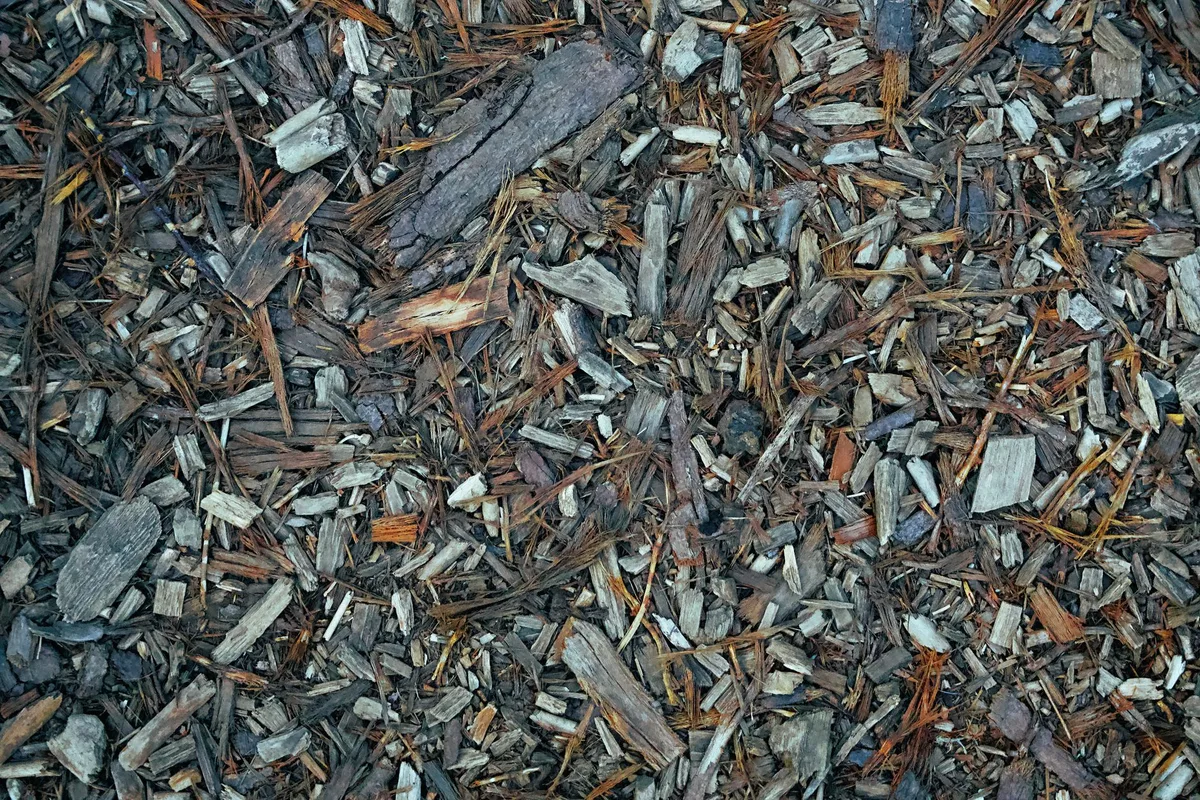
Compacted or Matted Mulch That Won’t Absorb Water
Hydrophobic mulch happens when decomposing wood fibers develop a waxy coating that repels water. You’ll see runoff instead of absorption, even during steady rain. The fix is mechanical.
Rake through the top two inches to break up the mat and flip the material over.
If raking doesn’t restore permeability, the layer is too far gone. Remove it and replace with fresh mulch. Don’t try to salvage heavily compacted material by topdressing.
You’ll waste money and the problem will persist underneath.
Fungal Growth, Mold, and Sour Mulch Smell
Most fungi growing in mulch are harmless saprophytes that break down organic matter. Slime mold, bird’s nest fungus, and white mycelium are cosmetically unappealing but don’t harm plants. If they bother you, rake the affected area to dry it out and expose it to sun.
Fungal growth usually disappears within a few days.
Sour mulch is different. It smells like ammonia or vinegar and results from anaerobic decomposition, often in bags or piles stored without ventilation. Fresh sour mulch can release compounds toxic to roots.
Spread it out in a thin layer in full sun for 24 to 48 hours, turning occasionally. Once the smell dissipates, it’s safe to use. If the odor persists, discard the material.
For persistent fungal issues in nearby turf, consider a targeted lawn fungicide.
Mulch Washing Away on Slopes
Erosion is common on slopes steeper than 15 degrees or in areas with heavy runoff. The mulch simply slides downhill during storms. Coarser mulch like bark nuggets or pine straw holds better than fine shredded types on slopes.
Install erosion netting or landscape fabric to anchor the mulch layer. Pin it with landscape staples every 12 inches. The fabric slows water flow and holds mulch in place while plants establish.
Once roots fill in, they’ll stabilize the bed naturally.
Terracing steep slopes with retaining walls or border edging eliminates the problem entirely but requires more upfront work.
Weeds Breaking Through
Weed breakthrough means either the mulch is too thin or it’s decomposed so much that light reaches the soil. Pull existing weeds by hand, roots and all. Then topdress to restore three inches of depth.
For persistent weed pressure, apply a pre-emergent herbicide in early spring before weed seeds germinate. Corn gluten meal is an organic option, though it’s less effective than synthetic pre-emergents. Post-emergent spot treatment works for isolated weeds, but don’t rely on it as your primary control.
Faded or Grayed-Out Color
Color loss is cosmetic, not functional. If the mulch still provides adequate depth and weed suppression, there’s no need to replace it. If appearance matters, topdress with fresh dyed mulch.
The new layer will cover the faded material and restore curb appeal for another 12 to 18 months.
Natural mulches like cedar age to a silver-gray that many homeowners prefer over dyed options. If you like the weathered look, skip the topdressing and focus on maintaining depth.
The Mulch Volcano Problem (And How to Fix It Around Trees)
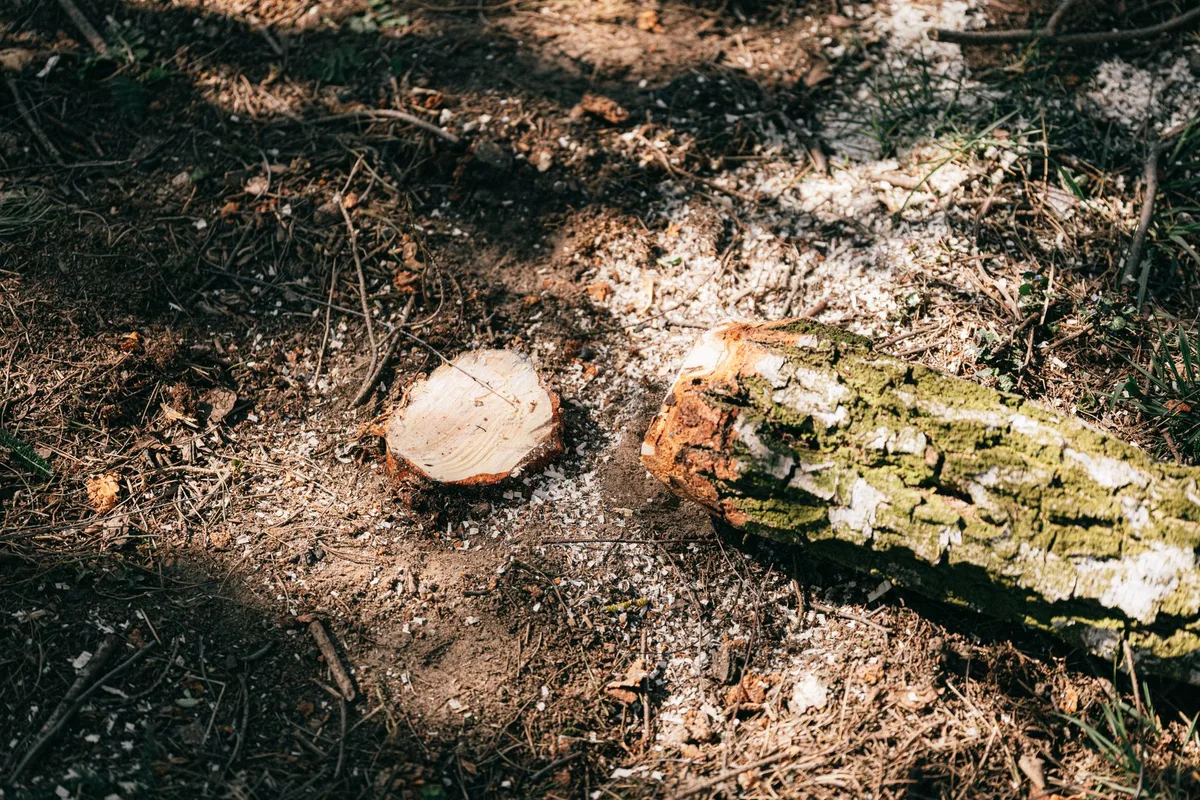
Piling mulch against a tree trunk is one of the most common and damaging mistakes in landscape maintenance. The mulch holds moisture against the bark, which invites fungal rot, cankers, and pest entry. It also encourages adventitious roots to grow into the mulch layer instead of anchoring into the soil, which destabilizes the tree.
The correct mulch ring extends from the trunk flare out to the drip line, or as far as practical in landscape settings. Depth stays at two to three inches across the entire ring. The trunk itself stays completely clear.
You should see the root flare, where the trunk widens at the soil line.
If your tree already has a mulch volcano, fix it immediately. Pull the mulch back until the root flare is fully exposed. Rake the mulch into a flat, even layer that stops six inches from the trunk.
Don’t pile it higher at the outer edge. A flat ring is correct.
Inspect the trunk for damage once the mulch is cleared. If you see soft, discolored bark or insect activity, the tree may need treatment. Contact a certified arborist if you’re unsure.
Early intervention saves trees. Ignoring rot doesn’t.
How Climate and Weather Change Your Maintenance Schedule
Humid and High-Rainfall Regions
Mulch decomposes faster in humid climates because microbial activity accelerates in warm, wet conditions. Shredded hardwood that lasts two years in a dry climate may break down in 12 to 18 months in the Southeast or Pacific Northwest.
Plan to topdress annually and inspect quarterly. Fungal growth and compaction are constant issues. Fluff beds every spring and after heavy rain events to restore drainage and air circulation.
Choose coarser mulches like bark nuggets if you want to stretch replacement intervals. Fine shredded material mats too quickly in wet climates.
Arid and Desert Climates
Organic mulch decomposes slowly in dry climates, sometimes lasting three years or more. The bigger problem is wind displacement. Lightweight mulches blow away, especially in open areas without windbreaks.
Use heavier materials like bark chunks or stone mulch in desert landscapes. If you prefer organic types, wet the bed lightly after spreading to help the mulch settle and knit together.
Inspect after windstorms and redistribute as needed. Bare spots develop quickly in arid regions because there’s no rain to compact and stabilize the layer. For plant selection in these climates, drought-tolerant trees reduce overall landscape maintenance.
Freeze-Thaw and Snow Belt Areas
Freeze-thaw cycles cause mulch to heave away from plant crowns and settle unevenly. Snow cover compresses the layer, which is fine during winter but leaves you with a compacted mat in spring.
Inspect beds in late winter or early spring before new growth starts. Fluff the mulch to restore loft and redistribute material that’s shifted. Pull mulch back from crowns if winter settling buried them.
Don’t add fresh mulch in fall. Wait until spring after the last frost. Fall topdressing can trap moisture around roots during freeze-thaw cycles, which increases the risk of rot.
Depth, Coverage, and When to Add More: The Real Numbers
One cubic yard of mulch covers approximately 100 square feet at three inches deep. Calculate your bed area in square feet, divide by 100, and that’s your cubic yard requirement. Most bulk suppliers deliver in cubic yard increments.
Bagged mulch is sold in two or three cubic foot bags, so you’ll need 13 to 14 bags per cubic yard.
Don’t exceed four inches total depth in ornamental beds. Deeper layers suffocate roots, hold too much moisture, and create pest habitat. If your existing layer measures two inches and you add two more, you’re at the safe maximum.
Mistakes That Waste Money and Hurt Your Plants
Buying too much mulch at once is common. Calculate your actual need before ordering. Extra mulch stored improperly will mold, compact, or combust.
Order only what you’ll spread within a week.
Mulching wet soil traps moisture and encourages root rot. Wait 24 to 48 hours after heavy rain before spreading fresh mulch. The soil should be damp, not saturated.
Skipping edge definition lets mulch migrate into turf, creating maintenance headaches and wasting material. Cut clean borders before every application.
How to Store Extra Mulch Without Problems
Pile extra mulch on a tarp in a shaded, ventilated area. Don’t bag it or cover it tightly. Mulch generates heat as it decomposes.
Poor ventilation can cause spontaneous combustion in large piles.
Turn the pile weekly if you’re storing for more than two weeks. This releases heat and prevents anaerobic pockets that create sour mulch. Use stored material within a month for best results.
When to Call It: Mulch Lifespan by Type
| Mulch Type | Expected Lifespan | Replacement Indicator |
|---|---|---|
| Shredded hardwood | 1–2 years | Depth below 2 inches, heavy compaction |
| Bark nuggets | 2–3 years | Chunks breaking apart, fading |
| Cedar/cypress | 3–5 years | Color loss, thinning |
| Pine straw | 6–12 months | Displacement, decomposition |
| Rubber mulch | 10+ years | Rarely replaced, only topped off |
| Stone/gravel | Permanent | Weed growth in accumulated soil |
Replace organic mulch when depth drops below two inches despite fluffing, or when compaction and weed pressure can’t be controlled with maintenance. Inorganic types rarely need full replacement.
Quick Decision Guide: What to Do Right Now Based on Your Situation
If your mulch depth is below two inches but the layer is loose and weed-free, topdress with one to two inches of fresh material. If the mulch is compacted or water-repellent, fluff it first, then assess whether topdressing will suffice.
If weeds are breaking through heavily, if the mulch smells sour, or if depth is below one inch across most of the bed, remove the old layer completely and replace it. Partial fixes won’t solve systemic problems.
For mulch piled against tree trunks or plant crowns, pull it back immediately to prevent rot. Redistribute the excess to thin areas or remove it entirely if the bed is already at maximum depth.