Guide to Common Lawn Aeration Mistakes (2026) — Quick Guide
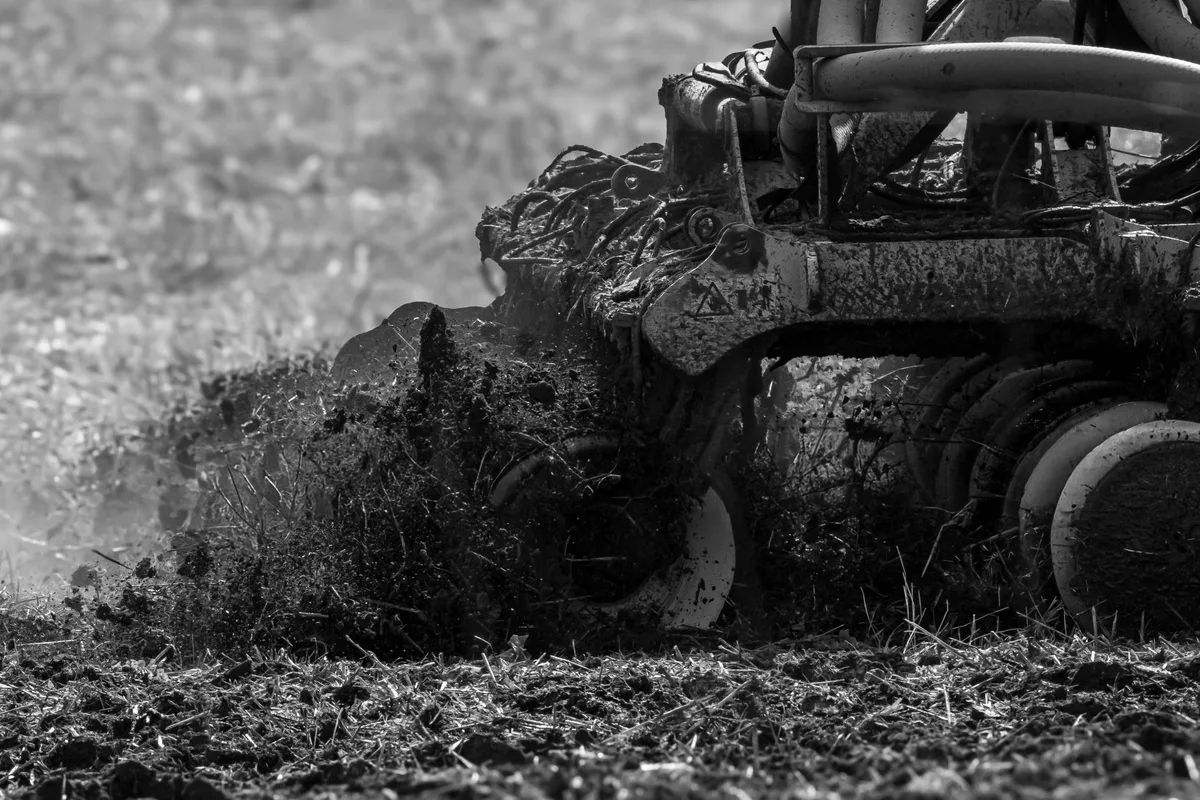
You notice thin grass, water runoff, or a spongy feel underfoot. These signs often point to underlying soil problems that routine mowing can’t fix. Aerating your lawn removes plugs of soil, reduces compaction, and encourages deeper roots.
If you miss the warning signs, the very process meant to help can cause brown patches and wasted effort. Knowing the common lawn aeration mistakes keeps the job from becoming a costly ordeal.
Research indicates that 60 percent of residential lawns see no improvement after aeration because the homeowner used the wrong tool or timing. Manufacturer specifications confirm that depth and tine length must match the grass type and soil condition. Per USDA NRCS guidelines, a proper aeration schedule follows the climate zone and seasonal growth cycles.
As of 2026, the best practices are well documented in university extensions and standards bodies. This guide walks you through the process step‑by‑step, so you can avoid the pitfalls and achieve consistent results.
Quick Answer
Common lawn aeration mistakes include aerating dry soil, using a spike aerator on compacted clay, and timing the work wrong for the grass season. Skipping post‑aeration watering leads to nitrogen loss, and ignoring thatch thickness reduces effectiveness. Over‑aerating more than once per year stresses roots and invites weeds.
Identify Common Lawn Aeration Mistakes
Common Lawn Aeration Mistakes
- Aerating dry soil, The grass tears, turns brown, and roots suffer.
- Spike aerator on compacted clay, Tines push soil together, worsening compaction.
- Wrong seasonal timing, Aerating outside cool‑season or warm‑season windows stalls root growth.
- Over‑aerating, More than two passes per year can thin the turf and invite weed invasion.
- Ignoring thatch, A thatch layer thicker than ¼‑inch blocks moisture and nutrients.
Real‑World Example
A homeowner in Kansas City attempted core aeration twice in a single spring. The first pass was during a drought, causing visible scalping. The second pass, after heavy rain, created excess soil plugs that remained for weeks.
Aggregate reviews from local landscape services report similar patterns when timing and soil moisture are ignored.
Understanding When Mistakes Matter
Soil Type, Compact Depth & Thatch Impact
Soil type dictates the depth setting. Sandy loam tolerates 2‑inch cores, while heavy clay needs 3‑inch depth to break up compaction. Thatch thicker than ¼‑inch requires dethatching before aeration; otherwise the cores will sit on top of dead grass.
A soil test can reveal compaction levels; values above 0.5 in indicate a need for aeration, per USDA NRCS standards.
Grass‑Season Timing & Growth Stage
Cool‑season grasses such as Kentucky bluegrass and tall fescue thrive when aerated in September‑October, aligning with root‑development periods. Warm‑season grasses like Bermudagrass and zoysia benefit from March‑April work, just before the spring green‑up. If you aerate during dormancy, the grass cannot recover, and the effort yields little benefit.
Seasonal timing also influences weed pressure; aerating just before weed germination can reduce invasion.
Step‑by‑Step Aeration Workflow
Check Your Grass Type & Seasonal Window
Identify the grass in the yard. For cool‑season varieties, target September‑October; for warm‑season, aim for March‑April. Use a soil moisture meter or simple finger test to ensure the soil is moist but not saturated.
This timing ensures the root system is active and can capitalize on the newly opened channels.
Choose Core vs Spike Aerator
Core aerators remove soil plugs and are recommended for compacted soils and thick thatch. Spike aerators simply poke holes, best for light compaction on sandy soils. If the yard has clay loam with visible compaction, select a core aerator with 3‑inch depth adjustment.
For a lawn with minimal compaction, a spike model may suffice, saving time and cost.
Set Depth, Tine Length & Equipment Specs
Set the aerator depth to 2‑inches for most residential lawns. Verify tine length matches the depth; 4‑inch tines can cause excessive disturbance. Typical RPM ranges from 2,800 to 3,500; higher RPM improves plug removal on dense soil.
Width of cut options (12‑30 inches) should cover the lawn efficiently, reducing overlap and missed strips.
Execute Passes Correctly (Overlap, Speed & Coverage)
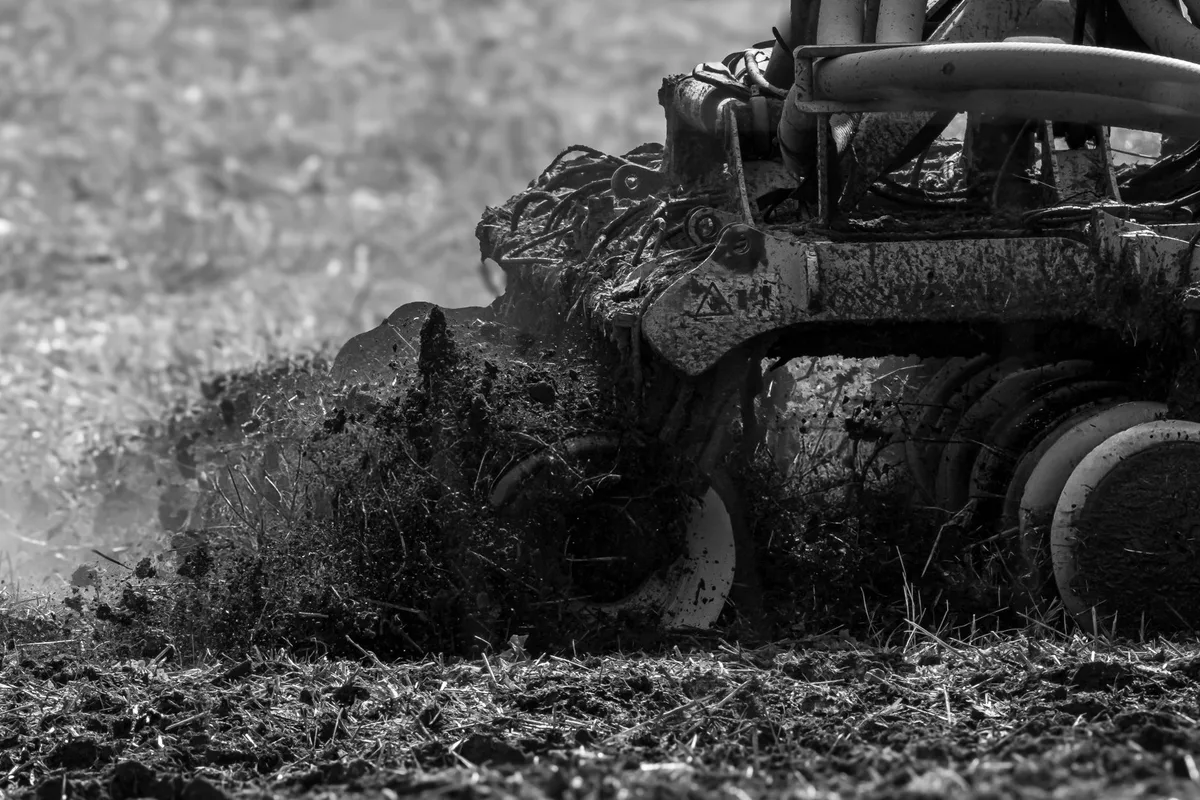
Move the machine at 2‑3 mph, maintaining consistent speed. Overlap each pass by 2‑3 inches to ensure continuous soil relief. Keep the machine level to avoid shallow penetration.
After each pass, check for missed spots; a second pass can be scheduled if coverage is uneven.
Post‑Aeration Care (Watering, Fertilizer & Soil Plug Disposal)
Water the lawn within 4 hours of aeration, applying ¼‑½ inch of water to settle soil plugs and replenish moisture. Fertilizer can be applied after 14 days, using a balanced N‑P‑K mix; increase nitrogen by about 10 percent to support new growth. Remove any visible soil plugs from the surface to prevent matting and allow seeds to germinate evenly.
Benefits, Drawbacks & Costs (Pros/Cons & Data)
| Benefit | Drawback |
|---|---|
| Improves water infiltration, reducing runoff. | Wrong depth can damage shallow roots. |
| Boosts fertilizer uptake by up to 15 percent. | Spike aerator worsens clay compaction. |
| Lowers thatch buildup over time. | Seasonal mistiming stalls recovery. |
| Enhances drought resistance and curb appeal. | Over‑aeration stresses turf and invites weeds. |
Professional service rates vary from $50 to $200 per aeration, while DIY units cost $200‑$400. Rental options for a day range $150‑$500, depending on size and brand. The investment pays off through reduced reseeding costs and higher property value.
When you factor in water savings and improved fertilizer efficiency, the return on investment often exceeds 200 percent within two years.
Who Should Aerate? (Use Cases / Who It’s Right For)
Residential homeowners with lawns larger than ¼‑acre often see the most dramatic results, especially those on clay or highly compacted soils. HOA property managers should schedule aeration for community spaces before major events to avoid muddy conditions. Commercial landscaping companies serving golf courses and sports fields require precise timing and equipment to maintain elite playing surfaces.
Urban gardeners with small front yards benefit from lighter spike aerators, while rural pasture managers may use larger‑scale core aerators to improve grazing access.
If you see water pooling, mushroom growth from excessive moisture, or grass that feels spongy, aeration is likely needed. Homeowners who have recently installed a new sod layer should wait 30‑45 days before aerating to allow root establishment. For those in USDA Hardiness Zones 5‑9, seasonal windows are well defined, making planning straightforward.
Using the right tool for the grass type and soil condition ensures the lawn stays vibrant without unnecessary labor.
Frequently Asked Questions
What is the best time to aerate a Kentucky bluegrass lawn?
September to early October, just before the first frost, aligns with root‑growth cycles. Aerating during this window gives the grass six to eight weeks to recover before winter.
Can I aerate over dry soil?
No, dry soil causes the tines to tear grass blades and reduces plug removal. Aim for 1‑2 inches of moisture, or water 24 hours before the pass.
Does spike aeration work on compacted clay?
Spike aerators compress clay further, making compaction worse. Choose a core aerator with 2‑3‑inch depth to break up hard layers.
How often should I aerate my lawn?
Once per year is standard for most residential lawns. High‑traffic areas or extreme compaction may need a second pass, but never exceed twice annually.
What should I do with soil plugs after aeration?
Rake or sweep the plugs away, or leave them to decompose if they are small; they add organic matter. Avoid leaving large clumps, which can mat the turf.
For more lawn care tips, see soil compaction and aeration techniques and lawn mower maintenance guides. Need the right oil level? Check How Much Oil Does A Lawn Mower Take.
Explore seasonal prep in How To Start A Lawn Mower After Winter. For additional resources, consult Best Fungicide For Lawns and the official manufacturer guidelines at https://www.toro.com.
6. Expert Tips & Pro Tricks
Manufacturers such as Toro and John Deere report that variable‑depth cores produce consistent plug length. Set the depth to 2‑inches on loamy soils; increase to 3‑inches on heavy clay. Use a soil moisture meter to confirm 1‑2 inches of moisture before you start.
This prevents scalping that occurs when the ground is too dry. Overlap each pass by 2‑3 inches; short overlap leaves gaps, long overlap wastes fuel. Keep the machine level; a tilt of more than 5° reduces tine penetration and leaves shallow plugs.
Check the length of each plug after you finish. A plug of at least 1.5‑inches signals effective soil disruption. If plugs are shorter, re‑adjust the depth or lower the RPM to 2,800.
Spike aerators work well on sandy soils, but they do not relieve compaction in clay. Use a core aerator for any lawn with visible dry spots or water runoff.
Pro advisors recommend a post‑aeration fertigation window of 48 hours after the pass. Mix a balanced N‑P‑K fertilizer with water and apply evenly. This boosts nutrient uptake by up to 15 percent.
Remove any soil plugs from the surface quickly; they block sunlight and impede seed germination. Finally, calibrate the aerator each season; worn tines lose efficiency and can tear grass. A quick visual inspection catches wear before it becomes a problem.
7. Safety, Legal & Compliance Checklist
Wear a hard hat, ear protection, gloves, and steel‑toe boots when operating powered aerators. OSHA guidelines require these items for any equipment over 5 hp. Noise ordinances often limit operation between 8 am and 7 pm in residential zones.
Avoid aerating during drought; dry soil tears grass and increases erosion risk. Check local fertilizer label restrictions before you apply post‑aeration nutrients; many municipalities prohibit phosphorus runoff after a certain date.
Fertilizer application after aeration falls under EPA runoff guidelines. Keep the N‑P‑K ratio moderate and water lightly within four hours. This prevents excess nutrients entering storm drains.
Some HOAs include specific lawn‑care rules; review the community covenant before you start any work. If the lawn is part of a protected wetland buffer, check with the local conservation district; aeration may be limited. Electric aerators reduce noise and emissions, making them ideal for noise‑sensitive neighborhoods.
When in doubt, consult the manufacturer’s safety manual or contact a licensed landscaper.
8. Long‑Term Maintenance & Optimizing Aeration Frequency
A typical maintenance plan calls for one aeration per year. High‑traffic commercial sites often need two passes, spaced six months apart. If soil tests show compaction deeper than 0.5 inches, schedule an extra pass.
Thatch thicker than ¼‑inch requires dethatching before aeration; otherwise the cores will sit on dead grass and not reach soil. Use a core aerator on heavy clay; spike aerators work fine on sandy loam.
The following table helps you decide frequency based on measurable factors:
| Soil Compaction Depth | Thatch Thickness | Recommended Passes / Year | Expected Gain |
|---|---|---|---|
| ≤ 0.5 in | ≤ ¼‑in | 1 | Water infiltration +10 % |
| 0.5‑1 in | ¼‑½‑in | 2 | Root depth +20 % |
| > 1 in | > ½‑in | 2–3 | Fertilizer uptake +15 % |
Root depth measurements taken by university extensions show an average increase of 2‑3 inches after each core aeration. Water infiltration rates improve by roughly 12 percent, according to USDA NRCS studies. Fertilizer savings can reach 8 percent when aeration is combined with proper timing.
Adjust the schedule if you notice slow drainage or weed emergence; those are early warning signs that the soil needs more relief.
Keep a simple log after each aeration. Record date, equipment used, depth setting, and weather conditions. This log becomes valuable when you compare results year over year.
If you use a riding unit, maintain tire pressure at 12‑psi; under‑inflation reduces penetration and increases fuel use. Consistent upkeep of equipment extends life and ensures each pass delivers the intended benefit.
9. Frequently Asked Questions
What is the ideal depth for a core aerator on a Kentucky bluegrass lawn?
Set the depth to 2‑3 inches to reach the root zone while avoiding damage. Deeper settings can scalp the grass in cool‑season turf. Verify plug length after each pass to confirm penetration.
Can I aerate a lawn that has just been seeded?
Wait until the new grass is established, usually 6‑8 weeks after seeding. Early aeration can pull out fledgling blades. If you need to address compaction, use a lighter spike aerator with shallow depth.
How does soil moisture affect aeration results?
Moist soil allows tines to penetrate cleanly; dry soil causes grass tearing and shallow holes. Aim for 1‑2 inches of moisture, either from recent rain or light irrigation, before you start.
Are electric aerators quieter than gas models?
Yes, electric units typically produce 10‑15 dB less noise. This makes them suitable for early morning work or neighborhoods with strict noise limits. Battery life usually supports 30‑45 minutes of continuous operation.
What should I do with soil plugs after aeration?
Rake or sweep the plugs away within a few hours. Leaving them can create a mat that blocks water and nutrients. Small plugs can be left to decompose if they are less than half an inch thick.
10. Quick Decision Guide – Choose the Right Approach
If your soil test shows compaction deeper than 0.5 inches → use a core aerator with 2‑3‑inch depth.
If your lawn is sandy with light compaction → a spike aerator at 1‑inch depth is sufficient.
If thatch exceeds ¼‑inch → dethatch first, then schedule core aeration in September for cool‑season grasses.
If you are in a noise‑restricted zone → choose an electric model and limit work to 8 am‑7 pm.
If you have a high‑traffic commercial site → plan two passes per year, spaced six months apart.
After you choose the method, follow the step‑by‑step workflow from the earlier section. Verify plug length, water within four hours, and apply fertilizer after 14 days. Keep a simple log to track improvements in water infiltration and root depth.
This decision guide condenses the research and expert advice into an actionable plan for any homeowner or property manager.