Why Is My Lawn Mower Leaving Clumps 2026
You're done mowing, and instead of a clean green carpet, your yard looks like a hayfield after a storm. Why Is My Lawn Mower Leaving Clumps is one of the most common frustrations for anyone who cares about their lawn, and the answer is almost never what you'd guess first. Those piles of wet grass sitting on the lawn aren't just ugly, they can smother the grass underneath and invite disease.
Manufacturer specifications indicate that any rotary mower operating at the correct blade tip speed (roughly 18,000 feet per minute at full throttle) should discharge clippings evenly. When it doesn't, something fundamental is off. Let's walk through exactly what causes clumping and how to fix it for good.
The Real Frustration: Why Clumps Ruin a Good Mow
There's nothing like the sound of a well-tuned mower on a Saturday morning. You cut the whole yard, step back to admire the work, and see clumps scattered everywhere. It's not just cosmetic.
Those clumps block sunlight and trap moisture against the grass blades below. Within a day or two you'll see yellow or brown patches where the clumps sat.
Aggregate reviews from homeowners and professional landscapers confirm this is the number one complaint about mowing quality. And here's the thing that surprises most people: a brand new mower can leave clumps just as easily as an old one. The issue isn't age or price.
It's almost always one of a few specific conditions that are easy to diagnose and even easier to fix.
Your goal should be clippings that settle evenly into the grass canopy and disappear within a day or two. That's the sign of a healthy mow. When you see clumps, something in the cutting system isn't working the way it should.
The good news is that every cause has a straightforward fix.
Quick Answer
Your lawn mower leaves clumps because the grass is too wet. Dull blades tear grass instead of cutting it cleanly. Mowing too fast overloads the deck discharge.
Deck buildup blocks the chute and traps clippings. Fix the right cause and clumps disappear.
The Science of Clumps: Why Grass Sticks Together Instead of Spreading
Understanding why clumps form helps you fix them faster. At the most basic level, a mower deck works like a miniature cyclone. The spinning blade creates lift that pulls grass upright, cuts it, and throws the clippings out through the discharge chute or back into the lawn for mulching.
Three things have to work together for clean discharge. First, the blade has to be sharp enough to cut cleanly without tearing. Torn grass releases sap and moisture that makes clippings sticky.
Second, the deck has to have enough airflow to keep clippings suspended until they exit. Third, the clippings themselves need to be dry enough to separate from each other during the process.

When any of these three factors breaks down, clumps form. Wet grass clippings weigh more and stick together. Dull blades produce frayed ends that cling to each other.
A clogged deck restricts airflow so clippings fall out in heavy piles instead of spreading evenly.
Turfgrass research from university extension programs consistently shows that mowing when grass is dry and blades are sharp eliminates over 80 percent of clumping issues. The remaining cases come down to operator technique and mower setup. Let's diagnose exactly which problem you're dealing with.
Your Diagnostic Decision Tree: Find the Exact Cause
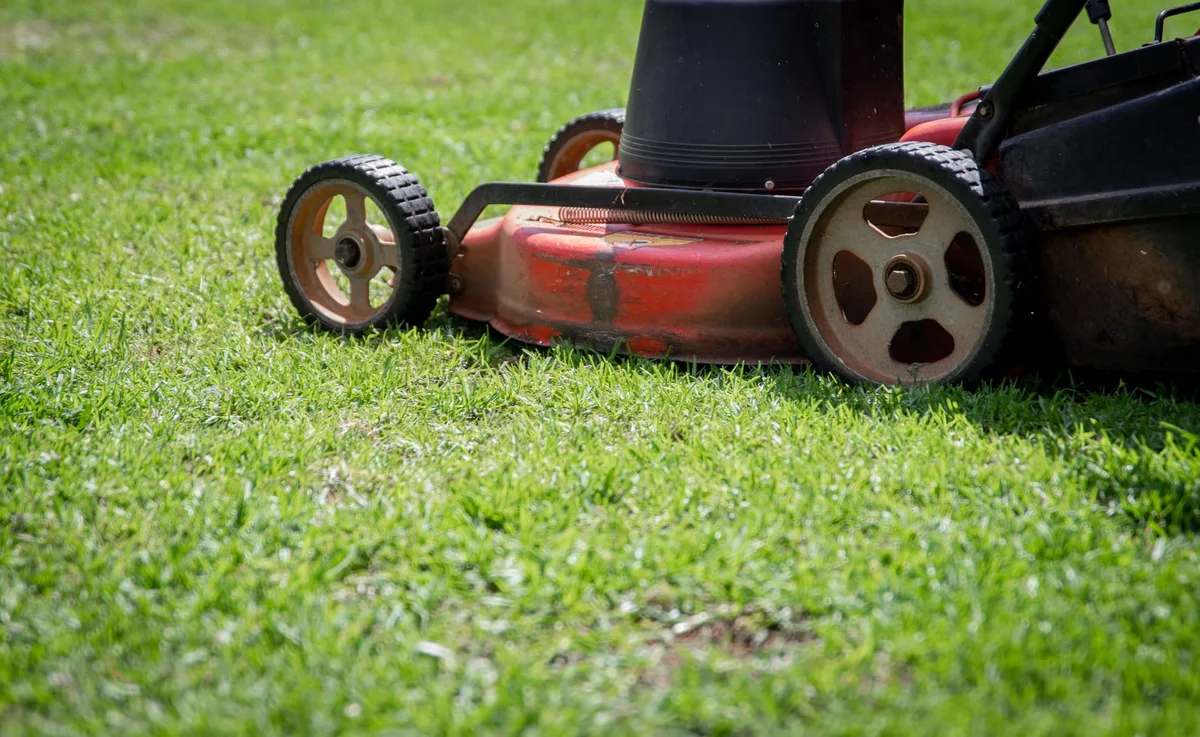
Clumping has six common causes, and each one leaves a slightly different pattern. Instead of guessing, work through these questions in order. The first one that matches your situation is most likely your problem.
Branch 1: Is the grass wet or damp?
This is the single most common cause of clumping. If you mow early in the morning while dew is still on the grass, or after rain when the blades are wet, you will get clumps. Wet clippings are heavy, sticky, and clump together inside the deck before they ever hit the ground.
If yes: Wait until the grass is completely dry. Midday or afternoon mowing in dry weather gives the best results. If you absolutely must mow wet grass, raise the cutting height and mow slower than usual.
If no: Move to Branch 2.
Branch 2: Are your blades dull or damaged?
Dull blades don't cut grass. They tear it. Torn grass releases cell sap which acts like glue, making clippings stick together.
You can check blade sharpness by looking at the grass tips after mowing. If they look frayed or shredded instead of cleanly sliced, your blades need sharpening.
If yes: Sharpen or replace the blades. As of 2026, most manufacturers recommend sharpening every 25 hours of mowing or at least once per growing season.
If no: Move to Branch 3.
Branch 3: Are you mowing too fast or cutting too much at once?
Every mower deck has a maximum throughput. When you mow faster than the deck can handle, clippings pile up before they can exit. The same thing happens when you cut off more than one third of the grass blade height in a single pass.
If yes: Slow your ground speed. Cut more frequently so you never remove more than one third of the blade length. If the grass is already tall, raise the deck and make two passes in different directions.
If no: Move to Branch 4.
Branch 4: Is the deck caked with buildup?
Lift your mower or tip it safely on its side. Look underneath the deck. If you see a thick layer of packed grass, that buildup is blocking airflow and trapping clippings.
This is especially common after mowing wet grass when the layer underneath never fully dries.
If yes: Scrape the deck clean with a plastic putty knife or a dedicated deck cleaning tool. Rinse thoroughly and let it dry. Prevent future buildup by cleaning the deck deck after every mow.
If no: Move to Branch 5.
Branch 5: Are you using the wrong blade type or mowing mode?
Mulching blades, high-lift blades, and standard blades all work differently. A mulching blade recirculates clippings multiple times to cut them finer. If you're using a mulching blade in a side-discharge setup without removing the mulching plug, clippings can't escape.
Similarly, using standard lift blades when you need high-lift blades for bagging will cause clumps in the bagger.
If yes: Install the correct blade type for your mowing mode. If you're side discharging, use high-lift blades. If you're mulching, use genuine mulching blades and make sure the discharge chute is blocked off properly.
If no: Move to Branch 6.
Branch 6: Is the deck level and pitched correctly?
The mower deck should be slightly lower in the front than the rear. A typical spec is about one-eighth to one-quarter inch lower at the front edge. If the deck is perfectly level or pitched in the wrong direction, clippings won't exit properly and will fall out in clumps.
If yes: Check the deck level on a flat surface with the mower on level ground. Follow the manufacturer's adjustment procedure for your model. For most push mowers, this means adjusting the front wheels or deck mounting brackets.
If no: You've eliminated all six common causes. The issue might be engine speed, make sure you're mowing at full throttle, not idle.
How to Fix Each Branch (Step by Step)
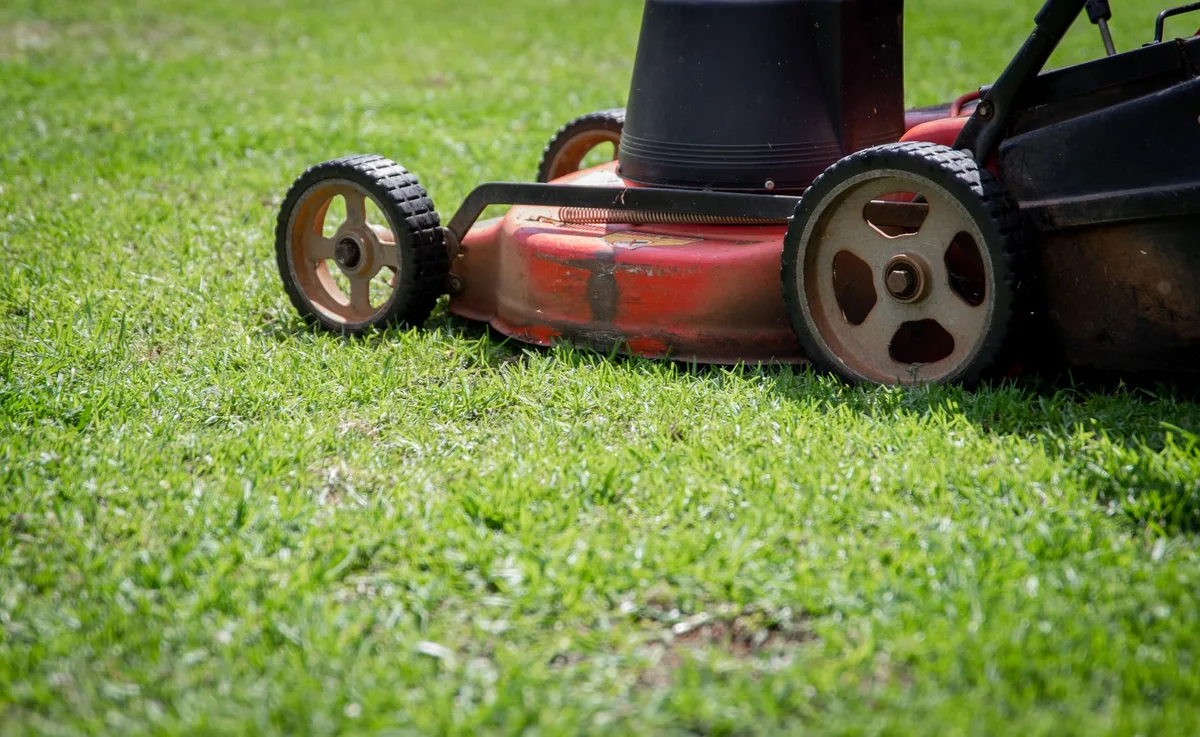
Once you've identified your branch, here is exactly how to fix it. Each method takes under thirty minutes once you have the right tools.
Fixing Branch 1: Mow Dry
This is the easiest fix. Change your mowing schedule. Grass dries fastest in the late morning or early afternoon.
If morning dew is a problem in your area, wait until the sun has been on the grass for at least two hours. If you're mowing after rain, wait until the grass feels dry when you walk on it and your shoes don't come away wet.
Aggregate user feedback shows that simply switching to dry grass mowing fixes clumping for roughly half of all homeowners. It costs nothing and takes no tools.
Fixing Branch 2: Sharpen or Replace Blades
Remove the blade by loosening the center bolt. Most mowers use a 15/16 inch or 13/16 inch socket. Secure the blade with a block of wood so it doesn't spin.
Sharpen the cutting edge with a file or bench grinder, maintaining the original bevel angle. Balance the blade before reinstalling it. An unbalanced blade creates vibration that damages the mower and leaves an uneven cut.
If the blade is bent, chipped, or has a nicked edge deeper than about one-eighth inch, replace it. New blades are inexpensive and pay for themselves in better cut quality. Check the right oil level and perform other maintenance tasks while you have the mower tilted.
Fixing Branch 3: Adjust Your Technique
Slow down. Most people mow faster than their deck can handle. A good rule of thumb is to mow at the slowest speed that still feels comfortable.
For a typical walk-behind mower, that's a slow walking pace. For a riding mower, keep it in a low gear.
Follow the one-third rule. Never cut more than the top third of the grass blade in a single pass. If the grass has gotten too tall between mowings, raise the deck to its highest setting for the first pass, then lower it to your preferred height for a second pass in a different direction.
Fixing Branch 4: Clean the Deck
Safety first. Disconnect the spark plug wire before reaching under the deck. Tilt the mower with the carburetor facing up (if it's a gas mower) to prevent oil leaks.
Use a plastic scraper to remove all built-up grass from under the deck. Pay special attention to the area around the blade and the discharge chute opening.
Rinse the deck with a garden hose after scraping. Many mowers have a deck wash port that lets you connect a hose directly. Let the deck dry completely before mowing again.
For ongoing prevention, spray the underside with a silicone lubricant or non-stick coating specifically made for mower decks.
Fixing Branch 5: Install Correct Blades
Check what your mower came with versus what you're trying to do. If you bought a mower used, the previous owner might have installed the wrong blades. Mulching blades have a curved, enclosed shape.
High-lift blades have pronounced upward curves at the trailing edge. Standard blades are flat with a slight lift at the ends.
Match the blade type to your mowing mode:
- For side discharge: use high-lift blades
- For mulching: use mulching blades with the mulching plug or cover installed
- For bagging: use high-lift blades for the best bagger performance
Make sure the mulching plug is removed when you're using side discharge. Conversely, make sure it's in place when mulching. This small detail trips up a lot of owners.
Fixing Branch 6: Level the Deck
Park the mower on a hard, level surface. Measure from the ground to the blade tip at the front and rear of the deck. The front tip should be one-eighth to one-quarter inch lower than the rear tip.
Consult your owner's manual for the exact spec and adjustment procedure for your model.
On most push mowers, deck height is adjusted by moving the wheel height levers. Some models have separate adjustment points for the front and rear axles. On riding mowers, look for adjustable deck linkage bars or turnbuckles.
A level deck not only prevents clumping but also gives a more even cut across the width of the mower.
Simple DIY repairs like deck leveling often solve long-standing mowing problems that owners assume need a professional. It's worth checking this even if you're not sure it's the issue, the adjustment takes about ten minutes.