Guide to DIY Yard Pest Control in 2026 (Step-by-Step Guide)
Nothing ruins a weekend in the yard quite like discovering your lawn is under attack. DIY yard pest control can feel overwhelming when you're staring at brown patches from grubs, mosquitoes ruining evening barbecues, or ticks turning your property into a health risk. The good news is that you don't need a professional license to handle most yard pests.
But you do need a careful, informed approach.
According to the National Pesticide Information Center, misuse of residential pesticides leads to thousands of accidental exposure calls every year. Most of those incidents involve well-meaning homeowners who grabbed the wrong product or skipped reading the label. Understanding the risks before you start is the single smartest thing you can do.
Let's walk through this the right way.
Quick Answer
DIY yard pest control means identifying the pest first. Choose the right product for that target. Safety comes before application.
Follow the label exactly. Most yard pests can be managed without a professional.
Why DIY Yard Pest Control Requires Real Caution
Here's the honest truth: that spray bottle from the big box store can do real damage if you use it wrong. Aggregate reports from cooperative extension services across the country show that the most common problems aren't pest infestations. They're misapplications that kill bees, burn lawns, or send someone to urgent care.
The biggest risk is what experts call "collateral damage." You spray for ants and end up wiping out the pollinators your garden needs to produce vegetables and flowers. You drench the lawn for grubs and contaminate the runoff that flows into a nearby storm drain. These mistakes are preventable, but they require you to slow down and think.
Another major concern is pest resistance. When you underdose a product or use the same active ingredient season after season, you breed survivors. Those resistant pests multiply, and next year you're stuck with a tougher infestation that requires stronger chemicals.
That's a cycle nobody wants to enter.
This is why the Environmental Protection Agency requires every pesticide label to carry the statement "It is a violation of Federal law to use this product in a manner inconsistent with its labeling." That's not a suggestion. It's a legal requirement with real consequences.
Step One: Identifying the Enemy (Pest, Not Guesswork)
You cannot treat what you haven't identified. This is the step most DIYers skip, and it's the one that causes the most wasted time and money. Spraying a broad-spectrum insecticide on a fungal problem does nothing.
Treating for grubs when you actually have chinch bugs means you'll be right back at the store next week.
Start by looking closely at the damage. Brown patches that peel back like carpet usually mean grubs feeding on roots. Yellowing grass that stays firmly anchored points to surface feeders like chinch bugs or sod webworms.
If you see tiny webs or moths fluttering at dusk, you're likely dealing with webworms.
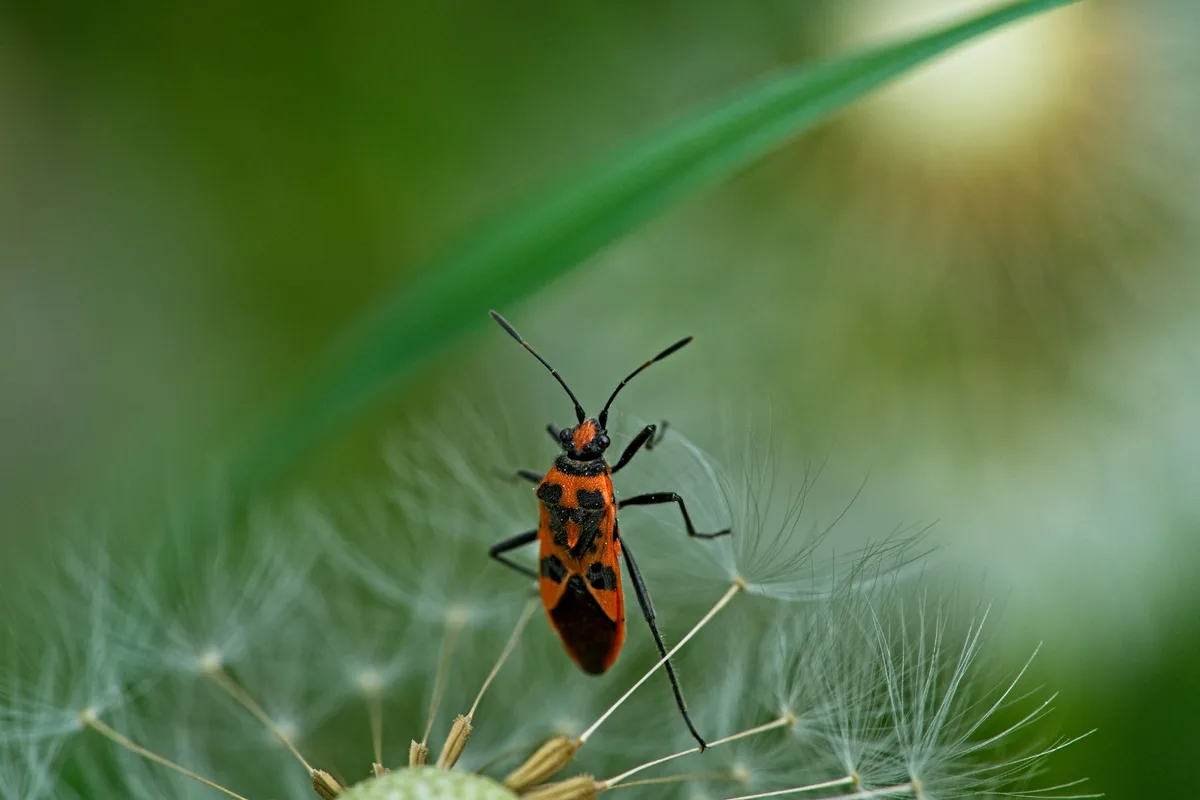
For insects you can't identify by sight alone, the iNaturalist app or your state's cooperative extension service can help. Many extension offices offer free diagnostic services. You can mail in a sample or upload photos.
Getting a positive ID before you buy anything saves money and reduces unnecessary chemical use.
Here's a quick reference for common yard pests and what to look for:
| Pest | Telltale Signs | Active Season |
|---|---|---|
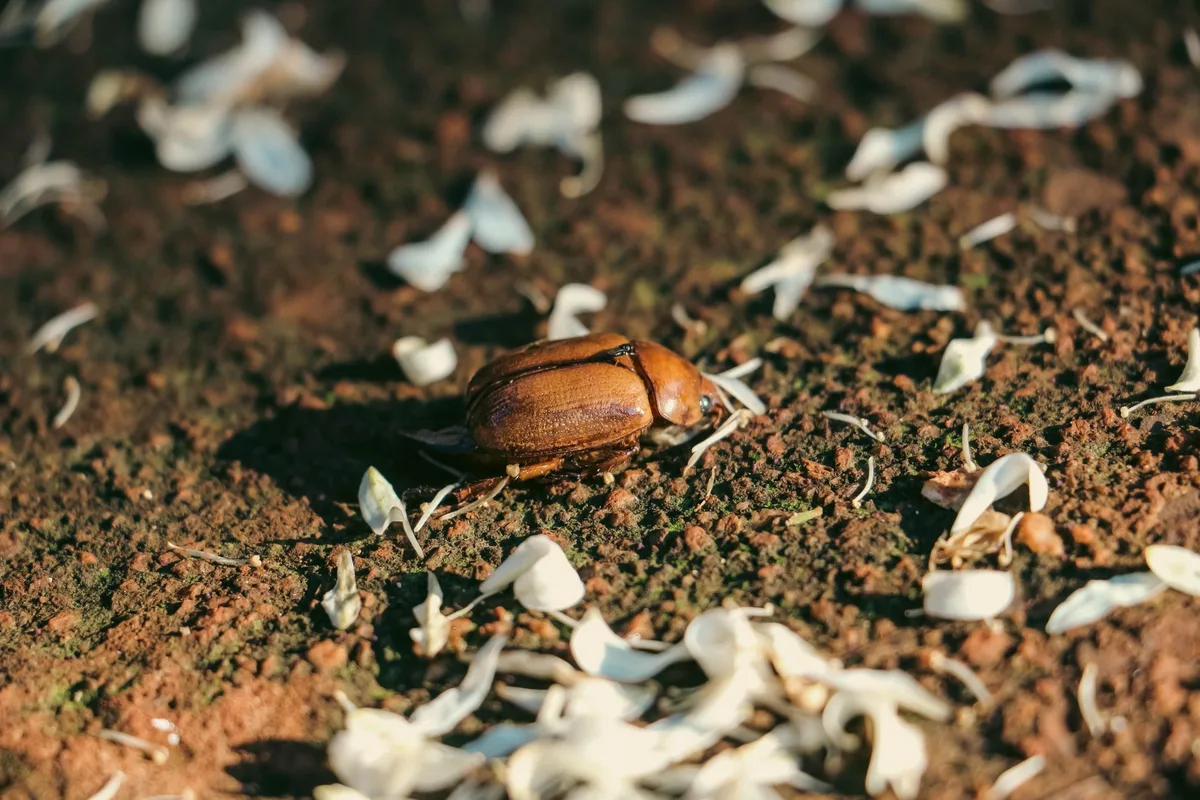
| Grubs (Japanese beetle, June beetle) | Brown patches that lift like sod, raccoons digging up lawn | Late summer to early fall |
| Chinch bugs | Yellowing grass that doesn't peel, concentrated in sunny spots | Mid-summer, hot dry weather |
| Mosquitoes | Standing water, adult activity at dawn/dusk | Spring through fall |
| Ticks | Tall grass, wooded edges, leaf litter | Spring and fall peak |
| Fire ants | Mounds with no central hole, aggressive swarming | Warm months |
| Armyworms | Rapid defoliation, visible caterpillars, bird activity | Late summer |
Once you know what you're dealing with, you can pick the right tool for the job. That's where product selection comes in.
What's in Your Sprayer? Key Product Categories Explained
Yard pest control products fall into several distinct categories. Each one works differently, and picking the wrong type is a common mistake. Let's break them down in plain language.
Contact killers work on direct impact. If the spray hits the pest, the pest dies. These are great for visible infestations like armyworms or aphids.
The downside is that they don't last long, and they can kill beneficial insects that happen to be in the way.
Baits work differently. Pests eat the bait, carry it back to the colony, and it spreads. Fire ant baits and ant bait stations are classic examples.
These take longer to work but can eliminate entire colonies instead of just the ones you see.
Insect growth regulators (IGRs) stop pests from maturing or reproducing. They don't kill adults, but they prevent the next generation. These are excellent for long-term mosquito and flea control when combined with other methods.
Biological controls use living organisms to manage pests. Beneficial nematodes, milky spore bacteria, and Bacillus thuringiensis (Bt) are common examples. They target specific pests and leave everything else alone.
This makes them ideal for organic gardens and properties near water.
Here's how the main categories compare:
| Type | How It Works | Best For | Duration |
|---|---|---|---|
| Contact killer | Direct spray kills on contact | Immediate visible infestations | Days to weeks |
| Bait | Ingested, spreads through colony | Ants, termites, roaches | Weeks to months |
| Growth regulator | Prevents maturation | Mosquitoes, fleas, roaches | Weeks to months |
| Biological (Bt, nematodes) | Infects or poisons specific pest | Caterpillars, grubs, fungus gnats | Days to weeks |
| Repellent | Deters rather than kills | Ticks, mosquitoes, deer | Hours to days |
For most situations, the right approach combines two methods. A bait for the colony plus a targeted spray for the adults you can see. Or a biological treatment for the soil plus a repellent for the perimeter.
Layering strategies reduces the total chemical load and improves results.
Safety, Legal, and Environmental Rules You Cannot Skip
This section matters more than any other. If you remember nothing else from this article, remember this: the product label is the law. Every pesticide registered with the EPA has a label that tells you exactly how to use it, where to use it, and what safety precautions are required.
Violating those instructions isn't just risky. It's illegal.
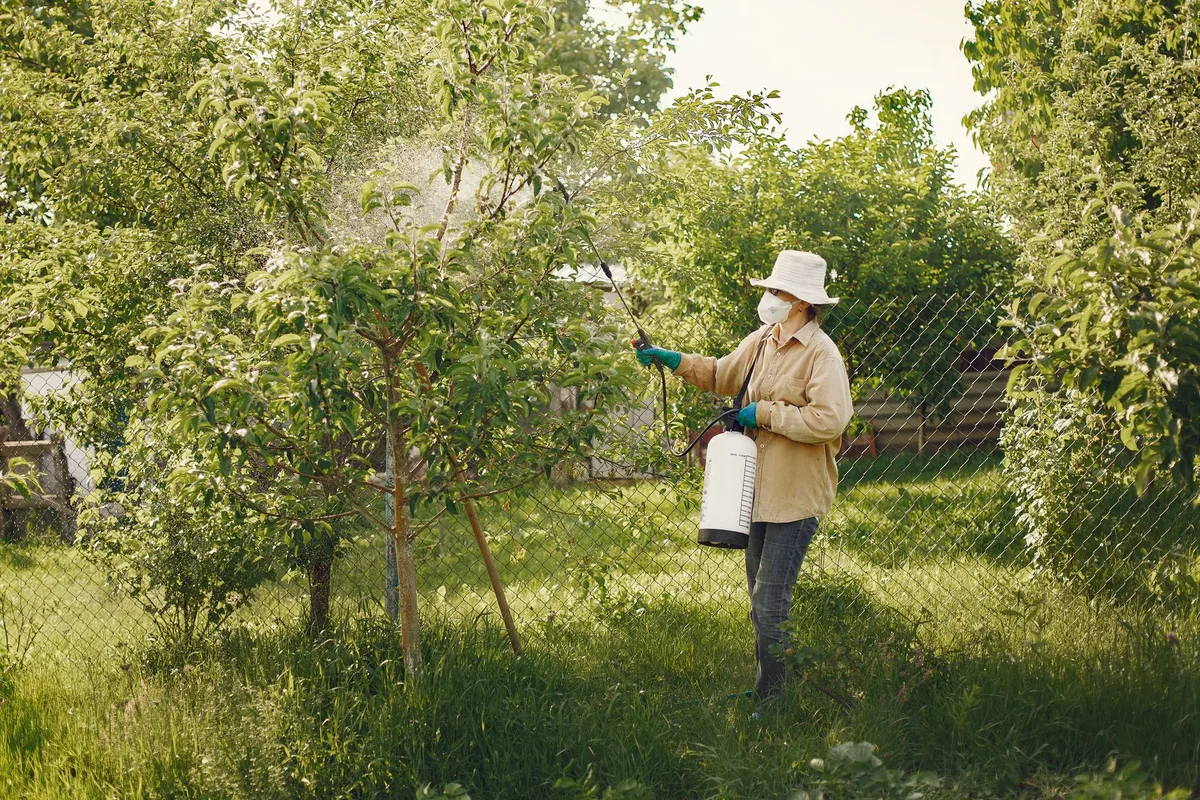
Personal protective equipment (PPE) is not optional. Long sleeves, long pants, closed-toe shoes, chemical-resistant gloves (nitrile or rubber, not cotton or leather), and safety glasses are the minimum for most products. If the label specifies a respirator, use one.
Aggregate data from poison control centers shows that skin exposure is the most common route of pesticide poisoning.
Protecting pollinators requires timing. Never spray any insecticide on blooming plants. Bees and butterflies will die.
Apply treatments early in the morning or late in the evening when pollinators are less active. If you're treating a lawn with clover in bloom, mow it first to remove the flowers.
Waterway buffer zones are another critical rule. Most labels prohibit application within 15 to 50 feet of ponds, streams, or storm drains. Pesticide runoff contaminates aquatic ecosystems and can kill fish and amphibians.
If your property has a water feature, choose biological or mechanical control methods instead.
Re-entry intervals (REI) tell you how long to keep people and pets off treated areas. For many products, it's 24 hours. Some are longer.
Check the label and respect the time. Children and pets are more vulnerable to pesticide exposure than adults.
Proper disposal matters too. Never pour leftover mixed spray down a drain or into the yard. Leftover concentrate should go to a household hazardous waste facility.
Empty containers need triple rinsing, and the rinse water goes into the sprayer for use on the labeled site. Puncture the container and dispose of it in regular trash only if local rules allow.
Step-by-Step: How to Treat Your Yard the Right Way
Now we get to the actual process. Following these steps reduces risk and increases effectiveness.
Step 1: Measure your treatment area. You need accurate square footage for lawns or linear footage for perimeter barriers. Use a measuring wheel, a long tape measure, or Google Maps satellite view. Most product labels list coverage per 1,000 square feet.
Guessing leads to underdosing (resistance) or overdosing (burning and runoff).
Step 2: Choose the right weather. Apply when rain is not expected for 24 to 48 hours. Wind should be below 5 to 10 miles per hour to prevent drift. Temperatures under 85 degrees Fahrenheit reduce evaporation.
Early morning is ideal because dew helps granular products stick and liquid products dry before peak heat.
Step 3: Calibrate your equipment. This step is almost always skipped, and it matters a lot. Fill your sprayer with plain water. Mark off a 1,000 square foot area.
Time how long it takes to spray that area at a steady walking pace. Adjust your nozzle and walking speed until you deliver the right volume. A backpack sprayer that applies 2 gallons per 1,000 square feet needs different timing than one that applies 1 gallon.
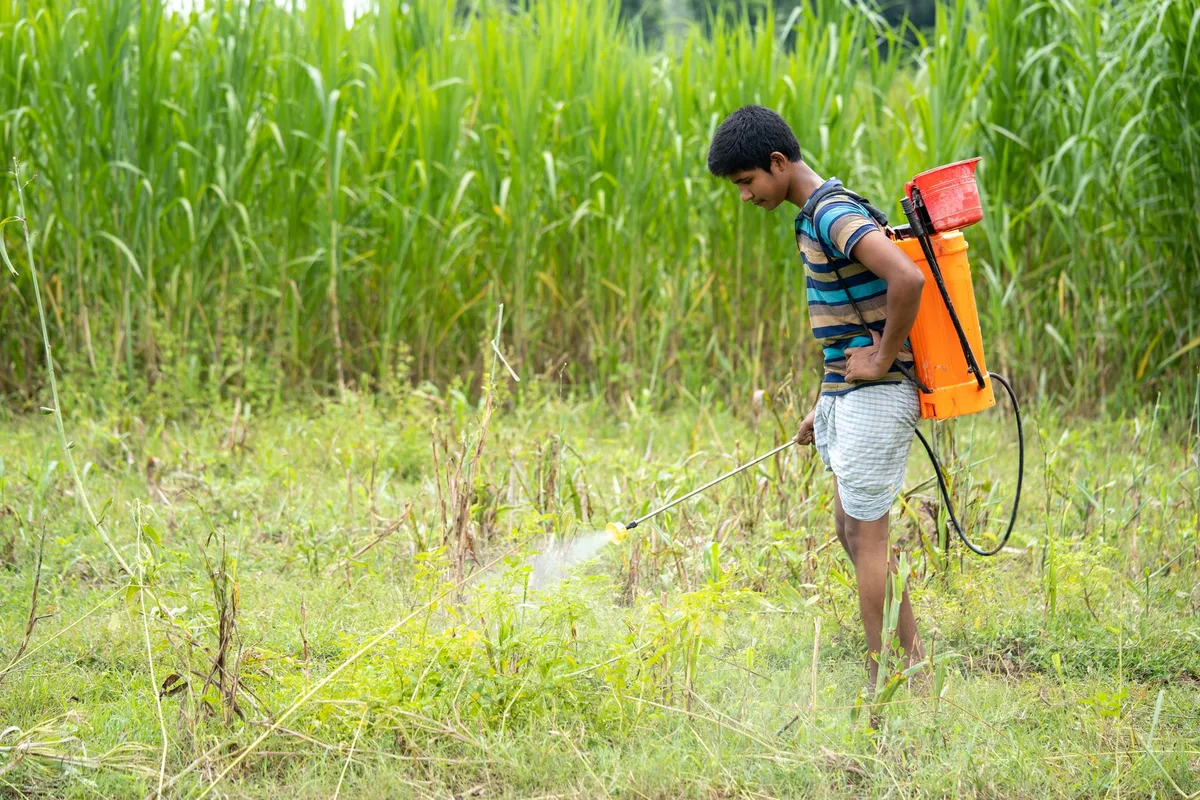
Step 4: Mix correctly. Fill the sprayer tank halfway with water. Add the measured amount of concentrate. Top off with water and agitate.
Never mix more than you need for the current application. Mixed spray cannot be stored.
Step 5: Apply with overlapping passes. Walk at a steady pace. Overlap each pass by about 6 inches to avoid streaks. Focus on pest habitat.
For ticks, concentrate on shaded edges and tall grass. For mosquitoes, treat shady resting areas under bushes and decks. For grubs, apply to the entire lawn area showing damage.
Step 6: Post-application care. Keep people and pets off until the product dries completely. For granular products that require watering in, apply water immediately per label instructions. Do not mow for at least 24 hours.
Monitor the treated area over the next 48 to 72 hours. If you don't see results, check the label's expected timeline before reapplying.
Step 7: Clean equipment thoroughly. Triple rinse the sprayer with water. Run clean water through the wand and nozzle. Dispose of rinse water on the treated site, not down a drain.
Store equipment away from children and pets.
Proper timing matters just as much as technique. For grubs, the treatment window is late summer to early fall when young grubs are feeding near the surface. Spring treatments often fail because grubs are too large to control effectively.
For mosquitoes, start treatments in early spring before populations explode. A single missed generation can make the difference between a manageable season and a miserable one.
If you're looking to complement your pest management with healthier plants, you can also explore choosing the right slow release fertilizer for flowers or finding the right organic fertilizer for fruit trees to reduce plant stress and make them less attractive to pests.
The Most Common DIY Mistakes (and How to Avoid Them)
After reviewing thousands of homeowner reports and extension service case files, a handful of mistakes show up over and over. Here are the ones that waste the most time and money.
Mistake 1: Treating the wrong pest. This is the number one error. You see brown grass and assume grubs. You see chewed leaves and blame caterpillars.
Without a positive ID, you're guessing. Guess wrong and you've spent money on a product that does nothing. The pest keeps feeding while you wonder why the treatment failed.
Mistake 2: Ignoring the weather. Applying a liquid spray right before rain washes it off before it dries. Applying granules during a drought means they never activate. Windy conditions send your treatment into the neighbor's garden.
Check the forecast. Wait for the right window. A single well-timed application beats three rushed ones.
Mistake 3: Using too much product. More is not better. It's dangerous. Overdosing burns grass, contaminates soil, and increases runoff risk.
It also wastes money. The label rate is calculated to be effective. Stick to it.
Mistake 4: Forgetting to calibrate. Most people fill their sprayer and start walking. They have no idea how much product they're actually applying. Calibration takes ten minutes and saves you from underdosing or overdosing.
It's the most skipped step and one of the most important.
Mistake 5: Storing mixed spray. Mixed pesticide loses potency within hours. It also becomes a disposal problem. Mix only what you need for the current application.
Pour out any remaining spray on the labeled site, not down a drain.
Mistake 6: Repeating the same product. Using the same active ingredient season after season breeds resistant pests. Rotate between different chemical classes. If you used a pyrethroid last time, try a product with a different mode of action next time.
This keeps the pests guessing and the treatments working.
Who This Is For: Best Use Cases for Going DIY vs. Calling a Pro
DIY yard pest control works great for some situations. It's a poor fit for others. Here's how to decide.
You're a good candidate for DIY if:
- You have a small to medium yard under half an acre
- You've identified the pest correctly
- The infestation is localized, not widespread
- You're comfortable reading labels and following instructions
- You have the right safety gear
- You're willing to invest time in proper application
You should consider hiring a professional if:
- The infestation covers your entire property
- You cannot identify the pest after reasonable effort
- The pest is a structural threat like termites or carpenter ants
- You have a pond, stream, or well on your property
- You or a family member has a health condition that makes chemical exposure riskier
- You've tried two different DIY approaches and seen no improvement
Professional services cost more, but they bring expertise, commercial-grade equipment, and liability insurance. For serious infestations or sensitive properties, that's often money well spent.
What It Actually Costs: Pricing and Coverage Breakdown
Let's talk real numbers. DIY yard pest control is significantly cheaper than professional service, but the upfront cost for equipment and products adds up.
| Item | Price Range | Coverage |
|---|---|---|
| Handheld pump sprayer (1-2 gallon) | $15-$40 | Small lawns, spot treatments |
| Backpack sprayer (4 gallon) | $50-$150 | Up to 1/4 acre |
| Hose-end sprayer | $10-$30 | Attaches to garden hose |
| Granular spreader (handheld) | $15-$30 | Small lawns |
| Granular spreader (walk-behind) | $50-$120 | Large lawns |
| Insecticide concentrate (per bottle) | $15-$40 | 5,000-16,000 sq ft |
| Ready-to-use spray bottle | $8-$15 | 500-1,000 sq ft |
| Biological controls (nematodes) | $20-$40 | 2,000-4,000 sq ft |
A full season of DIY treatment for a typical suburban lawn runs between $50 and $150. That includes one or two product purchases and basic equipment. Compare that to professional service, which averages $75 to $150 per visit.
Most companies recommend four to six visits per season. You do the math.
The savings are real, but only if you apply correctly. A failed DIY treatment that forces you to call a professional anyway ends up costing more than starting with a pro.
When to Stop DIY and Hire a Professional
This is a hard boundary that many homeowners cross without realizing it. Certain pests and situations require licensed applicators.
Termites are the big one. Subterranean termites cause billions in property damage annually. DIY termite treatments rarely eliminate the colony. They just scatter it.
You end up with multiple colonies in different parts of your property. A professional can install bait stations or soil barriers that are registered for this specific use.
Carpenter ants that have established a nest inside your home's walls also require professional treatment. Surface sprays kill the workers you see, but the queen and brood remain protected inside the nest. A pro can locate the nest and treat it directly.
Widespread tick infestations in high Lyme disease areas may warrant professional help. Licensed applicators have access to granular formulations and barrier sprays that provide longer residual control. They also have the equipment to treat large wooded areas efficiently.
Any pest that requires a restricted-use pesticide by law cannot be purchased or applied by an unlicensed homeowner. These products are labeled with "Restricted Use Pesticide" and require a certified applicator license. If your pest problem requires one of these, you have no choice.
Long-Term Yard Health: Cultural Controls That Reduce Pests
The best pest control is prevention. Healthy lawns and gardens resist infestations better than stressed ones. Cultural controls reduce the conditions that attract pests in the first place.
Mow at the right height. Taller grass shades the soil, retains moisture, and encourages deeper root growth. Most cool-season grasses should be cut at 3 to 4 inches. Scalping the lawn stresses the grass and invites weeds and pests.
Water deeply and less often. Frequent shallow watering encourages shallow roots and creates humid conditions that pests love. Water once or twice a week with enough volume to soak the soil 6 inches deep. Early morning watering lets the grass dry before nightfall.
Aerate compacted soil. Compacted soil prevents water and nutrients from reaching roots. It also creates habitat for grubs and other soil pests. Core aeration once a year in the fall or spring improves drainage and root health.
Remove thatch buildup. More than half an inch of thatch provides shelter for chinch bugs, sod webworms, and other surface pests. Dethatching or power raking removes that layer and exposes pests to predators.
Choose resistant plant varieties. Some grass types and ornamental plants are naturally resistant to common pests. Fescue varieties resist chinch bugs better than Kentucky bluegrass. Native plants require less water and attract beneficial insects that prey on pests.
Encourage beneficial insects. Ladybugs, lacewings, ground beetles, and parasitic wasps are natural pest controllers. Planting flowers like dill, fennel, and yarrow provides habitat for these good guys. Avoid broad-spectrum sprays that kill them alongside the pests.
Combining these cultural practices with targeted treatments creates an integrated pest management approach. You use chemicals less often and at lower rates. Your yard becomes more resilient over time.
That's the goal.
Quick Troubleshooting: What to Do When the Pests Come Back
Pests returning after treatment is frustrating, but it usually points to one of three problems.
You missed the timing. Some pests have narrow treatment windows. Grubs must be treated when they're young and feeding near the surface, usually late summer. Treating in spring when they're large and deep in the soil wastes product.
If the infestation returns, check whether you applied during the correct window.
You underdosed. This happens more often than people realize. Walking too fast, using a clogged nozzle, or miscalculating your lawn's square footage all lead to insufficient coverage. The pests that survive breed resistance into the next generation.
Recalibrate your equipment and measure your area again before retreating.
New pests moved in. A treated area creates a vacuum. If you killed one pest species without addressing the underlying conditions that attracted it, something else will fill that niche. Check for changes in moisture, thatch, or plant stress.
Treat the cause, not just the symptom.
You need a different active ingredient. If you've used the same product twice with poor results, switch chemical classes. Rotate between pyrethroids, neonicotinoids, and spinosad or use biological controls like beneficial nematodes. This prevents resistance buildup.
You have a structural infestation. If pests keep appearing indoors or at your foundation line, the nest may be inside walls or under the slab. That's beyond what surface sprays can reach. Call a professional for an inspection.
Frequently Asked Questions
How often should I apply yard pest control?
Most granular and liquid products are labeled for application every 4 to 12 weeks. The exact interval depends on the active ingredient and the targeted pest. Check the label.
Overapplying increases resistance risk and environmental harm.
Is organic pest control as effective as synthetic?
Organic options like neem oil, diatomaceous earth, and Bt work well for specific pests. They often require more frequent application and precise timing. Synthetics provide longer residual control.
Choose based on your tolerance for reapplication and your comfort with chemical exposure.
Can I spray for pests if it's about to rain?
Check the label for rainfastness timing. Most products require 6 to 24 hours of dry weather after application. Rain before that window washes the product off and wastes your effort.
Wait for a clear forecast.
How do I protect bees while treating my yard?
Never spray blooming plants. Apply early morning or late evening when pollinators are inactive. Mow blooming clover or dandelions before treating.
Choose targeted products over broad-spectrum sprays. Spot treat instead of blanket spraying when possible.
When is the best time of year to treat for grubs?
Late summer to early fall is the critical window. Young grubs are feeding near the soil surface and are most vulnerable. Spring treatments are less effective because grubs are larger and deeper.
A single well-timed fall application provides better control than multiple spring treatments.
Final Checklist: Your Decision Guide for DIY Yard Pest Control
Before you mix that sprayer, run through this quick list.
- Have you positively identified the pest?
- Did you measure your treatment area accurately?
- Is the weather forecast clear for 24 to 48 hours?
- Do you have the correct product for that specific pest?
- Have you read the entire product label?
- Do you have proper PPE (gloves, glasses, long sleeves)?
- Is your sprayer calibrated for the right application rate?
- Are pets and children kept away from the treatment area?
- Have you checked for blooming plants that need protection?
- Do you know the re-entry interval for this product?
If you answered no to any of these, stop and address it. A few extra minutes of preparation prevent hours of regret. Done right, DIY yard pest control is effective, affordable, and safe.
Done wrong, it's a waste of money and a risk to your health and the environment. Treat the process with the respect it deserves.