How to Grade a Yard Properly (2026) — Step-by-Step Guide
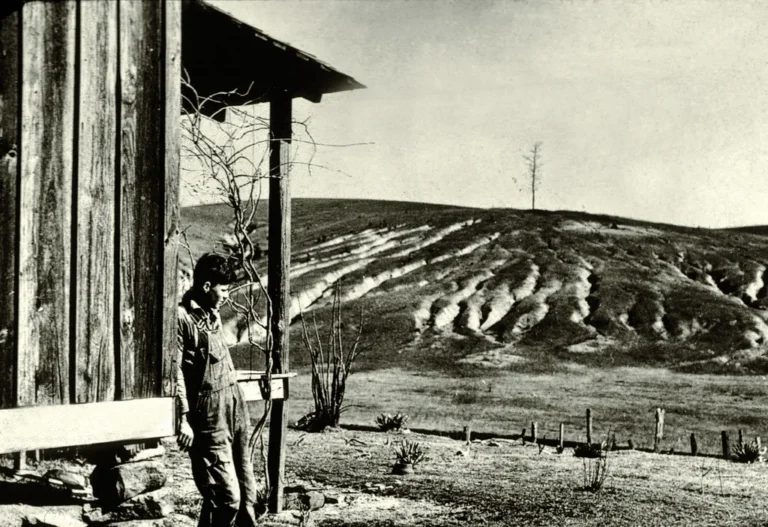
If you’ve got muddy water pooling against your foundation or a lawn that turns into a swamp every time it rains, you need to learn how to grade a yard properly. That’s not an exaggeration, it’s the single most important fix you can make to protect your home’s structure. Water that sits against a foundation can lead to basement leaks, cracks, and even structural shifting.
The International Residential Code (IRC) calls for a minimum 6-inch drop within the first 10 feet from the house. But that’s just the baseline. The ideal slope depends on your soil type, lot size, and local rainfall.
Let’s walk through exactly where you need to go, what to watch for, and how to do it without wasting time or money.
Before You Dig: Why Grading Matters More Than You Think
Poor grading is the #1 cause of residential water damage. A 2024 study by the Insurance Institute for Business & Home Safety found that over 60% of foundation moisture issues trace back to improper slope around the house. Water follows gravity.
If your yard slopes toward your home, every downpour sends thousands of gallons straight into your crawlspace or basement.
Bad grading doesn’t just threaten the foundation. It kills grass, creates mosquito breeding spots, and erodes topsoil. Over time, it can even push water into your neighbor’s yard and create legal problems.
Local ordinances in many cities prohibit diverting runoff onto adjacent properties.
The good news? Fixing the grade is a straightforward DIY job for small to medium lots. You don’t need heavy machinery for most residential situations.
Hand tools, a few bags of clean fill, and a careful measurement plan are all you need to redirect water away from your home.
Quick Answer: The Minimum Slope You Need Away from Your House
The answer is simple: aim for a slope of 1 inch per 4 feet. That gives you a drop of about 2.5 inches every 10 feet. For most homes, that’s enough to send surface runoff away from the foundation.
| Soil Type | Recommended Minimum Drop (per 10 ft) |
|---|---|
| Sandy loam | 4–6 inches |
| Loam | 6–8 inches |
| Heavy clay | 10–12 inches |
Sandy soils drain fast, so you can use a gentler slope. Clay soils hold water like a bucket, so you need a steeper grade. Don’t just guess, check your local building department.
Many municipalities require a specific slope, often 1% to 2% (1, 2 inches per 10 feet) for post-construction grading.
One critical rule: the finished grade must be at least 6 inches below the bottom of your wood siding or brick veneer. That gap prevents splashing rain from wicking into the wall cavity. If your siding touches dirt, you’re already in trouble.
Step 1 – Identify Your Specific Problem (Three Common Scenarios)
Not every grading problem looks the same. Before you start moving dirt, figure out which of these scenarios fits your yard.
Scenario A: Standing water near the foundation after rain
This is the most serious. Water pools within 2, 3 feet of the house. You might see damp spots on basement walls or a musty smell in the crawlspace.
The fix usually involves adding fill around the foundation and creating a positive slope that carries water away.
Scenario B: Water pooling in the middle of the yard
This is a low-spot issue. Water collects in a depression far from the house. While it won’t damage the foundation, it kills grass and breeds mosquitoes.
You can fill the low area by importing topsoil and reshaping the ground, or install a French drain to carry the water to a low point.
Scenario C: New construction or bare dirt lot needing final grade
You’re starting from scratch. The builder left rough grading, but it’s not shaped for drainage. This is the easiest scenario because you have no existing vegetation to preserve.
You can cut high spots and fill low spots to create a consistent slope. Plan for a 1%, 2% fall across the whole lot.
Each scenario demands a slightly different approach. The tools and methods are the same, but the amount of fill and the slope direction change. We’ll cover Step 2 next, because the right solution starts with understanding your soil.
Step 2 – Assess Your Soil Type and Lot Conditions
Soil type determines how fast water soaks in. If you have fast-draining sandy soil, a gentler slope works. Heavy clay, common in the Midwest and Southeast, drains slowly and needs a steeper grade.
How do you test? Dig a hole about 12 inches deep and fill it with water. Let it drain completely, then fill it again.
Time how long it takes for the water level to drop 1 inch.
- Sandy soil: 1 inch in 5, 10 minutes
- Loam: 1 inch in 30, 60 minutes
- Clay: 1 inch in 2, 6 hours
If you hit water before reaching 12 inches, you have a high water table. That changes the game, you may need surface gutters and downspout extensions rather than regrading alone. In that case, a simple slope won’t fix the problem.
You’ll need to keep water moving across the surface.
Also check your lot’s existing drainage pattern. Walk the property after a heavy rain. Watch where water flows.
Note any existing swales or ditches. If the neighbor’s yard already slopes toward yours, you can’t just raise your grade without talking to them first. Municipal codes often require a drainage plan that doesn’t increase runoff onto others.
While you’re assessing your yard, you might also want to look at your lawn care tools. A good rake is essential for smoothing fill. See our guide on best rakes for pine needles for one option, but any sturdy landscape rake works.
Step 3 – Decide Which Grading Approach Fits You
Now that you know your problem and your soil, it’s time to choose your method. This is the decision-tree moment.
Option 1: Full regrade (cut and fill)
Best for: Major slope issues, new construction, or yards with both high and low spots.
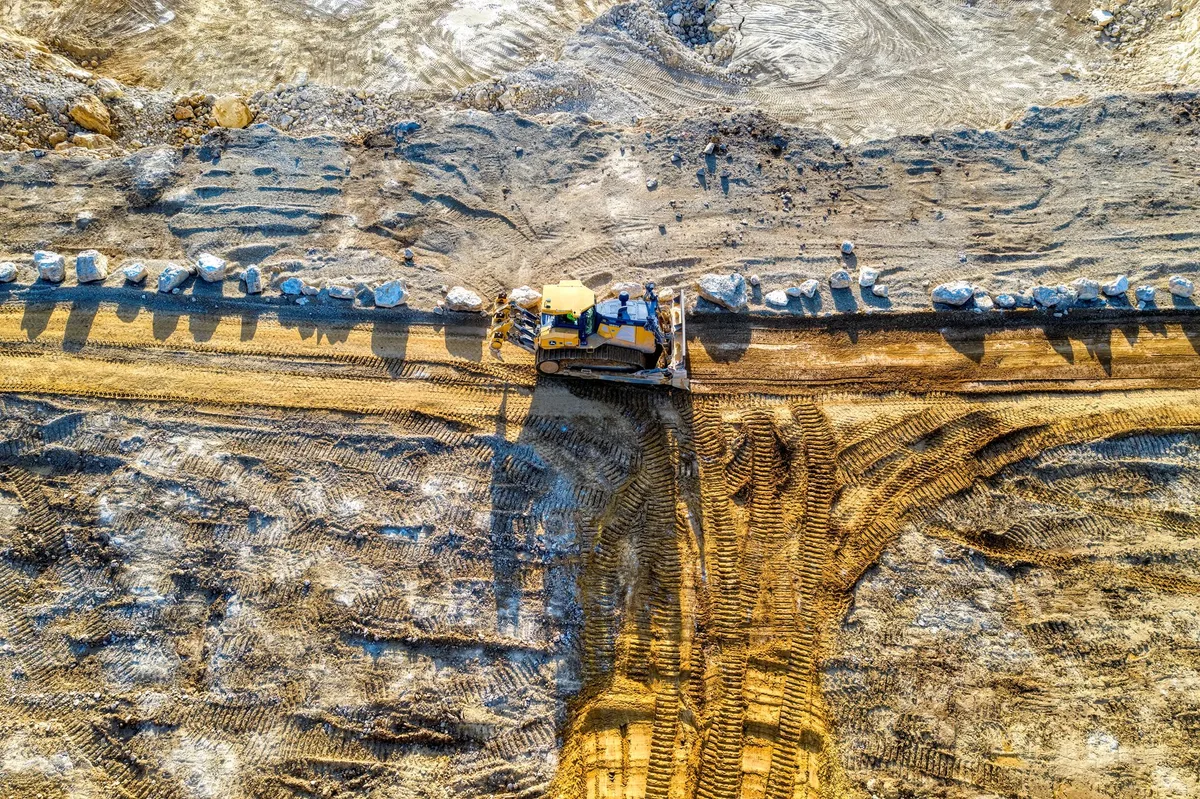
You mechanically move soil from high areas to low areas using a skid steer or a garden tractor with a blade. Then you shape the entire lot to a consistent slope. For a ¼-acre lot, expect to move 10, 30 cubic yards of dirt.
This option requires a day or two of machine work plus compaction.
Option 2: Adding fill and compacting (raising low areas)
Best for: Single low spots or gentle depressions near the house.
You haul in clean fill dirt (not topsoil, use topsoil only for the final 4-inch layer) and spread it in 6, 8 inch lifts. Compact each lift with a plate compactor or hand tamper. This is more labor-intensive but doesn’t require heavy machinery.
Cost is about $30, $60 per cubic yard for fill delivered.
Option 3: French drain or swale as an alternative to regrading
Best for: Water pooling away from the house or when regrading isn’t possible (e.g., hardscape or tree roots).
A French drain is a trench filled with gravel and a perforated pipe that carries water to a discharge point. A swale is a shallow, grassy ditch that redirects surface water. Neither method changes the overall slope, but both solve the drainage problem.
These are add-ons, not replacements for proper grading near the foundation.
Here’s a quick decision table to help you choose:
| Condition | Best Approach |
|---|---|
| Standing water within 10 feet of house | Full regrade near foundation |
| Low spot in middle of yard | Fill and compact |
| Water flows across yard but never near house | French drain or swale |
| New lot with uneven surface | Full regrade (cut and fill) |
| Tight budget, minor slope issue | Add fill only (hand work) |
| High water table or clay soil | Combine full regrade + French drain |
The rule of thumb: fix the grade first, then consider drainage add-ons. A French drain can’t fix a yard that slopes toward the house. Always correct the big slope first.
If you’re unsure about your lawn’s health after regrading, you might need to address fungus issues that thrive in damp soil. The right best fungicide for lawns can help, but proper grading prevents the problem before it starts.
Now that you have a clear approach in mind, it’s time to gather the right tools and materials. That’s what we cover in Step 4 (coming up in the next section of this guide). But before you run out to buy anything, make sure you’ve also considered local permits and safety, we’ll get to those in the next part.
Step 4 – Getting the Right Tools and Materials
You don’t need a fleet of heavy equipment. Most residential grading jobs can be done with basic hand tools and a few rented machines. Here’s what you need.
Essential Hand Tools
- Grade stakes (wooden or metal, 18, 24 inches long)
- String line (nylon mason’s line works best)
- Line level (a small bubble level that hangs on the string)
- Sledgehammer (for driving stakes)
- Shovel and grading rake (a landscape rake with a flat back)
- Measuring tape (at least 50 feet)
- Wheelbarrow or garden cart
Optional Power Tools
- Plate compactor (rent for about $60, $80 per day from a local tool shop)
- Laser level or water level (for large lots over half an acre)
- Skid steer with grading blade (for major regrading jobs)
Materials
- Clean fill dirt (no debris, no organic matter, no clay chunks)
- Topsoil (for the final 4, 6 inch layer before seeding)
- Erosion blanket or straw (to hold soil in place if you’re grading before the growing season)
- Sod or grass seed (for the finished surface)
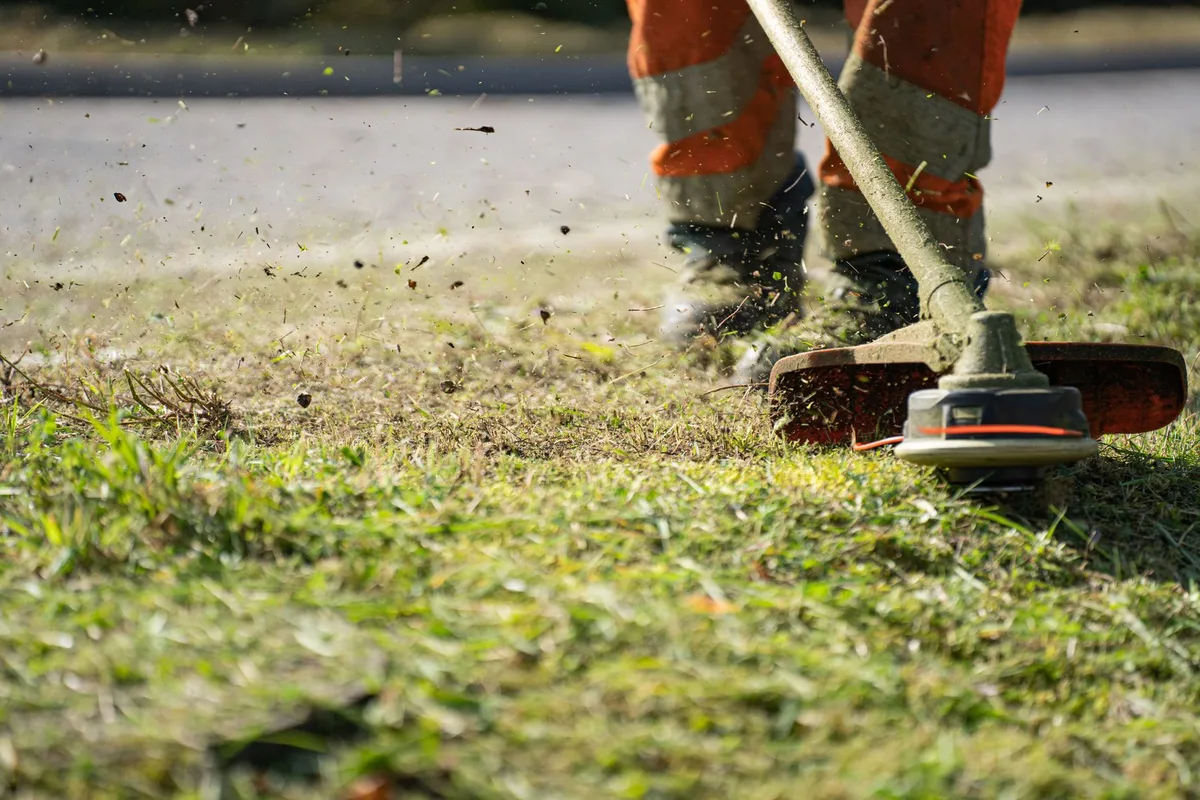
One common mistake: buying cheap fill with hidden rocks or roots. Spend the extra few dollars per yard on screened clean fill. You’ll save hours of hand-picking debris later.
And don’t use topsoil for the base layers. Topsoil is expensive and compresses too much under its own weight. Use it only as the final surface layer.
If you’re working with a small yard or just fixing a low spot, you don’t need the compactor. A hand tamper and a few passes with a loaded wheelbarrow will do. But for any fill deeper than 6 inches, compacting each lift is non-negotiable.
Skipping it means your new slope settles unevenly next season.
Step 5 – Step-by-Step Grading Process
Here is the sequence that works for most residential lots. Take it slow. Measure twice, move dirt once.
Mark Your Reference Elevation
Find the bottom of your siding or brick veneer. Drive a stake at that height. Your finished grade needs to sit at least 6 inches below that mark.
That’s your starting reference.
Set Grade Stakes and String Lines
Place stakes every 10 feet along the house wall. Run a string line between them. Use a line level to make sure the string is level.
Then measure down from the string to the ground at each stake. The difference tells you how much fill you need.
For the slope away from the house, set a second row of stakes at 10 feet out. The string at those stakes should be level. Then measure the drop from the house string to the outbound string.
Adjust the outbound stakes until you get the slope you want.
Cut High Spots and Fill Low Spots
Use a shovel or a machine to move soil from high areas to low areas. Work in lifts of 6, 8 inches. Never pile fill deeper than 8 inches without compacting it.
Compact Each Lift
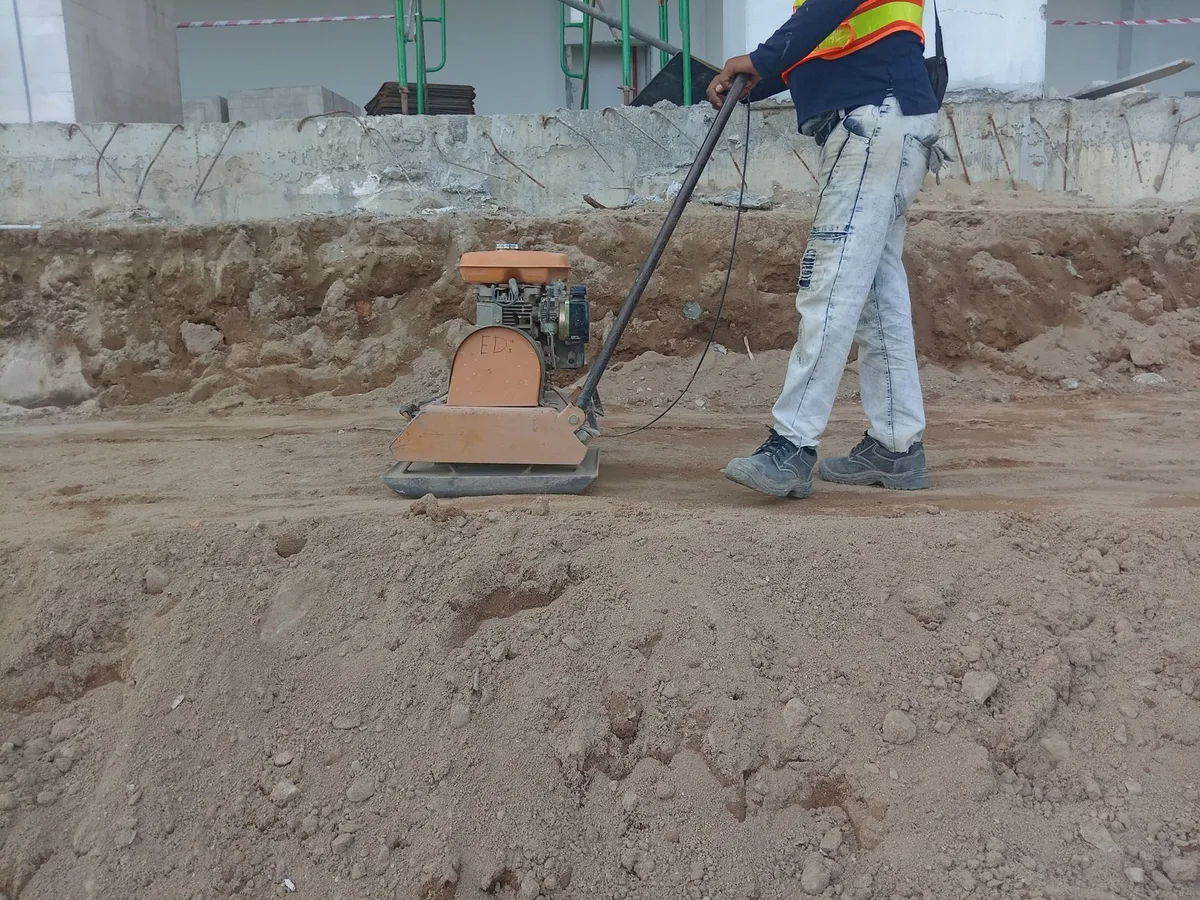
Run the plate compactor over every lift. Overlap each pass by about half the width of the plate. For small spots, use a hand tamper.
Compact until the soil stops settling visibly under the machine.
Finish With Topsoil and Seed or Sod
Spread 4, 6 inches of topsoil over the compacted fill. Rake it smooth. Then seed or lay sod.
Water it in gently to avoid washing the seed away.
The entire process for a ¼-acre lot takes 1, 2 days with hand tools. With a skid steer, you can finish in a single day. But the compaction step still takes time.
Don’t rush it.
After grading, you’ll want to monitor the new lawn closely. If you notice brown patches or fungal growth, it might be tied to how the soil drains. In our research on the best fungicide for lawns, we found that proper grading prevents most moisture-related lawn diseases before they start.
Common Grading Mistakes That Ruin Your Work
Even experienced DIYers make these errors. Avoid them and your grade will last for years.
Setting the Wrong Slope Direction
This is the big one. Water must flow away from the foundation. If you accidentally create a slight depression near the house, you’re worse off than before.
Double-check your string level measurements at every stake.
Not Waiting for Soil to Settle
Fresh fill settles over time. If you seed or sod immediately after grading, the lawn will develop dips after the first few heavy rains. Wait at least two weeks.
Water the fill lightly to accelerate settling. Then do a final grading pass before planting.
Using Poor Quality Fill
Fill with organic material like tree roots or grass clumps will decompose and create voids. Fill with large rocks will leave gaps where water collects. Use only screened clean fill.
Ignoring the Neighbor’s Drainage
If you raise your grade, you might push water onto the adjacent property. That’s a lawsuit waiting to happen. Check local code.
Most areas require you to maintain existing drainage patterns.
Failing to Account for Downspouts
Grading the yard is only half the battle. Your gutters and downspouts need to direct water at least 5 feet from the foundation. Extend downspouts with solid pipe or flexible extensions.
Don’t let them dump water right next to your newly graded slope.

Cost & Timeline: What to Expect
Here is a realistic breakdown for a ¼-acre lot.
DIY Costs
| Item | Estimated Cost |
|---|---|
| Clean fill dirt (10–20 cubic yards) | $300–$800 (delivered) |
| Topsoil (4–6 cubic yards) | $100–$250 |
| Grade stakes, string line, line level | $20–$40 |
| Plate compactor rental (1 day) | $60–$80 |
| Erosion blanket or straw | $20–$60 |
| Grass seed or sod | $50–$200 |
| Total DIY | $550–$1,430 |
Contractor Costs
Most excavation contractors charge $0.50, $1.50 per cubic yard of dirt moved. For a ¼-acre full regrade, expect $1,000, $5,000 depending on your area and how much fill is needed.
Timeline
| Step | Time Required |
|---|---|
| Assessment and planning | 1–2 hours |
| Setting stakes and string | 2–3 hours |
| Moving and spreading fill | 4–8 hours |
| Compacting each lift | 2–4 hours |
| Final topsoil and seeding | 2–3 hours |
| Settling period | 2–4 weeks |
| Total active work | 1–2 days |
Don’t rush the settling period. Grass seeded on freshly graded soil that hasn’t settled will develop uneven patches. If you’re on a tight timeline, consider sod instead of seed.
It gives an instant lawn and holds the soil in place immediately.
Legal & Safety: Permits, Property Lines, and Utility Locates
This section matters more than most people realize. Cutting corners here costs money and invites liability.
When You Need a Permit
Many cities and counties require a grading permit for any work that moves more than 50 cubic yards of dirt or changes the slope within 10 feet of a property line. Check with your local building department. The fee is usually $50, $200.
The fine for doing unpermitted work can be $1,000 or more.
Call 811 Before You Dig
This is not optional. One missed utility line can cost thousands in repairs or cause injury. Call 811 at least 48 hours before you start.
They mark gas, electric, water, and sewer lines for free.
Property Lines and Drainage Laws
You cannot divert water onto a neighbor’s property. Most states follow the “civil law rule” which says you can’t alter the natural flow of surface water. If your grading causes water to pool on the neighbor’s land, they can sue.
Insurance Implications
Some homeowner’s insurance policies exclude damage caused by improper grading. If your foundation cracks because you sloped water toward it, the repair is on you. A proper grading plan protects not just your house but your wallet.
Before you start your grading project, it’s worth thinking about the long-term landscaping plan. The plants you choose after grading can help with soil stability and drainage. For example, deep-rooted perennials often outperform shallow-rooted annuals on slopes.
Take a look at our guide to the best plants for a bedroom to find options that work in low-light indoor spaces.
Real-World Scenarios: Two Homeowner Case Examples
Case 1: Wet Crawlspace in Sandy Soil (Pacific Northwest)
Mark noticed dampness in his crawlspace every winter. He measured a flat grade near his foundation. The yard dropped only 2 inches over 10 feet.
He added 4 inches of clean fill along the house wall, compacting in 6-inch lifts. Total cost was $400 and one weekend. The following winter, his crawlspace stayed dry.
Case 2: Clay Soil in Georgia Needed More
Sarah had standing water 3 feet from her foundation after every storm. A perk test showed heavy clay with drainage under 1 inch per hour. She regraded the entire side yard with a 12-inch drop over 10 feet.
She also installed a French drain at the low point. The job cost $3,200 with a contractor. Two years later, no water issues.
Final Decision Guide: Which Path Should You Take?
Choose your move based on your situation.
- Minor low spot near house: Add fill by hand over a weekend. Skip the permit if under 50 cubic yards.
- Standing water at foundation: Full regrade with compaction. Check your local code first.
- Water pooling in the middle of the yard: French drain or swale. Regrading alone may not fix it.
- New lot with uneven grade: Full cut and fill with a machine. Budget for a skid steer rental.
- Clay soil or high water table: Combine regrading with a French drain. Always test drainage first.
If the job feels too big or you’re unsure about slope measurements, hire an excavation contractor. One mistake can cost thousands in foundation repairs.
Frequently Asked Questions
How long does yard grading last?
A properly compacted grade lasts 10 years or more. Soil settles over time, but with good compaction at the start, you will only need minor touch-ups every few years.
Can I grade my yard in the rain?
No. Wet soil compacts poorly and leaves a slippery mess. Wait for dry weather.
The soil should be moist but not muddy.
How do I know the slope is correct?
Use a string line and line level. Measure the drop at 10 feet. For clay, aim for 12 inches.
For sandy soil, 6 inches works.
Do I need a permit for small grading jobs?
It depends on your city. Many require permits for moving more than 50 cubic yards or grading within 10 feet of a property line. Check with your local building department.
What is the best fill dirt for grading?
Screened clean fill with no organic matter or rocks. Avoid topsoil for base layers. Use topsoil only for the final 4, 6 inch surface layer.
How long should I wait before planting grass after grading?
Wait at least two weeks. Water the fill to accelerate settling. Then do a final grade pass before seeding or sodding.