How to Identify Sod Webworms for 2026: What Actually Works
If you stare at a patch of brown grass and wonder whether it’s thirsty, diseased, or crawling with pests, you’re not alone. Learning how to identify sod webworms is the first step to saving your lawn without wasting time or money on the wrong fix. These small caterpillars hide in the thatch layer and chew grass blades at night, leaving damage that looks a lot like drought stress.
The tricky part is that most people only notice the brown patches. By then the larvae have already been feeding for weeks. Our research shows that a simple soap flush test can reveal webworms in under two minutes.
Once you know what to look for, you can catch them early and treat them fast. Let’s walk through exactly what to check.
Quick Answer
Sod webworms are small, grayish-brown caterpillars that live in the thatch of your lawn. They chew grass blades into ragged edges. Look for brown patches that pull apart easily.
Check at night with a flashlight to spot the larvae feeding. Use a soap flush to confirm. If you find 10 to 15 larvae per square foot, it’s time to treat.
Why Most Homeowners Misdiagnose Webworm Damage
Brown spots in the lawn trigger a mental checklist. Did I forget to water? Is the dog peeing there again?
Did I spill fertilizer? Those are logical guesses. But sod webworm damage has a few telltale signs that set it apart from other problems.
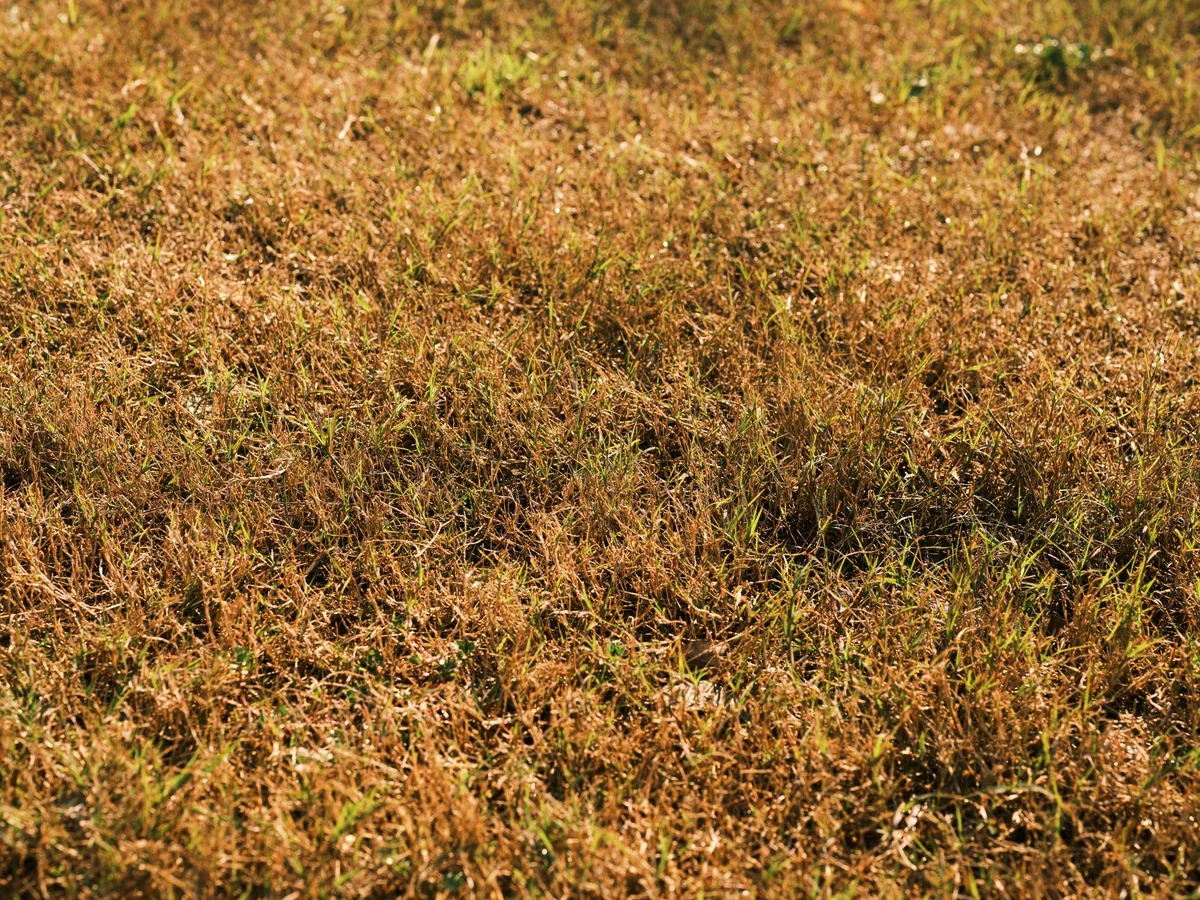
The biggest mistake is treating drought stress when the real issue is pests. You water more, but the lawn keeps thinning. The grass blades look chewed, not wilted.
If you pull on a brown patch and the roots come up easily, that’s a red flag. Webworms eat the grass at the base, so the plant has almost no hold on the soil.
Another common misdiagnosis is blaming a fungus. Many homeowners reach for a fungicide first. But fungal diseases usually show patterns like rings or spots.
Webworm damage tends to be irregular patches that don’t spread in a uniform way. The damage also appears quickly, often overnight, whereas drought or fungus takes longer to develop.
If you’ve ever treated a lawn problem twice without results, it’s likely you guessed wrong the first time. That’s why accurate identification matters. It saves you money on unnecessary products and keeps your lawn healthy.
[Internal link: If you’re also dealing with other lawn issues, check our guide on the best fungicide for lawns to avoid confusion.]
What Sod Webworms Look Like at Every Stage
You need to recognize both the adult moth and the caterpillar to identify the problem early. Let’s start with the moth. Adult sod webworms are small, about three-quarters of an inch across.
They are tan or light brown with darker zigzag lines on their wings. When they rest, they wrap their wings tightly around their body. This makes them look like a tiny tube or a rolled leaf.
You’ll see them fluttering just above the grass in the late afternoon or evening. They don’t fly far. If you see a lot of these moths dancing over your lawn, it’s a sign that eggs have been laid or will be laid soon.
But moths alone don’t confirm an infestation. They could be coming from a neighbor’s yard.
The real culprits are the larvae. Mature sod webworm caterpillars are about half to three-quarters of an inch long. They are grayish-brown with rows of dark spots along their body.
The head capsule is darker, often brown or almost black. They curl into a C-shape when disturbed. That’s a key visual clue.
They hide in the thatch during the day and come out at night to feed.
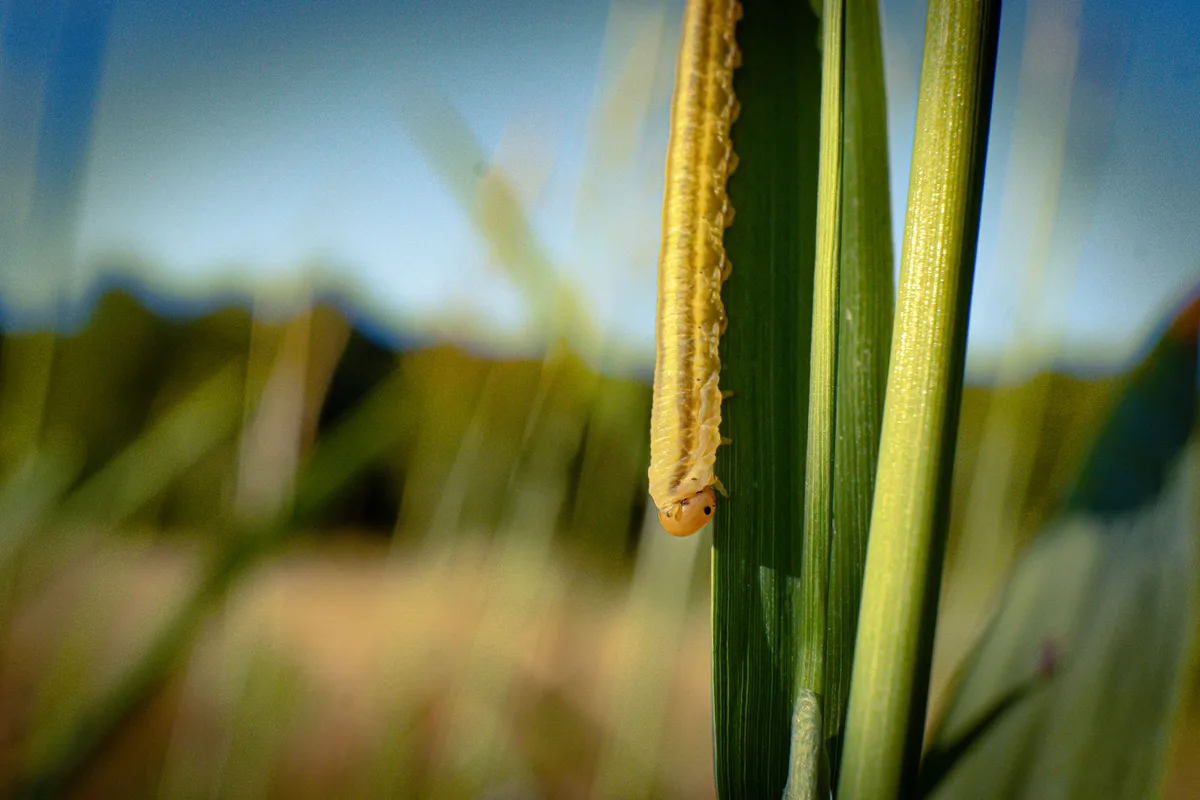
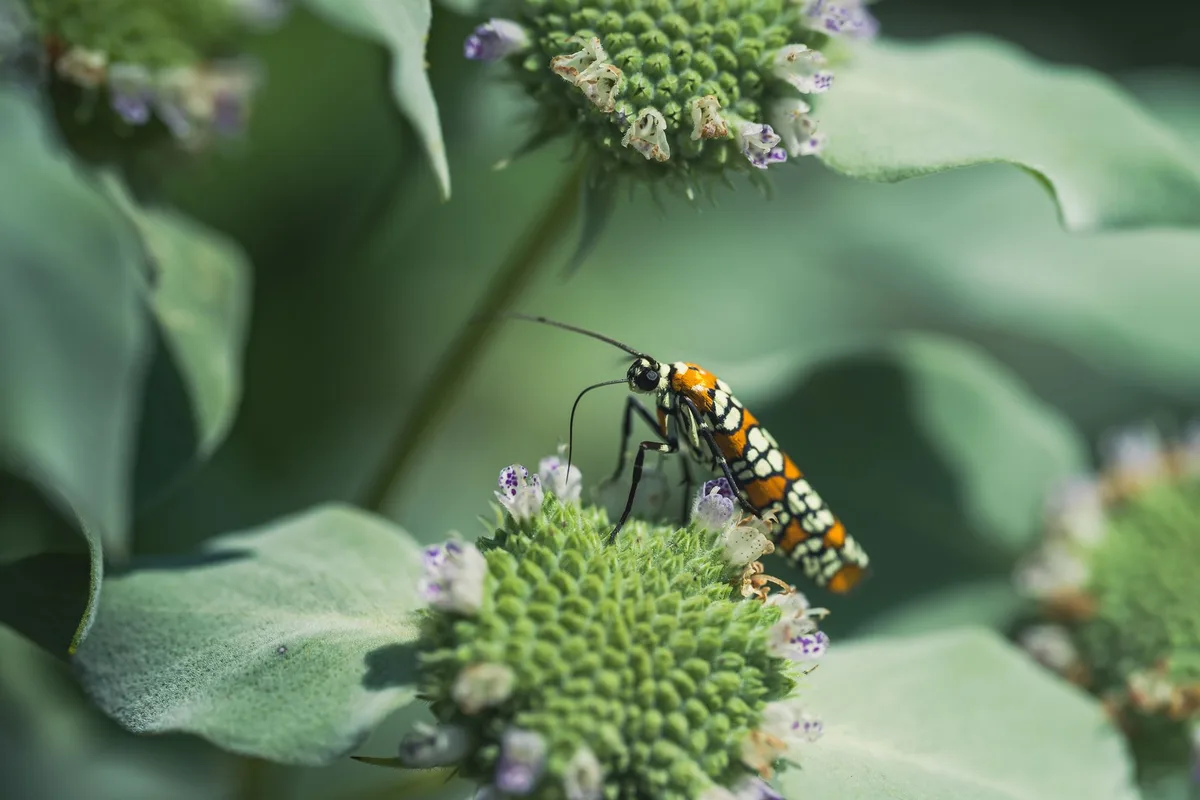
If you turn over a patch of thatch and find these caterpillars, you’ve confirmed the pest. Look for silk-lined tunnels in the thatch as well. Webworms create these tubes to move around during the day.
Step-by-Step: How to Inspect Your Lawn for Webworms
You don’t need any fancy equipment. Here is the process our research recommends.
Step 1: Look for the moths. Walk across your lawn in the early evening. If you see small tan moths fluttering up as you pass, note where they are most active.
Step 2: Check for damage at the base. Find a brown patch and gently pull on the grass. If it lifts easily with little resistance, check the base of the blades. You should see ragged, chewed edges.
Step 3: Do the soap flush. Mix two tablespoons of mild dish soap with one gallon of water. Pour it over a square foot of brown or suspect thatch area. Wait two minutes.
Larvae will come to the surface. Count them. If you see 10 to 15 larvae per square foot, it’s time to treat.
Step 4: Inspect at night. Use a flashlight after dark. Shine it on the brown patches. You will see the caterpillars actively feeding on the grass blades.
They are easier to spot when they’re moving.
Step 5: Check the thatch. Lift a section of thatch with a putty knife or trowel. Look for silk tubes and small C-shaped caterpillars hiding in the debris.
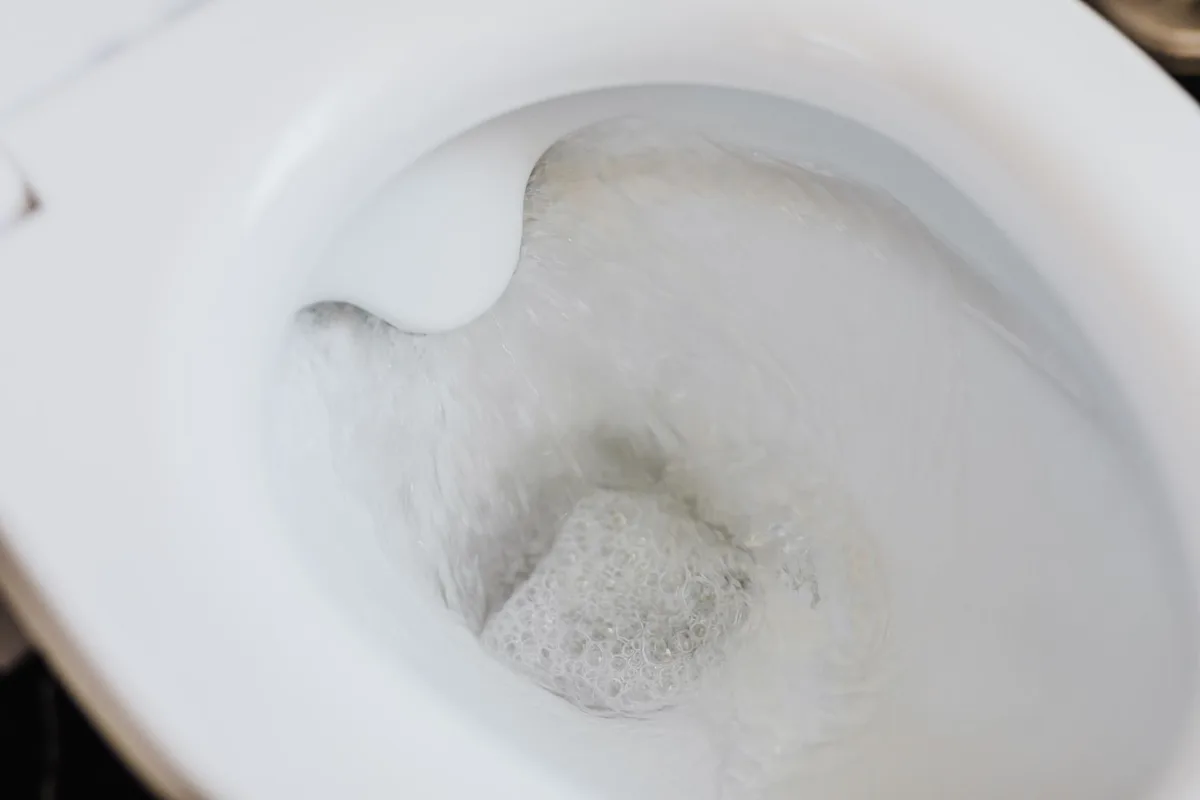
This inspection should take you less than ten minutes. Once you know the steps, it becomes second nature.
[Internal link: For keeping your lawn equipment ready, see our guide on how to clean lawn mower air filter.]
Sod Webworms vs. Chinch Bugs, Grubs, and Drought Stress
It’s easy to lump all lawn pests together. But each one requires a different treatment. Here’s how to tell them apart.
Sod webworms leave chewed, jagged grass blades. The damage is irregular and can spread quickly in hot, dry weather. The larvae are grayish-brown with dark spots.
Chinch bugs suck the sap from grass. The damage starts as yellowing, then turns brown. It often follows a pattern along driveways or sidewalks.
You can test for them by floating a tin can filled with water. Chinch bugs will float to the surface. The bugs are black with white wings.
White grubs are larger, fat, C-shaped larvae with a brown head. They feed on roots. The grass pulls up like a loose carpet.
Grubs are usually found deeper in the soil, not in the thatch.
Drought stress makes grass blades fold or curl. There is no chewing damage. The soil is dry.
Watering revives the lawn within a few days.
Fungal diseases create circular patches, rings, or spots. They often have a darker border. No caterpillars are present.
Here’s a quick comparison table:
| Pest | Damage Pattern | Where to Look | Key Visual Clue |
|---|---|---|---|
| Sod webworm | Irregular brown patches, chewed blades | Thatch layer | C-shaped caterpillar with dark spots |
| Chinch bug | Yellowing then browning, along edges | Thatch and grass base | Small black bug with white wings |
| White grub | Roots eaten, grass pulls up like carpet | Soil below thatch | Large C-shaped larva, no spots |
| Drought stress | Folding blades, dry soil | Whole area | No insects, soil is dry |
| Fungus | Rings or spots with dark border | Grass blades | No insects, lesions on blades |
Knowing these differences helps you pick the right treatment. Spraying a fungicide on webworms does nothing. Watering for grubs just makes the lawn soggy.
[Internal link: For more on choosing the right treatment, read our article on best insecticide for carpenter ants. Though it targets a different pest, the principle of accurate identification applies.]
5 Common Visual Mistakes That Lead to Wrong Treatment
Even experienced homeowners make these errors. Here are the ones we see most often.
1. Confusing moth activity with active infestation. Seeing moths fluttering over the lawn does not mean you have a serious problem. Those moths may be passing through or coming from a neighbor’s yard.
Only the larvae cause damage. Check for actual caterpillars.
2. Assuming all brown patches are webworm damage. Drought stress looks very similar. If the grass folds rather than chews, it’s probably thirst, not pests.
Water first and see if the patch recovers before reaching for insecticide.
3. Overlooking the thatch layer. Webworms spend most of their time in the thatch. If you don’t look there, you might miss them entirely.
Lift the thatch with a trowel. If you find silk tubes, you have webworms.
4. Using the wrong time of day for inspection. Larvae hide during the day. If you inspect at noon, you won’t see them.
Always check at dusk or after dark with a flashlight. That’s when they feed.
5. Treating too late. Once grass is completely brown and dead, larvae have likely already moved on or pupated. Early detection is key.
If you wait until the lawn looks terrible, you’re fighting a losing battle.
Our research suggests that most failed treatments happen because of one of these five mistakes. Avoid them and you’ll have a much easier time keeping your lawn green.
[Internal link: Proper lawn care also involves the right watering routine. For tips on starting your mower after winter storage, see our guide on how to start a lawn mower after winter.]
We’ve covered the core identification steps and the most common pitfalls. Now you know how to inspect your lawn confidently. The next sections in the full article will walk you through pro tips, real-world scenarios, and your next steps for treatment.