How to Improve Soil Structure for 2026: What Actually Works
How to improve soil structure starts with understanding what kind of dirt you're working with. If you've ever struggled to dig a hole or watched rainwater sit on your lawn for hours, you already know the symptoms. The cause is almost always a structure problem, particles packed too tight or too loose.
According to the USDA Natural Resources Conservation Service, healthy soil should have a bulk density below 1.6 grams per cubic centimeter. Above that threshold, roots literally can't push through. Most problem gardens sit well above that number.
Let's walk through the simple tests and smart decisions that bring your soil back to life.
Why Soil Structure Matters More Than You Think
Soil structure isn't the same thing as soil texture. Texture is the ratio of sand, silt, and clay, that's fixed. Structure is how those particles clump together into aggregates, and that you can change.
Good structure creates a network of pore spaces between aggregates. Those pores hold air and water, and roots follow them like a highway.
When structure breaks down, the pores collapse. Water can't infiltrate, so it pools or runs off. Roots suffocate because there's no air.
Beneficial microbes die off. What you're left with is a dense, lifeless material that resists both digging and drainage.
What good structure does for you:
- Allows roots to reach deeper soil layers for nutrients and moisture
- Helps water soak in instead of running off
- Keeps soil from crusting over after rain
- Supports earthworms and beneficial fungi
- Reduces the need for frequent watering and fertilizing
The first step to better structure is admitting what you're fighting. That could be heavy clay, loose sand, or compacted fill from a construction crew. Each one needs a different fix.
Quick Answer: What Actually Fixes Soil Structure?
To improve soil structure, identify your soil type first. Test for sand, silt, and clay ratios. Add organic matter like compost or aged manure.
Avoid tilling soil when it's wet. Real change takes a full season or two.
Step 1: Figure Out What You're Working With
You can't choose the right fix until you know the problem. Four simple tests will tell you everything you need.
The Jar Test (Sand, Silt, Clay Ratio)
This is the gold standard for home gardeners. Fill a clear jar about one-third full with soil from your garden. Add water until the jar is almost full, then shake it for a couple of minutes.
Set it down and let it settle for 24 hours.
The sand will settle first, within a minute or two. Silt settles over the next hour. Clay stays suspended for hours and may take a full day.
Measure the height of each layer and calculate their percentages. The USDA soil texture triangle will tell you exactly what you're dealing with.
The Squeeze Test and Infiltration Test
Take a handful of slightly moist soil and squeeze it. If it holds its shape when you open your hand, it's likely high in clay. If it crumbles immediately, you're looking at sandy soil.
If it forms a weak ball but breaks with light pressure, that's loam, the good stuff.
For the infiltration test, dig a small hole about six inches deep and fill it with water. Time how long it takes to drain. An ideal rate is about one to two inches per hour.
Faster than that means the soil is too sandy. Slower means compaction or heavy clay.
Dig and Check: Worm Count and Root Depth
Dig a cubic-foot hole and count the earthworms you see. Ten or more is excellent. Fewer than five suggests poor biological activity.
Also check how deep plant roots go. If they're all bunched in the top two inches, your soil below is probably compacted.
Step 2: Identify Your Soil's Problem Pattern
Each soil type presents a different structural challenge. Here's what to look for and what it means.
Heavy Clay: Sticky When Wet, Rock-Hard When Dry
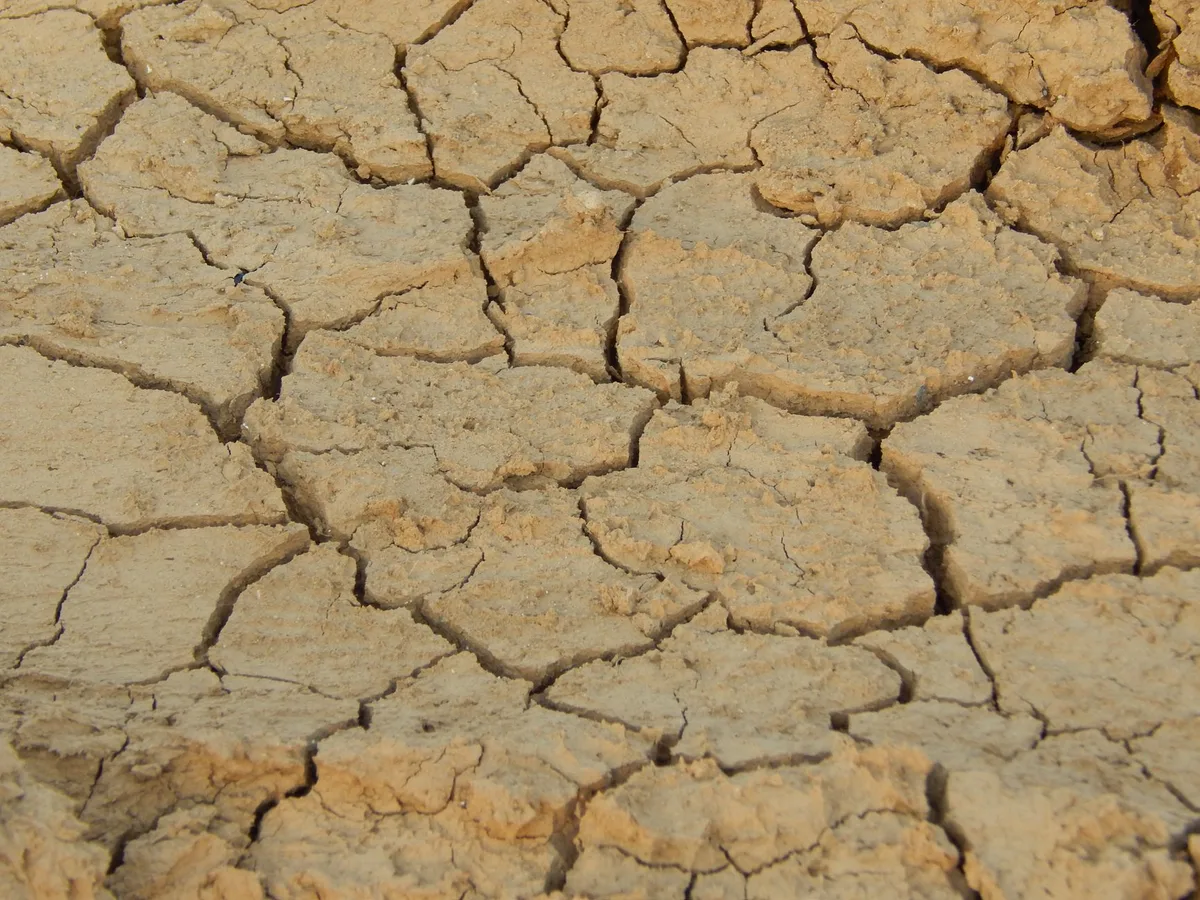
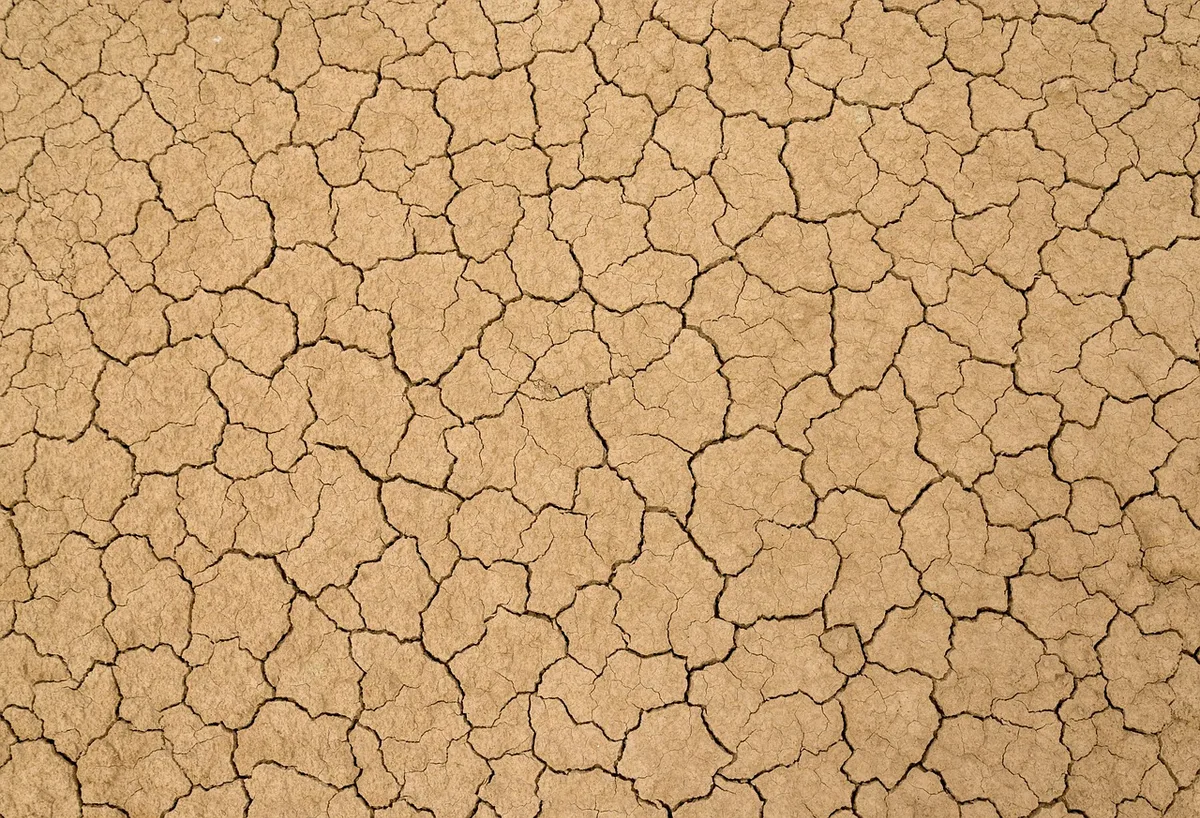
Clay particles are flat and microscopic. They pack tightly together with almost no pore space between them. When wet, clay becomes sticky and unworkable.
When dry, it shrinks and cracks like a desert floor.
Water infiltration is painfully slow. Roots can't push into the dense mass. The soil feels heavy and resists almost every garden tool.
If your jar test showed more than 35% clay, this is you.
Sandy Soil: Drains Too Fast, Won't Hold Nutrients
Sand particles are large and round. They leave huge pores between them. Water runs straight through.
Nutrients follow it out of reach of plant roots.
Good structure in sandy soil means enough organic matter to create some stickiness. Without it, the soil feels loose, gritty, and never holds a shape when squeezed. Plants need constant watering and feeding just to survive.
Silty Soil: Crusts Over, Seedlings Struggle
Silt particles are smaller than sand but not as flat as clay. They can pack into a dense surface crust after a heavy rain. That crust prevents water from soaking in and blocks tiny seedlings from emerging.
Silty soil feels smooth and floury when dry. It's not as sticky as clay but still drains poorly. The surface crust is the main symptom.
Compacted Urban or Builder's Soil
This isn't a texture problem, it's a density problem. Heavy machinery, foot traffic, or construction fill compresses the soil regardless of its composition. Aeration is gone.
Roots can't penetrate. Water sits on top.
The telltale sign is a hard, impenetrable layer just a few inches below the surface. Your jar test might show decent loam, but the soil is still unworkable. The fix for compaction isn't the same as the fix for clay.
Step 3: Choose Your Main Approach Based on Your Soil Type
This is where the decision tree really kicks in. Your approach depends entirely on what you discovered in steps one and two. Here's the breakdown.
For Clay Soil: Gypsum, Organic Matter, and Avoiding the Sand Trap
Many gardeners make the mistake of adding sand to clay. Don't do it. Sand and clay mix together to form something that resembles concrete.
It makes the problem worse, not better.
What actually works for clay:
- Gypsum applied at 40 to 50 pounds per 1000 square feet helps flocculate clay particles into larger aggregates. It's a mineral, not a fertilizer. It works best on sodic clay but can help with many heavy soils.
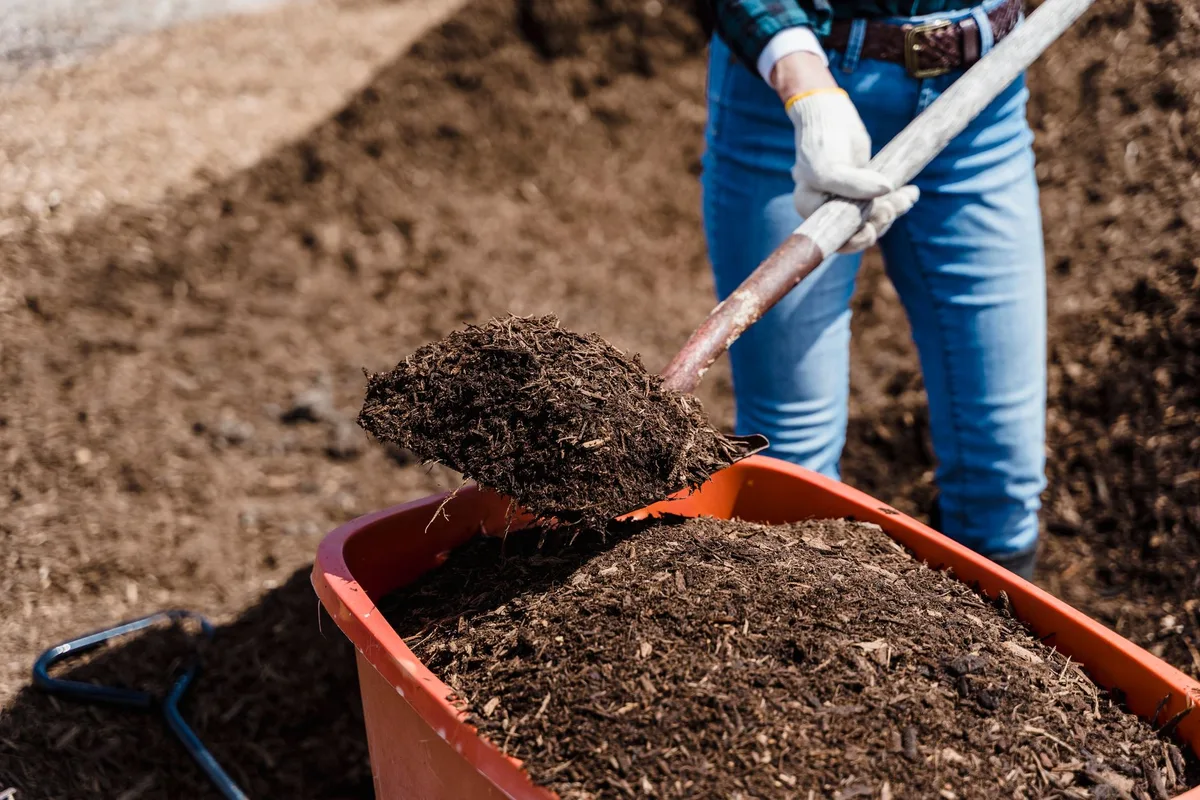
- Coarse organic matter like aged bark, wood chips, or composted leaves creates physical separation between clay particles. Incorporate two to three inches into the top six to eight inches.
- Cover crops with deep taproots, daikon radish, winter rye, punch holes through the clay and create channels for water and roots.
- Avoid tilling when the clay is wet. One pass with a rototiller in soggy conditions can ruin structure for the entire season.
For Sandy Soil: Building Organic Matter and Water-Holding Capacity
Sandy soil needs a sponge. Organic matter serves that role. Without it, water and nutrients slip right through.
What works for sandy soil:
- Compost, aged manure, or peat moss mixed into the top six to eight inches. Aim to raise the organic matter content toward five percent. That takes several seasons of consistent application.
- Mulch heavily on the surface. A three- to four-inch layer of straw or shredded bark slows evaporation and adds organic matter as it decomposes.
- Cover crops that produce heavy biomass, like buckwheat or crimson clover, can be tilled in while still green. This adds organic matter fast.
Sandy soil needs patience. You're building a reservoir that didn't exist before. But once the organic matter reaches a certain level, the soil transforms.
It becomes darker, holds moisture, and resists nutrient leaching.
For Silty Soil: Cover Crops and No-Till to Prevent Crusting
Silty soil's main enemy is surface crusting. The fix is keeping the surface covered and protected.
What works for silty soil:
- No-till gardening leaves the soil surface undisturbed. Worms and roots create the pores. You don't break the existing aggregates.
- Cover crops with fibrous root systems, like winter wheat or annual ryegrass, hold the soil in place. The roots also exude glue-like substances that bind silt particles into stable aggregates.
- Organic mulch on the surface breaks the impact of raindrops. A two-inch layer of straw or wood chips stops crusting before it starts.
- Avoid repeated tilling. Each pass over silty soil breaks down aggregates and makes crusting worse.
Silty soil can be quite productive once the structure stabilizes. It holds more nutrients than sand and drains better than clay. The trick is just keeping that crust from forming.
For Compacted Soil: Core Aeration, Bio-Drilling, and Patience
Compacted soil needs mechanical relief followed by biological support.
What works for compacted soil:
- Core aeration for lawns. A machine that pulls plugs of soil out of the ground creates immediate channels for air and water. Aim for two to three passes in different directions.
- Bio-drilling for garden beds. Plant deep-rooted cover crops like tillage radish or forage turnips. As the roots decay, they leave vertical channels through the compacted layer.
- Double-digging for small areas. Remove the topsoil, loosen the subsoil with a fork, and replace the topsoil mixed with compost. This is labor intensive but effective.
- No heavy traffic once the compaction is broken. Keep walkways separate from growing areas.
Compacted soil takes the longest to fix. The initial mechanical work gives you a head start, but biology has to take over from there. Earthworms and roots maintain the channels you create.
Give them time to do their job.
If your soil is clay and compacted, a common combination, start with the compaction fix first. Gypsum won't help much if the soil is so dense that water can't penetrate to carry it in. Address the density issue, then work on the texture.