How to Read Fertilizer Labels in 2026 (What Actually Works)
You’ve got a bag of fertilizer in your hand, and those three big numbers on the front might as well be a secret code. You know your plants need feeding, but figuring out which bag to buy feels like a guessing game. Learning how to read fertilizer labels changes that completely.
Once you understand what those numbers mean, you’ll pick the right product every time, no more crossed fingers.
The N-P-K format you see on every bag is regulated by the Association of American Plant Food Control Officials (AAPFCO), which sets a uniform standard across the U.S. and Canada as of 2026. That means every label follows the same rules, so once you learn the system, you can walk into any garden center and know exactly what you’re looking at. Let’s break it down.
Why Fertilizer Labels Feel Overwhelming (And Why They Don't Have To)
The problem is that labels pack a ton of information into a small space. You see three big numbers like 10-10-10 or 5-10-5, plus a bunch of fine print underneath. Maybe there’s a list of ingredients with chemical names you don’t recognize.
It looks like a puzzle.
But here’s the thing. The whole label is designed around one simple idea: tell you exactly what nutrients are inside and how much of each you’re getting. The three numbers on the front are the headline.
Everything else is supporting detail. And the order never, ever changes, nitrogen first, phosphorus second, potassium third. That consistency is your starting point.
Once you know what those three numbers mean, the rest of the label falls into place. Secondary nutrients, micronutrients, application rates, they’re all just extra info that helps you fine-tune your choice. You don’t need to be a chemist to use them.
You just need a quick mental checklist.
The Quick Answer: What Those Three Numbers Actually Mean
The three numbers on the front are the N-P-K ratio. Nitrogen is first. Phosphorus is second.
Potassium is third. Each number shows the percentage of that nutrient by weight. A 10-10-10 bag has ten percent of each.
A 30-0-0 bag has lots of nitrogen and zero phosphorus or potassium. Match the ratio to what your plants need.
The Anatomy of a Fertilizer Label – What You're Really Looking At
A fertilizer label has several sections, and each one tells you something different. Let’s walk through the main parts you’ll see on practically every bag.
The Guaranteed Analysis Panel
This is the meat of the label. It lists the minimum percentage of each nutrient by weight. The N-P-K numbers are always at the top, usually in bold.
Below them, you’ll often see secondary nutrients like calcium, magnesium, and sulfur, plus micronutrients like iron, manganese, and zinc. Here is a quick example of what you might see in a typical guaranteed analysis table:
| Nutrient | Percentage by Weight |
|---|---|
| Total Nitrogen (N) | 10% |
| Available Phosphate (P₂O₅) | 10% |
| Soluble Potash (K₂O) | 10% |
| Calcium (Ca) | 2% |
| Sulfur (S) | 1% |
| Iron (Fe) | 0.5% |
The P and K are listed as their oxide forms because that is how fertilizer companies report them. That does not change how the plant uses them, but it is worth knowing so those numbers don’t confuse you.
The Ingredient List (Where It Says “Derived From”)
Right below the guaranteed analysis, there is a line that says “Derived from” followed by a list of raw materials. This tells you exactly where the nutrients come from. For synthetic fertilizers, you might see ingredients like urea, ammonium phosphate, and potassium chloride.
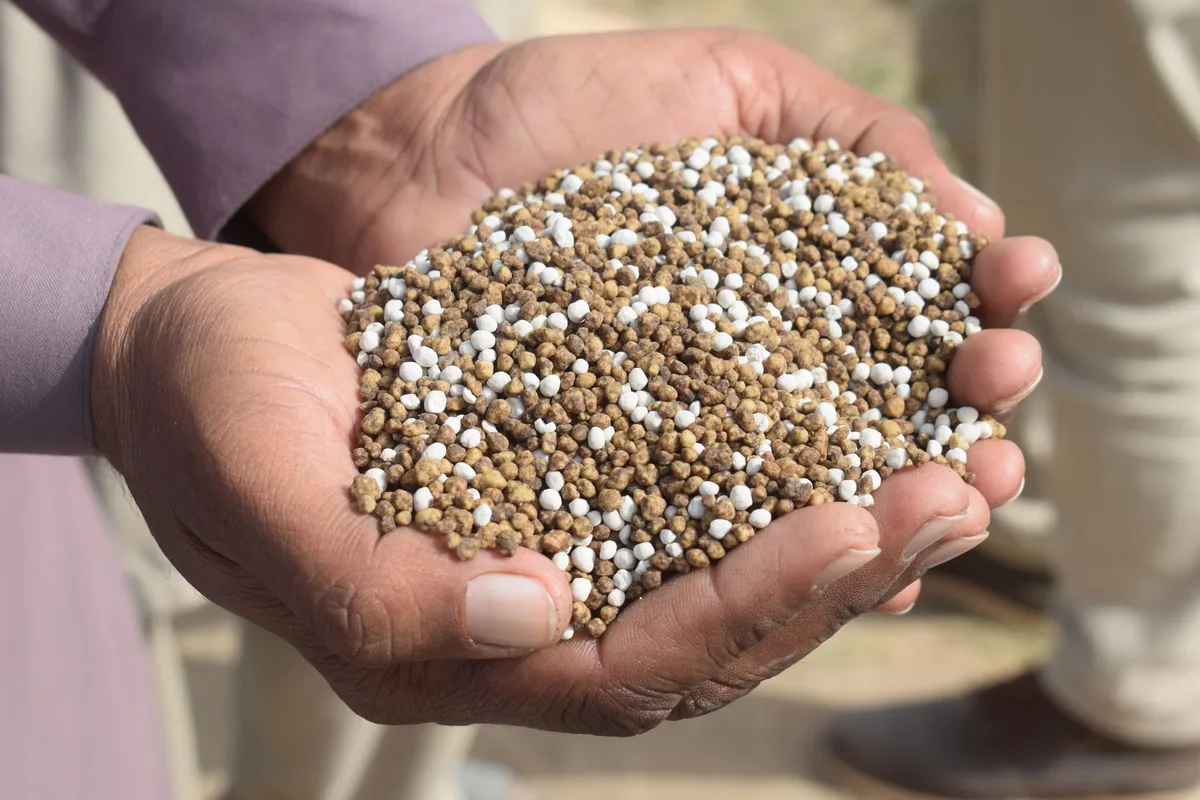
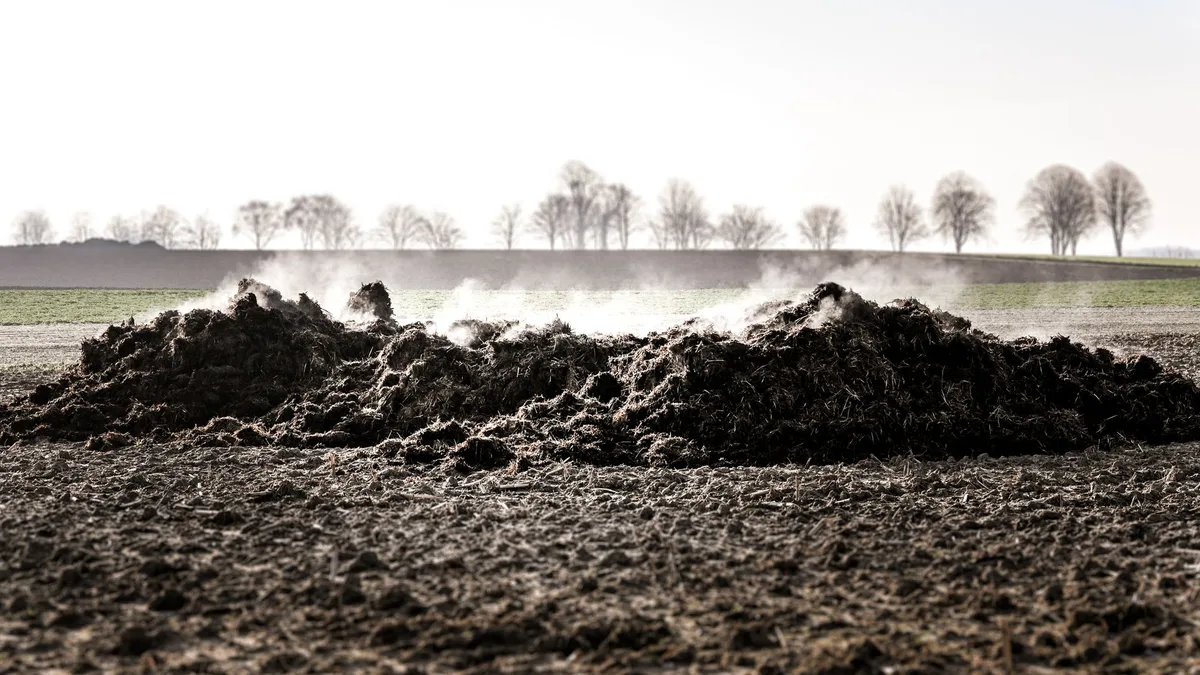
For organic fertilizers, you will see things like bone meal, blood meal, kelp meal, or composted poultry manure.
Why does this matter? The source affects how fast the nutrients become available to the plant. Synthetic sources usually release quickly.
Organic sources break down slowly as soil microbes do their work. If you read “water-soluble nitrogen” on the label, you know that portion will feed the plant immediately. If you see “water-insoluble nitrogen,” that part will need time.
The Fine Print You Shouldn’t Skip
The bottom of the label has a few more items that matter. You will see the net weight of the bag, the application rate instructions, and any warnings. The application rate is usually given in pounds per 1,000 square feet or cups per plant.
That part is easy to skip, but it is where most mistakes happen.
Our research shows that the leading cause of fertilizer burn is ignoring the application rate. People see a small number and think “more is better.” The label tells you the exact amount to use. That rate is set by manufacturer testing and regulatory approval, so follow it.
Also look for the salt index if it is listed. Higher numbers mean higher burn risk, especially in containers or sandy soils.
Your Decision Tree: How to Match a Label to Your Exact Situation

This is where your situation changes the answer. The “best” fertilizer depends on four conditions. Here is how to work through them.
Branch 1: What Are You Growing?
Different plants need different ratios. Leafy plants like spinach, lettuce, and lawns need more nitrogen, that first number should be high. Look for something like 20-10-10 or 30-0-0.
Flowering plants and fruiting crops like tomatoes and peppers benefit from higher phosphorus, the middle number. A 5-10-5 or 10-20-10 works well. Root crops like carrots and potatoes do better with balanced ratios or higher potassium, the last number.
If you are growing indoor plants, check the specific needs of each type, our guide on the right fertilizer for houseplants covers the details.
Branch 2: What’s Your Soil Telling You?
Soil test results change everything. If your soil is already high in phosphorus, adding more can lock up other nutrients and pollute local waterways. Some states now restrict phosphorus in lawn fertilizers because of runoff concerns.
If you tested your soil and it shows adequate P, buy a fertilizer with a zero in the middle spot, like 15-0-10.
If you have not tested your soil yet, a balanced fertilizer like 10-10-10 is a safe starting point for most garden beds. For lawns in phosphorus-restricted areas, look for a 30-0-10 or similar ratio.
Branch 3: What Stage Is the Plant In?
Young seedlings and transplants need phosphorus to develop strong root systems. A 5-10-5 starter fertilizer is common here. Once plants are established and growing leaves, nitrogen becomes the priority.
During flowering or fruiting, potassium and phosphorus become more important again.
For a spring start-up after winter storage, a high-nitrogen fertilizer helps push green growth. That is a common lawn care strategy. In fall, switch to a low-nitrogen, high-potassium formula to prepare the plant for winter dormancy.
Branch 4: How Fast Do You Want Results?
Quick-release synthetic fertilizers show results in days. They are great for a fast green-up or correcting an immediate deficiency. But they also wash out quickly and can burn if you overdo it.
Slow-release fertilizers feed gradually over weeks or months. They reduce the risk of burn and need fewer applications. If you want a “set it and forget it” approach, look for terms like “controlled release,” “timed release,” or “polymer-coated” on the label.
Organic options naturally release slowly because they need soil microbes to break them down.
If you are growing flowers from seed and want a steady feed, a slow-release flower fertilizer is often the better choice.
Step-by-Step: How to Read a Fertilizer Label in 10 Minutes
Here is a simple process you can follow the next time you pick up a bag. It takes about ten minutes the first time, then it becomes second nature.
Step 1: Identify your plant type and goal. Write down one thing you want to improve, bigger leaves, more flowers, or stronger roots. That tells you which number to prioritize.
Step 2: Check the three big numbers. Look at the N-P-K ratio. Is the first number high, medium, or low? Repeat for the second and third.
If your priority is foliage, the first number should be the highest. If it is flowers or fruit, the second number should lead. If it is root development or winter hardiness, the third number matters most.
Step 3: Look at the guaranteed analysis table. Find the percentages for each nutrient. Double-check that the numbers match your soil test report if you have one.
Step 4: Read the “Derived from” list. Decide whether you want quick release or slow release. Synthetic sources like ammonium sulfate release fast. Organic sources like feather meal or bone meal release slowly.
Step 5: Find the application rate. Look for the number given in pounds per 1,000 square feet or tablespoons per gallon of water. Mark that rate in your memory. That is your hard limit.
Step 6: Check for warnings. Look for statements about burn risk, salt index, or environmental hazards. If you are near a waterway, avoid products with phosphorus if your soil does not need it.
Step 7: Decide if it fits your timing. Is it early spring, mid-summer, or fall? Match the release speed and ratio to the season. Use high-nitrogen products in spring, balanced products in summer, and low-nitrogen products in fall for lawns.
That is the whole process. Seven steps. Once you run through it a few times, it will take thirty seconds.
For a more specific example, let’s say you have a lawn that needs greening up in early spring. Your soil test shows phosphorus is already sufficient. You pick up a bag labeled 30-0-10.
Step 1 tells you leaves matter most. Step 2 confirms the nitrogen is high at 30 percent. Step 3 shows no phosphorus, perfect for your soil conditions.
Step 4 reveals synthetic sources for quick green-up. Step 5 gives the rate of 5 pounds per 1,000 square feet. Step 6 warns about keeping it off driveways to avoid runoff.
Step 7 tells you early spring is the right time. You are good to go.