How to Stop Weeds in Flower Beds (2026) — Complete Guide
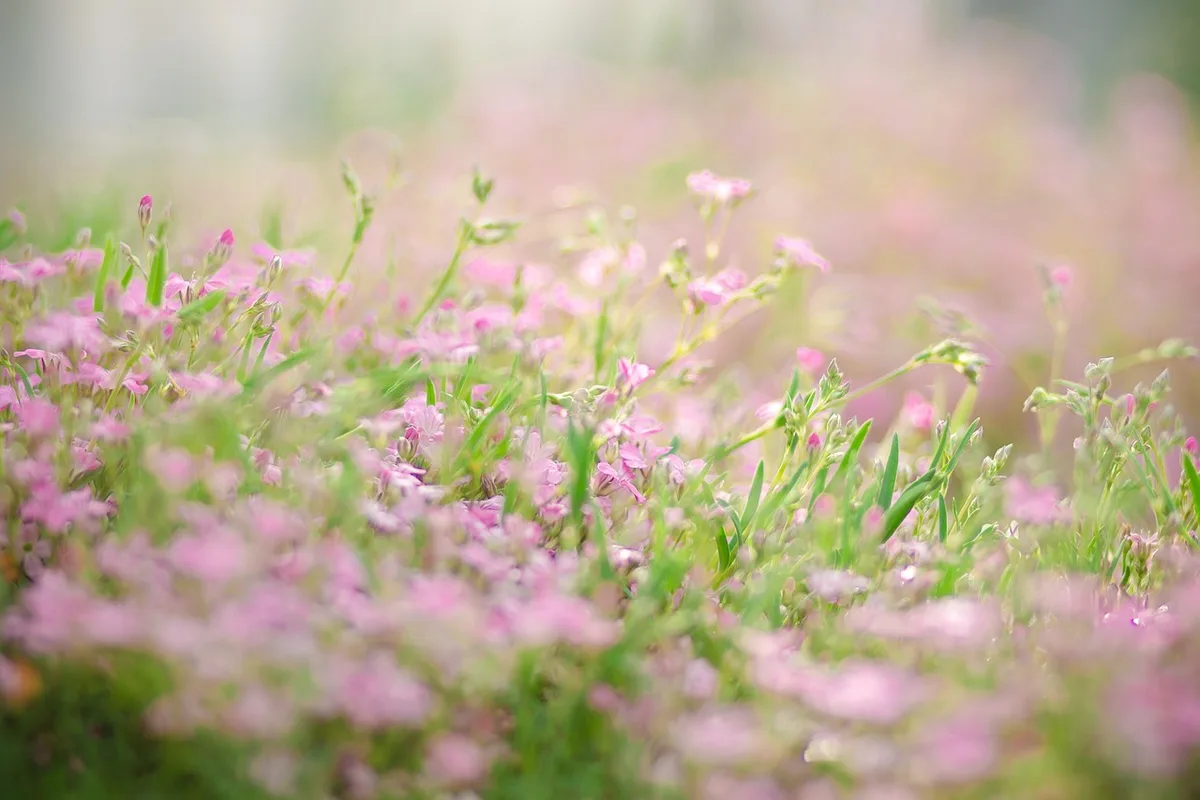
You spend hours planting, watering, and tending your flower beds. Then the weeds show up. They steal water, crowd out your blooms, and make the whole bed look neglected.
Knowing how to stop weeds in flower beds isn't just about one quick trick. It's about choosing the right approach for your specific situation.
A single pigweed plant can release over 100,000 seeds in one season. That's per the USDA's weed science data. Pull the tops and you miss the seeds.
You need a plan that tackles the whole lifecycle. Let's walk through a decision tree that helps you pick the method that actually fits your bed.
Quick Answer
Stop weeds before they sprout. Lay down a 3-inch layer of mulch. Pull visible weeds weekly.
Apply a pre-emergent herbicide in spring and fall. Use landscape fabric under mulch for high-pressure beds. Combine methods for the best results.
Problem / Pain Point: Why Weeding Feels Like a Losing Battle
You pull weeds on Saturday. By Wednesday they are back. You try a spray and it kills your petunias too.
The frustration is real.
The core problem is simple. Most people treat the symptom, not the source. They pull the top growth but leave the root system in the ground.
They apply a product at the wrong time of year. They skip the step that actually matters: prevention.
Here is the hard truth. If you only pull what you see, you will be pulling forever. A healthy flower bed needs a strategy that blocks weeds before they poke through the soil.
Without that, you are always playing catch up.
Our research shows that the average homeowner spends about 40 hours a year weeding. That is a full work week. With the right plan, you can cut that to under 10 hours.
The key is matching your method to your weed pressure.
Choosing the right plants for your bed helps too. Dense perennials leave less room for weeds to germinate. You can find solid options in our guide to the best plants for flower beds.
Core Explanation / How It Works: Understand Your Weed Types and Lifecycles
Before you pick a tool or a product, you need to know what you are fighting. Weeds fall into two main categories. Each one requires a different approach.
Annual vs. Perennial Weeds—Why It Matters
Annual weeds complete their lifecycle in one season. They sprout, flower, drop seeds, and die within a year. Examples include crabgrass, chickweed, and henbit.
The threat here is seeds. If you stop the seeds from germinating, you stop the weed.
Perennial weeds live for multiple years. They regrow from roots, rhizomes, or tubers each season. Examples include dandelions, bindweed, and nutsedge.
These are tougher. Cutting the top off doesn't kill them. You have to remove or exhaust the root system.
Per the University of Illinois Extension, nutsedge tubers can survive in the soil for up to three years. That is why it keeps coming back even after you pull it.
How Weeds Invade Flower Beds
Weeds get in three ways. Seeds blow in on the wind. They hitch a ride in mulch or soil.
Or they creep in from the lawn through underground runners.
Windblown seeds are the most common. A single dandelion head contains over 100 seeds. Each one can drift for miles.
That means your bed is constantly being reseeded by the neighbors lawn.
Soil and mulch can contain weed seeds too. Uncomposted manure is a classic source. So is cheap mulch that was stored outdoors.
Always buy bagged or processed mulch from a reputable supplier.
Rhizomes and stolons are the underground invasion route. Quackgrass and Bermuda grass spread this way. They creep under edging and pop up in the middle of your bed.
Stopping them requires a physical barrier at least 6 inches deep.
Decision Tree / Condition Variables: Pick Your Starting Point
There is no single best method. The right choice depends on your specific bed. Answer these three questions to narrow it down.
What Kind of Flower Bed Do You Have?
New bed with bare soil. You have a blank slate. This is the easiest situation to manage. You can solarize, sheet mulch, or lay fabric before you plant.
Established bed with existing flowers. You cannot spray everything. You need a selective approach that protects your perennials and shrubs.
Raised bed vs. in-ground. Raised beds have fewer weeds because the soil is contained. In-ground beds are more exposed to windblown seeds and creeping grass.
What Weeds Are You Dealing With?
Mostly annuals like crabgrass or chickweed. A pre-emergent plus mulch works well.
Mostly perennials like dandelions or bindweed. You need post-emergent control or deep removal.
A mix of both. Use a combined strategy. Pre-emergent for annuals and spot treatment for perennials.
What Is Your Approach?
Organic only. No synthetic chemicals. Options include corn gluten meal, vinegar, boiling water, flame weeding, and thick mulch.
Chemical allowed. You can use pre-emergent and post-emergent herbicides where needed.
Low maintenance. You want a set-and-forget solution. Landscape fabric plus thick mulch is your route.
Budget conscious. Cardboard and free mulch from a local tree service work fine. They just need more maintenance.
Decision Branch 1: Light Weed Pressure – Preventive Maintenance Route
This route is for you if you have an established bed with mostly annual weeds. You see a few weeds each week but nothing overwhelming. The goal is to maintain the status quo.
Step 1: Apply a Pre-Emergent
Use a product like prodiamine or dithiopyr. Apply it in early spring when the soil temperature hits 50 to 55°F at 2 inches deep. Per manufacturer specifications, reapply 90 days later in early summer.
A third application in early fall covers winter annuals.
Do not use pre-emergent in beds where you plan to direct-sow flower seeds this season. It stops all seed germination, including your flowers.
Step 2: Mulch 3 Inches Deep
Spread a 3-inch layer of bark mulch, wood chips, or shredded hardwood over the soil. Keep it 1 to 2 inches away from plant stems to prevent rot.
A University of Minnesota Extension study found that 3 inches of mulch reduces weed emergence by over 80% compared to bare soil. Less than 2 inches does almost nothing.
Step 3: Weekly Patrol
Walk the bed once a week. Pull or hoe any weeds that break through. Use a stirrup hoe for bare soil areas.
The key is to get them when they are tiny. A weed with two true leaves is easy to remove. A weed with ten leaves has already started a root system.
Step 4: Replenish Mulch Annually
Mulch decomposes over time. Top it up each spring to maintain that 3-inch depth. If you let it drop below 2 inches, weed seeds will germinate in the exposed soil.
This route works for the long haul. It requires about 10 minutes of effort per week per 100 square feet. That is manageable for most home gardeners.
If you need fertilizer to keep your flowers healthy, check out our best slow release fertilizer for flowers. Healthier plants mean denser foliage and less room for weeds.
Decision Branch 2: Moderate Weed Pressure – Barrier Route
This route fits if your bed has a mix of annual and perennial weeds. You see more weeds than you want but the bed is not completely overrun. Maybe you are short on time or just tired of weekly pulling.
The core idea is simple. Block the weeds before they reach the surface. A physical barrier stops seeds from germinating in the soil below.
It also smothers any perennial roots trying to push through.
Step 1: Clear Existing Weeds
Start with a clean slate. Pull or hoe every weed you see. For tough perennials, dig out the root crown.
A weeding fork works well for dandelions and dock.
If the bed is packed with weeds, mow or trim them first. Then water the area. Wait three days for regrowth.
Spray any new green shoots with a non-selective post-emergent herbicide like glyphosate or glufosinate. Wait another week before moving to step two.
Step 2: Lay a Weed Barrier
You have two main options here.
Landscape fabric is a synthetic woven material. It lets water and air pass through but blocks sunlight. It lasts 3 to 5 years depending on quality.
Use UV-stabilized woven fabric. Avoid cheap non-woven felt. It degrades fast and leaves fibers in your soil.
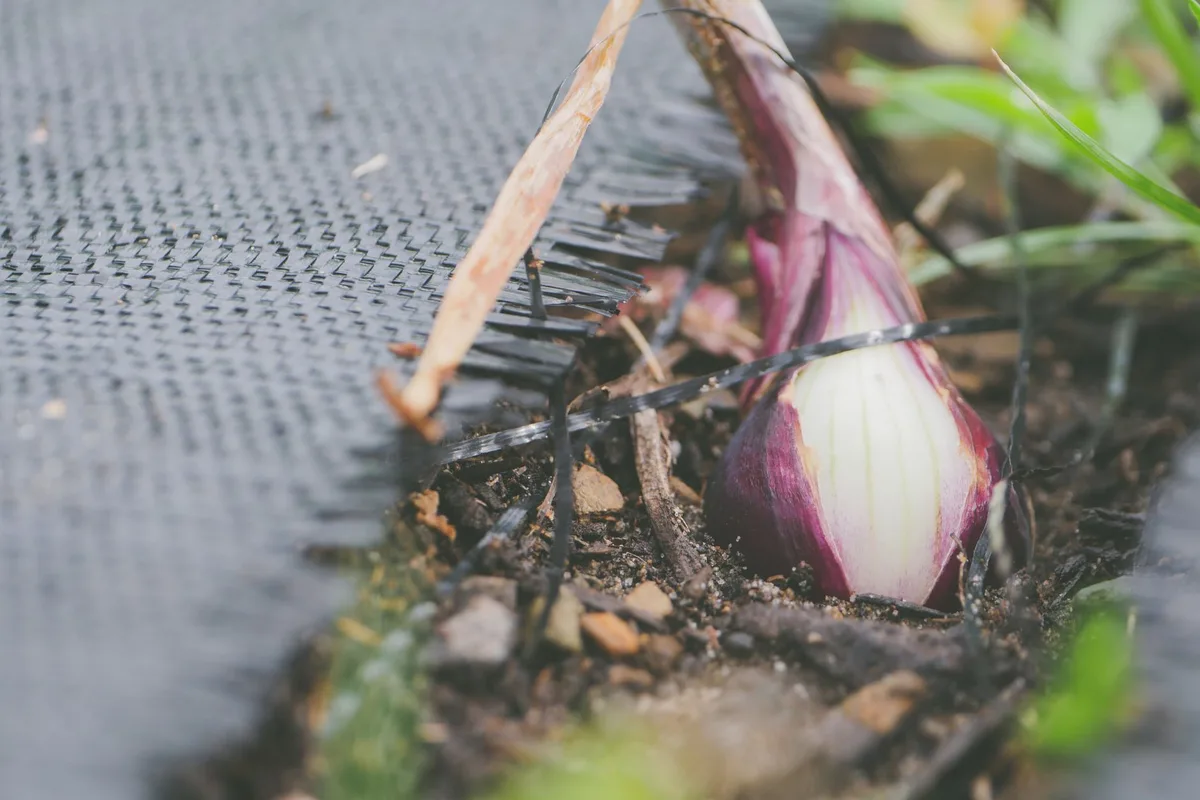
Cardboard or newspaper is a biodegradable alternative. Use corrugated cardboard with the tape and labels removed. Overlap the edges by 6 inches.
Wet it down after laying so it molds to the soil surface. It lasts one to two seasons before breaking down.
Per an Oregon State Extension report, cardboard suppresses weeds as effectively as landscape fabric in the first year. The trade-off is longevity. You must replace cardboard annually.
Step 3: Cut Holes for Existing Plants
Use a utility knife to cut an X or a circle for each flower or shrub. Make the hole just big enough for the stem. Do not expose bare soil around the base.
That is a welcome mat for weed seeds.
Step 4: Cover with Mulch
Spread 2 to 3 inches of mulch over the entire barrier. This hides the fabric or cardboard. It also weighs it down and prevents UV damage.
Use bark mulch, wood chips, or shredded hardwood.
Do not use rubber mulch over fabric. It does not decompose and traps heat. Aggregate reviews indicate rubber mulch can raise soil temperature by 10 to 15°F, stressing shallow-rooted flowers.
Step 5: Install Edging
Dig a trench 4 to 6 inches deep around the bed perimeter. Install metal edging, stone edging, or plastic edging. This keeps grass and creeping weeds from invading from the lawn.
Bermuda grass and quackgrass spread through underground rhizomes. Edging alone may not stop them. You need to maintain a 6-inch deep physical barrier and monitor the boundary monthly.
This barrier route works well for busy gardeners. With proper installation, you can go two to three weeks between weeding sessions. The total install time for a 4×8 foot bed is about two hours.
Decision Branch 3: Heavy Weed Pressure – Reset Route
This is for beds that have gotten away from you. Maybe you inherited a neglected garden. Maybe you skipped a season of maintenance.
Either way, the weeds are winning.
The goal here is a full reset. You are not just controlling weeds. You are starting over.
Option A: Soil Solarization
Solarization uses the sun to cook weeds and weed seeds. Till the bed and remove large debris. Wet the soil to a depth of 6 inches.
Cover with clear polyethylene plastic. Bury the edges in soil or weigh them down with stones.
Leave the plastic in place for 4 to 6 weeks during the hottest part of summer. The soil below needs to reach 110°F or higher at 6 inches deep. Per University of California research, this kills most weed seeds, nematodes, and soilborne pathogens.
The downside is timing. You must do this during peak summer heat. That means your bed is unusable for the season.
Plan ahead if this is your route.
Option B: Sheet Mulching (Lasagna Gardening)
Sheet mulching smothers weeds with layers of organic material. Start by cutting or mowing all existing weeds to the ground. Lay down overlapping corrugated cardboard or 10 to 15 sheets of newspaper.
Wet it thoroughly.
Add alternating layers of organic matter. A 2-inch layer of compost. A 2-inch layer of straw or leaves.
A 2-inch layer of wood chips or bark. Repeat until the pile is 8 to 12 inches deep.
The cardboard blocks light and kills the weeds below. The organic layers break down into rich soil over the next 6 to 12 months. You can plant directly into the compost layer after about 8 weeks.
This method is cheap. You can source cardboard and leaves for free. The trade-off is time.
It takes a full season for deep-rooted perennial weeds to die completely.
Option C: Full Removal and Replanting
Dig out all existing plants and weeds. Remove the top 4 to 6 inches of soil if it is heavily infested with weed roots. Replace it with fresh garden soil or raised bed mix.
This is the fastest route but the most labor intensive. For a 4×8 foot bed, you are looking at 4 to 6 hours of digging and removal. Consider it a one-time investment.
Decision Branch 4: Tough Perennial Weeds – Targeted Attack Route
Some weeds do not respond to standard methods. Nutsedge, bindweed, quackgrass, and creeping Charlie are the four horsemen of the flower bed apocalypse. They laugh at mulch. They shrug at pre-emergents.
They need a targeted attack.
Identify the Weed First
Nutsedge has triangular stems and yellow or purple seed heads. It grows faster than your flowers. Bindweed has arrow-shaped leaves and white trumpet flowers.
It wraps around stems and strangles plants.
Quackgrass has coarse blades and white rhizomes. Creeping Charlie has round scalloped leaves and purple flowers. It forms a dense mat that smothers ground covers.
Spot Spray with a Non-Selective Herbicide
The most reliable tool is a glyphosate based product. Apply it with a small sprayer or a paintbrush to avoid drift. Do not spray on a windy day.
Cover nearby flowers with a plastic bag or cardboard shield.
Per the EPA's label guidelines, wait 7 to 14 days for the herbicide to translocate to the roots. Then pull the dead top growth. Do not pull live plants.
Glyphosate needs time to travel to the root system.
Use Repeated Hoeing or Flame Weeding
If you prefer no chemicals, use a stirrup hoe or flame weeder. Cut or burn the top growth every 7 to 10 days. Perennial weeds store energy in their roots.
Each time you remove the leaves, the root uses stored energy to regrow. Eventually, the root exhausts itself and dies.
This takes persistence. For nutsedge, expect 4 to 6 weeks of weekly cutting. For bindweed, you may need two full seasons.
Avoid Tilling
Tilling slices perennial roots into pieces. Each piece can grow into a new plant. If you till a bed full of quackgrass, you create 50 new plants from one.
Always hand remove or spot treat instead.
Mistakes to Avoid / Common Errors: What Usually Goes Wrong
Even experienced gardeners make these errors. They are the reason weed control feels like a never-ending job.
Skimping on Mulch Depth
A 1-inch layer of mulch does nothing. Weeds germinate and push right through. The minimum effective depth is 2 inches.
The sweet spot is 3 inches. Anything over 4 inches can suffocate flower roots and cause rot.
Use a ruler the first time you spread mulch. Guess wrong and you are either wasting material or wasting effort.
Using Pre-Emergent Where You Want Seeds to Grow
Pre-emergent herbicides do not know the difference between a weed seed and a flower seed. They stop all seed germination. If you plan to direct-sow annuals like zinnias or cosmos, skip the pre-emergent in those spots.
Wait until your seedlings are at least 3 inches tall. Then apply the pre-emergent around them. Or use dithiopyr based products that allow planting after a 4 week waiting period.
Leaving Landscape Fabric Exposed
Landscape fabric degrades in sunlight. Within six months, UV exposure turns woven fabric brittle. It develops cracks and holes.
Weeds find those openings.
Always cover fabric with at least 2 inches of mulch. This blocks UV and hides the material. It also improves the look of your bed.
Hoeing Too Deep and Damaging Flower Roots
A stirrup hoe works best when used shallow. Slice just below the soil surface, about 1/2 inch deep. Digging deeper cuts into the root systems of your perennials.
Shallow hoe cuts weed stems off at the crown. The roots stay in the ground but the top dies. For most annual weeds, that is enough.
Forgetting Edging
Grass grows sideways. It creeps into flower beds through stolons and rhizomes. Without a physical barrier, your lawn will slowly eat your bed.
Install edging that goes at least 4 inches deep. Metal or stone is best. Plastic edging shifts over time and creates gaps that grass exploits.
Check your edging every spring and push it back into place.
Not Replenishing Mulch Annually
Mulch decomposes. Bacteria, fungi, and weather break it down. After a year, your 3-inch layer may be only 1 inch deep.
That is not enough to stop weeds.
Make it a spring ritual. Top up mulch to 3 inches before the warm season weed seeds germinate. This single habit cuts your weeding time by at least half.
Maintenance / Long-Term Optimization: Keep Weeds from Coming Back
Your first season of weed control is the hardest. After that, it is about staying consistent.
Replenish mulch every spring before soil temperatures hit 50°F. That is the germination trigger for most annual weed seeds. Top the bed back up to 3 inches deep.
Reapply pre-emergent on the same schedule each year. Early spring and early fall. Mark it on your calendar.
Miss the window and you will see a flush of weeds in four weeks.
Walk the bed every 7 to 10 days. Pull or hoe the few weeds that break through. A 10 minute patrol beats a 2 hour rescue mission later.
Use a slow release fertilizer to keep your flowers dense. Thick foliage crowds out weed seedlings naturally.
Check your edging each season. Grass will find any gap. Push metal edging back into place.
Replace cracked plastic edging. A 4 inch deep barrier stops most rhizome invaders.
Decision Guide / Final Recommendation: Your Quick Path to the Right Plan
Here is the condensed version. Match your situation to the method.
Light weeds, established bed. Use pre-emergent plus 3 inches of mulch. Patrol weekly.
Moderate weeds, limited time. Install landscape fabric or cardboard. Cover with 3 inches of mulch. Add edging.
Heavy weeds, starting fresh. Solarize in summer or sheet mulch with cardboard and compost layers.
Tough perennials. Spot spray glyphosate or flame weed weekly for 4 to 6 weeks.
If you are unsure, start with the light route. It is the least work. Upgrade to a heavier method only if weeds keep winning.
Frequently Asked Questions
What is the best mulch to stop weeds in flower beds?
Shredded hardwood bark at 3 inches deep works best. It knits together and blocks light. It also resists wind movement better than wood chips or pine straw.
Can I use vinegar to kill weeds in flower beds?
Household 5% vinegar kills young annual weeds on contact. It does not kill roots. For perennials, use 20% horticultural vinegar.
Wear gloves and goggles. It can burn your skin and your flowers.
How often should I apply pre-emergent to flower beds?
Apply twice per year. Once in early spring when soil hits 50 to 55°F at 2 inches deep. Again in early fall for winter annuals.
Follow label rates exactly.
Will landscape fabric stop all weeds?
No. Fabric blocks weeds from below. Seeds blow in and germinate on top of the fabric.
You must cover it with 2 to 3 inches of mulch to stop those surface seeds.
How do I get rid of nutsedge without killing my flowers?
You cannot spray nutsedge without a selective herbicide. Use a paintbrush to apply glyphosate directly to nutsedge leaves. Avoid getting any on your flowers.
Repeat every 10 days.
When is the best time to start weed prevention?
Early spring is best. Apply pre-emergent and mulch before soil temperatures reach 55°F. That stops crabgrass and other warm season annuals before they sprout.