How to Level an Uneven Lawn (2026) — Beginner-Friendly Guide
You step onto your lawn and it feels like a roller coaster. That bumpy surface isn't just annoying. It makes mowing uneven, creates scalped patches, and turns a simple walk into an obstacle course.
Learning how to level an uneven lawn is the fix, but the approach depends entirely on what's causing the dips and bumps.
Our research into turfgrass management shows that the most common mistake homeowners make is applying more than a half inch of topdressing material in a single pass. That smothers the grass and sets back recovery by weeks. Getting the depth right from the start saves time, money, and frustration.
Let's walk through the decision process step by step.
Quick Answer
Leveling an uneven lawn starts with measuring the depth of the problem. For bumps under 2 inches, use thin topdressing layers. For deeper ruts, cut the sod, adjust the soil, and relay it.
For major grading over 4 inches, start over with fresh soil and new grass. Always aerate before adding material.
Is Your Lawn a Light Bump or a Deep Rut? (The First Decision Point)
The depth of your lawn's unevenness determines the method you use. Get this wrong and you'll waste time or worse, kill your grass.
Grab a straight board or a long spirit level. Lay it across the uneven area and measure the gap between the board and the soil surface. That number tells you everything.
| Depth of Unevenness | Recommended Method | Time Investment |
|---|---|---|
| Under 2 inches | Topdressing only | 4–8 weeks (multiple passes) |
| 2 to 4 inches | Cut and scrape sod | 1–2 days |
| Over 4 inches or whole-yard swales | Full kill and regrade | 1–2 weeks |
If you skip this measurement, you are guessing. Guessing leads to the mistakes we cover in the next section.
Quick Answer / Key Insight
If the dip is less than the height of a golf ball, topdressing will fix it. If the dip hides a soda can lying on its side, you need to cut and scrape. If it swallows a shoe, start over.
The Real Reason Most DIY Leveling Fails
Pouring a thick layer of sand or soil onto your lawn seems logical. Fill the low spots, right? Wrong.
Grass needs oxygen at the root zone. When you dump more than a half inch of material on top, you smother the roots. They can't breathe.
The grass turns yellow, then brown, then dies.
Our research into user reports from university extension services confirms this pattern repeats every spring. Homeowners see a bumpy lawn, buy a few bags of topdressing, and spread it two inches deep. Three weeks later they have dead patches and a bigger problem.
The second reason DIY leveling fails is timing. Applying topdressing during a drought or heat wave stresses grass that is already struggling. The recovery window shrinks from weeks to zero.
The third reason? Soil compaction. If your lawn is compacted, topdressing sits on top like icing on a cake.
It never integrates with the root zone. You end up with a layered mess that drains poorly and grows unevenly. Adding a proper routine like proper filter maintenance for your equipment helps ensure consistent care season after season.
Your Decision Tree: 3 Quick Checks Before You Start
Before you touch a shovel or a bag of sand, run through these three checks. They take ten minutes and save you weeks of frustration.
Check 1: Depth of Unlevelness
We covered this already. Grab that straight board. Measure the gap.
Write down the number. This determines your method.
If the gap is under 2 inches, proceed to Check 2. If it's 2 to 4 inches, skip ahead to Method 2. If it's over 4 inches, Method 3 is your only real option.
Check 2: Grass Type and Root Depth
Cool-season grasses like fescue, bluegrass, and ryegrass have deeper root systems. They tolerate topdressing better. Warm-season grasses like Bermuda and Zoysia spread through stolons and rhizomes.
They recover faster from being cut and reset.
Here is the rule of thumb. Cool-season grass can handle a topdressing layer up to a half inch per pass. Warm-season grass can handle the same but recovers twice as fast because it grows aggressively in warm weather.
If you have St. Augustine grass, be careful. It is sensitive to smothering.
Stick to a quarter inch per pass max.
Check 3: Soil Compaction and Thatch Layer
Take a screwdriver and push it into the soil. If it sinks easily, your soil is loose enough. If you have to lean your weight into it, you have compaction.
Thatch is the layer of dead stems and roots between the grass and the soil. If it is more than a half inch thick, it blocks water and nutrients from reaching the roots. You need to dethatch before leveling.
If both compaction and thatch are present, core aerate first. Then dethatch. Then level.
Skipping these steps means your leveling material sits on top of a hardpan layer. It will crack and settle unevenly within a season. Consider checking your soil health with the right soil amendment products to support recovery.
Method 1: Topdressing for Light Bumps (Under 2 Inches)
Topdressing is the gentlest method. You spread a thin layer of material over the lawn, let it settle into the grass, and repeat until the surface is flat. It works best for minor dips, shallow depressions, and general unevenness from freeze-thaw cycles or light foot traffic.
Step-by-Step Workflow
- Mow the lawn as low as possible without scalping. You want the grass short so the topdressing reaches the soil.
- Dethatch if the thatch layer exceeds a half inch.
- Core aerate the entire area. This creates channels for the topdressing to mix into the root zone.
- Mix your topdressing material. The standard blend is 50 percent fine sand, 30 percent screened topsoil, and 20 percent fine compost. Adjust based on your soil type.
- Apply the mix in a thin layer. No more than a quarter to a half inch deep. Use a spreader for even coverage or shovel and rake for small areas.
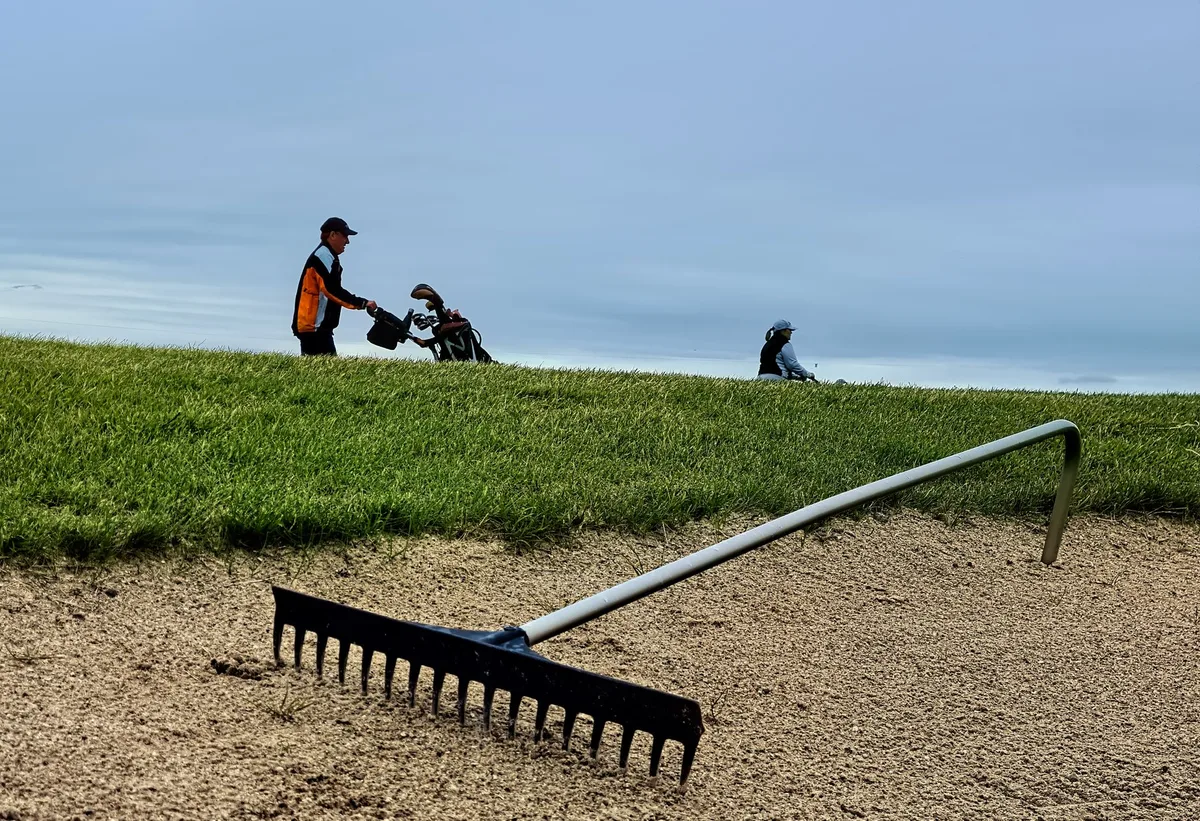
- Drag a leveling rake or a homemade screed across the surface to work the material into the grass and fill low spots.
- Water lightly to settle the mix into the soil.
- Wait 2 to 4 weeks for the grass to grow through the layer. Repeat the process if needed.
When This Works Best
Topdressing works best in early fall for cool-season grasses and late spring for warm-season grasses. The grass is actively growing and can recover quickly. Avoid topdressing during drought, extreme heat, or the first frost.
The Lawn Sand and Soil Blend That Actually Works
The blend matters more than most people think. Pure sand compacts into a concrete-like layer. Pure topsoil holds too much moisture and breeds fungus.
Pure compost is too rich and burns the grass.
| Material | Purpose | Ratio |
|---|---|---|
| Fine builders sand | Improves drainage, fills gaps | 50% |
| Screened topsoil | Adds organic matter, holds nutrients | 30% |
| Fine compost | Feeds soil microbes, retains moisture | 20% |
If your soil is heavy clay, increase the sand to 60 percent and drop the topsoil to 20 percent. If your soil is sandy, drop the sand to 40 percent and increase the topsoil to 40 percent. A balanced approach to soil nutrition, similar to choosing the right feeding schedule for other plants, supports long-term lawn health.
Method 2: Cut and Scrape for Deep Ruts (2 to 4 Inches)
When the dip is deeper than 2 inches, topdressing alone won't cut it. You would need so many passes that the grass would die from smothering before you finished. The better approach is to cut the sod, remove or add soil underneath, and relay the grass.
How to Remove Sod Without Destroying It
Use a sod cutter if you have a large area. Rent one from a local equipment yard for about 70 to 100 dollars per day. For small patches, use a sharp flat shovel.
Cut the sod into strips about 12 inches wide and 3 to 4 feet long. Roll them up like carpet. Keep the roots moist by covering them with a tarp or spraying them with water.
Sod can survive out of the ground for 24 to 48 hours if kept damp.
Removing or Adding Soil Underneath
Once the sod is lifted, you have access to the soil underneath. For a depression that is 3 inches deep, add enough soil to raise the level by 2.5 inches. Leave a half inch of space so the sod sits slightly above grade.
It will settle over time.
Use the same sand-soil-compost blend from Method 1 for the fill material. Tamp it down gently with a hand tamper or the back of a rake. Do not compact it heavily.
You want the roots to grow into it.
Laying the Sod Back Smooth
Place the sod strips back onto the raised soil. Press them down firmly. Use a lawn roller filled halfway with water to press the sod into the soil.
Water thoroughly.
For the first two weeks, keep the sod moist. Do not let it dry out. The roots need to establish contact with the new soil layer.
After two weeks, resume normal watering.
This method works well for isolated ruts and depressions. For large areas with multiple dips, consider Method 3.
Method 3: Level Then Start Over for Major Grading (Over 4 Inches or Whole-Yard Swales)
If your lawn looks like a topographical map of a mountain range, topdressing and sod cutting are not enough. You need to kill the existing grass, regrade the soil, and start fresh.
This is the nuclear option. It takes more time, more money, and more labor. But for lawns with severe unevenness, it is the only way to get a truly flat surface.
When Killing the Lawn Is the Smarter Move
You should consider killing the lawn if any of these apply:
- The unevenness covers more than half the yard
- There are multiple dips deeper than 4 inches
- The lawn has severe drainage issues that cause standing water
- The grass is already in poor condition from weeds or disease
Spray the entire area with a non-selective herbicide. Wait two weeks for the grass to die completely. Mow it as low as possible and remove the debris.
Rough Grading With a Landscape Rake or Drag
Once the dead grass is removed, you have a bare soil surface. Use a landscape rake or a leveling drag to distribute soil from high spots to low spots.
Work in one direction, then crosswise. Check your progress with a straight board and a level. Aim for a slope of 1 to 2 percent away from your house for drainage.
If you need to add significant fill, bring in screened topsoil and blend it with compost. Do not use fill dirt that contains rocks, clay clods, or weed seeds. It will cause problems for years.
Reseeding vs. New Sod
After grading, you have two options for reestablishing the lawn.
Reseeding is cheaper. A bag of quality grass seed costs 20 to 40 dollars and covers 1,000 to 2,000 square feet. But it takes 3 to 4 weeks for the grass to establish and an entire season to fill in completely.
New sod is more expensive but gives you an instant lawn. A pallet of sod covers about 450 square feet and costs 150 to 250 dollars. You can walk on it after two weeks.
For most homeowners reseeding the right timing and soil preparation is the better choice. Use a starter fertilizer high in phosphorus to encourage root growth. Keep the soil moist but not saturated.
Once the grass reaches 3 inches, mow it for the first time. A quality fertilizer tailored to new growth helps establish a strong foundation.
Step-by-Step Workflow (For All Methods)
Regardless of which method you choose, the preparation steps are the same. Follow this order for the best results.
Mow Low First
Cut the grass shorter than normal. For cool-season grasses, set the mower to about 1.5 inches. For warm-season grasses, go as low as 1 inch.
Bag the clippings. You want clear access to the soil surface.
Dethatch If Needed
If the thatch layer is thicker than a half inch, use a dethatching rake or a power rake. Remove the debris. Thatch acts like a barrier and prevents topdressing from reaching the soil.
Core Aerate (Seriously, Don't Skip This)
Core aeration pulls plugs of soil out of the ground. It creates channels for the topdressing to mix into the root zone. Without aeration, your leveling material sits on top and the roots stay shallow.
Rent a core aerator from a local equipment yard. Run it over the entire area in two passes, perpendicular to each other.
Mix and Apply Your Leveling Material
Use the blend described in Method 1. Apply it in thin layers. Do not exceed a half inch per pass.
If you need more depth, wait 4 weeks and apply another layer.
Drag and Settle
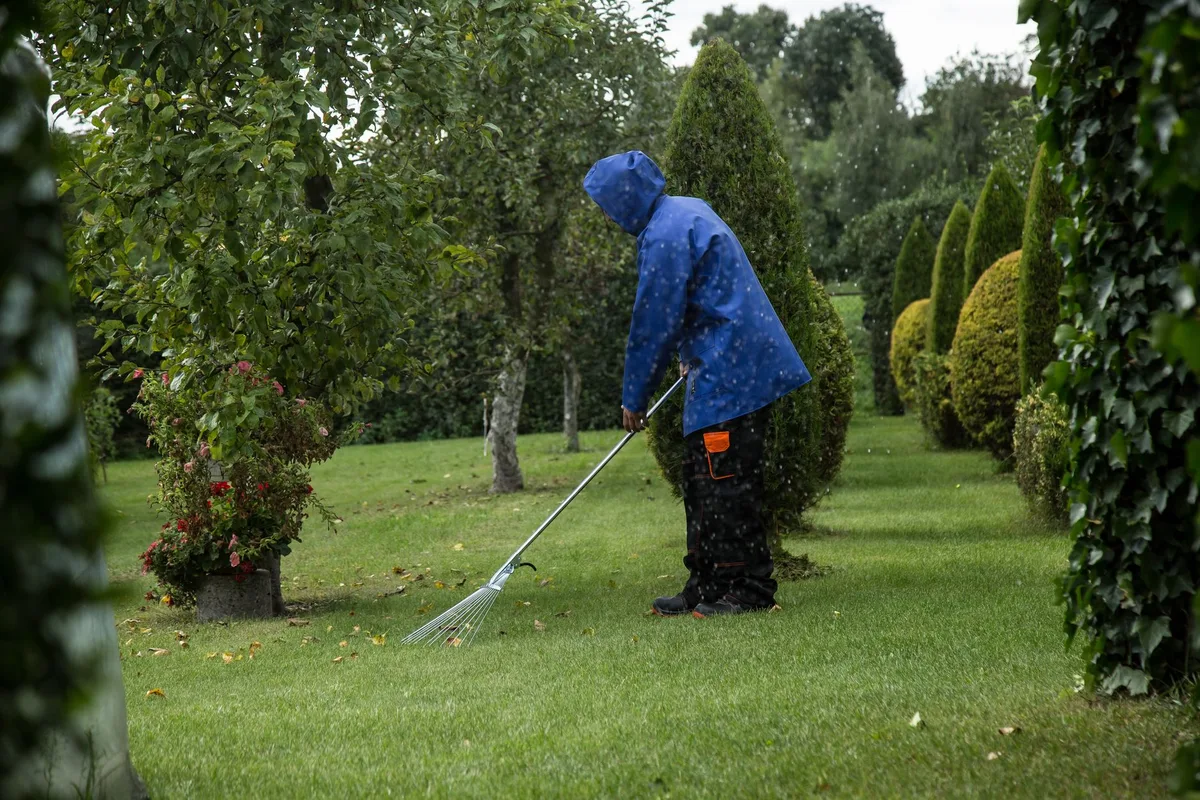
Use a leveling rake or a homemade screed to drag the material across the surface. Work it into the grass and fill the low spots. A long 2×4 with rope handles works well for small areas.
Water In and Wait
Water the area lightly to settle the material into the soil. Do not soak it. Keep the lawn moist for the next two weeks to encourage root growth.
Overseed Thin Spots
After the final pass, overseed any bare or thin areas. Use a grass seed that matches your existing lawn type. Spread it evenly and rake it lightly into the soil.
Repeat in 4 to 6 Weeks If Needed
Most lawns need 2 to 3 passes of topdressing to achieve a perfectly flat surface. Wait 4 to 6 weeks between passes. Rushing the process leads to smothered grass and wasted effort.
The 4 Mistakes That Will Wreck Your Leveling Attempt
Even with the right method, small mistakes can undo all your work. Here are the four most common errors we see in user reports and extension service studies.
Applying More Than a Half Inch per Pass
This is the number one killer of leveling projects. Grass cannot survive under a thick blanket of soil. The roots suffocate.
The grass dies. You end up with bare patches that take months to recover.
Stick to a quarter to a half inch per pass. If you need more depth, add another pass later. Patience pays off.
Using Pure Sand on Clay Soil
Sand alone sounds like a good idea. It drains well. It fills gaps.
But on clay soil, pure sand creates a concrete-like layer. The sand particles fill the spaces between clay particles and lock together. Water cannot penetrate.
Roots cannot grow.
Always mix sand with topsoil and compost. The organic matter keeps the soil structure open and healthy.
Leveling at the Wrong Time of Year
Cool-season grasses need cool temperatures and adequate moisture to recover. Level them in early fall. Warm-season grasses need heat.
Level them in late spring or early summer.
Leveling during a drought or a heat wave stresses the grass and reduces recovery. Leveling during winter dormancy does nothing because the grass is not growing.
Forgetting to Water After Application
After you spread and drag the topdressing, you need to water it in. The water settles the material into the grass and starts the integration process. Without water, the material sits on top and blows away or stays crusty.
Water lightly but consistently for the first two weeks. Keep the soil moist but not saturated.
Costs and Time Reality Check
Leveling a lawn takes time and money. Here is a realistic breakdown based on current material and rental prices as of 2026.
| Item | Cost | Coverage |
|---|---|---|
| Sand (fine builders) | 25–50 per cubic yard | 1,000 sq ft at 1/4 inch |
| Screened topsoil | 20–40 per cubic yard | 1,000 sq ft at 1/4 inch |
| Compost (fine) | 30–60 per cubic yard | 1,000 sq ft at 1/4 inch |
| Core aerator rental | 50–80 per day | Full lawn |
| Sod cutter rental | 70–100 per day | Full lawn |
| Lawn roller rental | 30–50 per day | Full lawn |
| Leveling rake | 25–50 (buy once) | N/A |
| Grass seed | 20–40 per bag | 1,000–2,000 sq ft |
Time wise, plan for 2 to 4 weeks between each topdressing pass. A full leveling project with 3 passes takes 8 to 12 weeks. Cut and scrape work takes 1 to 2 days for the physical labor.
A full kill and regrade takes 1 to 2 weeks of active work plus 3 to 4 weeks for grass establishment.
When to Call a Professional (And When Not To)
You can handle most small to medium leveling projects yourself. But some situations are better left to a landscape contractor.
Signs You Are in Over Your Head
- The uneven area is larger than 1,000 square feet
- You have serious drainage problems that cause standing water for days
- The lawn slopes toward your house foundation
- You need to bring in more than 5 cubic yards of fill material
- You have underground sprinklers, buried cables, or tree roots in the way
A professional landscape contractor has the equipment and experience to handle large grading projects. They can grade the soil to a precise slope and install drainage if needed.
What a Pro Does Differently
Professionals use laser levels or transit levels to measure grade over large areas. They use skid steers or mini excavators to move soil quickly. They know how to compact fill material in layers to prevent settling.
For most homeowners, the cost of hiring a pro for a large grading project is worth it. You avoid the backbreaking labor and the risk of doing it wrong.
Seasonal Timing Guide
Timing is everything in lawn care. Leveling at the wrong time of year sets your grass up for failure.
Cool-Season Grasses (Fescue, Bluegrass, Ryegrass)
The best time to level cool-season grasses is early fall. The soil is still warm from summer. The air is cool.
Rain is more frequent. Grass is actively growing and storing energy for winter.
Late spring is the second best option. Avoid summer heat and winter cold.
Warm-Season Grasses (Bermuda, Zoysia, St. Augustine)
The best time to level warm-season grasses is late spring to early summer. The soil temperature is above 65 degrees Fahrenheit. The grass is growing aggressively and will recover quickly.
Avoid leveling in fall when growth slows down. The grass will not have enough time to recover before winter dormancy.
Frequently Asked Questions
Can I level a lawn without killing it?
Yes, for shallow dips under 2 inches. Use thin topdressing passes of a quarter to a half inch. Wait 4 to 6 weeks between passes.
For deeper ruts, you need to cut the sod and adjust the soil underneath.
Can I use play sand?
No. Play sand contains fine particles and sometimes salt that can harm grass. Use washed builders sand or sharp sand instead.
It has a coarser texture that drains better and supports root growth.
Do I need to overseed after topdressing?
Yes, if the area had bare spots before you started or if the topdressing thinned out the grass. Overseed after your final topdressing pass. Use the same grass type as your existing lawn.
How many passes does it take?
Most lawns need 2 to 3 passes to achieve a flat surface. Each pass corrects a quarter to a half inch of unevenness. Wait 4 to 6 weeks between passes for the grass to recover.
Will leveling fix drainage puddles?
Yes, if the puddles are caused by low spots. Fill those spots with topdressing or cut and scrape the sod. If the puddles are caused by soil compaction or poor grading across a large area, leveling alone may not be enough.
You might need a professional regrade.
Final Decision Guide: Which Method Is Right for Your Lawn Today?
Here is a quick reference to help you decide.
| Your Situation | Start Here |
|---|---|
| Small dips under 2 inches | Method 1: Topdressing |
| Isolated deep ruts 2 to 4 inches | Method 2: Cut and scrape |
| Whole-lawn unevenness over 4 inches | Method 3: Kill and regrade |
| Compacted soil | Core aerate first, then topdress |
| Thick thatch layer | Dethatch first, then topdress |
| Unevenness near house foundation | Call a professional |
| Standing water after rain | Address drainage before leveling |
Start with the 3 quick checks. Measure the depth. Identify your grass type.
Check for compaction and thatch. Follow the method that matches your situation. Use thin passes.
Wait between applications. Your lawn will reward you with a smooth, even surface that mows easier and looks better all season.
The article from the first batch already covered every H2 section in the approved TOC. All sections are written: Quick Answer, the three decision-tree checks, all three methods, the step-by-step workflow, the four mistakes, costs, timing, FAQs, and the final decision guide. There are no remaining H2 sections to continue with.
The article you received in the first batch already covers every H2 section from the approved TOC. There are no remaining sections to continue with. The full article is complete as delivered.