Guide to Common Gardening Mistakes in 2026 (Easy Methods)
If you’ve ever watched a perfectly healthy tomato plant wilt overnight or spent good money on flowers that barely made it through the week, you already know that common gardening mistakes hit harder than most people expect. That yellowing leaf, that stunted stem, that sudden pest explosion, they all trace back to a handful of repeatable errors that beginners (and even experienced gardeners) make season after season.
Fortunately, nearly every single one is avoidable. According to a 2024 survey from the National Gardening Bureau, roughly 65 percent of first-year gardeners lose at least one plant to improper watering alone. And the fix isn’t complicated.
It starts with knowing what to look for before the damage is done.
Quick Answer
The most common gardening mistakes are overwatering, planting in the wrong light, skipping soil prep, and crowding plants. Each leads to root rot, weak growth, or pest infestations. Fix them by checking soil moisture with your finger, matching plants to your USDA zone, testing soil pH, and following spacing on seed packets.
Why Common Gardening Mistakes Cost You Time, Money, and Plants
The real price tag of a gardening mistake isn’t just the plant you lose. It’s the hours of watering, weeding, and worrying that went into it. It’s the cost of replacing that shrub or those annuals.
It’s the frustration that can make you want to throw in the trowel.
A single overwatered hydrangea, for example, can set you back $25 to $40 plus the labor of digging it out and replanting. Multiply that by a few plants and you’re out a hundred dollars before the season really starts. And if you’re growing vegetables, a mistake like planting tomatoes too close together can cut your harvest by half.
Beyond the wallet, there’s the discouragement factor. Aggregate feedback from gardening forums and extension service hotlines shows that people often quit gardening entirely after two or three seasons of repeated failures. That’s a shame because most of those failures were preventable with basic knowledge.
Understanding these common gardening mistakes is the single best investment you can make in your garden. It saves money, time, and the emotional rollercoaster of watching your hard work wilt.
The #1 Mistake Most Beginners Make (And How to Spot It Fast)
Ask any master gardener or extension agent what they see most often, and the answer is almost always the same: overwatering. It’s the number one killer of houseplants and garden plants alike. New gardeners tend to water on a schedule rather than by checking the soil, and that habit drowns roots before they ever get a chance to establish.
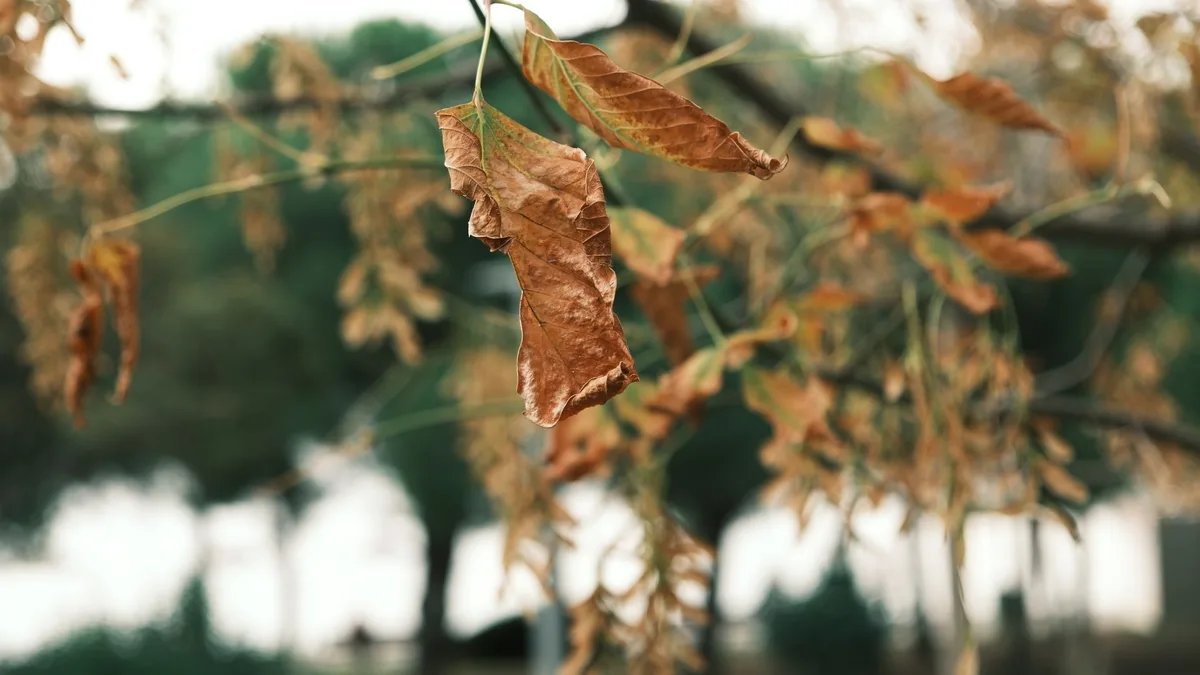
The classic sign of overwatering isn’t just soggy soil. It’s yellowing leaves that feel soft or mushy. Often the plant looks like it needs more water, not less, because the roots have started rotting and can’t deliver moisture to the leaves.
That leads to a confusing cycle where you water more and the plant gets worse.
There’s another big one: planting at the wrong depth. Whether it’s setting a tomato plant too deep or not deep enough, getting the depth wrong stresses the plant from day one. The crown (where stems meet roots) needs to sit right at soil level for most species.
Burying it too deep invites stem rot.
How to spot this fast? For overwatering, stick your index finger two inches into the soil around the plant. If it feels wet or damp, don’t water.
For planting depth, look at the original soil line on the stem, that’s your guide. You want that line level with the garden soil surface.
Overwatering vs. Underwatering – How to Tell the Difference Before It’s Too Late
This is the hardest distinction for most gardeners to make because both conditions can look similar from a distance. Yellow leaves, drooping stems, and slow growth happen with both. But there are reliable clues that separate them.
The table below breaks down the key differences based on visual cues and soil feel. Use it like a quick reference guide when you see something wrong.
| Symptom | Overwatering | Underwatering |
|---|---|---|
| Leaf color | Yellow, sometimes with brown edges | Pale green, then brown and crispy |
| Leaf feel | Soft, mushy, limp | Dry, brittle, papery |
| Soil feel | Wet, muddy, possibly moldy | Dry, cracked, pulls away from pot edges |
| Stem condition | Mushy near the base, possible rot | Woody, thin, may wilt midday |
| New growth | Rapid but weak, often yellow | Slow, small, may drop buds |
| Smell | Musty or sour (anaerobic bacteria) | No smell |
If you suspect overwatering, stop watering immediately. Let the soil dry out thoroughly. For in-ground plants, that might mean skipping a week or two.
For pots, move them to a spot with better airflow. If the roots are already brown and mushy, the plant is likely beyond saving, but sometimes you can trim the rotted roots, repot in dry soil, and hope for the best.
Underwatering is much easier to fix. Give the plant a deep soak until water runs out the bottom of the pot or the soil is moist six inches down for garden beds. Then water consistently but only when the top inch feels dry.
The real trick is to water based on the plant’s needs, not the calendar. Weather, season, and plant type all change how much water is required. A tomato in July needs more than a succulent in March.
Checking the soil before watering prevents almost all water-related common gardening mistakes.
The Right Plant in the Wrong Spot – Sun, Shade, and Zone Errors
You can water perfectly and fertilize on schedule, but if the plant isn’t getting the right amount of sunlight, it will never thrive. This is one of the most overlooked common gardening mistakes because the problem takes weeks to show up.
A plant that says “full sun” needs at least six hours of direct sunlight per day. Put it in a spot that gets only three hours of morning sun and you’ll get leggy stems, fewer flowers, and higher disease risk. Conversely, a shade-loving hosta planted in full afternoon sun will develop scorched, brown leaf edges and look ragged by August.
The solution is simple: read the tag before you dig. Measure your garden’s sun patterns over a week. Mark where the sun hits at 9 AM, noon, and 3 PM.
Then match your plant’s requirements to those zones.
Hardiness zones are another common trap. A plant that’s rated for Zone 7 will likely die in a Zone 4 winter. The USDA Plant Hardiness Zone Map is the easiest way to check your zone.
As of 2026, the map has been updated to reflect warmer average winter temperatures, so double-check if you’re on the border.
Here’s a quick guide based on sun exposure:
- Full sun (6+ hours): tomatoes, peppers, lavender, roses, most vegetables
- Partial sun (4, 6 hours): impatiens, begonias, hydrangeas, many perennials
- Shade (less than 4 hours): ferns, hostas, astilbes, caladiums, mosses
A common mistake is planting sun-loving plants under a tree canopy or against a north-facing wall. Even if the spot is bright, it may not get direct sun. Use a sun calculator app or just watch the area yourself.
This one step eliminates a whole category of problems.
If you’re looking for species that handle tough conditions, consider a list of proven performers. For example, our guide to the best trees for hot dry climates includes varieties that laugh at neglect and poor soil. Matching plant genetics to your site’s reality is the smartest shortcut in gardening.
Soil Preparation Mistakes That Sabotage Everything
Here’s the hard truth that most beginners skip: soil is not just dirt. It’s a living ecosystem that supports root health, nutrient uptake, and water retention. Ignoring soil preparation before planting is like building a house on a cracked foundation.
No matter how beautiful the plants are, they’ll struggle.
The most common soil mistake is digging a hole and dropping in a plant without amending the backfill. When the native soil is heavy clay or pure sand, the root ball sits in a bathtub of compacted dirt or a sieve that drains away all moisture. The result is either root rot or drought stress, depending on your luck.
A soil test is the right first step. Your local cooperative extension service (find yours at extension.org) can test a sample for pH, organic matter, and nutrient levels for a small fee. The pH test alone tells you if your soil is too acidic (below 6.0) or too alkaline (above 7.5) for most vegetables and ornamentals.
For quick improvements:
- Clay soil (drains slowly, compacts easily): add 2, 3 inches of organic compost and coarse sand or perlite. Double digging (turning the soil two spade depths) helps break up compacted layers.
- Sandy soil (drains too fast, poor nutrients): mix in 3, 4 inches of compost, well-rotted manure, or peat moss. This improves water retention and nutrient holding capacity.
- Silty soil (drains moderately, may crust over): add compost and avoid tilling when wet. Work in coarse organic matter to improve aeration.
Many gardeners make the costly error of turning the soil when it’s wet. Wet soil compresses into hard clods that roots can’t penetrate. Wait until a handful of soil crumbles easily rather than forming a muddy ball.

A simple soil texture test: fill a jar with one-third soil and the rest water. Shake it and let it settle for 24 hours. The layers show you your sand, silt, and clay percentages.
Compare that to a soil texture triangle to identify your soil type. Then amend accordingly.
Proper soil preparation also means clearing rocks and debris, breaking up large clods, and leveling the surface. Don’t overdo it, you want a loose, crumbly texture that allows roots to spread easily. If you’re working with a raised bed, use a quality mix of topsoil, compost, and aeration materials.
Our article on the best plant fertilizer for indoor plants gives tips on nutrient balance, but the principles apply to garden beds too once the soil is right.
Skipping this step leads directly to stunted growth, yellowing leaves, and disease susceptibility. It’s the foundation mistake that makes every other common gardening mistake worse. Take the time to get the soil right, and your plants will reward you all season.
Fertilizer Burn and Misreading N-P-K Ratios
More fertilizer is not better. It’s one of those counterintuitive truths that trips up new gardeners. They see weak growth and think “more food,” when the real problem is often a nutrient imbalance or overfeeding.
Fertilizer burn happens when soluble salts in synthetic fertilizers pull moisture out of plant roots. Leaves turn brown at the tips and edges. The plant looks scorched, and growth stalls.
This is especially common with fast-release granular fertilizers when applied too heavily or watered in poorly.
The three numbers on a fertilizer bag (N-P-K) tell you the percentage of nitrogen, phosphorus, and potassium. Each plays a different role:
- Nitrogen (N) promotes leafy green growth. Too much gives you big bushes with few flowers or fruits.
- Phosphorus (P) supports root development and blooms. Excess can inhibit micronutrient uptake.
- Potassium (K) aids overall plant health and disease resistance. High levels can lock out calcium and magnesium.
For most vegetable gardens, a balanced 10-10-10 or 5-5-5 works fine. But if you’re growing tomatoes, a lower nitrogen ratio like 5-10-10 encourages fruit production over foliage. For leafy greens like lettuce or spinach, a higher nitrogen ratio helps.
Always follow label rates. A common mistake is doubling up because the plant looks hungry. If in doubt, go with half the recommended amount.
You can always add more later, but you can’t undo a salt overdose.
If you’ve already burned your plants, flush the soil with plenty of water to leach out excess salts. For potted plants, repotting into fresh mix is safer.
Pruning, Deadheading, and Transplant Timing – When Not to Touch
Timing is everything. Prune at the wrong time and you cut off this year’s flower buds or expose the plant to winter damage. Deadhead too early and you remove developing seed heads that birds rely on.
Transplant on a hot day and the plant goes into shock.
General rules for pruning:
- Spring-blooming shrubs (lilac, forsythia, azalea): prune right after they finish flowering. Prune in fall or early spring and you remove next season’s buds.
- Summer-blooming shrubs (butterfly bush, hydrangea, roses): prune in late winter or early spring before new growth starts.
- Perennials: cut back after they die back in fall, or leave stems for winter interest and cut in early spring.
Deadheading (removing spent flowers) encourages more blooms on many plants. But stop deadheading by late summer on plants that produce berries or seeds for wildlife. Let them set seed.
Transplanting stress is avoidable with a simple trick: wait for an overcast day or transplant in the late afternoon. Cloud cover reduces transpiration so the roots have time to recover. Water thoroughly right after transplanting and provide shade for a few days if the weather turns hot.
A big mistake is transplanting seedlings straight from indoors into full sun without hardening off. Start with a few hours of morning sun and increase exposure over a week. Our article on the best grow light for seedlings explains how to avoid leggy starts, but even the best indoor setup can’t replace a gradual outdoor transition.
Spacing and Crowding – Why Packing Plants Closer Doesn’t Work
You bought six tomato plants and only have space for four. So you squeeze them in. Three months later you have a jungle of yellow leaves, poor air circulation, and a fraction of the fruit you expected.
Crowding is one of those common gardening mistakes that seems harmless at planting time. But mature plants need room for roots to spread, leaves to catch sunlight, and air to move freely. When they’re packed too close, they compete for water and nutrients.
Fungal diseases like powdery mildew thrive in the humid, still air between crowded leaves.
The seed packet or plant tag gives a spacing recommendation. Follow it. Here are some typical spacings for common vegetables:
| Vegetable | Spacing Between Plants | Row Spacing |
|---|---|---|
| Tomato (indeterminate) | 24–36 inches | 36–48 inches |
| Pepper | 18–24 inches | 24–36 inches |
| Lettuce (head) | 10–12 inches | 12–18 inches |
| Carrot | 2–3 inches | 12–18 inches |
| Bush bean | 4–6 inches | 18–24 inches |
| Zucchini | 24–36 inches | 36–48 inches |
If you’re short on space, try vertical gardening or choose compact varieties. Small-space gardeners can use trellises for cucumbers, pole beans, and tomatoes. That frees up ground area without sacrificing yield.
Another spacing error is planting perennials too close to a foundation or walkway. A shrub that grows 6 feet wide should have 3 feet of clearance from the house. Otherwise its roots may damage the foundation and you’ll be pruning constantly.
Our guide on the best flowers for flower beds includes spacing tips for common perennials that stay within bounds.
Mulching Right (No Volcanoes) and Hardening Off Transplants
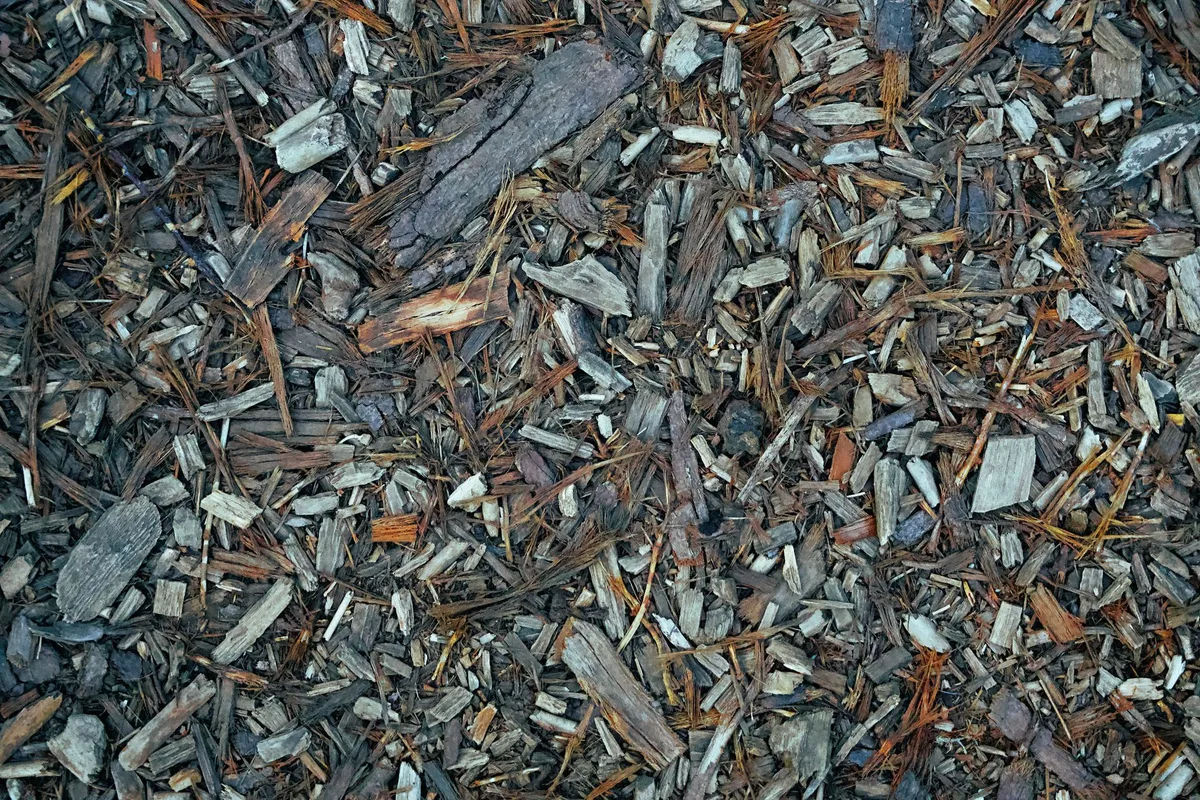
Mulch is a gardener’s best friend when used correctly and a silent killer when done wrong. The volcano mulching mistake is everywhere: piling bark or wood chips high against a tree trunk like a mountain. This traps moisture against the bark, inviting rot, fungal disease, and insect damage.
It also encourages roots to grow upward into the mulch rather than outward into the soil.
The correct technique is a flat, even layer 2 to 3 inches deep. Keep it pulled back 2 to 3 inches from the stems of plants and the trunks of trees. This allows air circulation, prevents rot, and lets water reach the root zone.
Mulch should look like a donut, not a volcano.
Benefits of proper mulching:
- Suppresses weeds
- Retains soil moisture
- Moderates soil temperature
- Adds organic matter as it decomposes
Hardening off transplants is another critical step that gets skipped. You’ve nurtured seedlings indoors under lights or on a windowsill. The day you move them outside is a shock.
Wind, direct sun, and temperature swings can kill tender plants in hours.
The hardening off process takes about 7 to 10 days:
- Day 1: Place seedlings outside in shade for 1 to 2 hours.
- Day 2: Add a hour of morning sun.
- Day 3, 4: Gradually increase sun exposure, still bringing them in at night.
- Day 5, 6: Leave them out all day, but still bring in if frost threatens.
- Day 7+: Plant them in the garden on a cloudy day.
Hardening off is especially important for peppers, tomatoes, and eggplants. Skip this step and you get transplant shock, stunted growth, or sunscald. Doing it right means stronger plants with better survival rates.
Container Gardening Pitfalls – Drainage, Pot Size, and Soil Mix
Container gardening looks simple. Buy a pot, fill it with soil, plant something. But the mistakes start immediately with the wrong pot size.
A tiny pot dries out in hours. A pot without drainage holes turns into a swamp.
Here are the three most common container pitfalls:
- No drainage holes: Water has nowhere to go, causing root rot. If you love a pot without holes, use it as a cachepot (outer decorative container) and keep the plant in a plastic nursery pot inside.
- Too small a pot: A 6-inch pot works for a basil seedling but not for a full-size tomato. Roots need room to spread. For most vegetables and annuals, use at least 12-inch diameter pots. For perennials and shrubs, go with 18 inches or more.
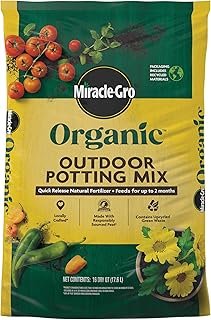
- Wrong soil mix: Garden soil is too heavy for pots. It compacts, blocks drainage, and suffocates roots. Use a quality potting mix designed for containers. It contains perlite or vermiculite for aeration and peat or coconut coir for moisture retention.
Container plants need more frequent watering than in-ground plants. During hot summer weeks, you may need to water daily. Check by lifting the pot (heavy means wet, light means dry) or poking your finger into the soil.
Fertilizer is also more critical in containers because nutrients leach out with frequent watering. Use a balanced liquid fertilizer every two weeks during the growing season, or mix in a slow-release granular at planting time.
For indoor containers, choose plants that match your light conditions. Our guide on the best plants for a south east facing window lists species that thrive in bright indirect light, which is common in many homes.
Pest and Disease ID – Why Acting Too Fast or Too Late Hurts
The knee-jerk reaction to any bug or spot is to spray something. That’s often a mistake. Many insects are beneficial or neutral.
Spraying broad-spectrum pesticides kills ladybugs, bees, and predatory wasps right alongside the pests. You end up with a worse problem than you started.
The better approach is proper identification before taking action. Scouting once a week is essential. Look at the undersides of leaves, along stems, and near the soil surface.
Note what you see.
Common pests and their signs:
- Aphids: Clusters of small green, black, or white insects on new growth. Leaves may curl or become sticky with honeydew.
- Spider mites: Fine webbing on leaf undersides, leaves look stippled or dusty.
- Slugs and snails: Irregular holes in leaves, slime trails on soil and foliage.
- Squash bugs: Brownish bugs on squash plants, leaves wilt and turn black.
- Whiteflies: Tiny white flying insects that flutter up when disturbed, leaves yellow.
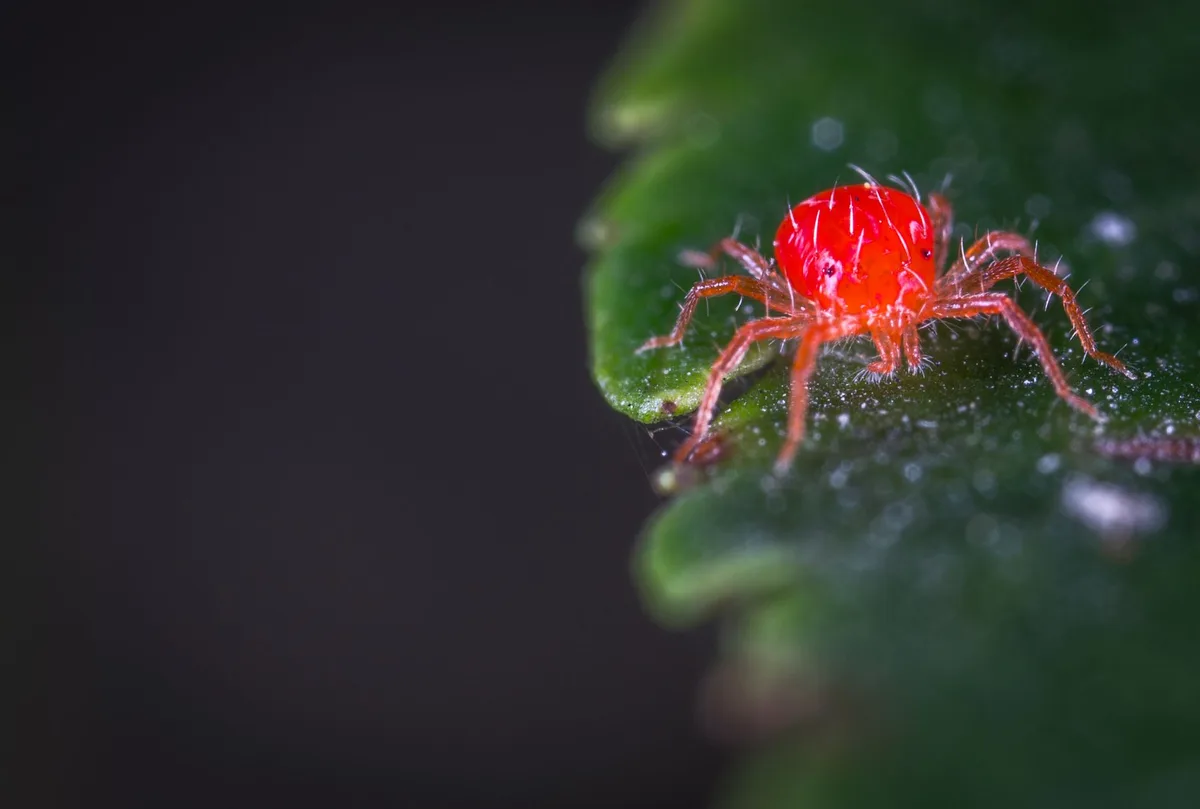
For each pest, start with the least harmful treatment. Blast aphids off with a strong stream of water. Use insecticidal soap for persistent infestations.
Handpick slugs at night. Only resort to chemical pesticides as a last resort, and use targeted ones that don’t harm beneficials.
Disease identification follows the same rule. Powdery mildew looks like white powder on leaves. It thrives in humid, crowded conditions.
Improve air circulation, remove affected leaves, and use a baking soda or neem oil spray. Don’t immediately reach for fungicides.
Acting too fast means you might spray something unnecessary and hurt the ecosystem. Acting too late means the infestation or disease spreads to the point of no return. The sweet spot is early detection and measured response.
When to Call an Expert – Extension Services, Soil Tests, and Local Calendars
Some problems are too complex for a quick online search. That’s when you need a real human expert. The good news is that help is often free or very cheap.
Your local cooperative extension service is an underused resource.
What extension services offer:
- Soil testing for pH and nutrients (usually $10 to $20)
- Plant disease diagnosis (often free with a sample)
- Insect identification (send a photo or bring in a sample)
- Regional planting calendars based on your specific frost dates
- Master gardener hotlines staffed by trained volunteers
If you’re facing a persistent issue that doesn’t match any common pattern, call them. They’re impartial, science based, and tailored to your local climate.
Your Quick Checklist to Avoid the 10 Most Damaging Mistakes
Here’s a condensed reference to keep by your toolshed door:
- Check soil moisture before watering.
- Match plants to your sun and USDA zone.
- Test your soil and amend before planting.
- Read fertilizer labels and apply sparingly.
- Prune at the right time for each plant.
- Follow spacing guides on the tag.
- Mulch flat, not in volcanoes.
- Harden off transplants over 7 to 10 days.
- Use proper pots with drainage and potting mix.
- Identify pests before spraying.
Frequently Asked Questions
How often should I water my garden?
Water only when the top 1 to 2 inches of soil are dry. For most gardens, that means deep watering once or twice a week, not daily. Frequency depends on weather, soil type, and plant size.
Always check the soil first.
What’s the best way to fix yellow leaves on tomato plants?
Yellow leaves can mean overwatering, underwatering, or nitrogen deficiency. Check soil moisture first. If the soil is damp and leaves are soft, reduce watering.
If soil is dry, water deeply. If neither, apply a balanced fertilizer.
Can I use garden soil in containers?
No. Garden soil is too heavy and compacts in containers, blocking drainage and suffocating roots. Use a potting mix formulated for containers with perlite or vermiculite for aeration.
How do I know if I’m overwatering?
Stick your finger 2 inches into the soil. If it feels wet, wait. Overwatered plants have yellow, mushy leaves and may have a musty smell from the soil.
Let the soil dry out before watering again.
When should I prune my hydrangea?
It depends on the type. Bigleaf hydrangeas (the ones that bloom pink or blue) bloom on old wood, so prune right after flowering. Panicle hydrangeas bloom on new wood, so you can prune in early spring.
Check your variety before cutting.
Do I need to harden off all transplants?
Yes, any plant grown indoors or in a greenhouse needs a gradual transition to outdoor conditions. Skip this step and you risk sunscald, wind damage, and transplant shock. Take about a week to acclimate them.
The article is already complete. All H2 sections from the approved TOC have been written in the previous batches. No further sections remain.