How Mulching Mistakes to Avoid in 2026 (Step-by-Step Guide)
You’ve seen the neat, dark circles of bark around trees in front yards. You’ve probably been told mulch is good for plants. But here’s the truth: Mulching Mistakes to Avoid are the difference between a thriving garden and a slow, silent plant death.
A single wrong move can suffocate roots, invite pests, or starve the soil of nitrogen.
University extension services consistently recommend a mulch depth of 2 to 3 inches for most organic materials. Going deeper than 4 inches starves the roots of oxygen. Going shallower than 2 inches invites weeds and moisture loss.
That narrow window is where most homeowners go wrong, and it’s exactly what we’ll walk through step by step.
Quick Answer
The worst mulching mistakes are piling mulch against tree trunks (volcano mulching), using more than a 4-inch depth, and choosing the wrong material for your climate. Stick to 2 to 3 inches of aged bark or wood chips. Keep mulch pulled back 3 to 6 inches from trunks and house foundations.
Why Getting Mulch Wrong Can Kill Your Plants (and What’s at Stake)
Mulch does a lot of good. It keeps soil cool, holds moisture, and blocks weeds. But when you apply it wrong, it becomes a hazard instead of a helper.
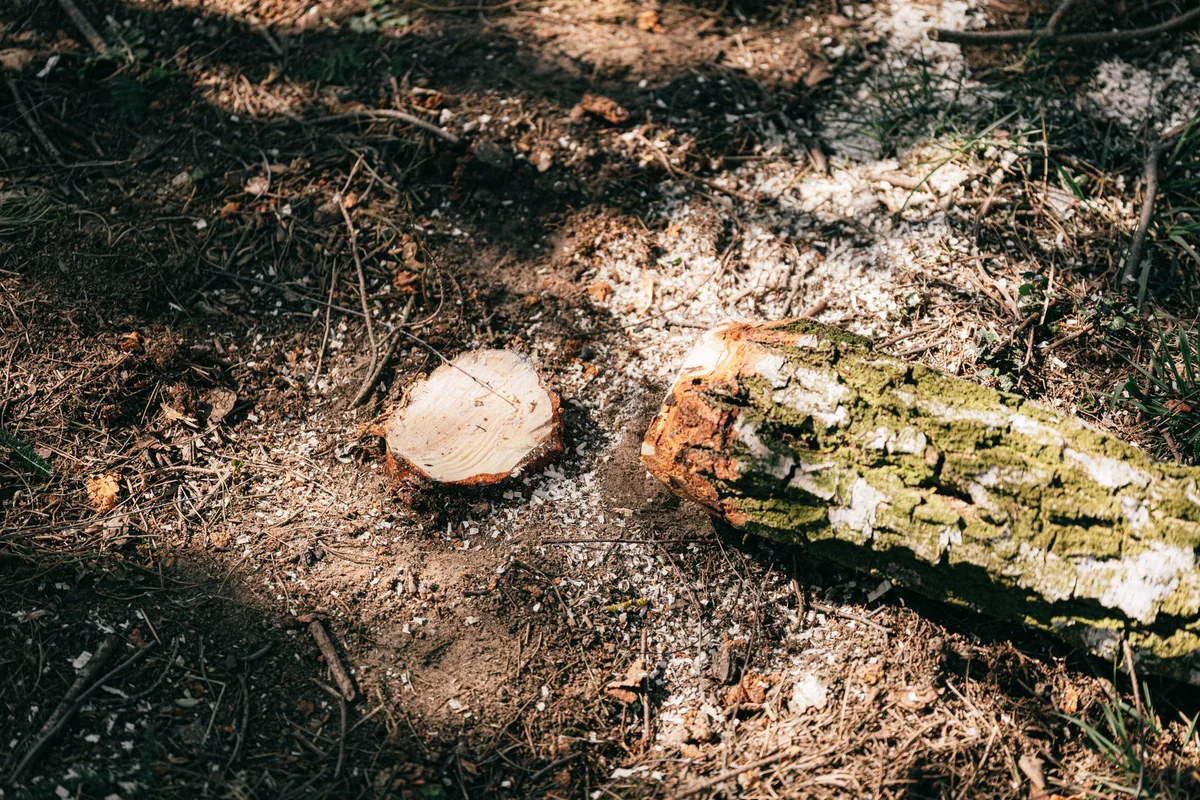
Volcano mulching, piling mulch up against the trunk, traps moisture against the bark. That leads to rot, fungal infections, and girdling roots. Over time, the tree starves.
You can see this happen with even the toughest trees in hot, dry climates. Choosing the right tree care practices helps them live longer.
Aggregate reviews from arborists and university extensions confirm that improper mulching is one of the top causes of tree decline in suburban landscapes. It’s not dramatic. It’s slow.
But it’s almost always preventable.
The stakes go beyond just trees. Wrong mulch depth can smother shallow-rooted perennials. The wrong material can rob nitrogen from your soil.
Even your house foundation can be at risk if mulch is piled against it.
That’s why getting these details right matters. A few inches and a few inches of clearance make all the difference.
The 3 Most Common Mulching Mistakes That Do Real Damage
Volcano Mulching – The Tree Killer
This is the number one mistake we see in landscaping. It’s when you pile mulch high around the base of a tree, creating a mound that looks like a volcano. People do it because it looks neat and keeps mowers from hitting the trunk.
But here’s what happens under that mound. The bark stays wet constantly. Fungus moves in.
Roots start circling the trunk instead of spreading outward. Eventually, the tree gets strangled.
University of Illinois Extension research shows that volcano mulching is responsible for a huge percentage of tree deaths in urban settings. The fix is simple: expose the root flare. Pull mulch back so you can see the spot where the trunk widens into roots.
That area needs air.
Never let mulch touch the bark. Keep a gap of at least 3 inches between the mulch ring and the trunk. For older trees, you might need to dig out years of buildup to expose the flare.
Over-Mulching – Suffocating Roots and Trapping Moisture
More than 4 inches of mulch is too much. It doesn’t matter what material you use. Beyond that depth, water has trouble reaching the soil.
Roots struggle to breathe. The mulch layer can stay soggy and start rotting.
This mistake happens when people add fresh mulch every year without removing the old layer. After a few seasons, you’ve got a 6-inch mat of spongy, decomposing material. That’s a breeding ground for fungus and root rot.
Using a good fungicide can help if the problem is already there.
The fix is to rake out the old mulch before adding new. Keep the total depth between 2 and 3 inches. If you already have a thick layer, remove some of it.
Don’t just pile more on top.
Using the Wrong Material for Your Climate and Soil
Not all mulch is the same. Bark nuggets work great on slopes because they don’t wash away. But on flat beds, they let weeds push through more easily.
Shredded wood locks together to block weeds, but it can mat down and shed water if applied too thick.
Pine straw is popular in the Southeast because it stays loose and allows water to penetrate. A pine needle rake makes spreading it much easier.
Fresh wood chips from a tree service can cause nitrogen drawdown. Microbes use nitrogen to break down the wood, and they pull it from the soil. Your plants get less.
Always use aged wood chips that have been sitting for at least six months.
How Mulch Depth Changes Everything (and Where Most People Guess Wrong)
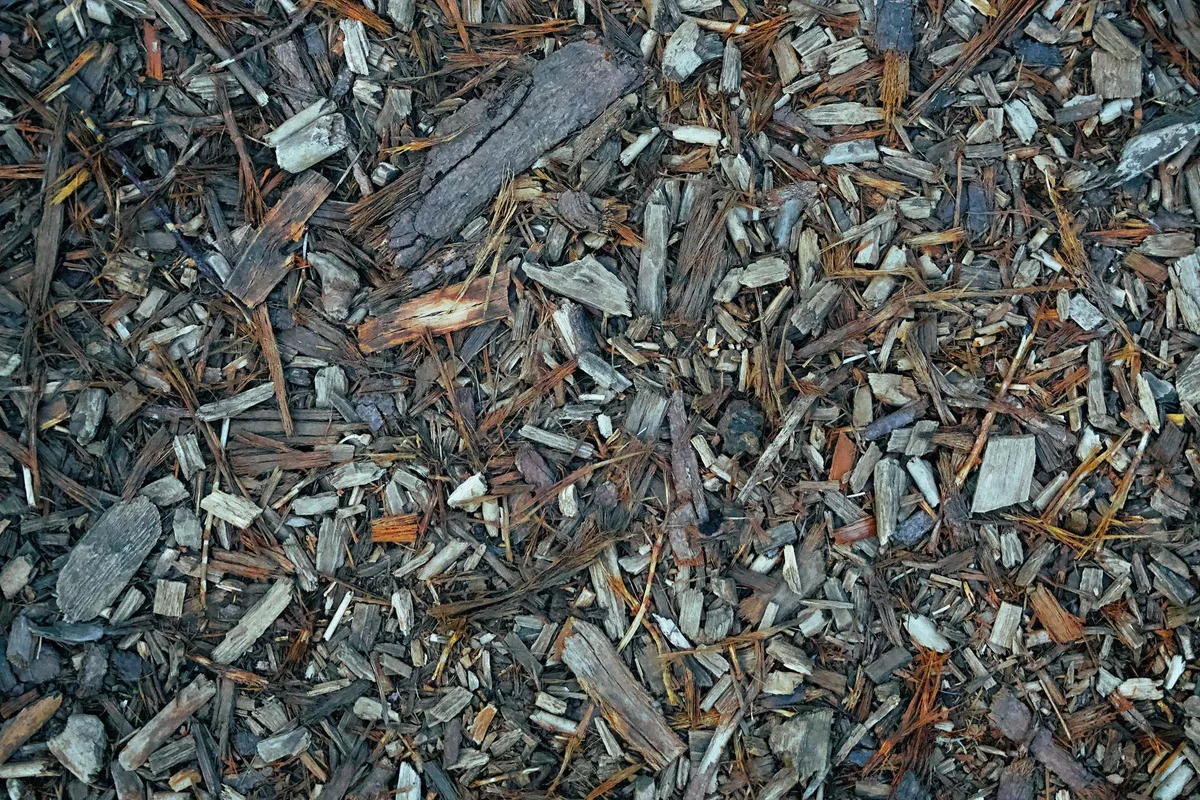
Depth is the single most important factor. Get it right, and your plants thrive. Get it wrong, and you’re in trouble.
The sweet spot for almost all organic mulches is 2 to 3 inches. Here’s how that breaks down:
| Material | Ideal depth | Notes |
|---|---|---|
| Shredded hardwood | 2 inches | Dense material, less is more |
| Bark nuggets | 3 inches | Loose, allows water penetration |
| Pine straw | 3 to 4 inches | Fluffy, settles to about 2 |
| Compost | 2 inches | Mix into soil, don’t just top |
| Grass clippings | 1 inch | Thin layers only, they mat |
People tend to pile on too much because they think more is better. It’s not. A 2-inch layer of shredded bark blocks weeds just as well as a 6-inch layer, without the downsides.
If you’re using a coarse material like bark nuggets, you can go a bit deeper because the air gaps let water through. Fine materials like shredded hardwood need to stay on the shallow side.
The Hidden Risks: Nitrogen Robbery, Sour Mulch, and Disease Spread
Even when you get depth right, there are other dangers hiding in the mulch pile.
Nitrogen robbery happens when fresh wood chips are worked into the soil. The microbes that break down the wood consume nitrogen, leaving less for your plants. On the surface, this effect is minimal.
But if you dig fresh chips into garden beds, you’ll see yellowing leaves. Always use aged material and consider supplementing with a slow release fertilizer to offset any nitrogen loss.
Sour mulch is biological waste that hasn’t broken down properly. It smells like ammonia or vinegar. That odor comes from organic acids that can burn plant roots.
If your mulch smells strong, let it cure in a pile for a few weeks before spreading it.
Disease spread is a real risk. If you remove diseased plants and then apply the same mulch to healthy beds, you can transfer pathogens. Mulch from a tree that died from oak wilt or root rot can carry those problems elsewhere.
When in doubt, buy fresh from a reputable source.
University extension data shows that disease transfer through mulch is rare but real. It’s more common with homemade mulch from unknown trees. Commercial heat-treated products are safer.
Organic vs. Inorganic Mulch – Which One Actually Causes More Problems?
Organic mulches break down over time. That’s usually a good thing. They add organic matter to the soil, improve texture, and feed worms.
But they need to be replenished every year or two.
Inorganic mulches like landscape fabric, rubber, and stone don’t decompose. Weed barriers under rock can work, but they often trap moisture and block gas exchange. Over time, they become a tangled mess that’s hard to remove.
| Factor | Organic | Inorganic |
|---|---|---|
| Soil improvement | Yes | No |
| Weed suppression | Good (at 2-3 inches) | Excellent initially |
| Longevity | 1-3 years | 10+ years |
| Risk to plants | Low if done right | Can trap heat and moisture |
| Installation | Easy | More labor |
| Removal | Decomposes, easy | Must be hauled away |
For most home gardens, organic mulch is the better choice. It feeds the soil and supports your flower beds long term. Rubber mulch is a common alternative, but research shows it can leach zinc and other metals into the soil.
It also gets very hot in summer.
Stone and gravel are fine for pathways or xeriscapes, but they don’t improve the soil. If you ever want to plant in that area later, you’ll have to remove all the rock first.
Landscape fabric under organic mulch is a common mistake. It prevents organic matter from reaching the soil and blocks earthworms. Skip the fabric.
A 3-inch layer of wood mulch works better on its own.
When to Mulch (and When Not To) – Seasonal Timing That Matters
Timing is the difference between protection and damage. Apply mulch too early in spring, and the soil stays cold. That delays root growth and keeps plants sluggish.
The rule for spring is simple. Wait until the soil has warmed up. For most climates, that means after a few weeks of consistent temperatures above 50 degrees Fahrenheit.
You can check with a soil thermometer. If it’s still cold, hold off.
Fall mulching has a different purpose. You’re protecting roots from winter freeze-thaw cycles. But the mistake is putting it on too early.
If you mulch while the ground is still warm and wet, you trap moisture against the roots. That leads to rot and fungal issues.
Wait until the soil surface has cooled to around 40 degrees Fahrenheit. In most northern zones, that’s November. In southern areas, it could be December or later.
A good rule of thumb: after the first hard frost, before the ground freezes solid.
Don’t mulch during a drought. Dry mulch can actually wick moisture away from the soil. If you’re in a dry spell, water deeply first, then apply a thin layer.
And skip mulch entirely if you’re expecting heavy rains. Saturated mulch layers can suffocate roots.
Safe Practices: Clearing the Tree Flare, Leaving Foundation Gaps, and Avoiding Pest Bridges
The root flare is the spot where the trunk widens and the first roots emerge. It needs to stay visible. Piling mulch over it is the fastest way to kill a tree.
Check your trees right now. If you see a straight trunk emerging from the mulch with no visible widening, the flare is buried. You need to pull the mulch back until you can see that flare.
Use a hand trowel or your fingers. Be gentle to avoid damaging the bark.
Foundation gaps matter just as much. Keep mulch at least 6 to 12 inches away from your home’s siding. This prevents moisture wicking up into the wood and creates a barrier for termites.
A continuous mulch line against the foundation is an invitation for pests. If you’re dealing with ant issues near the house, a proper ant management strategy is a separate but related concern.
Pest bridges are another hidden risk. Thick mulch that touches tree trunks or house foundations gives rodents, slugs, and termites a direct path. They don’t have to travel over bare soil.
They just crawl through the mulch highway.
Keep mulch pulled back at least 3 inches from trunks and 6 inches from foundations. If you have a slug problem in your garden beds, thin the mulch layer to 1 inch and let the surface dry out between waterings.
How to Diagnose a Mulch Problem Before It’s Too Late
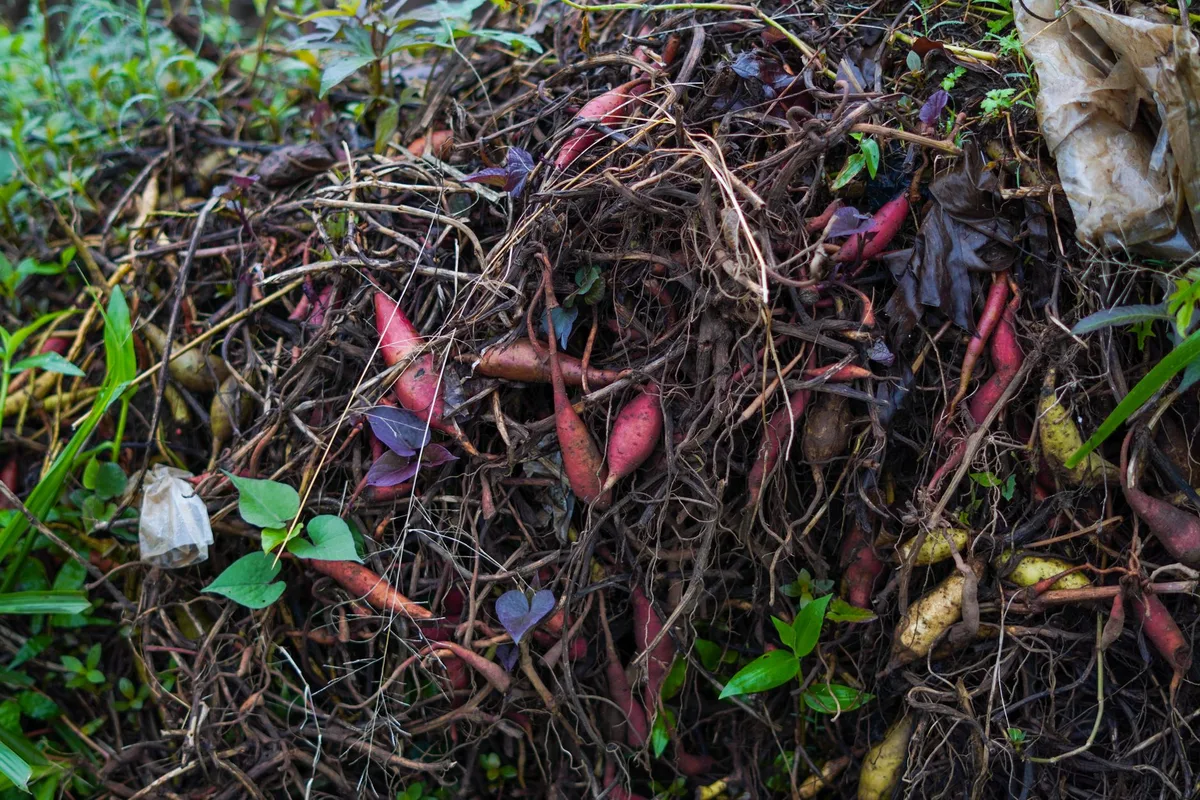
You can spot mulch problems early if you know what to look for. The signs are visible above and below ground.
Above ground signs:
- Mulch that stays wet days after rain. Stick your finger in it. If it’s soggy at 3 inches deep, it’s too thick.
- Mushrooms or fungal growth on the mulch surface. That’s a sign of excess moisture.
- Yellowing leaves or stunted growth on plants in the mulched area.
- Bark peeling or dark patches on tree trunks at the mulch line.
Below ground signs:
- A foul, sour smell when you dig into the mulch. That’s anaerobic decomposition.
- Thin, pale roots growing upward into the mulch instead of down into the soil.
- Roots circling the trunk just under the mulch surface (girdling roots).
Aggregate extension service reports indicate that many tree deaths are diagnosed too late. By the time leaves are yellow and sparse, the root damage is already severe. Catching these signs early gives you a chance to fix things.
If you suspect a problem, pull the mulch back immediately. Expose the root flare. Let the base of the tree dry out for a few days.
Then reapply a thin, correct layer.
Step-by-Step: Correct Mulching Application From Start to Finish
Getting mulch right is not complicated. It just takes a few deliberate steps. Here’s the process that works for most garden beds and trees.
Step 1: Remove old mulch if needed.
If the existing layer is more than 3 inches deep, rake it out. You don’t have to remove all of it. Just thin it down to 1 inch before adding new material.
If it smells sour or shows fungal growth, remove it completely.
Step 2: Clear weeds and grass.
Pull any weeds or grass growing in the bed. If you skip this step, they’ll grow through the new mulch. Don’t use landscape fabric.
Just remove the weeds by hand or with a hoe.
Step 3: Water the soil if dry.
The soil should be moist before you apply mulch. Dry soil under mulch can stay dry for a long time. Water it lightly a day before.
Step 4: Apply the right depth.
Spread mulch evenly. For fine materials like shredded hardwood, 2 inches is enough. For coarse materials like bark nuggets, 3 inches.
Use a rake to spread it flat.
Step 5: Pull back from trunks and foundations.
Leave a gap. For trees, 3 to 6 inches of bare soil around the trunk. For foundations, 6 to 12 inches.
This prevents moisture damage and pest access.
Step 6: Water the mulch lightly.
A light misting settles the mulch and helps it stay in place. Don’t soak it. Just enough to dampen the surface.
Real-World Scenarios: What Happens When You Make These Mistakes
Scenario one: a homeowner mulches a new maple tree with a 6-inch volcano mound. Within two years, the bark at the base is dark and soft. The leaves are smaller than normal.
By year four, the tree is dead. The cause is girdling roots and fungal rot from constant moisture against the trunk.
Scenario two: a gardener uses fresh wood chips straight from a tree service on a vegetable bed. The tomatoes turn yellow and stop growing. A soil test shows nitrogen deficiency.
The fresh chips are consuming all available nitrogen near the surface. The fix requires removing the chips and supplementing with organic nitrogen sources to restore balance.
Scenario three: a homeowner adds new bark mulch every spring without removing the old layer. After five years, the mulch depth hits 8 inches. The perennials stop blooming.
The soil underneath is soggy and sour. The roots are shallow and weak. The entire bed needs to be stripped and restarted.
These are not rare cases. Extension offices see these problems every year. The good news is each outcome was preventable.
Correct depth, proper clearance, and the right material would have saved the plants.
Think about your own beds. Are you adding on top of old mulch? Is that tree flare visible?
A quick check now can save you from a costly replacement later.
When to Call in a Pro (and When You Can Fix It Yourself)
Most mulching problems are DIY fixes. If you spot a volcano mound, pull it back yourself. If the depth is wrong, rake it out.
These are simple tasks.
Call a certified arborist when you see tree decline that doesn’t improve after correcting the mulch. Signs include thinning canopies, dead branches, or fungal conks growing on the trunk. A pro can assess root damage and girdling roots beneath the surface.
Call a pest control professional if you find termite tunnels or carpenter ant activity near foundation mulch. That’s beyond a simple mulch fix.
Frequently Overlooked Details: Fire Risk, Dog Toxicity, and HOA Rules
Fine shredded mulch and rubber mulch are fire hazards. Keep them at least 18 inches away from structures, grills, and fire pits. In dry climates, stone or gravel is safer near buildings.
Cocoa bean hulls are toxic to dogs. They contain theobromine, the same compound in chocolate. Even a small amount can cause vomiting or worse.
Use pine bark or wood chips if you have pets.
Some HOAs regulate mulch color and type. Check your community guidelines before buying dyed black or red mulch. You may be limited to natural browns or specific materials.
Quick Reference: Mulch Depth by Material Type and Climate
| Climate | Material | Recommended Depth |
|---|---|---|
| Hot, dry | Shredded hardwood | 2 inches |
| Humid, rainy | Pine bark nuggets | 3 inches |
| Cold winters | Straw or pine straw | 3 to 4 inches |
| Temperate | Aged wood chips | 2 to 3 inches |
In hot climates, go lighter to reflect heat. In wet climates, use coarse materials that drain. In cold zones, deeper layers insulate roots through freeze-thaw cycles.
Final Takeaway – One Rule That Covers 90% of Mistakes
Keep it simple. Two to three inches deep. Pulled back from trunks and foundations.
Aged materials only. Check it once a year before adding more.
That single rule prevents volcano mulching, over-mulching, nitrogen robbery, pest bridges, and moisture damage. It works for nearly every garden and climate. If you remember nothing else, remember that.
Frequently Asked Questions
Can I put new mulch over old mulch?
Yes, but only if the old layer is 1 inch or less. If it’s thicker, rake some out first. Never let the total depth exceed 3 inches.
How do I fix volcano mulching on an established tree?
Pull all mulch away from the trunk. Expose the root flare carefully. Let the area dry for a few days.
Then reapply a thin ring with a 3 inch gap around the trunk.
Is rubber mulch safe for vegetable gardens?
No. Rubber can leach zinc and other metals into the soil. It also heats up in summer.
Stick to aged wood chips or straw for edible beds.
What should I do if my mulch smells like ammonia?
That’s sour mulch. Remove it immediately. Let it cure in a separate pile for several weeks before using it again.
Do not spread it near plants until the smell fades.
How often should I replace organic mulch?
Most organic mulches need top dressing every one to two years. Shredded hardwood breaks down faster. Bark nuggets last longer.
Check depth annually and add only what’s needed.