How to Grow Grass on a Slope in 2026 (Everything You Need)
You’re staring at a sloped patch of yard that washes out every time it rains, and you’ve tried seeding it twice with nothing to show for it. If that sounds familiar, you’re not alone. Learning how to grow grass on a slope is genuinely different from flattening a lawn, and the methods that work on flat ground will fail on a hill.
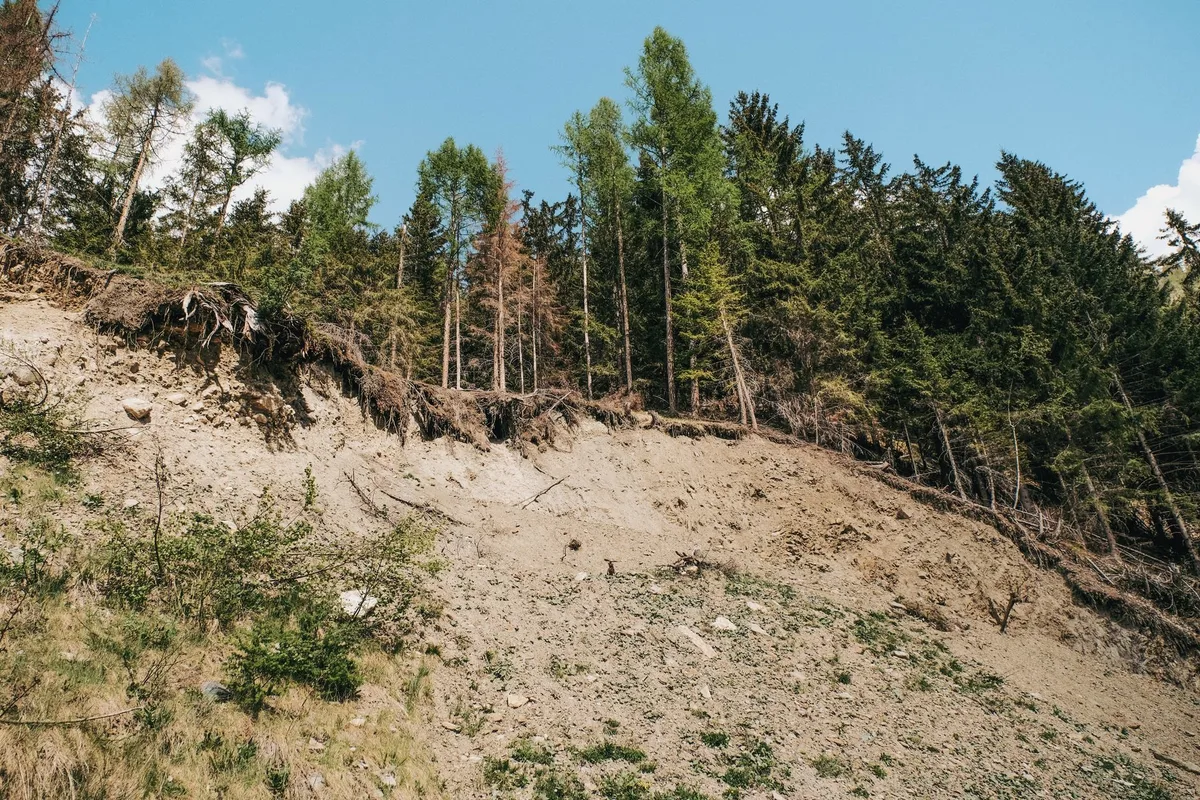
Here’s the part most guides skip: a slope of just 10 percent can lose two to three times more topsoil during a heavy storm than a flat lawn, according to USDA Natural Resources Conservation Service data. That changes everything about how you prepare, plant, and protect the ground. So before you buy a bag of seed and hope for the best, let’s walk through what actually works, starting with how steep your slope really is.
Quick Answer
Pick your method based on slope steepness. Gentle slopes (0, 10 percent) need seed and straw mulch or sod. Moderate slopes (10, 25 percent) need an erosion control blanket or seed mat.
Steep slopes (25, 40 percent) need hydroseeding or a turf reinforcement mat. Very steep slopes (over 40 percent) need terracing or native groundcovers. Skip the generic seed-and-water approach on anything above 10 percent.
Why Growing Grass on a Slope Is Different (And Harder)
Water runs downhill. That’s the whole problem in one sentence. On flat ground, rain soaks in where it falls.
On a slope, it gains speed, picks up soil particles, and carries seeds right off the hill before they can germinate.
The second issue is watering. The top of the slope dries out fast because water runs off. The bottom stays wet and can get boggy.
That uneven moisture means one part of your new grass gets stressed while the other rots, unless you manage it carefully.
And then there’s mowing. Even if you get the grass to grow, cutting it on a steep incline is dangerous and hard on equipment. Many homeowners end up with a jungle at the bottom and bare dirt at the top because they can’t maintain it safely.
Those are real-world tradeoffs you need to know going in.
First, Figure Out Your Slope: Gentle, Moderate, or Steep?
Before you buy a single thing, measure your slope angle. It’s the single most important decision point in the whole process. The method that works for a 5 percent grade will fail on a 20 percent grade.
How to Measure Slope Angle (Tools and Tricks)
You don’t need fancy gear. Here are three ways:
- Smartphone app, Download a bubble level or inclinometer app. Place the phone flat on a long straight board (a 2×4 works) laid on the slope. Read the angle.
- Level and tape measure, Hold a 2‑foot level flat at the top of the slope. Keep it horizontal. Measure the vertical drop from the end of the level to the ground. Multiply that drop (in inches) by 4.17 to get the percent slope. For example, a 3‑inch drop over 2 feet is roughly a 12.5 percent grade.
- String and line level, Stretch a string from the top to the bottom of the slope with a small line level in the middle. Make the string level. Measure the vertical distance from the string to the ground at the bottom. Divide by the horizontal length of the string and multiply by 100.
The Three Slope Categories and What They Mean for You
| Slope Category | Percent Grade | Typical Steepness | What It Looks Like |
|---|---|---|---|
| Gentle | 0–10% | Moderate incline | Easy to walk without effort |
| Moderate | 10–25% | Noticeable hill | Walking requires a slight lean |
| Steep | 25–40% | Hard to stand upright | You’d use your hands to climb |
| Very steep | Above 40% | Almost a bank | Requires crawling or equipment |
If your slope falls above 40 percent, stop here. Grass alone cannot stabilize that grade. You need structural help, terraces, retaining walls, or erosion‑control blankets combined with deep‑rooted shrubs.
We’ll cover that in the decision tree below.
The Two Biggest Risks: Erosion and Uneven Watering
Erosion is the main reason most slope‑seeding attempts fail. Rain hits bare soil, forms little rills, and those rills turn into gullies. Your seed washes into a clump at the bottom or ends up in the neighbor’s yard.
Uneven watering is the second killer. On a slope, water runs down and pools at the base. The top stays dry.
If you water enough to keep the top moist, you drown the bottom. That leads to patchy germination and weak roots. The solution is to water in short, frequent cycles, 5 to 10 minutes at a time, two to three times a day, so the water soaks in before it runs off.
Drip irrigation or soaker hoses placed across the slope (perpendicular to the fall line) help a lot here.
Decision Tree: Which Method Should You Use?
Now that you know your slope angle and the risks, here’s the decision framework. Follow the branch that matches your situation.
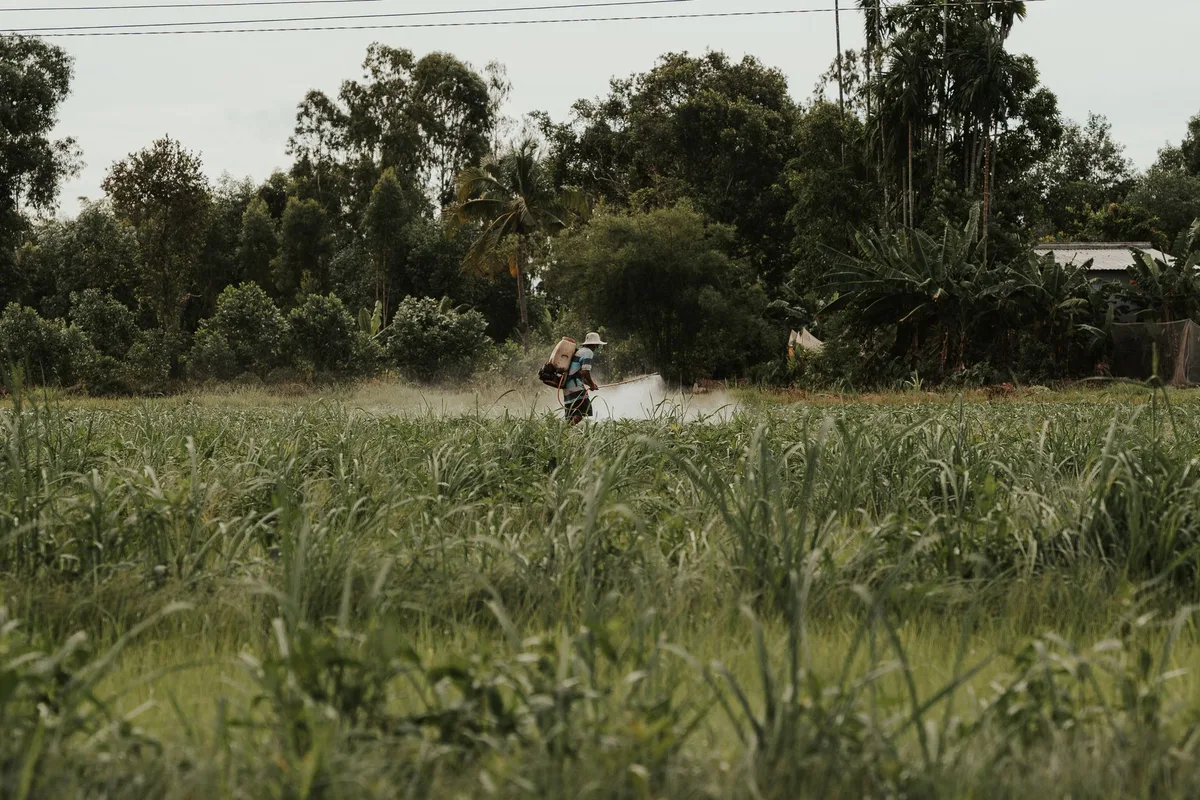
Branch 1: Gentle Slope (0–10%) – Go with Standard Seeding or Sod
If your slope is under 10 percent, you have the easiest path. Standard seeding with a light straw mulch works fine. You can also lay sod, which gives instant cover and eliminates erosion during establishment.
Sod costs more (roughly $0.30 to $0.60 per square foot) but eliminates the worry of washout. Just make sure you roll the sod firmly so it contacts the soil, and water thoroughly every day for two weeks.
- Seed + straw mulch: Cheapest option. Use a starter fertilizer with a ratio like 10‑20‑10 to encourage root growth. Spread seed at the recommended rate, then cover with a thin layer of weed‑free straw (about 1 inch deep). Crimp the straw into the soil with a rake so it doesn’t blow away.
- Sod: Best if you need instant use of the area. Install sod pieces in a staggered pattern, like bricks. Press them down firmly and water immediately.
Branch 2: Moderate Slope (10–25%) – Erosion Blanket or Seed Mats
On a 10 to 25 percent slope, bare seed and straw aren’t enough. Rain will wash the straw away. You need something that physically holds the soil and seed in place.
An erosion control blanket (jute, coir, or straw) does exactly that.
- Jute blankets: Biodegradable, cheap ($0.10, $0.15 per sq. ft.), good for moderate slopes.
- Coir blankets: Longer‑lasting (up to 2 years), better for steeper moderate slopes, more expensive ($0.20, $0.30 per sq. ft.).
- Seed mats: Pre‑seeded blankets that you simply unroll and pin. They’re foolproof for small DIY projects but cost more per square foot than loose seed plus blanket.
Install the blanket after spreading seed. Overlap edges by 4 to 6 inches and secure with U‑shaped sod staples every 3 to 5 square yards. On a 20 percent slope, use more staples, every 2 yards.
Branch 3: Steep Slope (25–40%+) – Hydroseeding or Heavy-Duty Blankets
Above 25 percent, your main goal is keeping seed in place long enough to germinate. Hydroseeding is the top choice here. A professional crew sprays a slurry of seed, fertilizer, mulch, and a tackifier (a glue‑like binder) onto the slope.
The tackifier sets into a crust that resists heavy rain. Hydroseeding costs about $0.10 to $0.20 per square foot for large areas, a bit more for small yards.
If you want a DIY option, use a turf reinforcement mat (TRM), a thick, three‑dimensional mat made of synthetic fibers. It’s more expensive (up to $0.50 per sq. ft.) but holds soil extremely well. Seed must be applied under or into the mat.
Branch 4: Very Steep (40%+) – Stop and Reconsider
At 40 percent and above, turfgrass is not the answer. The roots of most lawn grasses are only 4 to 6 inches deep, not deep enough to hold a steep bank. You’ll either need to terrace the slope into flatter steps, build a retaining wall, or plant native shrubs and deep‑rooted groundcovers like crown vetch or creeping juniper.
If you absolutely must have grass, use a special slope‑stabilizing seed mix (often containing a high percentage of fine fescues and ryegrass) combined with a heavy‑duty TRM and hydroseeding. Even then, expect some erosion the first season.
Step-by-Step Workflow for Each Method
Whichever branch you chose, the basic steps look similar. Here’s a quick walkthrough. For detailed instructions on specific tasks like soil preparation or blanket installation, check the linked guides below.
Preparing the Soil on a Slope
Start by clearing the area of rocks, weeds, and debris. Till the soil 4 to 6 inches deep, but only if the slope is gentle enough that tilling won’t cause erosion. On steeper slopes, skip tilling and use a rake to loosen the top 1 to 2 inches.
Add a 1‑inch layer of compost or topsoil to improve seed‑to‑soil contact. Test the pH, aim for 6.0 to 7.0. Apply a starter fertilizer high in phosphorus (the middle number in N‑P‑K) to encourage root growth.
If your soil is heavy clay, apply a light lime application as well. For more guidance on feeding your lawn, check our guide on picking the best slow release fertilizer for flowers, the same principles apply to new grass.
Installing Erosion Blankets Step by Step
Before you unroll, wet the soil lightly so the blanket sticks. Overlap blankets by at least 4 inches. Use U‑shaped sod staples, 6‑inch staples for light blankets, 8‑inch for heavy ones.
Space them 3 to 5 per square yard on moderate slopes; every 2 yards on steep slopes. Walk the blanket down firmly so it contacts the soil. If you’re using a seed mat, skip the separate seed step, the mat contains seed already.
Hydroseeding: What to Expect from a Contractor
Call a local hydroseeding company and ask for a quote. They’ll typically apply the slurry in one pass. Make sure they use a tackifier, not all do.
After application, keep the area moist for 3 to 4 weeks. Light sprinkling three times a day is better than heavy watering once. The tackifier will break down after 4 to 6 weeks, by which time the grass should be rooted.
Sodding on a Slope: Do’s and Don’ts
Sod can be used on gentle slopes, but you must pin it. Use 8‑inch sod staples every 2 feet along seams and in the center of each roll. Water within 30 minutes of laying the sod.
Do not let it dry out. After two weeks, set your mower to a high setting (3 to 4 inches) and mow only when the grass is dry. To keep your lawn healthy long term, consider a rotation of good fungicide for lawns if you see disease pressure.
Checking Your Work
A week after seeding, check for signs of washout. If you see bare soil or seed clumps, add more straw or blanket pins. After three weeks, look for germination.
Grass should be about 1 inch tall. At that point, reduce watering to once a day. Once it reaches 3 inches, you can start mowing.
If you need to refresh any tools, like a rake for spreading mulch, our review of the best rakes for pine needles might help you pick a model that works on slopes.
Mistakes That Wreck Slope Seeding (And How to Avoid Them)
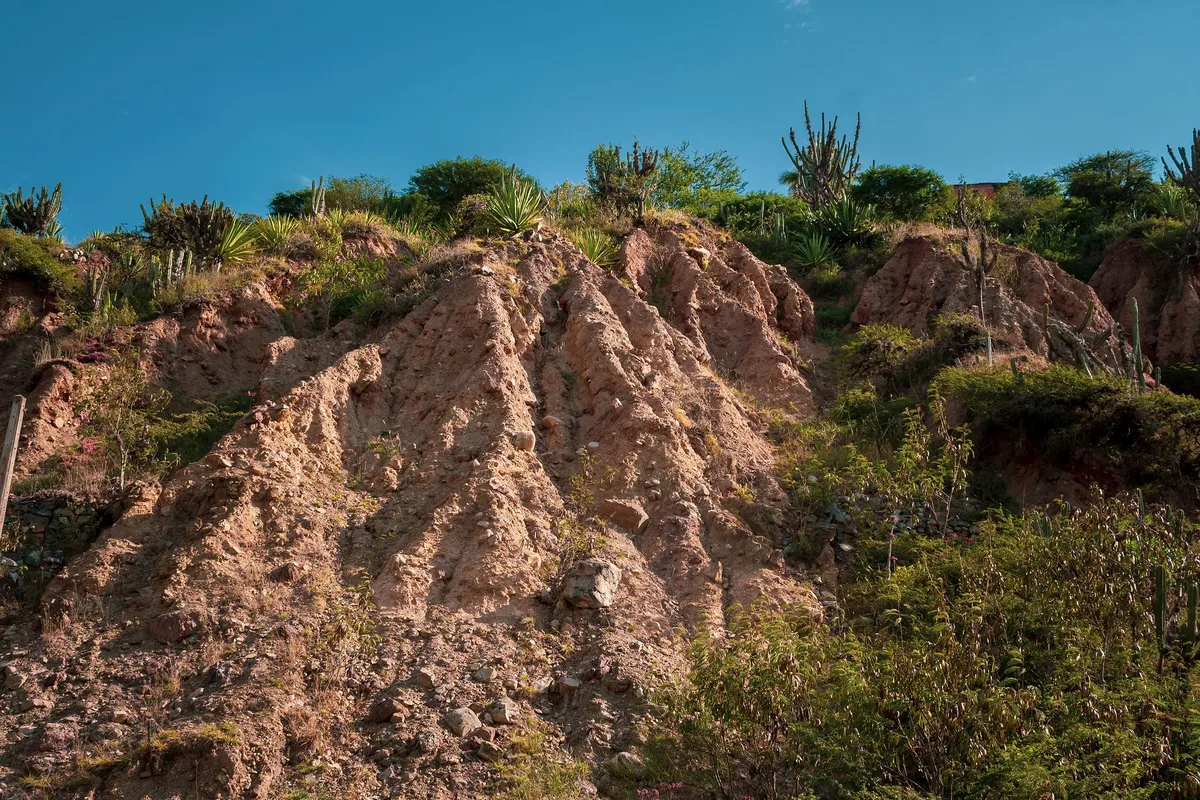
Even with the right method, a few common errors can undo all your work. Here are the biggest ones.
Seeding without any mulch or blanket. This is mistake number one. Bare seed on a slope will wash into a heap at the bottom after one good rain. Always use straw, an erosion blanket, or a seed mat.
On moderate slopes, skip the straw and go straight to a blanket.
Overwatering and washing out seeds. Heavy watering creates runoff that carries seed downhill. Light, frequent sprinkling is the only safe approach on a slope. Set a timer for 5 to 10 minutes, three times a day, until germination.
Using the wrong grass type. Shallow‑rooted grasses like annual ryegrass can’t hold a slope. You need deep‑rooted varieties. More on that in the next section.
Mowing too short or too soon. New grass on a slope needs extra leaf area to build strong roots. Wait until it’s at least 3 inches tall, then mow at the highest setting (3 to 4 inches). Cutting it short stresses the plants and invites weeds.
Fertilizing with too much nitrogen. High‑nitrogen fertilizer pushes leaf growth at the expense of roots. On a slope, you want roots first. Use a starter fertilizer with a low middle number (like 10‑20‑10) for the first two months.
For long‑term feeding, a balanced slow‑release option works better.
Choosing the Right Grass for Slope Stability
Not all grass seed is created equal when it comes to holding soil. You need varieties with deep, dense root systems.
Cool‑season options work best in northern climates and transitional zones. Tall fescue is the top choice. It has deep roots (up to 3 feet) and handles moderate shade and drought.
Fine fescue (creeping red, chewings, hard) is a good second option. Perennial ryegrass germinates fast but has shallower roots, so blend it with fescue rather than planting it alone.
Warm‑season options suit southern regions. Bermuda grass spreads by runners and forms a thick mat, but it goes dormant in winter. Zoysia is slower to establish but very durable.
Buffalograss needs less water but has a coarser look.
For steep slopes (over 25 percent), use a slope‑stabilizing mix. These blends contain a high percentage of fine fescues and often include a small amount of perennial ryegrass for quick cover. Some mixes add a tiny bit of annual ryegrass as a nurse crop, but it should be less than 10 percent of the blend.
Consider native alternatives if the slope is extreme or has poor soil. Native grasses like little bluestem or sideoats grama have roots that go 4 to 6 feet deep. They’re not a traditional lawn, but they stop erosion better than any turfgrass.
If you want to attract pollinators while stabilizing the slope, check our list of the best plants for hummingbirds for low‑growing native options.
Real Scenarios: What Worked (And What Didn’t)
A 15 percent backyard slope in Ohio. The homeowner used a jute erosion blanket over tall fescue seed. They watered with a soaker hose laid across the slope (perpendicular to the fall line). Germination was patchy at first, but after three weeks the grass filled in.
The blanket decomposed by midsummer. Total cost: about $80 for a 500‑square‑foot area.
A 30 percent roadside bank in Texas. A contractor hydroseeded with a warm‑season mix (Bermuda plus a little ryegrass) and a polymer tackifier. The first rain came two days later, and the tackifier held. The grass was fully established in six weeks.
One year later, the bank had no gullies. Cost: $0.18 per square foot.
A failed attempt on a 20 percent clay slope in the Pacific Northwest. The homeowner spread seed and straw on unprepared clay soil. Heavy rain arrived three days later. The straw blew off, and the seed washed into a pile at the bottom.
They tried again with a coir blanket and proper soil prep, and it worked the second time.
How to Water New Grass on a Slope Without Causing Erosion
Watering is the trickiest part of slope seeding. You want the soil moist, but you don’t want runoff.
- Use soaker hoses laid horizontally across the slope, not down it. They deliver water slowly and evenly, reducing runoff.
- Set a timer for short cycles, 5 to 10 minutes per zone, three times a day. This keeps the top inch of soil damp without creating surface flow.
- Water early in the morning and again in the late afternoon. Avoid watering at night, which can encourage disease. For tips on keeping your lawn disease‑free, see our guide on the best fungicide for lawns.
- Check for runoff after each cycle. If you see water pooling at the bottom or forming rivulets, reduce the cycle time or increase frequency.
- Stop watering once the grass reaches 3 inches tall. At that point, roots are deep enough to handle longer, less frequent watering. Switch to once a day, then every other day.
On very steep slopes, consider installing a drip irrigation system with emitter tubing laid across the slope. Drip watering eliminates runoff entirely and delivers water directly to the root zone.
Maintenance After Establishment: Mowing, Fertilizing, and Thatch
Once the grass is 3 to 4 inches tall, you can start mowing. But be careful.
Mow at the highest setting (3.5 to 4 inches). Taller grass shades the soil, reduces evaporation, and encourages deeper roots. Never take off more than one‑third of the leaf height at a time.
Mow across the slope (perpendicular to the fall line) rather than up and down. This reduces the risk of the mower tipping and helps prevent erosion channels. Use a walk‑behind mower on slopes above 20 percent.
Riding mowers are unstable on steep grades.
Fertilize lightly in the fall for cool‑season grasses, or in late spring for warm‑season varieties. Use a balanced fertilizer with a ratio like 16‑4‑8. Avoid heavy nitrogen applications in the first year.
If you need a boost for fruit or nut trees nearby, check our advice on the best organic fertilizer for fruit trees to avoid runoff issues.
Watch for thatch buildup. Slopes can accumulate thatch faster because clippings slide downhill and pile up at the base. Rake or dethatch the bottom of the slope each spring. For heavy thatch, use a power rake or a leaf rake designed for pine needles.
Inspect for bare spots after heavy rain. Fill them immediately with seed and a small patch of erosion blanket. Small gullies should be filled with topsoil and seeded before they become large rills.
When to Hire a Pro (And What to Ask)
If your slope is above 25 percent, you’ve already failed once, or you don’t own a truck and a sprayer, it’s time to call a contractor.
A hydroseeding crew typically charges $0.10 to $0.20 per square foot. Ask them what tackifier they use and whether they include a soil test. For steep slopes, look for a company experienced in slope stabilization, not just lawn seeding.
They should offer erosion control blankets or turf reinforcement mats as part of the package.
Decision Guide: Quick Summary by Slope Angle
| Slope Grade | Best Method | Cost per Sq. Ft. | Key Risk |
|---|---|---|---|
| 0–10% | Seed + straw mulch or sod | $0.05–$0.60 | Overwatering |
| 10–25% | Erosion blanket + seed | $0.15–$0.30 | Blanket shifting |
| 25–40% | Hydroseeding or TRM | $0.18–$0.50 | Seed washout |
| Above 40% | Terracing or native plants | Varies | Structural failure |
Frequently Asked Questions
Can I just throw seed and straw on a steep hill?
No. On any slope above 10 percent, straw alone won’t hold. Use an erosion blanket or hydroseeding with tackifier.
Bare seed and straw will wash into a pile at the bottom.
How long until the grass roots are strong enough?
Most turfgrasses need 8 to 12 weeks to develop roots that can resist light runoff. For steep slopes, expect 12 to 16 weeks before the roots are deep enough to hold soil.
What if my slope gets full sun and dries out fast?
Use a slope‑stabilizing mix with drought‑tolerant varieties like tall fescue (cool season) or Bermuda (warm season). Water more frequently in short cycles and consider a drip irrigation system.
Will sod hold on a 20 percent slope?
Yes, but only if you pin it with sod staples every 2 feet along seams and in the center of each roll. Without pins, sod on a 20 percent slope will slide downhill after a heavy rain.