How to Grow Grass in Clay Soil for 2026: What Actually Works
Why Clay Soil Kills Grass (and What You Can Actually Do About It)
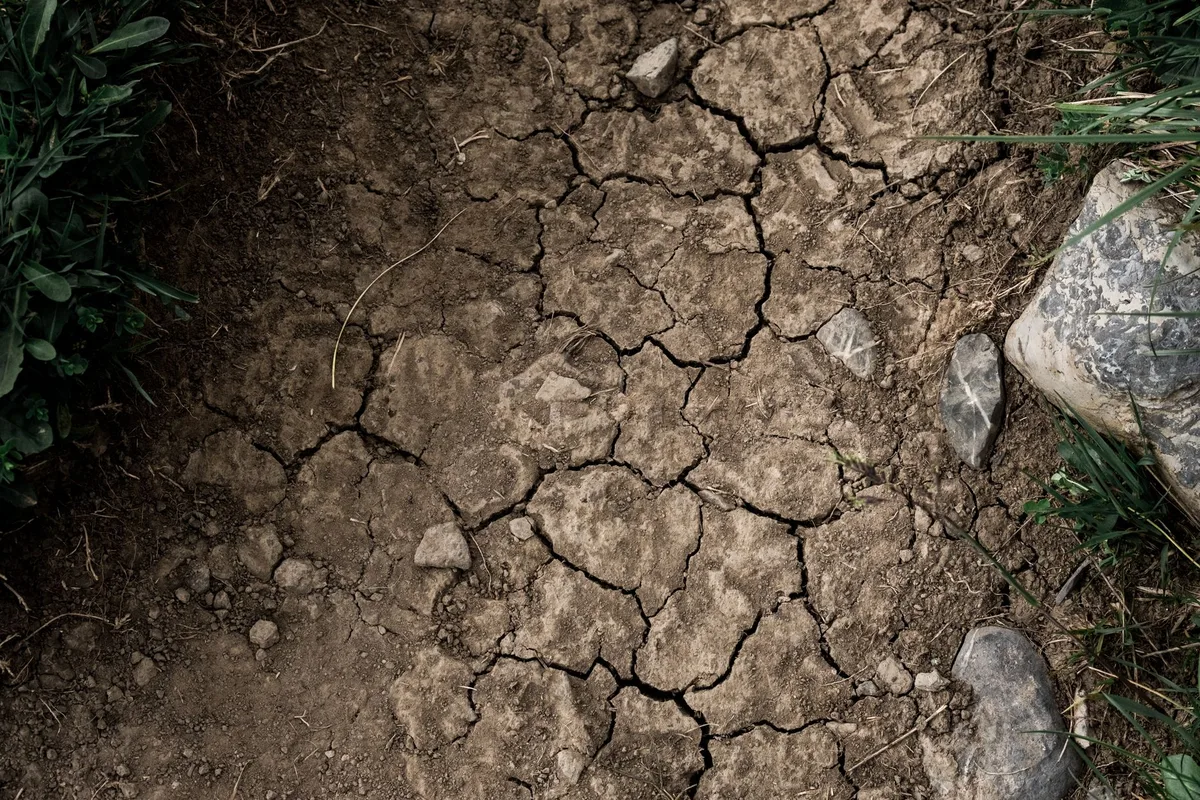
If you’ve ever tried to grow grass in clay soil, you know the struggle. The ground turns rock-hard in summer and becomes a muddy mess after rain. Grass seedlings either drown or bake before they get a chance.
Learning How to Grow Grass in Clay Soil takes a different approach than ideal loam.
Clay particles are microscopic, less than 0.002 mm in diameter, which is why they pack so tight. A simple percolation test can tell you if your soil drains less than one inch per hour, a common red flag. The good news?
With the right steps, you can transform that clay into a thriving lawn. Let’s walk through the process step by step.
The Quick Answer: How to Grow Grass in Clay (The 30-Second Version)
Test your soil pH and drainage. Aerate the compacted clay. Add 1 to 2 inches of compost.
Choose a grass variety bred for clay, like tall fescue. Seed in early fall or late spring. Water lightly daily until germination.
Mow high once the grass reaches 4 inches. Avoid heavy foot traffic for the first season. That’s the short version.
Now let’s break down exactly what to do.
Step 1: Test Your Soil – The Only Way to Know What You’re Dealing With
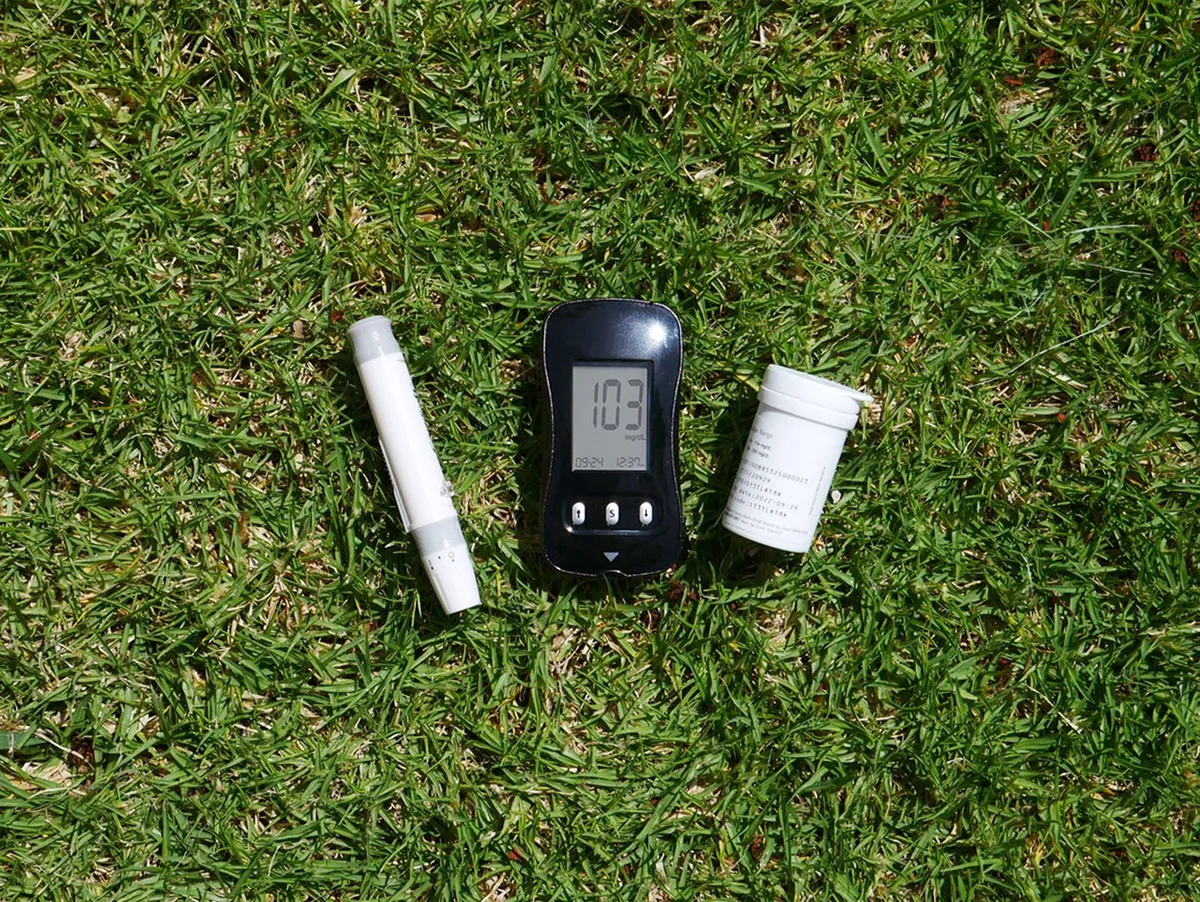
Before you spend a penny on seed or amendments, you need to know your soil’s starting point. A simple home pH test kit gives you a rough read, but a lab soil test from your local cooperative extension is far more precise. It will tell you pH, nutrient levels, and organic matter percentage.
Clay soil typically has a pH between 5.5 and 7.5. Most turfgrasses prefer a pH of 6.0 to 7.0. If your pH is below 6.0, you might need lime.
If it’s above 7.0, sulfur or gypsum may help. But don’t guess, the test results will specify exactly how much.
A test also reveals phosphorus and potassium levels. Many clay soils are naturally rich in phosphorus, so you may not need a starter fertilizer high in that element. Over-fertilizing can actually harm new grass.
After you have the results, you can choose the right slow-release fertilizer tailored to your soil’s needs. That targeted approach saves money and avoids runoff.
Step 2: The Drainage Test – Is Your Clay Waterlogged or Just Heavy?
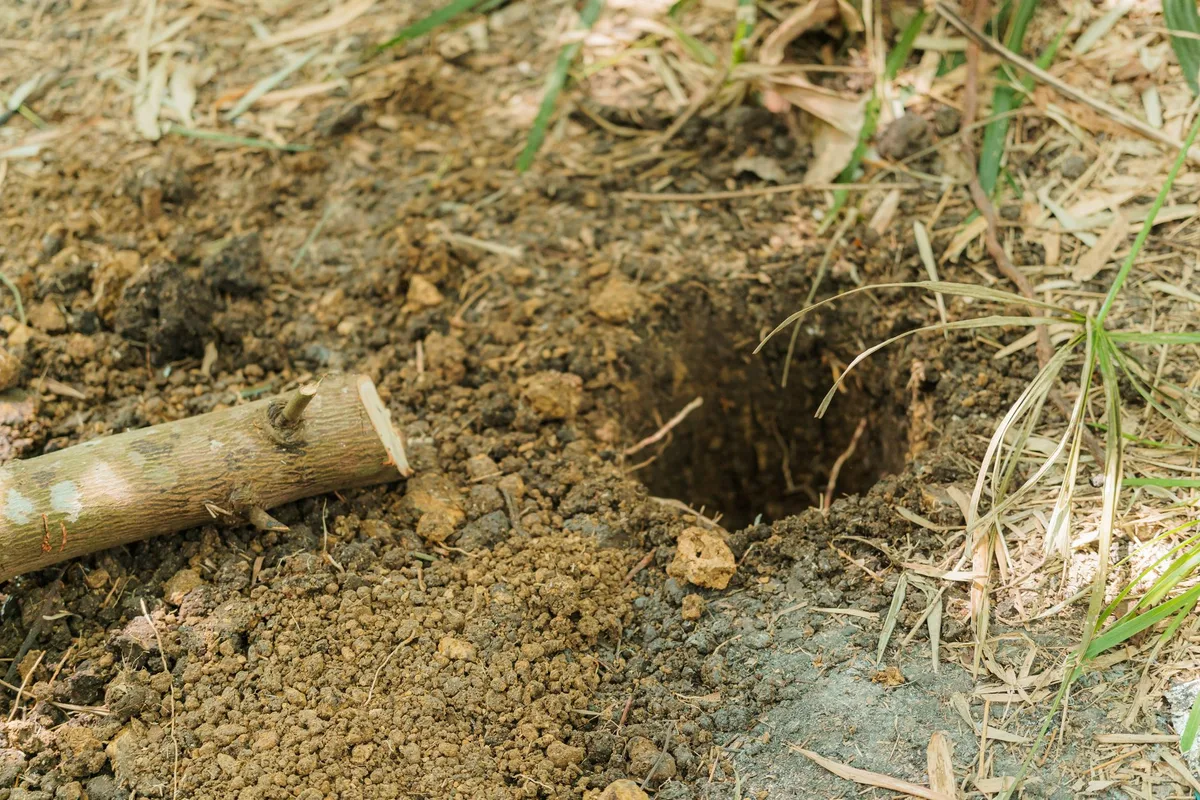
Now we check how fast water moves through your clay. Dig a hole about 12 inches deep and 6 inches wide. Fill it with water and let it drain completely.
Then fill it again and measure how many inches the water level drops per hour.
If it drains less than 1 inch per hour, you have serious compaction issues. That means grass roots will suffocate in wet conditions. If it drains between 1 and 2 inches per hour, you have moderate drainage, still workable with aeration and organic matter.
Anything above 2 inches per hour is decent for clay.
Waterlogged clay is a breeding ground for fungal diseases. If you’ve had brown patches or root rot in the past, a fungicide application might become necessary later in the season. But fixing drainage now is the real cure.
Step 3: Pick the Right Grass for Your Clay – Cool-Season vs Warm-Season Choices
Not all grass species tolerate heavy clay equally. The smartest move is to choose a variety bred for compacted soil. Here’s a quick comparison:
| Grass Type | Best For Clay? | Establishment | Drought Tolerance | Shade Tolerance |
|---|---|---|---|---|
| Tall Fescue | Yes – excellent | Fast from seed | High | Moderate |
| Kentucky Bluegrass | Moderate – needs good drainage | Slow (28+ days) | Low | Poor |
| Perennial Ryegrass | Good for quick cover | Fast (7–10 days) | Low | Low |
| Bermudagrass (warm-season) | Excellent in sun | Fast in heat | High | Poor |
| Zoysia (warm-season) | Good – spreads slowly | Very slow | High | Moderate |
Tall fescue is the go‑to for cool‑season regions. It has deep roots that break through compacted layers. In the South, Bermudagrass handles clay better than St.
Augustine. For hot dry climates, you might also consider pairing your lawn with drought‑tolerant trees for dry climates that won’t compete too aggressively for water.
If you have heavy shade over clay, tall fescue still works better than bluegrass. But expect slower growth. You can also overseed with a shade‑tolerant fine fescue blend.
Step 4: Amend Your Clay – Compost, Gypsum, or Lime? (And When to Skip Them)
This is where most people get it wrong. They throw sand on clay hoping to loosen it. That turns your soil into concrete.
Sand particles are larger than clay particles, and when mixed, they fill the gaps and create a cement-like structure. Don’t do it.
The real fix is organic matter. Compost is the gold standard for clay soil. Spread 1 to 2 inches of well-rotted compost over the area.
Work it into the top 4 to 6 inches of soil. This improves drainage, adds nutrients, and feeds the microbes that naturally break up compacted clay.
Gypsum works on sodic clay only. That’s clay with high sodium content. You’ll know you have sodic clay if it forms a hard crust and water pools on the surface.
Gypsum replaces sodium with calcium, which helps clay particles clump into larger crumbs. But on regular clay, gypsum does nothing.
Lime is only needed if your soil test shows pH below 6.0. Applying lime without a test can push pH too high, locking up nutrients. If your pH is fine, skip it.
For most clay soils, a 1 to 2 inch layer of compost worked into the top 4 to 6 inches is the single best amendment you can make.
Step 4: Amend Your Clay – Compost, Gypsum, or Lime? (And When to Skip Them)
You’ve got your soil test results. Now it’s time to act. The decision tree splits based on three factors: pH, drainage, and sodium level.
If your pH is below 6.0: Apply lime at the rate your soil test recommends. Pelletized lime is easier to spread than powdered. Work it into the top 4 inches.
It takes months to fully react, so apply it at least 8 weeks before seeding.
If your pH is above 7.5: You may have alkaline clay. Elemental sulfur can lower pH, but it works slowly. A better first step is adding 1 to 2 inches of compost.
That buffers the pH naturally and improves structure.
If your clay is sodic (hard crust, slow drainage): Gypsum is your friend. It replaces sodium with calcium, which helps clay particles clump together. Apply 40 to 60 pounds per 1,000 square feet.
Water it in well.
For most clay soils: Compost is the universal fix. Spread 1 to 2 inches over the surface. Work it into the top 4 to 6 inches.
This adds organic matter, feeds earthworms, and improves drainage. It also buffers pH naturally.
What about sand? Never add sand to clay. It creates a concrete-like mixture that’s worse than either alone. Stick with organic matter.
If you want to improve drainage further, combine compost with core aeration.
Step 5: Prepare the Seedbed – Core Aeration, Topdressing, and Seeding the Right Way
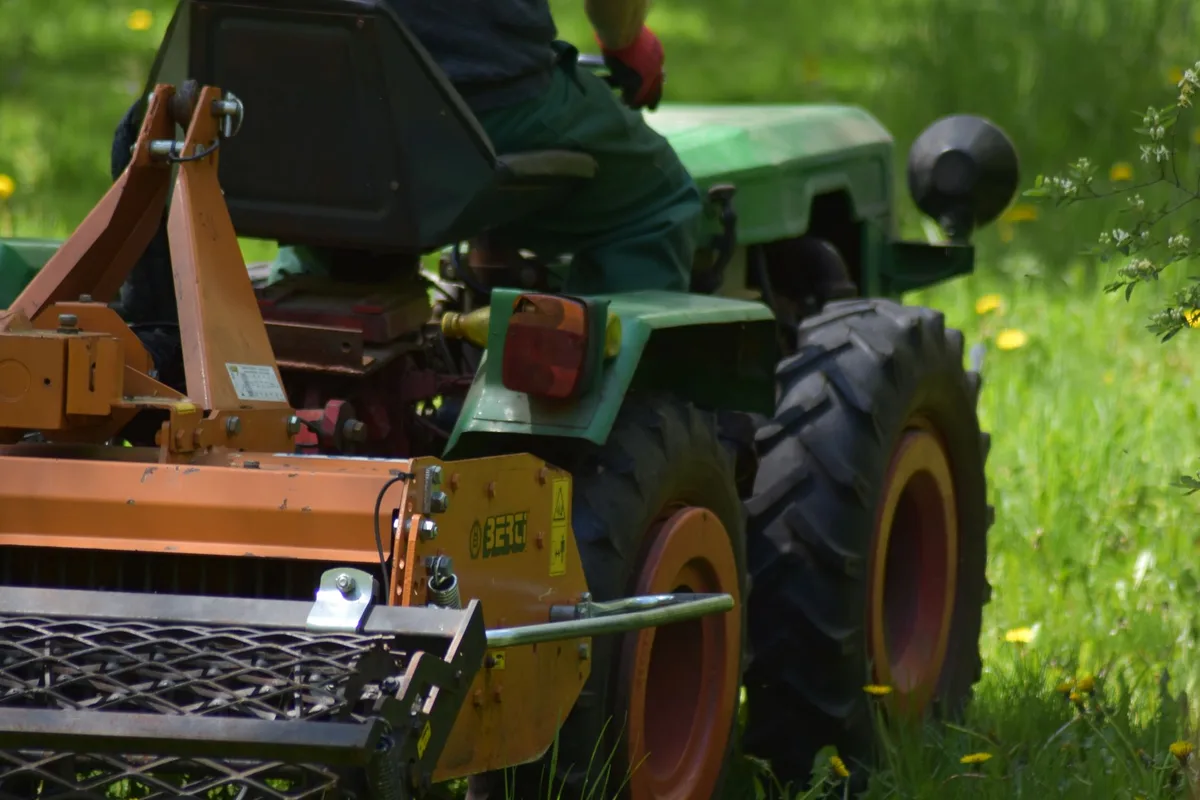
Now you’re ready to physically break up that compacted clay. Core aeration is the most effective method. A machine pulls out plugs of soil about 2 to 4 inches deep.
Those plugs sit on the surface and break down naturally over time.
Rent a core aerator from a local equipment shop. Walk it over the entire lawn in a grid pattern. The holes allow air, water, and roots to penetrate deeper.
Spike aeration just pokes holes without removing soil. It can actually increase compaction around the holes. Stick with core aeration.
After aeration, spread your compost. A 1 to 2 inch layer across the surface is ideal. Rake it into the aeration holes.
This fills the channels with organic matter, giving roots a direct path into the soil. If you’re seeding a bare area, till the compost into the top 4 to 6 inches instead.
For existing lawns, topdressing works well. Spread a thin layer of compost (about half an inch) over the grass and rake it into the aeration holes. The grass will grow right through it.
This method avoids disturbing the existing turf while still improving the soil.
Step 5: Prepare the Seedbed – Core Aeration, Topdressing, and Seeding the Right Way
Core aeration is the single most effective physical fix for compacted clay. A machine pulls out plugs of soil 2 to 4 inches deep. Those plugs sit on the surface and break down naturally.
The holes let air, water, and roots penetrate deeper.
Rent a core aerator from a local tool shop. Walk it over the entire lawn in a grid pattern. For bare soil, you can till the compost in directly.
For existing lawns, topdress with half an inch of compost and rake it into the aeration holes.
After aeration and compost, it’s time to seed. Use a broadcast spreader for even coverage. For tall fescue, aim for 6 to 8 pounds per 1,000 square feet.
For Bermudagrass, use 1 to 2 pounds per 1,000 square feet. Lightly rake the seed into the top quarter inch of soil. Then roll the area with a lawn roller to ensure good seed-to-soil contact.
Water is critical now. Keep the top inch of soil consistently moist. That means watering once or twice a day for the first two weeks.
After germination, reduce to deeper, less frequent watering. This encourages roots to grow deep into the clay.
Step 6: Water and Maintain Like a Pro on Clay – Avoid the Two Biggest Mistakes
Clay soil holds water like a sponge. That’s both a blessing and a curse. The biggest mistake people make is watering too often.
Clay stays wet for days after a rain. If you water on a schedule instead of checking moisture, you’ll drown the roots.
The second mistake is mowing too short. Taller grass develops deeper roots. For clay, set your mower blade to 3 to 4 inches.
That extra height shades the soil, reduces evaporation, and encourages roots to push deeper into the clay.
Water deeply but infrequently once the grass is established. Aim for about 1 inch of water per week, including rainfall. Use a rain gauge or a tuna can to measure.
Water in the early morning to reduce evaporation and fungal risk.
Fertilize lightly in the growing season. Clay soils hold nutrients well, so you don’t need heavy applications. A balanced fertilizer like 10-10-10 applied at half the label rate works fine.
Over-fertilizing can lead to thatch buildup and runoff.
Step 6: Water and Maintain Like a Pro on Clay – Avoid the Two Biggest Mistakes
We touched on watering earlier, but let’s go deeper. Clay soil’s water retention is a double-edged sword. It can keep roots hydrated during dry spells.
But it also stays wet longer, which invites disease.
Mistake 1: Watering too often. If the soil is still damp an inch below the surface, skip watering. Stick your finger in the ground. If it feels moist, wait.
Overwatering on clay leads to shallow roots and fungal problems.
Mistake 2: Mowing too short. Scalping a clay lawn stresses the grass. Keep the mower blade at 3.5 to 4 inches. Taller grass develops deeper roots, which helps break up compacted clay over time.
It also shades the soil, keeping it cooler and reducing water loss.
Fertilize in early spring and early fall. Use a balanced fertilizer like 10-10-10 at half the label rate. Clay holds onto nutrients, so you don’t need as much as sandy soil.
A slow-release fertilizer for flowers works well for lawns too, since it feeds gradually without burning.
Common Mistakes That Ruin a Clay Lawn (Especially the Sand Myth)
Let’s clear up the biggest myth first. Adding sand to clay soil does not improve drainage. It creates a mixture that’s harder than either material alone.
Think of concrete. That’s sand plus clay. You’re essentially making a building material.
Here are the other common errors:
- Tilling wet clay. Working clay when it’s wet destroys its structure. You’ll end up with hard clods that take years to break down. Wait until the soil is moist but crumbly, not muddy.
- Seeding at the wrong time. Cool-season grass needs soil temperatures between 60 and 75°F. Warm-season grass needs 75 to 85°F. Seeding too early or too late means poor germination and weak roots.
- Skipping aeration. Throwing seed on compacted clay is a waste. The roots can’t penetrate. Always aerate first.
- Overwatering after germination. Once grass is 2 inches tall, cut back to deep weekly watering. Shallow daily watering creates weak surface roots.
- Mowing too short. Scalping clay grass stresses it and invites weeds. Keep it tall.
If you’re dealing with persistent weed problems after establishment, a targeted weed control strategy may be needed. But healthy clay grass that’s mowed high and watered deep will naturally crowd out most weeds.
Decision Guide: What to Do Based on Your Exact Situation
Here’s a simple decision tree based on your starting point.
Situation A: Bare clay soil, no grass yet.
Test pH and drainage. If pH is below 6.0, apply lime. If drainage is under 1 inch per hour, aerate and add 2 inches of compost.
Till it in. Seed with tall fescue or Bermudagrass. Water lightly daily for 3 weeks.
Situation B: Existing lawn with thin, patchy grass.
Core aerate in early fall. Topdress with half an inch of compost. Overseed with a clay-tolerant grass blend.
Keep the area moist for 2 weeks. Mow high.
Situation C: Water pooling after rain.
Do the drainage test. If it’s under 0.5 inches per hour, you may need a French drain or a dry well. For moderate pooling, core aeration and compost will help.
Avoid walking on wet clay.
Situation D: Hard, cracked clay in summer.
Water deeply once a week. Apply a thin layer of compost as mulch. Consider adding gypsum if the soil is sodic.
Keep grass tall to shade the soil.
Situation E: Shady clay lawn.
Use a fine fescue blend or tall fescue. Reduce watering frequency. Shade keeps clay wet longer, so watch for fungus.
Aerate annually.
For any situation, remember that clay soil improves over time. Each season of aeration and compost adds organic matter. After a few years, you’ll have dark, crumbly soil that supports a thick lawn.