How to Reduce Soil Compaction in 2026 (Step-by-Step Guide)
If your lawn feels like pavement after a rain, or your garden veggies just won't grow roots deeper than a few inches, you're dealing with soil compaction. Learning how to reduce soil compaction is the single most effective thing you can do for your soil's health. Compacted soil chokes off the air and water your plants need to thrive.
In fact, research from the USDA Natural Resources Conservation Service shows that bulk density above 1.6 grams per cubic centimeter in clay soils stops most root growth entirely. That's not just hard soil, that's a physical barrier. The good news: you can fix it.
But the method depends entirely on your situation.
The Problem: Why Your Soil Feels Like Concrete (and Why It Matters)
You might notice water pooling on the surface instead of soaking in. Maybe your lawn feels spongy underfoot, or worse, rock hard. Those are classic signs of compacted soil.
Here's what happens at ground level. Soil particles get pressed together so tightly that the pore spaces between them collapse. Those pores are where oxygen, water, and nutrients hang out for roots to grab.
When they disappear, roots can't breathe. They can't drink. They can't push deeper.
This doesn't just slow down your plants. It creates a cascade of problems. A stressed lawn becomes a magnet for weeds and disease.
A garden with compacted beds yields less. Trees in compacted urban soil often show canopy dieback long before the owner sees the root issue.
The worst part is that most people grab a tiller or a shovel and start digging. That often makes compaction worse, especially if the soil is wet. As of 2026, more homeowners are recognizing that one-size-fits-all fixes don't work.
You need a strategy that matches your specific soil type, severity, and what's growing there.
Quick Answer: The One-Paragraph Guide to Fixing Compacted Soil
Reduce soil compaction by diagnosing severity first. For lawns, use core aeration and topdress with compost. For gardens, try a broadfork or deep-rooted cover crops.
For severe hardpan, subsoiling may help. Always fix the cause, not just the symptom.
What Soil Compaction Actually Is (And How to Spot It)
Bulk density is the measurement that tells you if your soil is compacted. It's the weight of dry soil divided by its volume. Loose, healthy soil has lots of pore space.
Compacted soil has very little.
Thresholds that matter:
- Sandy soils: bulk density above 1.6 g/cm³ is problematic
- Silty soils: above 1.5 g/cm³
- Clay soils: above 1.4 g/cm³
Numbers are helpful, but you can diagnose compaction without a lab test. Try these three field tests.
The Shovel Test
Push a sharp spade straight into the soil. In healthy soil, it sinks in several inches with moderate effort. In compacted soil, it bounces off the surface or stops at a hard layer three to six inches down.
That layer is your compaction zone.
The Water Infiltration Test
Cut a can open at both ends and push it an inch into the soil. Pour one cup of water into it and time how long it takes to drain. If it takes more than 10 minutes for the water to disappear, you have a compaction problem.
Healthy soil drinks that cup in under a minute.
Using a Penetrometer
A penetrometer is a metal rod with a gauge that measures soil resistance. Push it into the ground until it hits resistance. Readings above 300 pounds per square inch indicate moderate compaction.
Anything over 500 PSI is severe and will stop root growth cold. Several university extension services offer these for loan if you don't want to buy one.
The Decision Tree: Start Here
This is the part where most guides go off track. They tell you to aerate, or add gypsum, or plant daikon radish. But those are only half the answer.
You need to match the method to your specific situation.
Step 1: Rate the severity
- Light compaction: You can push a spade in with firm pressure. Water drains in 5 to 10 minutes. You see some puddling after heavy rain but it clears within hours.
- Moderate compaction: The spade stops at 3 to 4 inches. Water sits for hours. Lawns show thin spots and moss. Garden plants look stunted.
- Severe compaction: The spade barely breaks the surface. Water pools and stays for days. You see cracks in dry weather. Hand-pulling weeds is nearly impossible.
Step 2: Identify your soil type
Squeeze a handful of moist soil.
- If it forms a loose ball and crumbles easily, you have sandy loam.
- If it forms a tight ball that feels sticky and shiny when rubbed, you have clay.
- If it feels silky smooth like flour, that's silt.
- If it holds shape but breaks apart with a gentle poke, that's ideal loam.
Clay compacts worst because the particles are flat and stack like plates. Sand compacts least but can still form a crust.
Step 3: What's growing there right now?
- Lawn or turfgrass
- Vegetable garden or flower beds
- Trees or shrubs
- Bare soil or a new construction site
- Row crops or pasture
If/then decision logic:
- Lawn + light to moderate compaction → core aeration + compost topdressing
- Lawn + severe compaction → core aeration in spring and fall, plus heavy compost topdressing each time, and consider reducing foot traffic
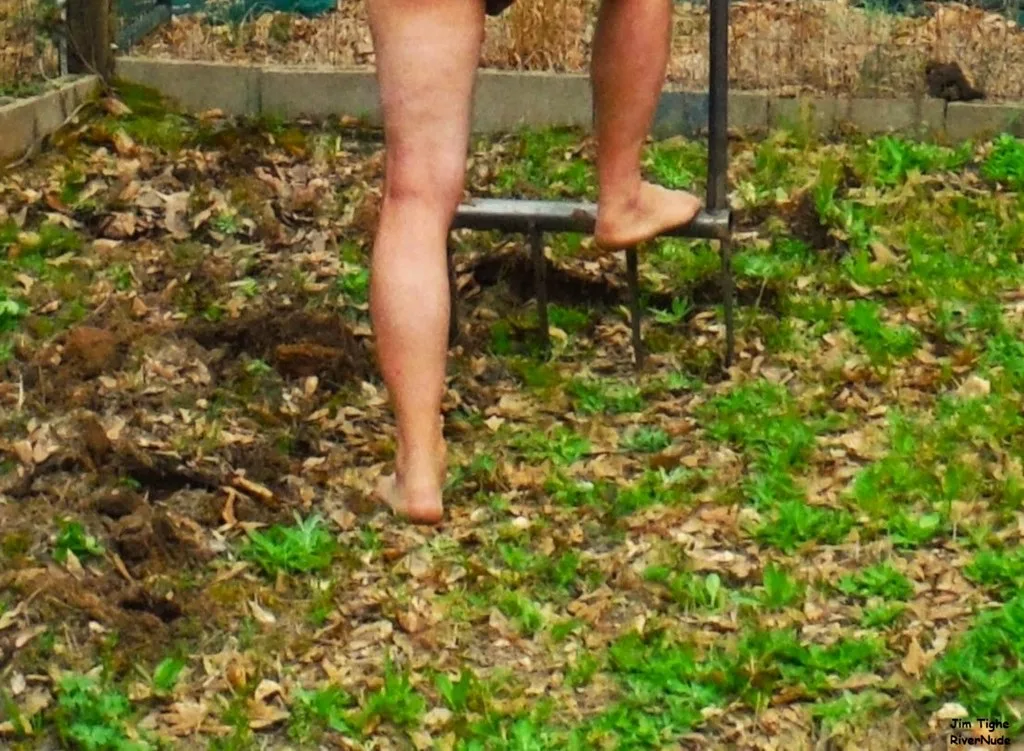
- Garden beds + any severity → broadfork or cover crops (tilling only as a last resort)
- Bare construction soil → deep tillage once to break the hardpan, then plant a cover crop immediately
- Trees → avoid tilling near roots; use biological methods and careful hand aeration
- Row crops or pasture → subsoiling if a plow pan exists, plus transition to no-till
This decision tree is the foundation. Each branch leads to a specific method. Let's walk through the most common scenarios.
Method 1: Core Aeration (Best for Lawns with Light to Moderate Compaction)
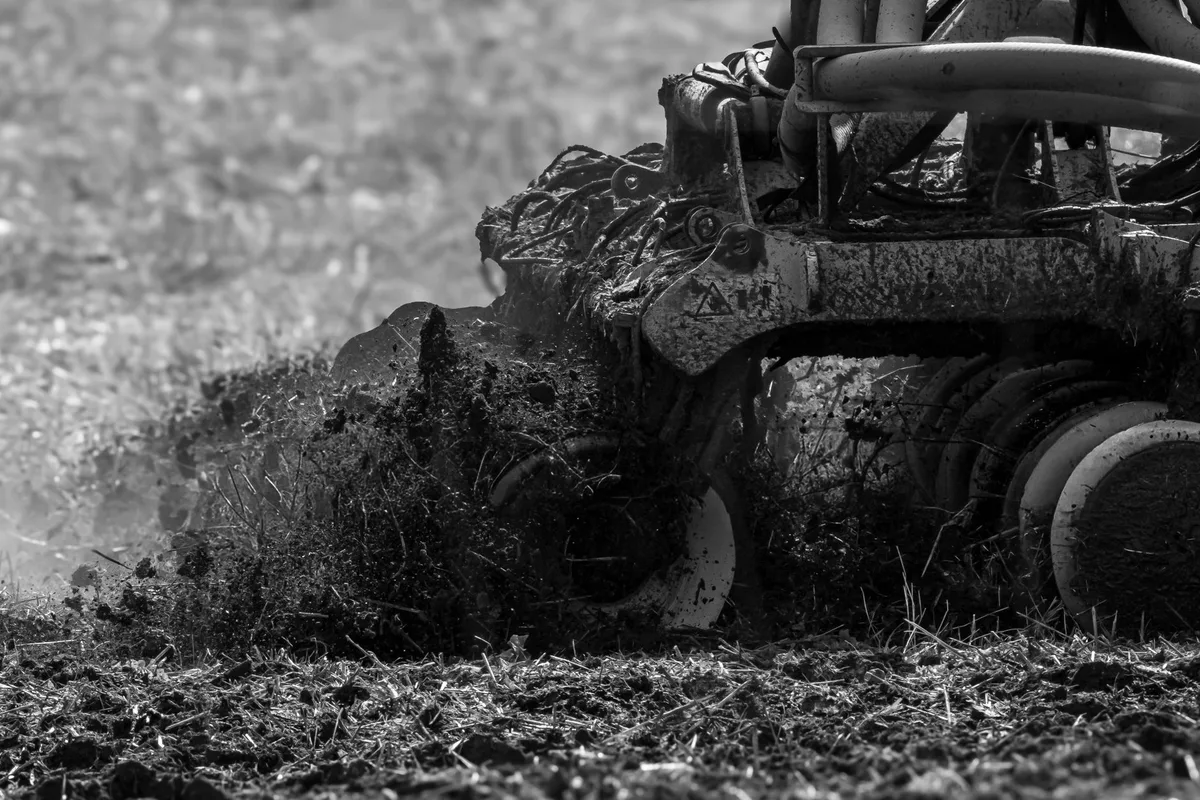
Core aeration is the gold standard for compacted lawns. A machine pulls small plugs of soil out of the ground. Those plugs are typically 2 to 3 inches long and about half an inch in diameter.
The holes left behind give roots room to expand and open channels for air and water.
How it works
The aerator's hollow tines punch into the soil and pull out a core. The machine spaces the holes about 2 to 3 inches apart. A single pass makes about 20 to 40 holes per square foot.
That's plenty of relief for most lawns.
After aeration, the plugs sit on top of the grass. Leave them there. They break down over a few weeks and return organic matter to the soil surface.
That's free compost working its way back in.
When to aerate
Timing matters a lot. For cool-season grasses like fescue and bluegrass, aerate in early fall or early spring. For warm-season grasses like Bermuda and zoysia, aerate in late spring through early summer.
The key is to do it during active growth so the grass recovers quickly.
Never aerate when the soil is wet. Wet soil smears instead of fracturing. You end up with sealed holes that do nothing.
Wait until the soil is moist but not dripping.
Renting vs. buying
Manual core aerators exist but they're brutal on anything larger than a postage stamp. For any lawn over 500 square feet, rent a walk-behind power aerator. Rates run about 75 to 100 dollars for a half-day as of 2026.
Most hardware stores and equipment rental yards carry them.
If you plan to aerate annually for the next several years, buying a used machine might make sense. But for most homeowners, renting is the smarter move. You also avoid storing a bulky piece of equipment.
Topdressing: why it's not optional
Here's the step most people skip. After aeration, spread a quarter to half-inch layer of fine compost over the lawn. Use a rake or a spreader to work it into the holes.
This does two things. First, it fills the holes with organic matter that feeds soil microbes. Second, it improves the soil texture over time.
Skipping topdressing means you get the hole but not the long-term soil improvement. Adding compost turns a good aeration session into a great one. Aggregate user reviews across gardening forums consistently rate topdressed aeration as the most effective method for lawn recovery.
Common mistakes to avoid
- Running the aerator when the soil is wet. Wait 24 to 48 hours after a rain.
- Only making one pass. If compaction is moderate, go over the lawn in two different directions.
- Not marking sprinkler heads or shallow utility lines. A 50-dollar repair bill is cheaper than a broken line.
- Aeration without follow-up care. Aerating stresses the lawn temporarily. Water it well and consider a light fertilizing after the operation. A healthy lawn fights off weeds better, so this is also a good time to think about disease prevention, a balanced fungicide schedule can help stressed turf recover faster.
If you're working on garden beds rather than lawn, the next method is probably more your speed.