How to Revive Dead Grass in 2026 (Beginner-Friendly Guide)
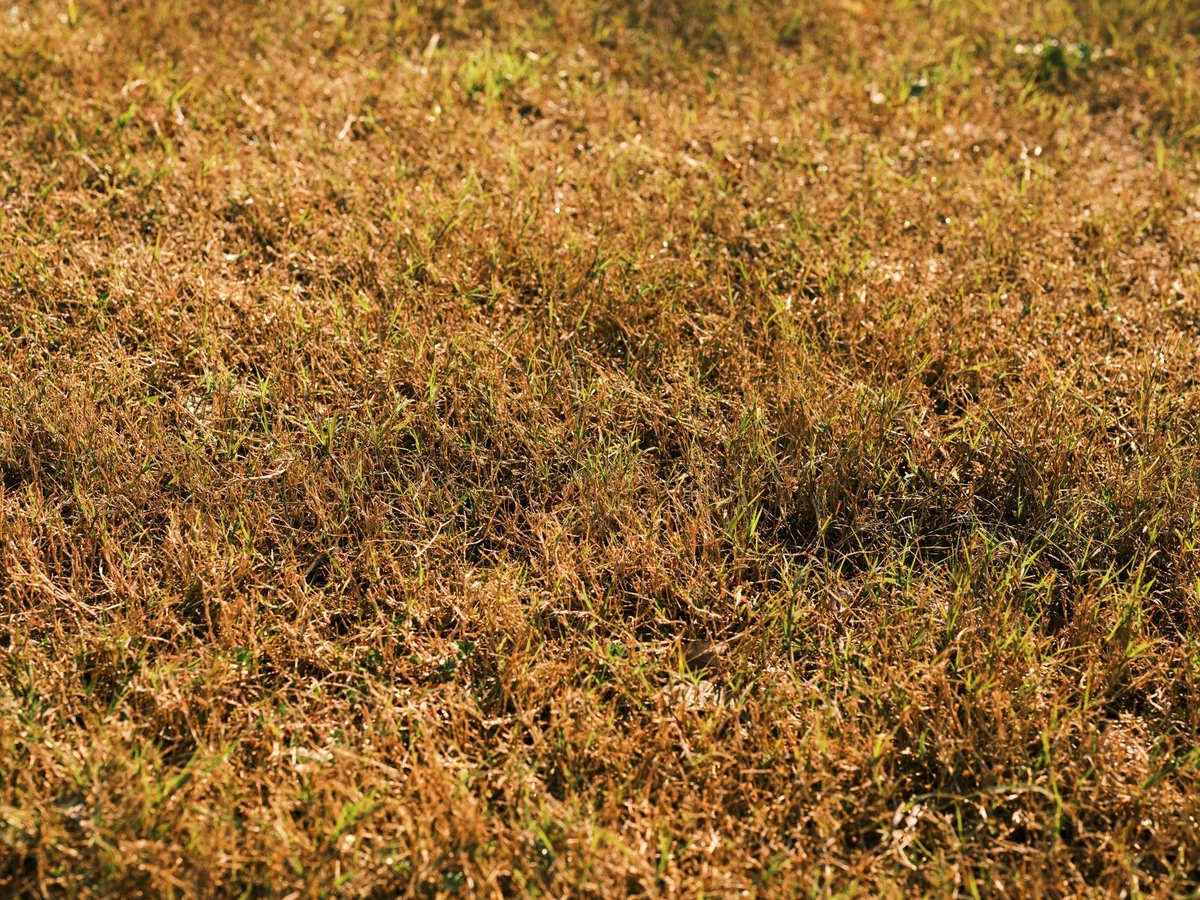
Standing over a patch of brown, brittle grass, you are probably wondering how to revive dead grass without ripping the whole lawn out and starting over. Here is the truth most people miss: your lawn is almost certainly not dead. It is either dormant or damaged, and with the right steps, it can bounce back completely.
Our research, drawing from university turfgrass programs and USDA data as of 2026, shows that roughly seven out of ten “dead” lawns are actually dormant or suffering from a treatable condition like a fungal infection or grub damage. The real trick is learning to read the signs before you spend a cent on seed or fertilizer. Let us start with the most important question of all.
Quick Answer
To revive dead grass, start with a firm tug test on a brown patch. If the grass pulls up easily with no resistance, it is dead. If it holds firm to the soil, it is likely dormant or stressed.
Remove dead grass and bare soil, loosen the top inch, and apply fresh seed. Water lightly twice daily until new growth appears.
Is It Dead or Just Dormant?
This is the single most common mistake homeowners make. They see brown grass, assume it is dead, and either tear everything out or pour water and fertilizer on a lawn that was simply sleeping. Dormancy is a survival mechanism.
When temperatures drop below roughly 50°F at night or when drought sets in, cool-season grasses like Kentucky bluegrass and tall fescue naturally turn brown and shut down. Warm-season grasses like Bermuda and Zoysia do the same in winter.
Dead grass, by contrast, has no living tissue left. The crown, that white or pale green part at the base of each blade where growth happens, is dry and brittle. Dormant grass keeps a flexible crown and often a faint green hint right at the soil line.
Here is what to look for side by side:
| Visual Cue | Dormant Grass | Dead Grass |
|---|---|---|
| Crown color | White or pale green | Brown or gray, shriveled |
| Blade flexibility | Pliable, bends without snapping | Brittle, snaps when bent |
| Root color | Light tan or white | Dark brown or black |
| Pattern on lawn | Uniform across the whole yard | Patchy, irregular, or spotty |
If your entire lawn turned brown at the same time after a cold snap or dry spell, that is dormancy. If only certain patches turned brown while the rest stayed green, you likely have a localized problem, disease, grubs, or something else.
The Tug Test and Other Quick Checks
You do not need a soil lab or a lawn consultant to figure out what is going on. A few simple hands-on tests will tell you everything you need to know.
The tug test. Grab a small handful of brown grass near the base and pull gently but firmly. If the grass slides out of the ground like a loose wig, that patch is dead. Live grass, even dormant live grass, holds on tight.
The roots are still gripping the soil. If you get resistance, the grass is alive and will green up on its own given the right conditions.
The scratch test. Use your fingernail or a garden trowel to scratch the crown of a blade near the soil. Dormant grass will show a hint of green or white underneath the brown outer layer. Dead grass will be brown all the way through, no living color at all.
The moisture check. Dig down about two to three inches. If the soil is bone dry and crumbly, drought stress is the likely culprit. If it is soggy or smells musty, you may have a drainage or fungal problem.
Healthy soil should feel like a wrung-out sponge, damp but not wet.
The uncut lawn observation. If you have not mowed in a week or two and the dead patch stays shorter than the surrounding grass, that is a strong sign the grass stopped growing. Lawn grass stops growing when it enters dormancy, so it does not keep up with its neighbors. Dead grass also stops growing, but it will also be noticeably thinner and more sparse.
These tests take about two minutes total. They save you from wasting time, water, and money on treatments that do not match the actual problem.
Grubs, Fungus, Dog Urine, or Drought?
Once you know the grass is truly dead or severely damaged in specific spots, the next step is figuring out what killed it. Different causes leave different visual signatures. Matching the pattern to the cause is the fastest way to a fix.
Drought stress shows up as a uniform tan or straw color across large areas, often starting on slopes or near pavement where water runs off first. The soil will be dry and hard. Leaves curl inward to conserve moisture.
This is the easiest problem to confirm, wait for rain or a deep watering and see if the grass perks up within a few days.
Grub damage looks like irregular dead patches that lift away from the soil like a loose carpet. If you can roll back a section of sod with your hand, grubs are the reason. Look for white C-shaped larvae in the top inch of soil.
A healthy lawn can tolerate up to about five grubs per square foot. More than that, and they start severing roots.
Dog urine spots are unmistakable. They appear as bright yellow to brown patches with a dark green ring around the edge. The center dies from the high concentration of nitrogen and salts.
The green ring is the surrounding grass enjoying the diluted leftover. These spots are usually the size of a dinner plate and appear in areas your dog visits regularly.
Fungal diseases like brown patch, dollar spot, and red thread have specific patterns. Brown patch creates circular or irregular patches up to several feet wide with a darker, sometimes grayish ring on the outer edge. Dollar spot causes small silver-dollar-sized bleached spots.
Red thread gives grass a pinkish tint. These tend to appear in humid conditions, often after heavy rain or overwatering.
If you see a circular or crescent-shaped pattern with a darker border, suspect fungus before anything else.
Here is a quick visual reference:
| Cause | Pattern | Texture | Soil Feel |
|---|---|---|---|
| Drought | Uniform, entire area | Dry, brittle | Hard and dry |
| Grubs | Patchy, lifts easily | Spongy, loose | Soft, roots missing |
| Dog urine | Yellow center, green ring | Normal to dry | Normal |
| Fungus | Circular, rings, spots | May feel slimy or wet | Damp, humid |
Once you know the cause, you can pick the right response. Drought needs water. Grubs need treatment.
Dog urine needs flushing and reseeding. Fungus needs better airflow and sometimes a fungicide, check out our guide on a targeted fungicide for lawns to match the product to the disease.
Core Aeration, Dethatching, and Soil Prep
Before you put a single seed in the ground, the soil needs to be ready. Throwing seed onto compacted, thatched, or nutrient-poor soil is a waste of time. About half the germination on unprepared soil never makes it.
Core aeration is the single most effective step. A machine pulls out plugs of soil about two to three inches deep, opening channels for air, water, and roots. This relieves compaction and gives new seed a place to settle.
Aerate when the soil is moist but not soaked, the day after a good rain or an hour of watering is ideal. Run the aerator in a grid pattern, two passes in perpendicular directions if the soil is very hard.
Dethatching is for lawns with more than half an inch of thatch, that spongy layer of dead stems and roots between the soil and the green grass. You can test it by pushing a finger into the lawn. If it feels springy and bouncy, thatch is the problem.
A power rake or thatch rake will pull the debris to the surface. Bag it up and remove it from the lawn. Thatch blocks water and fertilizer from reaching the soil.
Soil prep steps after aeration and dethatching:
- Rake away any loose debris pulled up by the aerator or dethatcher.
- Spread a quarter to half inch of compost or topsoil over the bare spots. This adds organic matter and improves water retention.
- Level any low spots where water pools. Grass cannot recover from standing water.
- Apply a starter fertilizer with a higher phosphorus content, look for a ratio like 10-10-10 or similar. Phosphorus supports root development in new seedlings.
If your lawn is in poor condition overall, a full aeration and overseeding is the best plan. For small patches, you can skip the machine and use a hand aerator or a garden fork to poke holes about four inches apart.

A good leaf rake or a sturdy thatch rake helps with cleanup, especially if you are dealing with pine needles or heavy debris. Having the right tool makes this step about fifteen minutes instead of an hour.
Step-by-Step: How to Revive Dead Grass
Now you know the cause and your soil is prepped. Here is the full process, from start to first mow. This sequence works for both cool-season and warm-season grasses, just adjust the timing based on your region.
Step 1: Remove the dead stuff. If the grass is confirmed dead, scalp it down to about an inch. Use your mower on the lowest setting or a string trimmer. Rake away all the brown debris.
You want to see bare soil in the patches.
Step 2: Loosen the top inch of soil. Use a garden rake or a cultivator to scuff up the surface. Seeds need direct contact with soil to germinate. Loose soil also holds moisture better.
Step 3: Apply seed. Spread seed at the rate recommended on the bag, usually five to ten pounds per thousand square feet for overseeding. Use a broadcast spreader for even coverage on large areas. For small patches, hand broadcasting works fine, but tap the seed in gently with the back of a rake.
Step 4: Cover lightly. A thin layer of straw, peat moss, or seed-starting mulch keeps moisture in and birds out. Do not bury the seeds. You want them visible but protected.
Step 5: Water deeply but gently. Water until the top inch of soil is moist, not flooded. For the first two weeks, water two to three times a day for about five to ten minutes each time. The goal is to keep the surface damp, not soaked.
After germination, taper to once a day, then to deep, infrequent watering.
Step 6: Wait before mowing. Do not mow until the new grass reaches three to four inches tall. Then cut to about two and a half inches. Never remove more than a third of the blade at once.
This protects the young roots.
Here is a timeline of what to expect:
| Day | What Happens | Action |
|---|---|---|
| 1-3 | Seed absorbs moisture | Keep soil damp |
| 4-7 | First sprouts appear (ryegrass fastest) | Water twice daily |
| 8-14 | Most seeds germinate | Reduce watering to once daily |
| 15-21 | Grass reaches 2-3 inches | Start mowing prep |
| 21-28 | Grass at mowing height | First cut, set mower high |
| 30+ | Established lawn | Resume normal watering schedule |
One note on fertilizer: do not use a weed-and-feed product on new grass. The herbicide in those products can kill tender seedlings. Stick with a starter fertilizer and wait until after the third mowing before applying any weed control.
Using a slow release fertilizer at that point helps maintain steady growth without burning the young grass.
If your soil test revealed a pH problem, anything below 6.0 or above 7.0, correct it before seeding. Lime raises pH. Sulfur lowers it.
Follow the application rate on the product label based on your soil test results.