Guide to Spring Yard Cleanup Checklist (2026) — Easy Methods
You step outside in early spring expecting to see fresh green growth, and instead you find a mess of broken branches, soggy leaves, and mystery patches of brown lawn. That's where a solid Spring Yard Cleanup Checklist saves you from wasting weekends and making expensive mistakes. Done right, this seasonal reset prevents pests, stops disease, and sets your lawn up for a strong growing season.
In our research, the single biggest factor homeowners get wrong is timing. The USDA Plant Hardiness Zone map and local frost date data from NOAA show that starting even two weeks too early can damage tender grass shoots and kill back perennials. As of 2026, the recommended soil temperature for most pre-emergent applications is 55°F at four inches deep.
Let's walk through what to do and what to skip so you don't learn the hard way.
Quick Answer
A spring yard cleanup checklist covers debris removal, pruning, lawn care, mulching, and gutter cleaning. Start after the last frost date for your zone. Remove dead branches first.
Rake lightly to avoid damaging new growth. Sharpen mower blades before the first cut. Apply pre-emergent when soil hits 55°F.
Mulch two to three inches deep. Clean gutters safely with a stable ladder.
Why Getting Spring Cleanup Right Actually Matters
Most people think spring cleanup is just about making the yard look pretty. In reality, it's about preventing problems that compound through summer and fall. Dead leaves and debris left on the lawn through winter create a perfect environment for snow mold, a fungal disease that leaves dead patches that take months to recover.
According to research from university cooperative extension programs, lawns with heavy leaf cover in early spring show significantly higher rates of fungal infection than those cleared promptly.
Beyond disease, there's the pest factor. Slugs, snails, and certain beetles overwinter in that debris layer. When spring warmth hits, they emerge hungry and ready to munch on your tender new growth.
A thorough cleanup removes those hiding spots before populations explode.
Then there's the safety angle. Winter storms leave behind hanging branches, cracked limbs, and damaged trees that can fall without warning. The National Safety Council reports that falling branches and trees cause thousands of injuries each year, many during spring cleanup when homeowners finally notice the damage.
Getting those hazards dealt with early is the single most important thing on your list.
This isn't about perfection. It's about giving your yard a fighting chance before the growing season takes off.
The Biggest Risks Most Homeowners Miss
Deadwood and Hanging Branches
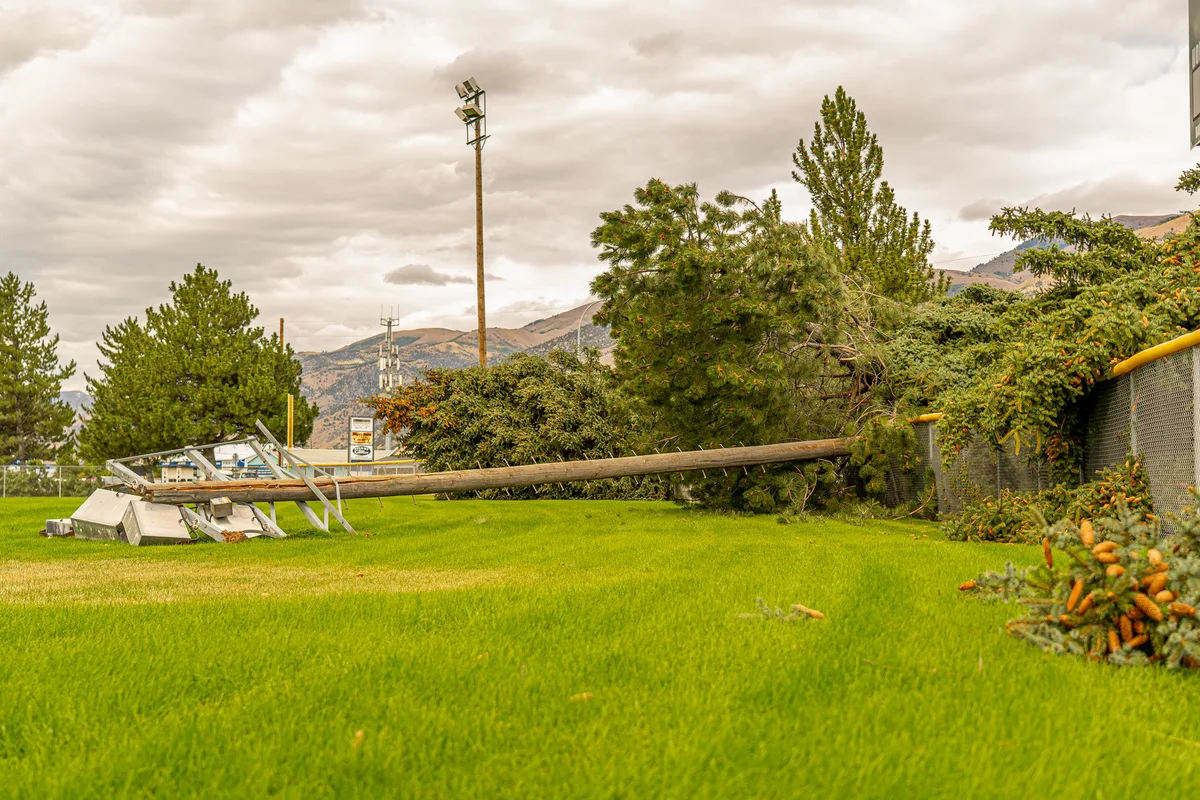
The most urgent risk is overhead. Heavy snow and ice loads stress tree limbs, especially on species like oaks, maples, and birches. Come spring, those damaged branches may look fine from the ground, but structural cracks inside the wood make them time bombs.
A sudden wind gust or even the weight of new leaves can bring them down.
Check trees from multiple angles. Look for cracked bark, missing bark patches, or branches that hang lower than their neighbors. If you see split crotches where a branch meets the trunk, that's a structural failure waiting to happen.
Branches thicker than your wrist require professional removal. For smaller stuff, use bypass pruners with a clean, sharp cut.
Dormant Grass Damage
Walking on frosty or waterlogged lawn compresses the soil and crushes tender crowns. If the ground squishes under your boots, stay off it. Wait until it's firm enough that you don't leave footprints deeper than half an inch.
The rule is simple: if you can see your footprints, you're too early.
Tool Injuries
Spring cleanup typically means pulling out tools you haven't touched since November. Dull blades, rusty chains, and dry-rotted handles cause more emergency room visits than you'd think. The American Society of Landscape Architects recommends a full tool inspection before the first use each season.
Check for loose screws, cracked wooden handles, and worn electrical cords.
Chemical Misapplication
Applying pre-emergent or fertilizer too early is a common and costly mistake. Put pre-emergent down before soil temperatures hit 55°F and you waste your money. Apply fertilizer before the grass is actively growing and you burn the roots or feed weeds instead.
More on timing in the next section.
What You Should Not Do in Early Spring
This is the part most checklists skip. There are several tasks you should deliberately delay.
Don't prune spring-blooming shrubs. Lilacs, forsythia, azaleas, and rhododendrons set their flower buds the previous fall. Prune them now and you cut off every bloom. Wait until after they flower, then prune immediately.
That gives them the full season to set next year's buds.
Don't remove all leaf litter. A thin layer of leaves supports beneficial insects and pollinators that overwinter in the debris. The Xerces Society for Invertebrate Conservation advises leaving some leaves in garden beds until daytime temperatures consistently reach 50°F. That gives native bees and butterflies time to emerge naturally.
Don't till wet soil. Working soil that's still soggy destroys its structure. You end up with hard, clumpy dirt that roots struggle to penetrate. Do the squeeze test.
Grab a handful of soil and squeeze it. If water drips out, it's too wet. If it crumbles when you poke it, you're good to go.
Don't mow too short. That first mow of the season sets the tone. Scalping the lawn weakens roots and invites weeds. Set your mower deck to three inches for cool-season grasses and two inches for warm-season varieties.
Never cut more than one-third of the blade height at a time.
Don't fertilize frozen ground. If there's still frost in the soil, fertilizer runs off into storm drains before roots can absorb it. That's bad for your lawn and bad for local waterways. Wait until the ground thaws completely and the grass shows signs of active growth.
The Right Timing: When to Start (Zone by Zone)
Timing varies dramatically depending on where you live. Here's a practical zone-by-zone breakdown based on USDA Hardiness Zone data and average last frost dates.
| USDA Zone | Last Frost Date Range | Start Cleanup | Pre-Emergent Window | First Mow |
|---|---|---|---|---|
| 3–4 | May 15–June 1 | Mid to late April | Late April to early May | Mid to late May |
| 5–6 | April 15–May 15 | Early to mid April | Mid April to early May | Early to mid May |
| 7–8 | March 15–April 15 | Mid March to early April | Late March to mid April | Mid April to early May |
| 9–10 | February 15–March 15 | Late February to early March | Early to mid March | Mid March to early April |
These are guidelines, not rules. The safest approach is to watch your local weather and soil conditions rather than relying solely on calendar dates. A late freeze can set you back weeks, so hold off on tender tasks like planting annuals until after your area's last frost date has passed.
For pre-emergent timing, use a soil thermometer. Push it four inches into the ground. When it reads 55°F consistently for a few days, you're in the window.
This typically aligns with when forsythia bushes start blooming. That's nature's own calendar if you prefer to skip the thermometer.
If you're growing from seed this spring, timing matters even more. Check our recommendations for the best grow light for seedlings to give indoor starts a strong head start before outdoor conditions are ready.
One more note on timing: warm-season grasses like Bermuda and Zoysia should not be fertilized until they're fully green and actively growing. That's usually late spring, not early. Cool-season grasses like fescue and bluegrass can take a light feeding in early spring, but don't overdo it.
Your Essential Spring Cleanup Toolkit (And Safety Gear)
You don't need a shed full of expensive equipment to do a proper spring cleanup. But using the wrong tool for the job wastes time and can damage your plants. Here's what actually belongs in your cleanup kit.
Core Tools
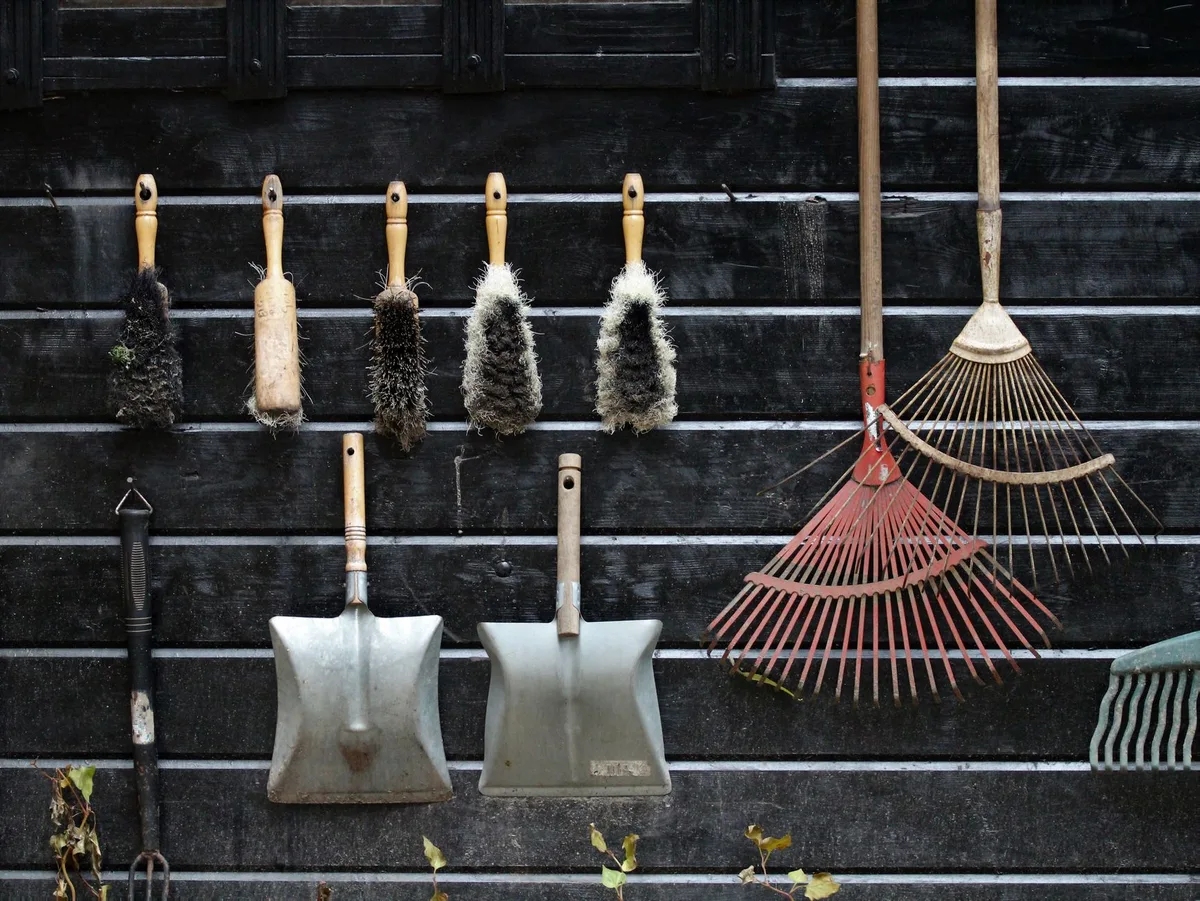
- Bypass pruners for live branches up to 3/4 inch thick. The curved blades make clean cuts that heal fast. Anvil pruners crush live wood, so save those for dead branches only.
- Loppers for branches up to 1.5 inches thick. Longer handles give you more leverage and keep your hands away from thorns.
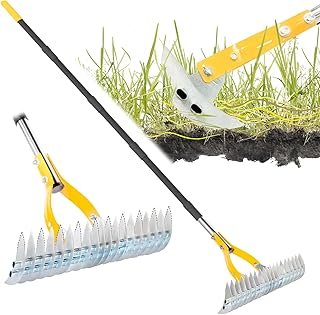
- Bow rake for thatching and breaking up compacted soil. The steel tines are tough enough to handle heavy debris.
- Leaf rake for gathering leaves and light debris without damaging grass crowns. If you have pine needles, consider specialized rakes designed to handle them without constant clogging.
- Garden trowel for edging beds and transplanting small perennials.
- Wheelbarrow or garden cart for hauling debris. A tarp works in a pinch for dragging leaves to a compost pile.
Safety Gear Worth Investing In
| Item | Why You Need It | What to Look For |
|---|---|---|
| Safety glasses | Debris from trimmers and blowers flies at high speed | ANSI Z87.1 rated |
| Hearing protection | Gas blowers hit 100 dB, damaging after 15 minutes | NRR rating of 25 or higher |
| Work gloves | Thorns, splinters, and blistered hands | Puncture-resistant leather or reinforced palm |
| Sturdy boots | Wet grass is slippery, and you need ankle support | Waterproof with slip-resistant sole |
| Knee pads | Extended kneeling on damp ground | Closed-cell foam, non-absorbent |
Our research shows that most spring cleanup injuries come from dull tools, not dangerous equipment. A sharp tool requires less force, slips less often, and leaves cleaner cuts that heal faster. That's why the next section is so important.
Step-by-Step: The Safe, Smart Spring Cleanup Process
Work through these steps in order. Skipping around means you'll step on freshly worked soil or spread debris onto areas you just cleaned.
Step 1: Do a Full Yard Inspection
Walk the entire property. Look for broken branches hanging in trees. Check fences for winter damage.
Inspect gutters for clogs. Identify areas where water pooled during thawing. Take notes.
This survey tells you what tools and materials you'll actually need.
Step 2: Remove Hazardous Debris First
Remove fallen branches, broken limbs, and any trash blown in by winter winds. These can damage your lawn mower and hide pests. Start with the biggest pieces.
Work your way down to smaller debris.
Step 3: Rake Lightly
Do not aggressively rake the lawn. You're trying to remove dead leaves and thatch, not pull up grass roots. Use a leaf rake set to a shallow angle.
If you see green shoots coming up, lift the rake head higher. For garden beds, remove only the thick mat of leaves. Leave a thin layer for pollinator habitat.
Step 4: Prune Dead and Damaged Wood
Cut branches back to the nearest healthy bud or main branch. Use bypass pruners for clean cuts. Make your cut at a 45-degree angle, about a quarter inch above an outward-facing bud.
That directs new growth away from the center of the plant.
For larger cuts, use the three-cut method on branches over two inches thick. Cut halfway through the branch from underneath first. Then cut from the top just past that undercut.
This prevents the bark from tearing down the trunk.
Step 5: Address Lawn Health
This is where you decide between aeration, overseeding, and fertilization. If your soil is compacted from winter snow and foot traffic, core aeration opens up air pockets. If you have bare patches, overseeding fills them in.
Apply a slow-release fertilizer only after the grass is actively growing and green. For weed prevention, apply pre-emergent when soil temperatures hit 55°F.
Pay attention to disease signs too. If you see circular dead patches with gray or pink edges, that's snow mold. A proper cleanup and airflow usually fixes it, but stubborn cases may need fungicide treatments.
Step 6: Mulch Beds and Edges
Spread fresh mulch two to three inches deep around trees and garden beds. Keep it at least three inches away from tree trunks. Piling mulch against the bark causes rot and invites pests.
Use a garden trowel or edging tool to create a clean border between lawn and beds.
Step 7: Clean Gutters and Downspouts
Use a sturdy extension ladder placed on level ground. Follow the 4-to-1 rule: for every four feet of ladder height, move the base one foot away from the wall. Scoop out debris by hand or with a gutter scoop.
Flush downspouts with a garden hose to check for clogs.
Seasonal Seeding Tip
If you're starting fresh beds or filling bare patches, spring is a good time to establish new growth. Choosing the right flowers for flower beds now means stronger blooms by summer.
Tools You Must Sharpen or Replace Before the First Mow
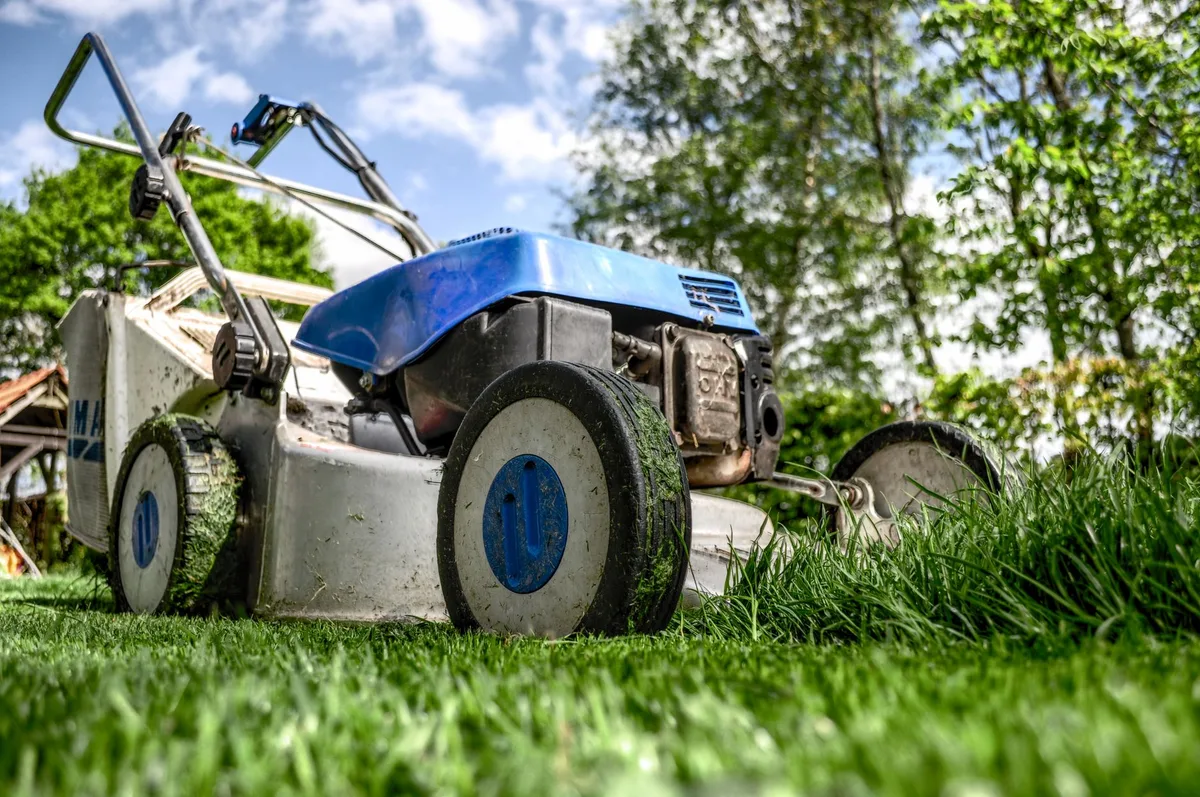
Running a mower with dull blades does real damage. It tears grass instead of cutting it. Those ragged edges turn brown within days and leave the lawn vulnerable to disease.
You lose about 30 percent of your cutting efficiency with a blade that's been used a full season without sharpening.
The Sharpening Checklist
- Lawn mower blade: Remove the blade and clean off dried grass. Use a file or bench grinder to restore the factory bevel. Balance the blade afterward by hanging it on a nail. If one side dips, file that side a bit more. An unbalanced blade vibrates and damages the mower spindle.
- Pruning shears and loppers: Wipe blades with rubbing alcohol to remove sap. Use a diamond file or sharpening stone at the same angle as the original bevel. A few strokes per side is usually enough.
- Hedge trimmers: Clean blades with a wire brush. Apply lightweight oil to the pivot points. If the blades are nicked, file them smooth before the first trim.
- Shovel and hoe edges: A dull shovel makes digging twice as hard. Use a flat file to put a fresh edge on the blade. Ten strokes per side makes a noticeable difference.
When to Replace Instead of Sharpen
If a mower blade is bent, cracked, or has deep nicks that won't file out, replace it. Generic replacement blades cost $15 to $30 and fit most popular mower models. Similarly, if pruner blades are loose at the pivot or won't hold an edge after sharpening, a new pair under $25 is cheaper than fighting with dull tools all season.
Common Mistakes That Cost You Time and Money
Mulch Volcanoes
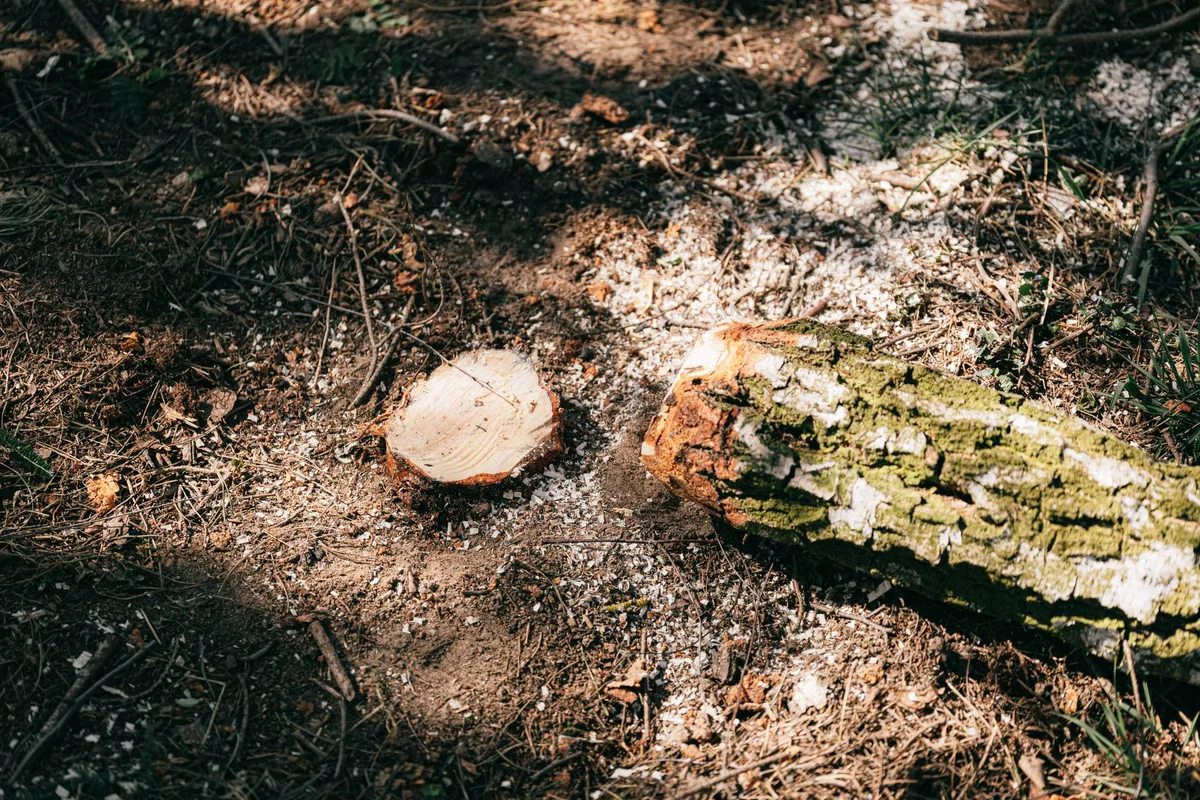
The image above shows a very common sight. Piling mulch up against the trunk of a tree creates a moist environment that rots the bark. Insects and rodents move in.
The tree can die within a few years. Keep mulch flat and no deeper than three inches. Leave a bare ring around the trunk.
Think donut shape, not volcano shape.
Over-pruning Flowering Shrubs
As we covered earlier, pruning spring bloomers in early spring removes all the flower buds for the year. The mistake gets worse when people cut them back hard, thinking they're doing maintenance. If you're unsure what a shrub is, wait until it flowers.
Then prune.
Raking Too Aggressively
Raking wet, soft spring soil can pull up grass crowns and perennial roots. You end up with bare patches that weeds love. Use a gentle touch with a leaf rake.
If you're pulling up green stuff, you're raking too hard.
Ignoring Soil Compaction
After a wet winter, soil can become dense and airless. Many homeowners skip aeration and wonder why their lawn looks weak. Compacted soil resists root growth and water penetration.
Core aeration once a year fixes this. You can rent a machine for about $70 a day or hire a service.
Applying Pre-Emergent Too Late
Pre-emergent herbicides create a barrier in the soil that stops weed seeds from germinating. If you apply it after weed seeds have already sprouted, it does nothing. Crabgrass germinates when soil hits 55°F.
That window is narrow. Use a soil thermometer or watch for forsythia blooms as a signal.
Using the Wrong Fertilizer Ratio
A high-nitrogen fertilizer in early spring pushes rapid leaf growth at the expense of root development. That weakens the plant for summer stress. Use a balanced slow-release formula like 10-10-10 or something slightly lower in nitrogen.
If you need targeted feeding, a slow release fertilizer for flowers in beds keeps blooms strong without burning roots.
When to Call a Pro vs. DIY
Not every yard task is worth doing yourself. Some jobs carry real risk. Others require equipment that's too expensive to justify using once a year.
Here's a clear breakdown.
Definitely DIY
- Light raking and debris collection: Anyone can do this. It's free exercise.
- Pruning small branches: Up to 1.5 inches thick with hand tools is safe for most homeowners.
- Mulching beds: Straightforward with a wheelbarrow and a rake.
- Basic lawn fertilization: Apply with a broadcast spreader. Read the instructions and calibrate correctly.
Strongly Consider Hiring a Pro
- Large tree removal or high limb pruning: Branches over your head require rope work, rigging, and experience. Arborists carry insurance for a reason.
- Stump grinding: The equipment is dangerous and expensive to rent.
- Full yard aeration on large properties: Over 10,000 square feet might justify hiring a service that costs $75 to $150 rather than renting a machine yourself.
Always Call a Professional
- Tree work near power lines: Do not touch. Do not attempt. Call your utility company or a certified arborist.
- Chemical pest treatments: If carpenter ants or termites are involved, hire a licensed applicator. Incorrect treatments spread chemicals or miss the colony entirely.
- Roof cleaning and high gutter work: A fall from two stories can be life-changing. Pro gutter cleaning services cost $100 to $250 and include liability insurance.
The rule of thumb is simple. If you have to ask whether it's safe, it's probably a pro job.
Aftercare: Keeping the Yard Healthy Through Spring
The cleanup is done. Now the real work begins. Consistent aftercare makes the difference between a yard that looks good for two weeks and one that thrives all season.
Water deeply but less often. Frequent shallow watering encourages weak surface roots. Aim for one inch of water per week including rainfall.
Water in the morning so grass dries before nightfall. Wet grass overnight invites fungal disease.
Watch for regrowth of weeds. Pull them when they're small and the soil is moist. A few minutes of weeding each week prevents a takeover by midsummer.
If you applied pre-emergent, avoid disturbing the soil barrier. That means no heavy raking or tilling in treated areas.
Keep an eye on your mulch depth. Wind and rain settle it over time. Top it off as needed to maintain that two to three inch layer.
Check for signs of pest activity around trees and shrubs. Early detection makes treatment much easier.
Quick Reference Checklist (Printable Summary)
Here's a condensed version you can copy or print. Work through it in order.
- Inspect yard for hazards: hanging branches, cracked trees, damaged fences
- Remove large debris and fallen branches
- Lightly rake leaves and thatch
- Prune dead and damaged wood only
- Wait to prune spring bloomers until after flowering
- Sharpen mower blade and all cutting tools
- Test soil temperature for pre-emergent timing
- Apply pre-emergent when soil hits 55°F
- Aerate compacted soil
- Overseed bare patches
- Fertilize with balanced slow-release formula
- Mulch beds two to three inches deep
- Keep mulch away from tree trunks
- Clean gutters and downspouts
- Inspect and clean all tools after use
Frequently Asked Questions About Spring Yard Cleanup
When should I start spring yard cleanup?
Start after the last frost date for your zone and when the ground is firm enough to walk on without leaving deep footprints. For most zones 5 through 7, that's mid-March to mid-April. Use a soil thermometer to confirm conditions.
Can I use a leaf blower for spring cleanup?
Yes, but use it carefully. Leaf blowers work well for dry leaves on hard surfaces. On wet lawn, they're less effective and can damage tender grass shoots.
Battery-powered models are quieter and avoid the fumes of gas blowers.
Should I remove all the leaves from my garden beds?
No. Leave a thin layer for pollinator habitat. Remove thick mats that smother plants.
The Xerces Society recommends leaving some leaf litter until daytime temperatures reach 50°F consistently. That gives native bees and butterflies time to emerge.
How often should I water after spring cleanup?
Water deeply once a week if there's no rain. New seed needs daily light watering for the first two weeks. Established lawns need about one inch of water per week.
Water in the morning to reduce evaporation and fungal risk.
What's the best way to dispose of yard waste?
Check your local regulations. Many areas offer curbside yard waste pickup. Composting is the most sustainable option for leaves and grass clippings.
Some communities have designated drop-off sites. Never burn yard waste without checking local burn bans first.