Guide to Soil Improvement Checklist for 2026: Complete Guide
You’ve probably walked into a garden that looks tired, with pale leaves and thin growth. The first step to turning that around is a clear soil improvement checklist. This guide walks you through the exact steps you need, from testing pH to adding the right amendments.
It’s built around real data and simple decision trees that keep you on track.
As of 2026, the most reliable tools include a digital pH meter that reads to ±0.1 pH and a N‑P‑K test kit that covers 0‑100 ppm ranges. A quick test can reveal a 5.8 pH level, low nitrogen, or heavy clay that holds water. With these basics, you can follow a step‑by‑step workflow that matches each condition to the right amendment.
The flow keeps guesswork to a minimum and protects both plants and soil health.
Quick Answer
A soil improvement checklist is a step‑by‑step process that tests pH, nutrients, and texture. It then matches the right amendment to each reading. Follow lime for low pH, sulfur for high pH, and targeted nutrients for gaps.
Adjust texture with sand, compost, or perlite as needed. Re‑test every 4‑6 weeks to stay on target.
Identify Your Soil’s Current Condition: Why Testing Matters
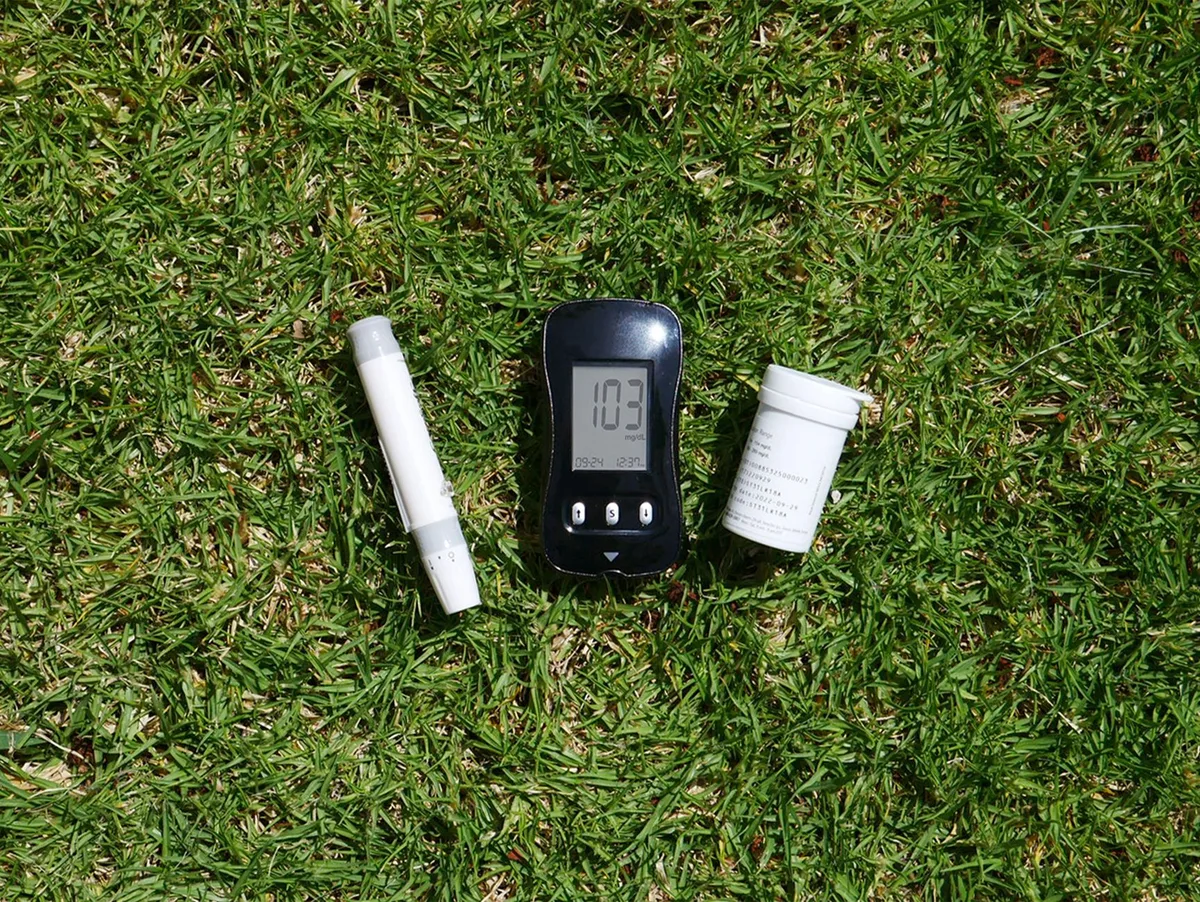
Start with a simple home soil test kit that measures pH, N‑P‑K, and texture. A digital pH meter gives precise numbers, while a dip‑type kit works for quick checks. Take three samples from different garden spots and mix them for a reliable average.
Use these results to decide which amendment branch to follow next, and note any unusual soil structure. Knowing the baseline prevents over‑liming or excess nitrogen later.
Define Your Improvement Goal: What Success Looks Like
Success starts with the plant type you are growing. Vegetable beds aim for pH 6.0‑6.8 and N‑P‑K ppm above 20 each. Lawns target pH 6.5‑7.0 and a balanced nutrient profile for green color.
Container growers focus on light, well‑draining mixes that hold moisture without waterlogging. Set a clear target before you apply any amendment, and use that goal to filter which options make sense. For indoor herb projects, consider indoor plant soil guides that cover potting mixes and drainage.
pH Adjustment Decision Branches: When to Add Lime or Sulfur
If pH is below 6.0, apply calcitic lime for calcium only or dolomitic lime for both calcium and magnesium. Re‑test after 4‑6 weeks to confirm the shift. If pH is above 7.5, introduce elemental sulfur or acidifying organic matter like pine needles to lower the reading.
Add sulfur slowly, never more than 2 lb per 1000 sq ft at a time. Use pine needles as a slow, natural acid source that also improves organic matter. Keep a log of each application and the re‑test dates to avoid dangerous over‑correction.
Nutrient Balance Decision Branches: Filling Gaps Safely
When nitrogen is low, choose blood meal for fast release or compost tea for slower, broader nutrition. If phosphorus lags, apply bone meal or rock phosphate to raise levels without excess nitrogen. For potassium deficiencies, wood ash or potassium sulfate works, but use sparingly because potassium can build up.
Micronutrient shortfalls are best addressed with kelp meal or a broad mycorrhizal inoculant. After each amendment, water lightly to dissolve the particles and move nutrients into the root zone. The decision tree matches low nutrient tags to safe, targeted amendments.
Texture & Structure Fixes: Heavy Clay and Sandy Soils
Heavy clay soils benefit from coarse sand or gypsum to break up compacted particles and improve drainage. Add perlite or fine gravel to increase pore space, and work in well‑rotted compost to reduce density. Light sandy soils need organic matter such as aged manure, biochar, or well‑finished compost to hold water and nutrients.
Incorporate the amendments into the top 4‑6 inches of soil and gently rake to avoid clods. Maintaining proper texture prevents root rot in clay and drought stress in sand, keeping plants healthy throughout the season. For lawn disease prevention after texture work, refer to proper lawn care guides.
Guide to Soil Improvement Checklist for 2026: Complete Guide
Essential Tools & Materials to Features & Components
6.1 Soil test kits and digital pH meters
Modern home testing starts with a calibrated digital pH meter that reads to ±0.1 pH. Dip‑type kits are budget friendly and give clear N‑P‑K numbers for nitrogen, phosphorus, and potassium. Look for kits that meet USDA NRCS standards for accuracy; the labels usually list the detection range (0‑100 ppm for each nutrient).
Many gardeners pair a meter with a reusable probe to reduce waste and improve repeatability.
6.2 Amendment varieties (lime, sulfur, fertilizers, biochar)
Choosing the right amendment depends on the test results. Calcitic lime supplies calcium, dolomitic lime adds magnesium, and elemental sulfur lowers pH slowly. Granulated urea offers quick nitrogen, while compost or blood meal releases nutrients over weeks.
Biochar improves water retention and carbon content without altering pH. Manufacturer specs typically list application rates (e.g., 50‑100 lb calcitic lime per 1000 sq ft for pH below 6.0). For potted plants, slow‑release formulas like those designed for bougainvillea in pots can prevent burn.
6.3 Incorporation aids (spreader, rototiller, rake)
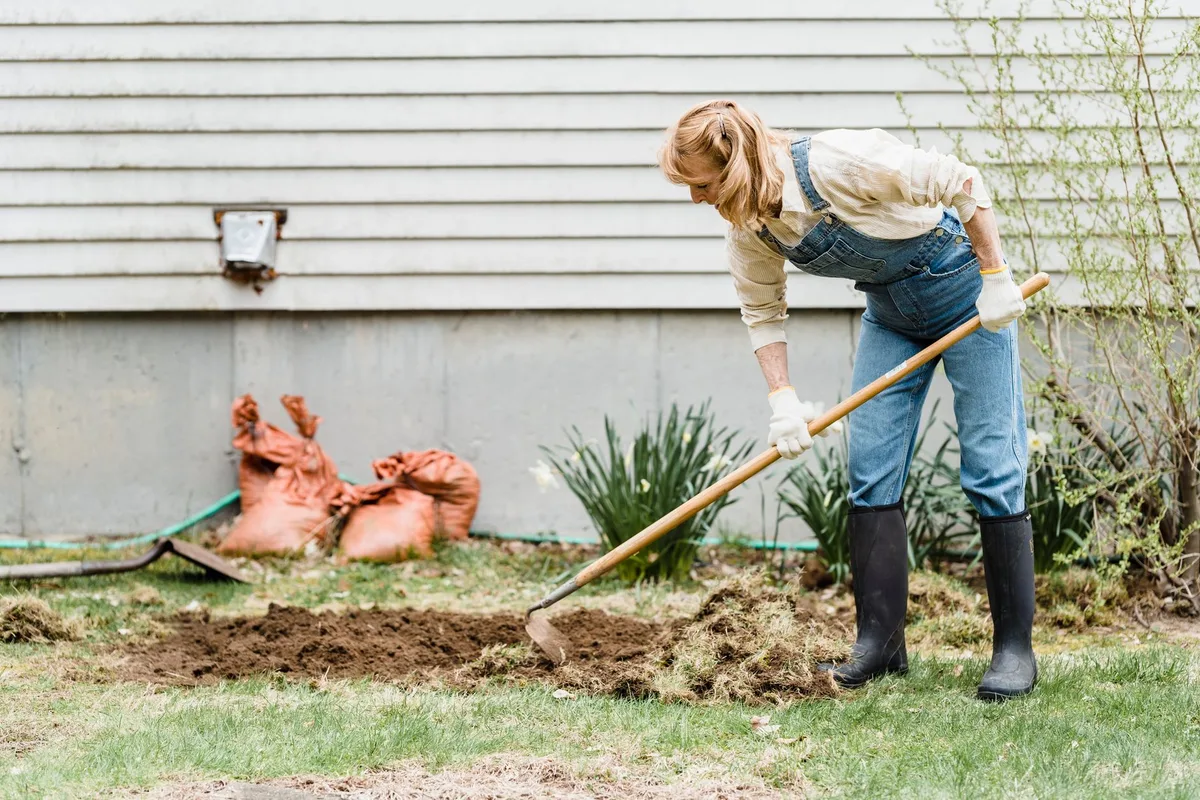
Uniform distribution matters. A drop spreader ensures even lime coverage, while a rotary tiller mixes amendments into the top 4‑6 in of soil. Hand rakes work well for small beds and raised containers.
Choose tools with adjustable depth settings; many models include a built‑in gauge that lets you set the blade depth to match the amendment particle size. When you finish mixing, a lightweight roller can firm the soil without compaction.
6.4 Monitoring gear (soil moisture sensor, moisture‑chart tablets)
Soil moisture sensors provide real‑time data on water availability, helping avoid over‑irrigation after amendment. Capacitive sensors are common in home kits and can be inserted into the root zone. Moisture‑chart tablets change color as soil dries, offering a visual cue for irrigation timing.
Pairing a sensor with a simple log book lets you track pH shifts after each lime or sulfur application.
| Tool | Primary Use | Typical Specs | Approx. Price |
|---|---|---|---|
| Digital pH meter | Accurate pH reading | ±0.1 pH, rechargeable battery | $30‑$80 |
| Dip‑type N‑P‑K kit | Quick nutrient test | 0‑100 ppm range, 5‑sample capacity | $10‑$20 |
| Calcitic lime | Raise pH, add calcium | 70 % CaCO₃, particle <0.25 in | $30‑$70 per short ton |
| Elemental sulfur | Lower pH | 99 % S, particle <0.1 in | $25‑$60 per short ton |
| Drop spreader | Even amendment distribution | 10‑ft swath, adjustable rate | $40‑$120 |
| Rototiller | Incorporate amendments | 8‑inch depth, 3‑speed settings | $150‑$450 |
| Soil moisture sensor | Monitor water status | ±2 % VWC accuracy, Bluetooth | $20‑$60 |
| Compost heap thermometer | Track decomposition | ±1 °F, probe length 8 in | $15‑$35 |
*Links to compatible products can be found in related guides such as Best Grow Light For Seedlings for supplemental setup and Best Gravel For Patio Area for drainage considerations.
Common Mistakes & How to Avoid Them
7.1 Over‑liming and micronutrient lock‑out
When pH rises above 7.5, iron, manganese, and phosphorus become less available. Over‑liming also raises calcium levels that can compete with magnesium uptake. A common rule is to apply lime only when the test shows pH below 6.0 and to wait 4‑6 weeks before retesting.
Many extension services recommend a maximum of 100 lb calcitic lime per 1000 sq ft per year. If you notice yellowing leaves after a lime application, stop and consider adding elemental sulfur to rebalance.
7.2 Wrong timing (seasonal windows, frost risk)
Late summer applications give amendments time to integrate before the first freeze. Soil microbes are most active between 50°F and 75°F. Applying sulfur in cold soil slows pH change and can delay results.
In northern zones, plan amendments no later than early September to allow a full reaction before winter. If you live in USDA Hardiness Zones 3‑5, aim for a spring application after the last frost date to avoid exposing tender roots to extreme temperatures.
7.3 Uneven incorporation and “hot spots”
Clumping amendment in one area creates localized pH swings that can damage nearby plants. Use a rotary tiller set to a shallow depth (2‑3 in) to blend amendments uniformly. Hand‑spreading works for large lawns if you overlap each pass by at least 10 %.
After incorporation, water lightly to dissolve granules and distribute nutrients. If you notice yellow patches after a recent amendment, retest the soil in that zone; it may need supplemental micronutrients.
Related reading includes Best Plants For A Bedroom for indoor soil considerations and Best Flowers For Shade Hanging Baskets for container moisture management.
Step‑by‑Step Implementation Guide to Full Workflow
8.1 Sampling & lab analysis (3‑sample protocol)
Collect three cores from each bed at a depth of 4‑6 in. Remove rocks, roots, and litter before mixing. Place samples in a clean bucket, crush lightly, and combine into a single container.
Label with date and location. Send the mixed sample to a local agricultural extension or a reputable lab; most services provide results within 5‑7 business days. Keep a copy of the report for future reference.
8.2 Amendment application (rates, spacing, watering)
Apply amendments according to the label and the table below. Space applications evenly to avoid concentration spikes. After spreading, water the area gently for 10‑15 minutes to activate the nutrients.
For granular lime, a light irrigation helps dissolve calcium carbonate. If you use sulfur, a slightly acidic water source improves dissolution. Record the date and rate in a log sheet.
| Amendment | Typical Rate (per 1000 sq ft) | Application Method |
|---|---|---|
| Calcitic lime | 50‑100 lb | Drop spreader |
| Dolomitic lime | 60‑120 lb | Rototiller incorporation |
| Elemental sulfur | 1‑2 lb | Hand spreader |
| Blood meal | 2‑4 lb | Broadcast then water |
| Compost (aged) | 1‑2 in depth | Rake into top soil |
8.3 Incorporation methods (rototiller vs. hand rake)
A rotary tiller works well for larger areas, providing even mixing to a depth of 4‑6 in. Set the depth gauge to avoid disturbing existing plant roots. For raised beds or container gardens, a hand rake or garden fork is sufficient.
Ensure the amendment is distributed throughout the soil profile; after incorporation, lightly firm the surface to reduce wind erosion.
8.4 Post‑amendment care (irrigation, protection from compaction)
After amending, water consistently for 2‑3 weeks to help nutrients settle. Use a drip irrigation system if possible; it delivers moisture directly to the root zone while minimizing runoff. Protect the soil from foot traffic for at least 10 days, especially after lime application.
If you have pets, keep them off the amended area until the soil is settled.
8.5 Re‑testing & adjustments (4‑6‑week schedule)
Plan to retest pH and nutrient levels 4‑6 weeks after the first amendment. Most home kits can be reused, saving money over multiple cycles. Adjust by adding a second, smaller lime or sulfur dose if needed.
For nitrogen deficits, a light top‑dressing of compost tea can be applied without disturbing the soil structure. Keep a calendar reminder for each testing cycle; consistency is the key to long‑term soil health.
Real‑World Success Story to Sarah’s Garden Transformation
9.1 Starting point (soil pH 5.8, low N)
Sarah’s garden began with a pH of 5.8, measured with a digital meter. Her N‑P‑K test showed nitrogen at 12 ppm (target >20 ppm). The texture was heavy clay with poor drainage.
She noticed wilting lettuce and slow‑growing tomatoes.
9.2 Timeline & actions taken (lime, blood meal, compost)
Sarah applied 75 lb of calcitic lime per 1000 sq ft in early spring. Two weeks later, she mixed 3 lb of blood meal into the top 4 in of soil. A month after that, she incorporated 1 in of aged compost and coarse sand to improve structure.
Throughout the season, she used a soil moisture sensor to schedule watering every other day.
9.3 Measured outcomes (pH 6.6, 30 % yield boost)
Six weeks after the first lime application, a follow‑up test showed pH risen to 6.6, within the optimal range for vegetables. Nitrogen levels climbed to 28 ppm. Sarah’s tomato harvest increased by roughly 30 % compared to the previous year, and the lettuce remained crisp without leaf burn.
9.4 Key takeaways
- Test before you amend; a quick home kit saved time and money.
- Apply lime early, then follow with targeted nitrogen to avoid shock.
- Incorporate organic matter to balance texture and water retention.
Safety, Regulations & Long‑Term Maintenance
10.1 Required PPE & handling precautions
Always wear nitrile gloves, safety glasses, and a dust mask when handling lime, sulfur, or synthetic fertilizers. Protective footwear prevents accidental skin contact. Follow OSHA guidelines for bulk handling; keep amendment bags sealed after use.
Store chemicals in a ventilated area away from children and pets. If you experience eye irritation, rinse immediately with water and seek medical attention.
10.2 EPA & USDA compliance (nitrogen labeling, organic standards)
EPA regulations require nitrogen‑based fertilizers to list the exact N‑P‑K ratio and any warnings about runoff. When you purchase organic amendments, look for the USDA Organic seal to ensure compliance with national standards. Certified organic inputs often have stricter limits on heavy metals and pathogens.
Use only EPA‑approved products to avoid fines and protect local waterways.
10.3 Seasonal maintenance checklist (re‑testing, cover‑crop rotation)
Plan a calendar that includes:
- Early spring pH test (March in most zones)
- Mid‑season nutrient check (July)
- Fall soil analysis (September) before adding winter cover crops
- Plant a winter rye or vetch cover crop to rebuild organic matter and suppress weeds.
Cover crops also improve soil structure and add nitrogen when terminated. Mowing or crimping the cover crop into the soil releases nutrients gradually. Many extension services provide specific seeding rates for local climates.
10.4 When to call a professional (soil‑lab verification)
If your home test shows pH beyond 7.5 after amendment, or if plant symptoms persist, a professional soil lab can provide a detailed analysis, including micronutrient levels and salinity. The USDA NRCS offers free or low‑cost lab services in many states. For large properties or commercial operations, a certified agronomist can develop a tailored nutrient management plan that complies with local regulations.
For additional compliance resources, refer to the USDA NRCS official website (https://www.nrcs.usda.gov) and the EPA’s nutrient management guide (https://www.epa.gov).
Related articles include Best Flowers For Flower Beds for seasonal color and Best Trees For Hot Dry Climates for drought‑resistant landscaping.
12. Benefits & Drawbacks / Pros and Cons
Benefits
- Higher crop yields (up to 30 % increase) from balanced nutrients.
- Faster water infiltration reduces irrigation needs by 20‑30 %.
- Improved soil structure prevents compaction and root rot.
- Enhanced microbial activity breaks down organic matter naturally.
- Better pH balances nutrient uptake, leading to greener lawns and richer vegetable flavors.
Drawbacks
- Over‑liming can raise pH too high and lock out micronutrients.
- Excessive nitrogen leaches into groundwater, causing algae blooms.
- Incorrect timing (cold soil) slows amendment effectiveness.
- Initial cost for testing kits and tools (roughly $80‑$200).
- Maintenance requires yearly retesting and occasional re‑application.
13. Costs / Pricing / Data / Specs
| Product | Typical Rate (per 1000 sq ft) | Approx. Cost | Key Specs |
|---|---|---|---|
| Calcitic lime | 50‑100 lb | $30‑$70 | 70 % CaCO₃, particle <0.25 in |
| Dolomitic lime | 60‑120 lb | $35‑$80 | 60 % CaCO₃, 20 % MgCO₃ |
| Elemental sulfur | 1‑2 lb | $25‑$60 | 99 % S, particle <0.1 in |
| Digital pH meter | – | $30‑$80 | ±0.1 pH, rechargeable battery |
| Home test kit (N‑P‑K) | – | $10‑$20 | 0‑100 ppm range |
| Drop spreader | – | $40‑$120 | 10‑ft swath, adjustable rate |
| Rototiller | – | $150‑$450 | 8‑in depth, 3‑speed settings |
| Soil moisture sensor | – | $20‑$60 | ±2 % VWC, Bluetooth |
Prices are averages as of 2026 and vary by region.
14. Expert Tips / Pro Advice
- Test soil before any amendment; a baseline pH prevents over‑correction.
- Apply lime in dry weather; water after to activate calcium.
- Incorporate sulfur early in the season for gradual pH drop.
- Use compost to buffer pH swings and improve water retention.
- Rotate cover crops (rye, clover) to rebuild organic matter naturally.
- Spread amendments evenly; overlapping passes avoid hot spots.
- Keep a simple log of dates, rates, and retest results.
- Water lightly after each application to dissolve granules.
- If pH climbs above 7.5, consider adding elemental sulfur or acidifying organic matter.
- For container gardens, use lightweight potting mixes with built‑in nutrients; fewer amendments are needed.
15. Use Cases / Best For / Who It’s Right For
Vegetable Gardeners, Home plots benefit most from precise pH and nutrient control, seeing yields rise 15‑30 % when the checklist is followed.
Residential Lawn Owners, The workflow prevents over‑fertilization, keeping grass green without costly runoff.
Flower‑Bed Designers, Balancing soil structure yields richer bloom color and longer vase life.
Container Growers, Small spaces need accurate pH and nutrient monitoring; a digital meter is essential.
Small‑Scale Market Gardens, Quick cycles demand rapid soil improvement; the decision tree speeds up amendment choices.
The checklist tailors the same core steps to each scenario, saving time and money while boosting plant health.
16. Frequently Asked Questions
How often should I retest soil pH after adding lime or sulfur?
Retest 4‑6 weeks after the first application; this allows time for the amendment to react fully.
Can I use compost instead of synthetic fertilizers?
Yes, well‑rotted compost supplies nitrogen, phosphorus, and potassium slowly and improves soil structure.
What’s the safest way to handle elemental sulfur?
Wear nitrile gloves, safety glasses, and a dust mask; avoid inhaling the fine powder.
Do I need a rototiller for every garden size?
No, hand rakes work well for small beds; tillers are best for larger areas over 500 sq ft.
How do I know if I’ve over‑limed the soil?
Watch for yellowing leaves, poor flower production, or a pH above 7.5; retest and adjust accordingly.