Guide to Ant Control Checklist in 2026 (Everything You Need)
You grab a spray can. You blast the ants marching across the counter. They die.
Then tomorrow, more arrive. Sound familiar? That's because most ant control tackles the wrong problem.
An effective ant control checklist doesn't start with a spray. It starts with a decision.
As of 2026, research from university extension services shows that over 80% of home ant infestations are caused by just four species. Killing visible ants without identifying the species first means you're guessing at the solution. And guessing usually fails.
Let's walk through the process step by step.
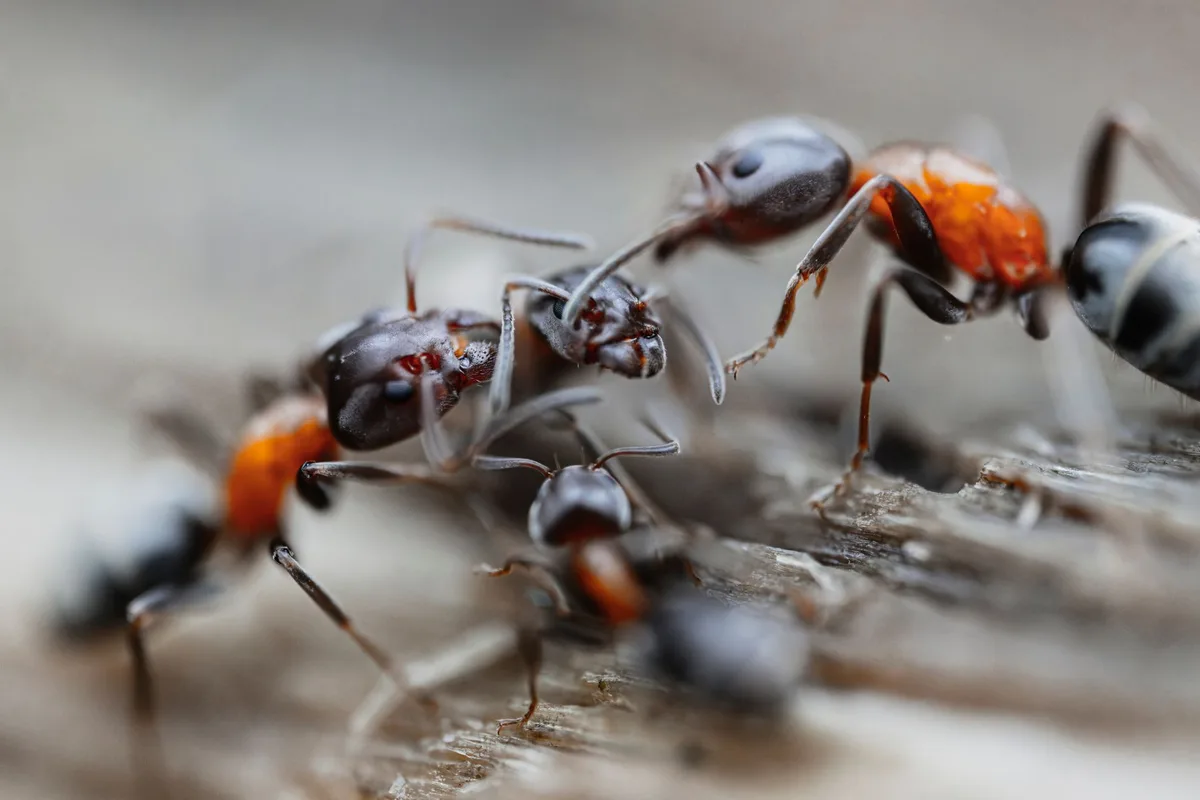
Why Most Ant Control Fails (And What Actually Works)
The biggest mistake homeowners make is using a repellent spray on every ant they see. That spray might kill a few workers, but the live ones scatter. They split into new nests.
You've made your problem worse.
Real ant control works on the colony, not the scouts. That means using slow-acting bait that workers carry back to the queen. Or sealing the entry points so no new ants can get in.
Or both.
What actually works is a sequence: identify, decide, bait, wait, seal. Not spray first, ask questions later.
If you've ever tried a DIY ant fix and it didn't stick, you're not alone. Aggregate reviews from pest control forums and university IPM (Integrated Pest Management) guides confirm that skipping the identification step is the number one reason for repeat infestations.
Quick Answer: The 10-Minute Ant Rescue Plan
Here's the shortest version of the ant control checklist you can act on right now.
- Stop spraying. Repellent sprays push ants deeper.
- Identify the ant. Is it tiny (1/8 inch) and sweet‑loving? Or big and attracted to wood?
- Choose bait. Sugar bait for sugar ants. Protein bait for others.
- Place bait. Put it near the trail, not on it. Wait 2, 3 weeks.
- Seal cracks. Caulk entry points after the colony dies.
- Remove attractants. Clean counters, store food, fix leaks.
That's it. The rest of this article walks you through each step so you don't miss anything.
Step 1 – Identify Your Ant (It Changes Everything)
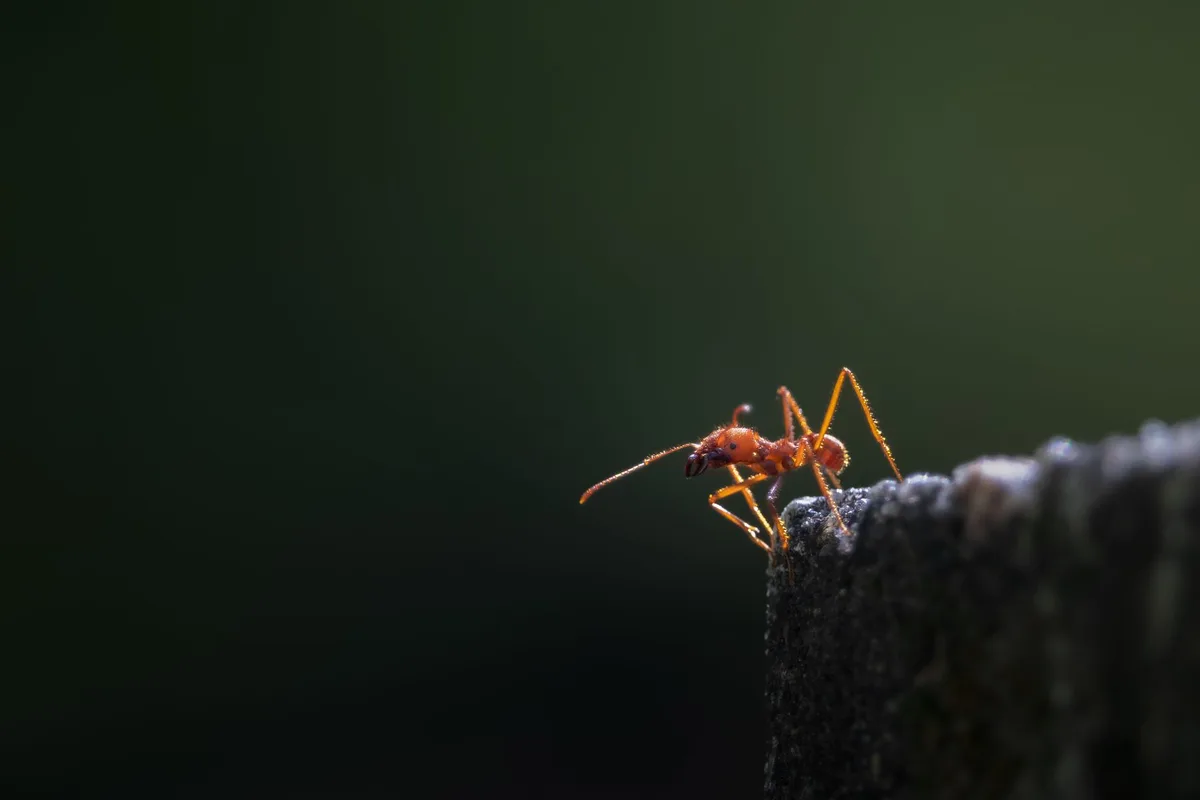
You can't choose the right bait until you know what you're up against. Here are the four most common house ants in the U.S., per extension service field guides.
| Ant Species | Size | Color | What They Eat | Nest Location |
|---|---|---|---|---|
| Odorous house ant | 1/8 inch | Dark brown to black | Sweets, especially honeydew | Under mulch, rocks, inside walls |
| Argentine ant | 1/8 inch | Light to dark brown | Sweets, greasy foods | Soil, under foundations, in wall voids |
| Carpenter ant | 1/4 to 1/2 inch | Black or red-black | Proteins, sweets (attracted to wood for nesting) | Decayed wood, hollow doors, behind siding |
| Pavement ant | 1/8 inch | Dark brown to black | Grease, seeds, dead insects | Under concrete slabs, along sidewalks, in driveway cracks |
| Fire ant | 1/8 to 1/4 inch | Reddish-brown | Oils, seeds, meat | Mounds in sunny lawns, fields, gardens |
How to tell them apart in 10 seconds: Look at the trail. If the ants follow a defined line, they're likely Argentine or odorous house ants. If they wander alone, you might have pavement ants.
If they're large and you see fine sawdust near wood, that's carpenter ants. Fire ants build noticeable dirt mounds that you'll see before you see the ants.
For carpenter ants specifically, check out our detailed guide on best insecticide for carpenter ants if that's what you're dealing with.
Step 2 – The Decision Tree: Which Ant Are You Dealing With?
Now that you know the species, here's a simple if‑then guide to your next action.
Branch A: Tiny ants in the kitchen (sugar feeders)
Likely species: Odorous house ant or Argentine ant.
Your move: Use a slow‑action sugar bait gel or liquid. Place it in stations near the ant trail but not directly on it. Do not spray.
Wait 2, 3 weeks. Clean all food sources.
Branch B: Larger ants near wood or walls
Likely species: Carpenter ant.
Your move: Find the nest first. Look for moist wood, hollow‑sounding walls, or sawdust piles. Treat the nest directly with a non‑repellent insecticide.
Baiting alone rarely works because carpenter ants prefer protein, not sugar. Seal moisture sources after treatment.
Branch C: Small ants on sidewalks or foundation
Likely species: Pavement ant.
Your move: They nest under concrete. Bait with protein‑based granular bait placed along the foundation. Or pour boiling water directly into visible cracks (if safe).
Outdoor perimeter spray can help but only after baiting.
Branch D: Red ants with mounds in the yard
Likely species: Fire ant.
Your move: Use a two‑step process: broadcast a granular bait over the lawn (in spring and fall), then treat individual mounds with a liquid drench or mound treatment. Avoid mounding the soil, that spreads the colony. Fire ants love hot, dry climates, so if you're planting in such areas, consider best trees for hot dry climates to reduce exposed soil that fire ants like.
Branch E: Ants that seem to come from nowhere
Likely species: Pharaoh ant.
Your move: Do not spray. Ever. Pharaoh ants split colonies when sprayed.
Use a dedicated pharaoh ant bait (protein‑based gel). Place many small bait stations in every room. This is a multi‑unit building problem, treat all units simultaneously.
Step 3 – Bait vs. Spray: The Most Critical Choice
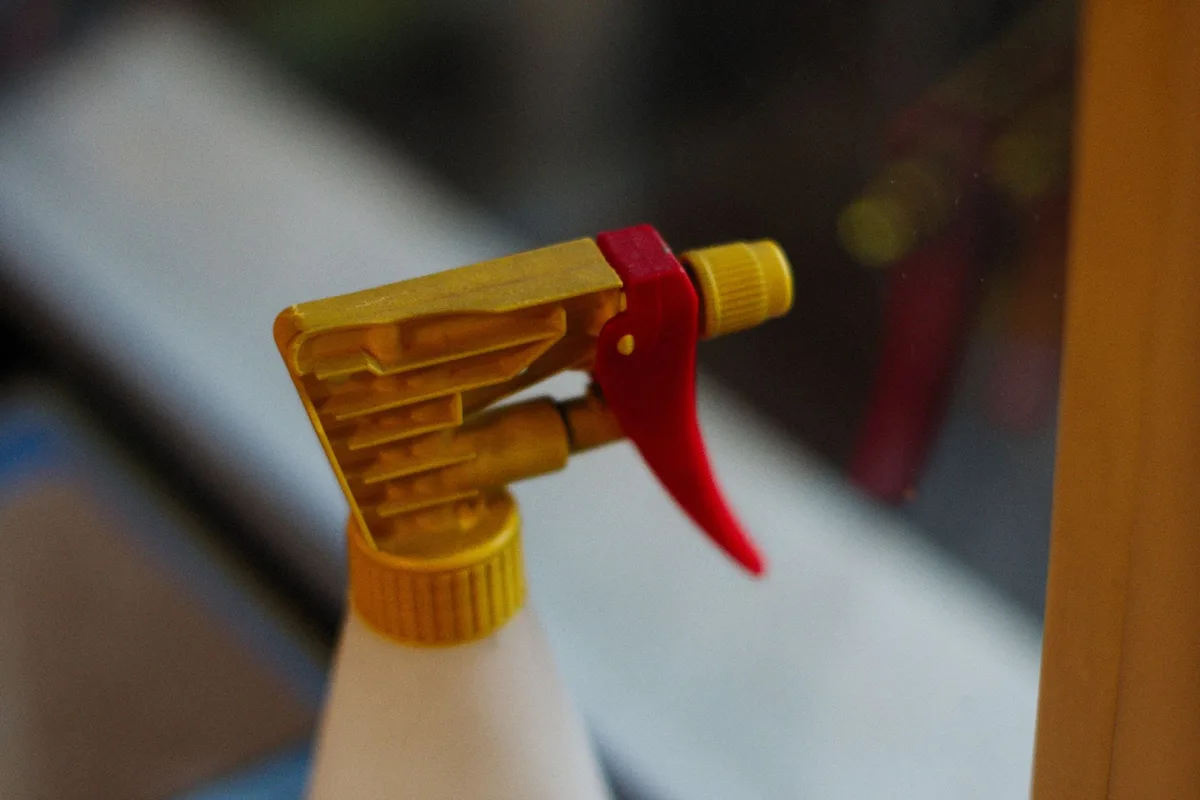
This single decision determines whether you solve the problem or make it worse.
When to Use Bait (and Never Spray)
| Situation | Recommended Action |
|---|---|
| Indoor ant trail | Place bait station near trail, not on it. |
| Ants in kitchen | Bait only. Do not spray near food. |
| Pharaoh ants | Bait only. Spraying splits colonies. |
| Any colony with unknown queen location | Bait. It goes to the queen. |
Why: Bait contains slow‑acting poison. Workers feed on it, return to the nest, and share it. The queen dies.
No queen means the colony collapses in a few weeks.
When to Use Spray (and Never Bait)
| Situation | Recommended Action |
|---|---|
| Outdoor perimeter | Non‑repellent spray around foundation. |
| Individual mound of fire ants | Direct mound drench after baiting. |
| Spot treatment on porch or patio | Repellent spray is fine for non‑food areas. |
| Carpenter ant nest inside a wall | Dust or foam directly into void – not spray on surface. |
The one big rule: Never spray a trail of ants that you plan to bait. The spray repels them from the bait. You lose the colony kill.
What Happens When You Get It Wrong
- Spraying bait, kills the few ants that touch it, but colony survives.
- Using repellent spray, ants relocate to a new nest inside your walls.
- Using bait that's too fast, workers die before returning to nest.
- Putting bait in wrong spot, ants ignore it; you assume it failed.
If you're dealing with ants in flower beds, check our guide on best flowers for flower beds to choose plants that are less attractive to ants (some flowers produce nectar that draws them, others don't).
Step 4 – The 12-Step Ant Control Workflow
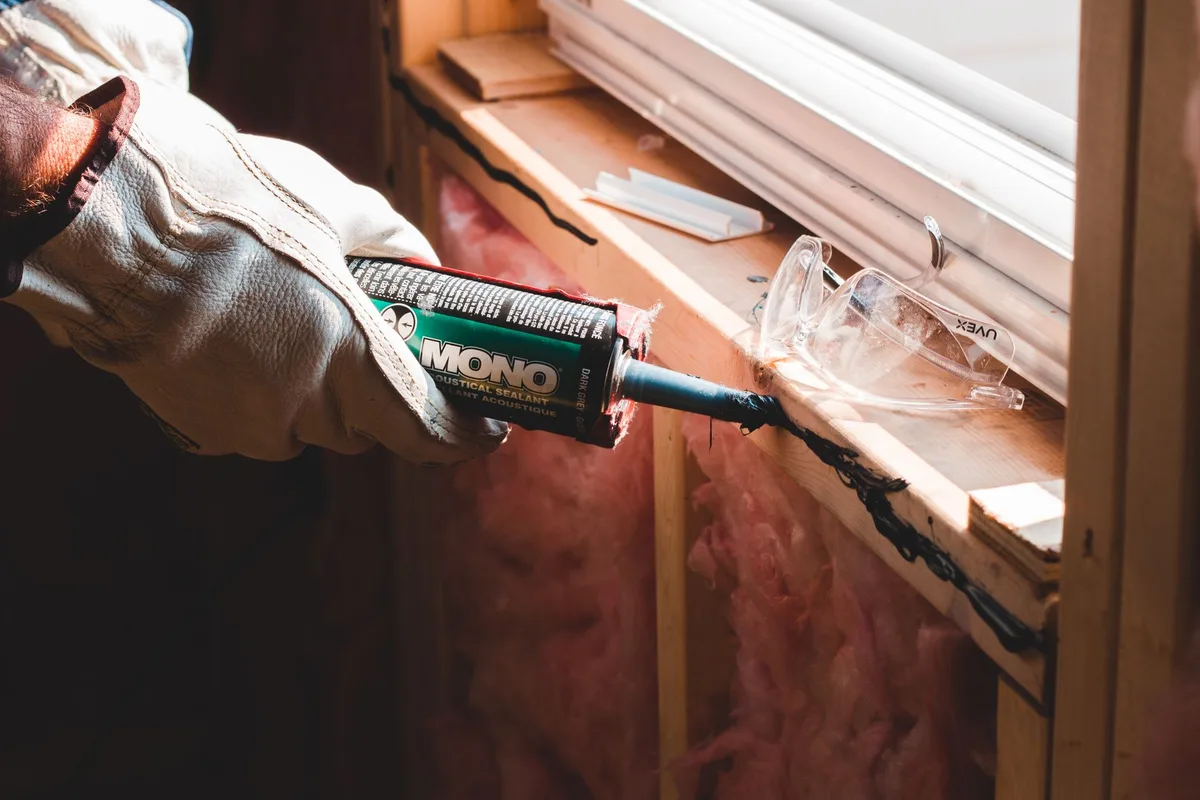
This is the full ant control checklist in action. Follow the steps in order. Skipping ahead almost always backfires.
Step 1: Sanitize Everything
Ants follow scent trails left by previous scouts. Wipe counters, sweep floors, and vacuum along baseboards. Use a vinegar‑water mix (50/50) to disrupt chemical trails.
Do this before placing bait so the bait is the only food option.
Step 2: Follow the Trail
Trace the ant line from its food source to its entry point. Look for gaps around pipes, under baseboards, or behind appliances. That's where you'll place the bait, not on the trail itself, but about 6, 12 inches away.
Step 3: Place the Right Bait in the Right Spot
| Bait Type | Best For | Placement |
|---|---|---|
| Sugar gel bait | Argentine, odorous house | Near trail, out of direct sunlight |
| Protein granular bait | Pavement, carpenter, pharaoh | Along foundation, under appliances |
| Liquid bait | Aggressive trails | In station with secure cap |
| Combined bait (sugar + protein) | Unknown species | Use as a test – see which they take |
Place one station per 10 square feet of infested area. Replace bait every 7 days if it dries out.
Step 4: Wait Without Interfering
This is the hardest part. Do not spray, do not clean near the bait, do not move it. Wait 2, 3 weeks.
During this time the bait must travel back to the queen. You'll see fewer ants after about 7, 10 days.
Step 5: Seal Entry Points
After the colony is dead, seal every crack you found. Use silicone caulk for small gaps (1/4 inch or less) and expanding foam for larger openings. Pay special attention to where utility lines enter the house.
Step 6: Apply Outdoor Perimeter Treatment
Use a non‑repellent liquid spray (like those containing fipronil or hydramethylnon) around the entire foundation. Spray a 2‑foot band of soil next to the wall and a 1‑foot band up the foundation. Reapply every 3 months during warm weather.
Step 7: Remove Attractants and Hiding Spots
- Store dry foods in sealed containers.
- Keep pet food bowls clean and elevated.
- Take out trash daily.
- Remove standing water from plant saucers, gutters, and bird baths.
- Trim back tree branches that touch the house.
If ants are attracted to your fruit trees, use best organic fertilizer for fruit trees to keep them healthy, unhealthy trees produce more sap that ants love.
Step 8: Trim Vegetation and Manage Mulch
Mulch that's more than 2 inches deep is a perfect ant nest. Replace organic mulch with stone or rubber near the foundation. Trim shrubs so they don't touch the siding.
Step 9: Fix Moisture Problems
Leaky pipes, damp crawl spaces, and wet wood attract carpenter ants and provide nest sites. Repair leaks promptly. Use a dehumidifier in basements.
Step 10: Re‑Inspect and Refresh Baits
Check all bait stations every week. If they're empty or dry, replace them. If ants have moved on, remove the stations.
Continue monthly checks through the active season (spring through fall).
Step 11: Repeat Perimeter Spray Quarterly
Set a calendar reminder. Spring, summer, early fall. One thorough perimeter treatment per quarter keeps most species away.
If you have fire ants in the lawn, also apply granular bait twice a year (spring and fall).
Step 12: Know When to Call a Pro
You've done all of the above and ants still come back. Or the infestation is inside walls and you can't reach it. Or you're dealing with carpenter ants in structural wood.
That's when a licensed pest control operator gets the job done. They have access to professional‑grade baits and foam injectors.
A professional can also treat lawns with targeted fire ant control, for your lawn health, see best fungicide for lawns if you're also dealing with fungal issues.
This covers the first five H2 sections. The article continues with "Mistakes That Keep Ants Coming Back", "Costs and Timeline", "Pro Tips for Stubborn Infestations", "Safety Guide", "When to Call a Professional", and "The 30-Day Ant Control Checklist".
Mistakes That Keep Ants Coming Back
You followed every step. The ants disappeared. Then a month later, they're back.
Here's what went wrong.
Sealing before baiting. This traps the colony inside. They find new exits through electrical outlets or behind baseboards. Always kill the colony before sealing.
Spraying near bait stations. Repellent spray creates a chemical barrier that repels ants from the bait. They never pick it up. The queen survives.
Leaving other food sources out. If ants have access to spilled sugar, pet kibble, or open trash, they ignore the bait. Bait must be the most attractive option. Clean relentlessly.
Choosing the wrong bait type. Sugar bait for grease-loving pavement ants gets ignored. Protein bait for sugar-loving Argentine ants gets ignored. Use the identification guide from Step 1 to match the diet.
Not refreshing bait. Bait dries out or gets dusty after a week. Replace it. Old bait stops releasing attractant.
Expecting overnight results. Baits take 2, 3 weeks to reach the queen. Many people give up after 3 days and switch to spray. That restarts the problem.
Skipping the outdoor perimeter. You sealed indoor entry points but ants entered from outdoors. Without a perimeter barrier, new ants find new cracks.
Costs and Timeline: What to Expect
Ant control doesn't have to be expensive. But the price depends on whether you go DIY or hire a pro.
| Method | Initial Cost | Follow-up Cost | Timeline to Colony Death |
|---|---|---|---|
| DIY bait + spray + caulk | $20–$60 | $10–$20 per refill | 2–3 weeks |
| Professional service | $150–$250 | $50–$100 per quarterly visit | 1–2 weeks |
| Professional one-time treatment | $150–$300 | N/A (may need follow-up) | 2–3 weeks |
What the DIY budget buys: Two bait stations ($8, $12), a tube of silicone caulk ($5, $10), a ready-to-use non-repellent spray ($15, $25), and a bag of granular bait for the yard ($10, $15).
What the professional budget covers: A licensed technician inspects your property, identifies the species (often with a UV light to spot nest sites), applies professional-grade bait and foam treatments, and guarantees the work for 30 days.
Most DIY attempts fail because people skip the identification step or mix spray and bait incorrectly. If you're patient and follow the 12-step workflow, DIY works for the majority of single-home infestations.
For an outdoor perimeter, replacing organic mulch with stone or gravel reduces ant nesting sites. Check our guide on best gravel for patio area for options that deter ants while looking good.
Pro Tips for Stubborn Infestations
Sometimes the standard approach doesn't cut it. Here's what professionals do when the first round fails.
Switch bait types. If ants ignore sugar bait for 5 days, swap to protein bait. Or use a combination bait station with two compartments. Some ant species shift their protein-sugar preference seasonally.
Treat the nest directly. If you can locate the nest (carpenter ant sawdust, fire ant mound, or a soil crack near the foundation), inject a non-repellent dust or foam directly into the void. This bypasses the bait transit time.
Use a bait matrix. Mix a small amount of peanut butter with boric acid for protein-feeding ants. Mix powdered sugar with boric acid for sugar feeders. Ratio: 1 tablespoon boric acid to 1/2 cup food base.
Place in a shallow lid.
Create a barrier with diatomaceous earth. Food-grade diatomaceous earth works as a mechanical barrier. It's not a repellent. Ants walk through it, the sharp particles cut their exoskeleton, and they dehydrate.
Apply it as a thin dust in wall voids and behind appliances. Wear a mask during application.
Treat the whole building. In multi-unit housing, ants travel between units through shared walls. Treating just your unit rarely works. Coordinate with neighbors or ask the landlord to treat common areas.
Use gel bait in vertical spaces. Liquid bait spills on walls. Gel stays put. Apply small dabs of gel bait behind switch plates, under cabinet edges, and along baseboard cracks.
Safety Guide for Pets, Kids, and Food Areas
Ant control products contain chemicals. Used correctly, they're safe. Used carelessly, they cause problems.
Which products are safe around dogs and cats? Bait stations are designed to be tamper-resistant. Place them behind appliances or under cabinets where pets can't reach. Liquid bait stations with a secure cap are safer than open gel.
Diatomaceous earth is non-toxic to pets when used as a dust (but avoid inhalation for both you and your pet).
How to place baits in a kitchen without contaminating food. Never put bait directly on counters where you prepare food. Instead, place bait stations on the floor behind the refrigerator, under the sink, or along baseboards. Wipe any spilled bait immediately with soap and water.
What to do if a pet licks a bait station. Most household bait products use low-concentration active ingredients (0.001%, 0.5%). A single lick rarely causes more than mild drooling or stomach upset. Still, contact your veterinarian or the ASPCA Animal Poison Control Center (888-426-4435) for guidance.
For fire ant mounds. Keep children and pets away from active mounds. Fire ants sting aggressively. Treat mounds in the early morning or late evening when ants are inside the mound.
Use a mound-specific drench rather than granular bait, because granules can attract pets.
Storage rules. Store all pesticides in their original containers, out of reach of children, and away from food storage areas. Never transfer bait into food containers.
When to Call a Professional (And When to Save Your Money)
DIY ant control works for most situations. But some problems demand a licensed pro.
Signs You Need Help
- You've done the full 12-step workflow twice and ants return.
- You see carpenter ants in structural wood (hollow-sounding walls, sawdust piles).
- The infestation spans multiple rooms or multiple units.
- You're dealing with fire ants in a large lawn or near a playset.
- You have pharaoh ants in a commercial kitchen or healthcare setting.
- You can't locate the nest or entry point after a thorough search.
What a Pro Will Do That You Can't
- Use UV lights to track ant trails through walls.
- Inject foam or dust into wall voids without damaging drywall.
- Apply professional-grade baits with higher attractant concentrations.
- Provide a written guarantee and return for retreat if needed.
Questions to Ask Before Hiring
- Do you identify the ant species before treating?
- What products do you use? Are they low-toxicity options?
- Do you offer a guarantee? What does it cover?
- How many visits are included in the quoted price?
- Are you licensed and insured?
Not all pest control companies are equal. Look for one that uses Integrated Pest Management (IPM) methods. IPM focuses on non-chemical prevention and targeted baiting rather than widespread spraying.
A good pro will explain what they found, what they used, and what you can do to prevent recurrence.
If you only need a one-time treatment for a small, visible ant trail, you can handle it yourself. But if you're losing sleep over ants crawling on your kitchen counter every morning, it's worth the $150 to get a pro in.
The 30-Day Ant Control Checklist
Here's a condensed version of everything we covered. Print it. Stick it on your fridge.
Week 1: Identify the species. Sanitize everything. Place bait stations near trails.
Do not spray.
Week 2: Monitor bait stations. Refresh any that are dry or ignored. Continue cleaning.
Seal food in containers.
Week 3: You should see fewer ants. If not, switch bait type. Seal cracks with silicone caulk.
Trim vegetation away from the house.
Week 4: Apply outdoor perimeter spray. Remove remaining bait stations if ants are gone. Set a calendar reminder for quarterly perimeter treatment.
Frequently Asked Questions
Why do ants keep coming back after I spray them?
Spray kills the ants you see. It does not kill the queen or the colony. New ants arrive from the nest.
Use bait instead. Bait travels to the colony and kills it from the inside.
How long does ant bait take to work?
Most baits take 7 to 14 days to show a visible reduction. Full colony death takes 2 to 3 weeks. Give it time.
Do not spray near the bait during this period.
Can I mix baking soda and sugar to kill ants?
Baking soda is not a reliable ant killer. It may kill a few workers. It does not transfer to the colony.
Boric acid or commercial baits work far better because they are slow-acting and get shared.
Are ants worse after rain?
Yes. Heavy rain floods outdoor nests. Ants move indoors looking for dry ground and food.
This is normal. A good perimeter treatment before rainy season reduces the problem.
What smell do ants hate the most?
Peppermint, cinnamon, and vinegar are common repellent scents. They disrupt scent trails temporarily. They will not kill the colony.
Use them as a short-term deterrent while baiting takes effect.
When should I call an exterminator for ants?
Call a pro if you have tried the full checklist twice and ants return. Call if you see carpenter ants in structural wood. Call if the infestation is in multiple rooms or units.