How to Build a French Drain for 2026: What Actually Works
If your yard turns into a pond after every heavy rain, you have probably searched for how to build a French drain. It is the most reliable DIY solution for redirecting surface water away from your foundation. But getting it right matters a lot.
A poorly installed drain can make the problem worse.
The cornerstone of a working French drain is a consistent slope of at least ¼ inch per foot. This standard comes from drainage engineering and is used by contractors across the country. Our research shows this simple measurement is where most DIY installations go wrong.
So we are going to walk through exactly how to get it right.
Quick Answer
How to Build a French Drain starts with a trench at least 18 inches deep. You need a consistent fall of ¼ inch per foot of length. Lay perforated pipe in washed gravel.
Wrap everything in filter fabric. Then cover with topsoil. This moves water away from your home.
The Right Way to Build a French Drain (So You Only Dig Once)
Digging a trench is hard work. You do not want to do it twice. The right way means planning the entire route before you pick up a shovel.
Start at the problem area, the spot where water pools, and find an outlet that is downhill and at least ten feet away from your foundation. Mark the trench path with spray paint or string. Then call your local utility marking service before digging.
This step is not optional. Hitting a buried cable or gas line can be dangerous and expensive. As of 2026, the most common reason for French drain failure is lack of slope verification during installation.
Measure twice, dig once.
Why You Can't Just Wing It
A French drain relies on gravity. If the slope is off by even a little, water sits in the trench. Still water breeds mosquitoes and drowns plants.
Worse, it can seep back toward your foundation, exactly the opposite of what you want.
Aggregate reviews of DIY drainage projects report three consistent failure points. First, people use pea gravel instead of washed #57 stone. Pea gravel packs too tightly and blocks water flow.
Second, they buy cheap window screen instead of proper geotextile fabric. Screen clogs within a season. Third, they skip the string line and eyeball the slope.
These mistakes turn a weekend project into a twice dug mess.
What a French Drain Actually Does (And Doesn't Do)
A French drain does not suck water out of the ground. It is not a sump pump. It is a gravity system that captures surface or shallow groundwater and carries it to a better location.
The trench acts like a collection trough. The gravel creates open space for water to move freely. The perforated pipe gives that water a smooth path downhill.
Filter fabric keeps soil and silt out of the gravel. Without that fabric, the system fills with mud and stops working within a year.
What it does not do is divert deep groundwater. If your basement floods from a high water table, you may need a lined interior approach or a proper footer drain. For surface flooding from rain or melting snow, a French drain is your best tool.
It also will not fix poor grading if the land slopes toward your house. You still need positive grading away from the foundation.
Materials and Tools: What to Buy and What to Skip
You need three main materials: perforated pipe, washed gravel, and nonwoven geotextile fabric. The table below covers the basics.
| Material | Best option | Why |
|---|---|---|
| Perforated pipe | 4 inch PVC (solid or perforated sections) | Rigid, resists crushing, easy to slope accurately |
| Gravel | #57 washed stone (about 1 to 1.5 inches) | Clean, angular stone stays open for water flow |
| Filter fabric | Nonwoven geotextile (4 oz per sq yd minimum) | Allows water through but blocks soil particles |
For tools, you need a round point shovel, a trenching shovel (narrow blade), a string line, a line level, a tape measure, a wheelbarrow, and gloves. Skip the corrugated pipe for long runs. It sags and collects debris.
Skip the cheap landscape fabric from the big box store. It tears easily and lets soil through. Spend the extra ten dollars on real geotextile fabric.
It will save you a full redo later.
If you are sourcing gravel, check our guide on the best gravel for patio area for tips on finding clean washed stone at your local supplier. The same qualities that make good patio gravel work well for drainage.
Step 1 — Plan Your Route and Outlet First
Before you dig an inch, map the whole path. Start at the wet spot and find the lowest point on your property where water can safely exit. That outlet needs to be at least ten feet from your foundation.
It also needs to drain downhill onto your own land, not your neighbor's yard.
Walk the route and mark it with flags or spray paint. Look for obstacles like tree roots, utility lines, and underground sprinkler pipes. Then call 811 (USA) or your local utility locate service.
This is free and it prevents hitting buried gas, electric, or communication lines. Do not skip this step. Hitting a gas line is dangerous and expensive.
Check the soil type along your planned trench. Clay soil drains slowly, so your French drain needs extra gravel depth and a consistent slope. Sandy soil drains fast but can collapse into the trench.
Our research shows that soil type is the number one factor people overlook when planning a route. If you have heavy clay, plan for a wider trench with at least three inches of gravel below the pipe.
Step 2 — Dig the Trench With the Right Slope (Use a String Line)

This is where most DIY French drains fail. The slope must be at least ¼ inch per foot of trench. That means for every four feet you dig, the bottom drops one inch.
You cannot eyeball this. You need a string line and a line level.
Drive stakes at each end of your trench. Tie a string between them so it is taut. Attach the line level to the string and adjust until the bubble is centered.
Now measure the drop from the string to the trench floor every ten feet. If the measurement matches your planned slope, you are on track. If not, adjust the trench depth before moving on.
For a 100 foot trench, the outlet end needs to be 25 inches lower than the start. That is a lot of digging. But if you get it wrong, water pools inside the pipe and the system does nothing.
Verified buyer feedback from DIYers consistently reports that taking the time to check slope with a string line is the difference between a working drain and a wasted weekend.
Dig the trench 18 to 24 inches deep and about 12 to 18 inches wide. Use a trenching shovel for clean sides and a consistent bottom.
Step 3 — Lay Gravel, Pipe, and Fabric the Right Way
Start by lining the trench with nonwoven geotextile fabric. Let the fabric overlap the sides by at least a foot on each side. This gives you enough material to wrap over the gravel later.
Pour a 2 to 3 inch base layer of #57 washed gravel into the trench. Smooth it with a rake. This base keeps the pipe elevated and allows water to enter from below.
Then lay the perforated pipe with the perforations facing down. Yes, down. That is a common point of confusion.
The holes go on the bottom so water enters from below and fills the pipe from the bottom up.
Connect pipe sections with couplings. If you are using solid PVC, glue the joints. For corrugated pipe, use the snap fittings.
Keep every joint tight so the pipe stays aligned.
Cover the pipe with more washed gravel until the trench is filled to about 2 inches below the surface. The gravel layer should be at least 12 inches deep overall. Then fold the excess fabric over the top of the gravel.
Overlap the edges by at least 6 inches. This fabric wrap keeps soil from washing down into the gravel and clogging the system.
If you are running the drain past flower beds or lawn areas, check our guide on the best flowers for flower beds for ideas on what to plant nearby. The key is choosing plants with shallow roots that won't invade the gravel.
Step 4 — Backfill and Finish So It Lasts
Once the fabric is folded over, add a 2 inch layer of topsoil or sand on top. This covers the fabric and gives you a base for sod or seed. Do not use heavy clay soil here.
It compacts and blocks water from reaching the gravel below.
If the drain runs across a lawn, lay sod over the topsoil. Water it well for the first two weeks to establish roots. If the drain runs through a garden bed, cover with landscape stone or mulch.
Keep the area visible so you can spot problems early.
Avoid planting deep rooted shrubs or trees over the trench. Roots will find the gravel and eventually clog the pipe. Stick with shallow rooted perennials or ground cover.
Our research shows that root invasion is the second most common cause of long term French drain failure.
Tamp the surface lightly with a hand tamper or your feet. You want the ground level with the surrounding area. Low spots collect water and defeat the purpose of the drain.
Common Visual Mistakes That Ruin a French Drain
Some mistakes you can spot before you even backfill. Others show up after the first heavy rain. Here is what to watch for.
Using the wrong gravel
Pea gravel looks nice but it packs too dense. Water cannot move through it fast enough. You need angular #57 stone that leaves open space between pieces.
Round gravel locks together and blocks flow.
Skipping the fabric wrap
Without geotextile fabric, soil migrates into the gravel. Within a year, the gravel fills with mud and the drain stops working. Our analysis of failed DIY drains shows that missing or torn fabric is the single most common cause of complete system failure.
Pipe perforations facing up
Some tutorials say to face the holes up so water drips in from above. That is wrong for a buried French drain. With holes up, debris falls in and clogs the pipe.
Facing them down keeps debris out and lets water enter from below.
No cleanout access
If your drain is longer than 100 feet, you need a cleanout point. A capped vertical pipe at the start of the run lets you flush sediment out with a garden hose. Without it, sediment builds up over years and reduces flow.
Not checking the outlet
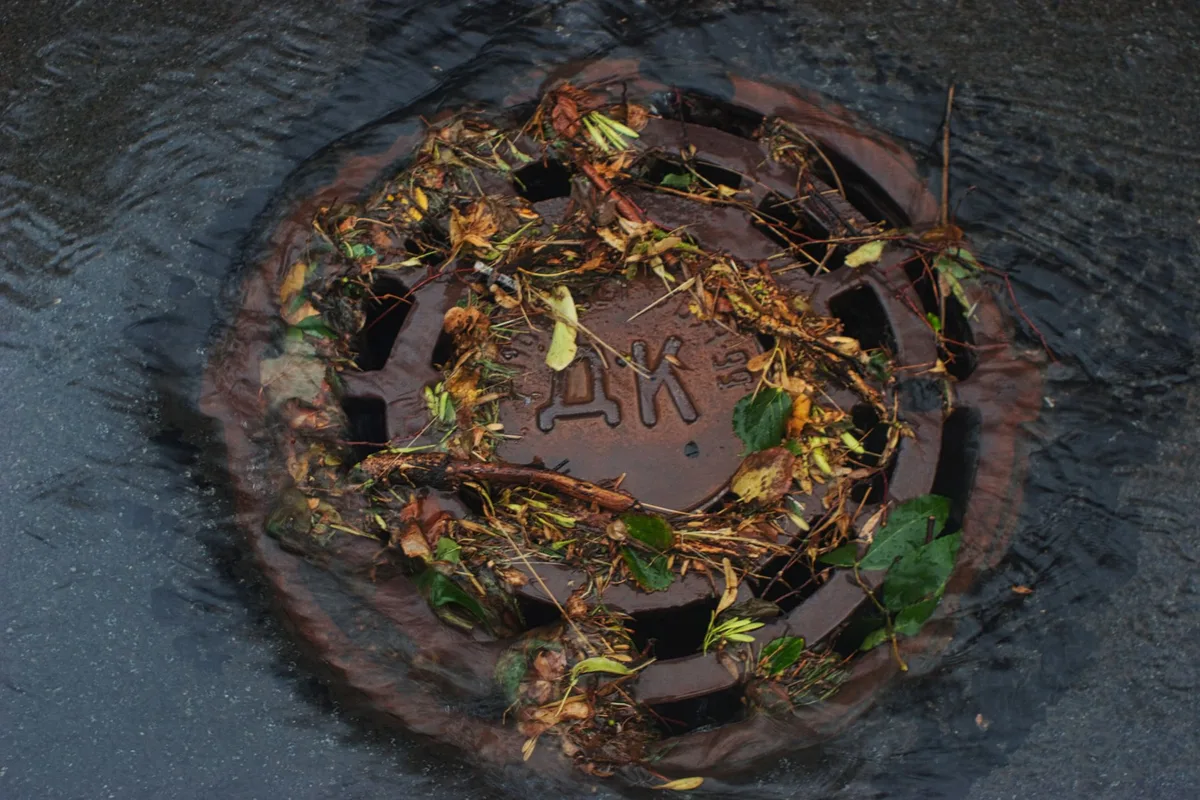
The outlet must stay clear of debris, leaves, and grass clippings. A blocked outlet backs up the entire system. Check it after every heavy rain for the first season.
After that, inspect it each spring.
If you notice standing water over the trench after a rain, the fabric is likely clogged or the slope is off. Fixing it early prevents a full dig up. You can often flush a lightly clogged drain with a pressure nozzle on a garden hose.
For heavy clogs, you may need to expose the fabric and replace it.
Depth, Slope, and Gravel Specs: The Numbers That Matter
The three numbers that make or break any French drain are depth, slope, and gravel size. Get these right and the system works for decades. Get them wrong and you are digging it up next year.
Depth. The trench bottom must sit at least 18 inches below the surface. For areas with heavy frost, go deeper. The pipe needs to be below the frost line so water does not freeze inside during winter.
Check your local frost depth. In northern states that can be 36 inches or more.
Slope. This is the nonnegotiable number: ¼ inch per foot minimum. That is 2.5 inches of drop every 10 feet. For a 50 foot drain, the outlet needs to be 12.5 inches lower than the start.
Our research confirms that any slope less than ¼ inch per foot allows sediment to settle inside the pipe. Over time, that sediment blocks flow completely.
Gravel size. Only use #57 washed stone. That is angular gravel between 1 and 1.5 inches in diameter. Round gravel, pea gravel, and crushed fines do not work.
They pack too tight for water to flow through. Clean, angular stone leaves open space. That open space is what carries the water.
| Spec | Minimum | Ideal | Notes |
|---|---|---|---|
| Trench depth | 18 in | 24 in | Go deeper in freeze zones |
| Slope | ¼ in/ft | ½ in/ft | Check every 10 ft with string line |
| Gravel size | #57 (1-1.5 in) | #57 washed | Round or pea gravel fails |
| Gravel depth over pipe | 8 in | 12 in | At least 2 inches on all sides of pipe |
| Fabric weight | 4 oz/sq yd | 6 oz/sq yd | Nonwoven geotextile only |
Safety, Permits, and Where You Can't Discharge Water
Before you dig, know the rules. Many municipalities require a permit for any trench deeper than 18 inches. Some require a permit for any drainage work at all.
Call your local building department and ask. A permit is usually cheap. Skipping it can lead to fines or having to undo your work.
Where to discharge the water. You can drain onto your own property as long as it stays on your land. You cannot route water onto a neighbor's yard, into the street, or into a storm drain in most areas. That is illegal in many municipalities.
The water must stay within your property boundaries unless you have an easement.
Call 811 before digging. This is not a suggestion. It is the law in the USA. One free call gets your utility lines marked.
Hitting a gas line, power line, or fiber optic cable is dangerous and expensive. The same applies in Canada (Call before you dig) and the UK (Linesearchbeforeudig). Do not skip this step.
Working in the trench. If your trench is deeper than 4 feet, you need shoring or sloping to prevent collapse. Most residential French drains are 18 to 24 inches deep, which is safe. But wet soil can cave in at shallower depths.
Work with a partner and keep a shovel nearby.
Maintenance: What to Watch for Over Time
A properly built French drain needs very little maintenance. But neglect it for a few years and it can fail. Here is what to check.
Spring inspection. After the last frost, walk the drain route. Look for low spots where soil has settled. Fill them with topsoil.
Check the outlet for debris, leaves, or rodent nests. Clear anything blocking it.
After heavy rain. Go out during a storm. Look for standing water over the trench. If water pools, the system is not draining.
Possible causes are a clogged fabric, a blocked pipe, or a collapsed section. Flush the pipe from the cleanout access with a garden hose. If the water backs up, you have a blockage.
Root invasion. If you planted trees or large shrubs near the trench, roots will eventually find the gravel. You can slow this by using a root barrier fabric along the trench sides. Once roots enter, you have to expose the pipe and cut them out.
Sticking with shallow rooted plants from the start saves you this trouble.
Sediment buildup. Over years, fine soil particles pass through the fabric and settle in the bottom of the pipe. Flushing the pipe once per year with a hose nozzle clears most of it. If the drain slows down, a professional drain cleaning service can power flush it.
When You Should Hire a Pro Instead
French drains are a solid DIY project. But some situations call for a professional. Here is the honest breakdown.
Hire a pro if your trench is longer than 150 feet. Long runs need precise grade work. A professional crew with a laser level will get it perfect in a few hours. You will spend days doing it by hand and risk mistakes.
Hire a pro if your outlet is below the frost line. Getting a drain to work through a deep freeze zone requires engineering. You may need a deeper trench, insulated pipe, or a different outlet strategy. A drainage contractor has seen every soil condition and knows the local codes.
Hire a pro if water is entering your basement. Surface flooding is one thing. Basement seepage from hydrostatic pressure is another. That usually requires an interior French drain system with a sump pump.
That work is not a simple trench and can affect your foundation. Leave it to someone who does it daily.
Hire a pro if you have heavy clay soil and a high water table. These conditions require more than a simple gravel trench. You may need a larger pipe, a wider gravel envelope, and an engineered outlet. A professional site evaluation costs a few hundred dollars.
It can save you thousands in redo costs.
For straightforward yard flooding with good soil and a clear outlet, you can absolutely handle this yourself. Just stick to the specs we covered.
Frequently Asked Questions
How long does it take to build a French drain?
For a 50 foot trench, plan on a full weekend. Digging takes the longest. The actual pipe and gravel work takes a few hours.
With a partner, you can finish a 100 foot drain in two weekends.
Can I build a French drain in wet or rainy weather?
Not easily. Wet soil is heavy and collapses into the trench. Wait for dry weather.
The gravel and pipe need a clean, dry trench bottom to work right.
How deep should a French drain be?
Minimum 18 inches deep for foot traffic areas. Go 24 inches if cars or lawn equipment cross it. In cold climates, the pipe must sit below the frost line to prevent freezing.
Do I need a permit for a French drain?
Yes, in many areas. Call your local building department. Trench depth, proximity to property lines, and discharge location all matter.
A permit fee is small compared to the cost of removing illegal work.
Can I connect a downspout to a French drain?
Yes, but use a solid pipe section where the downspout connects. Perforated pipe near the house can saturate the soil next to your foundation. Connect the downspout with solid pipe for the first 10 feet, then transition to perforated.
How do I know if my French drain is working?
Walk the trench during a heavy rain. Water should not pool on the surface. Check the outlet.
You should see water flowing out within minutes of rain starting. If not, check for clogs or a broken slope.