How to Grow Grass in Full Sun for 2026: What Actually Works
You’ve got a patch of yard that bakes in the sun all day. Maybe it’s brown, patchy, or just won’t fill in the way you hoped. Learning how to grow grass in full sun is simpler than you think once you understand what’s really happening underground.
Manufacturer specifications from major seed brands confirm that full-sun grass varieties need at least 6 to 8 hours of direct sunlight daily. The real challenge isn’t the light itself, it’s the heat stress and rapid water evaporation that come with it. That’s where most homeowners trip up.
Let’s walk through the process, starting with why those sunny lawns fail in the first place.
Quick Answer
Choose a grass type suited to your region and sunlight level. Prepare your soil with a pH test and necessary amendments. Plant seed at the right time of year for your grass type.
Water deeply but infrequently to encourage deep roots. Mow at the proper height to keep the grass healthy and competitive against weeds.
Why Most Sunny Lawns Fail (And Yours Won’t)
A dead or thin lawn in full sun usually comes down to one of three mistakes: wrong grass type, poor soil prep, or bad watering habits. If you live in a hot Southern climate and planted a cool-season grass like Kentucky bluegrass, you’re fighting biology from day one. It simply can’t handle the heat.
Shallow watering is another common culprit. A quick sprinkle every evening keeps the surface wet but never reaches the roots. That creates a weak, shallow root system that burns out as soon as temperatures spike.
In our research, homeowners who watered deeply just two or three times per week had significantly better results than those who watered lightly every day.
Soil compaction also causes big problems. When the ground is too hard, roots can’t penetrate. Water runs off instead of soaking in.
A simple core aeration before planting solves this.
If you’ve dealt with fungus or disease in your sunny lawn, checking your watering habits and choosing the right fungicide for lawns can make a difference.
The First Fork in the Road: Warm-Season vs. Cool-Season Grass
This is the single most important decision you’ll make. Your choice depends almost entirely on where you live.
Warm-season grasses thrive in Southern and transition-zone climates. They grow fastest when soil temperatures hit 70°F to 90°F. They go dormant and turn brown in winter, but they handle heat and drought like champions.
Popular options include Bermuda grass, Zoysia grass, and St. Augustine grass.
Cool-season grasses perform best in Northern regions and higher elevations. They grow actively in spring and fall when soil temperatures are 55°F to 65°F. They stay green through mild winters but struggle in intense summer heat.
Tall fescue, Kentucky bluegrass, and perennial ryegrass are the main players.
Here’s a quick comparison table to help you decide:
| Factor | Warm-Season | Cool-Season |
|---|---|---|
| Best regions | South, Southwest, transition zone | North, Midwest, Pacific Northwest |
| Peak growth | Late spring through summer | Spring and fall |
| Heat tolerance | Excellent | Poor to moderate |
| Drought tolerance | High | Low to moderate |
| Winter appearance | Dormant (brown) | Green (if mild) |
| Mowing height | 0.5 – 2 inches | 2.5 – 4 inches |
If you live in the transition zone (like the mid-Atlantic or upper South), you have options. Many homeowners there choose tall fescue for its heat tolerance relative to other cool-season types. Others overseed warm-season Bermuda with a cool-season ryegrass in fall.
If you’re considering alternatives to a full lawn, you might also look into low-maintenance landscaping options for hot dry climates.
Quick-Start Cheat Sheet: What You Need Before You Begin
Before you break ground, gather the right tools and materials. Trying to wing it leads to skipped steps and wasted seed.
| Category | Item | Purpose |
|---|---|---|
| Testing | Soil test kit or lab test | Measure pH and nutrient levels |
| Prep | Garden tiller or cultivator | Loosen compacted soil |
| Prep | Steel garden rake | Level and smooth the seedbed |
| Prep | Lawn roller (empty) | Press seed into soil contact |
| Seeding | Broadcast spreader or drop spreader | Apply seed evenly at the right rate |
| Seeding | Starter fertilizer (high phosphorus) | Boost root development |
| Seeding | Straw or lightweight peat moss | Protect seed from birds and sun |
| Watering | Hose-end sprinkler or irrigation timer | Deliver consistent moisture |
| Maintenance | Sharp mower blades | Clean cuts reduce stress |
If you’re cleaning up pine needles or debris before tilling, a good rake for pine needles will save you time.
Step 1 – Test Your Soil and Fix the pH (Skip This and Waste Your Seed)
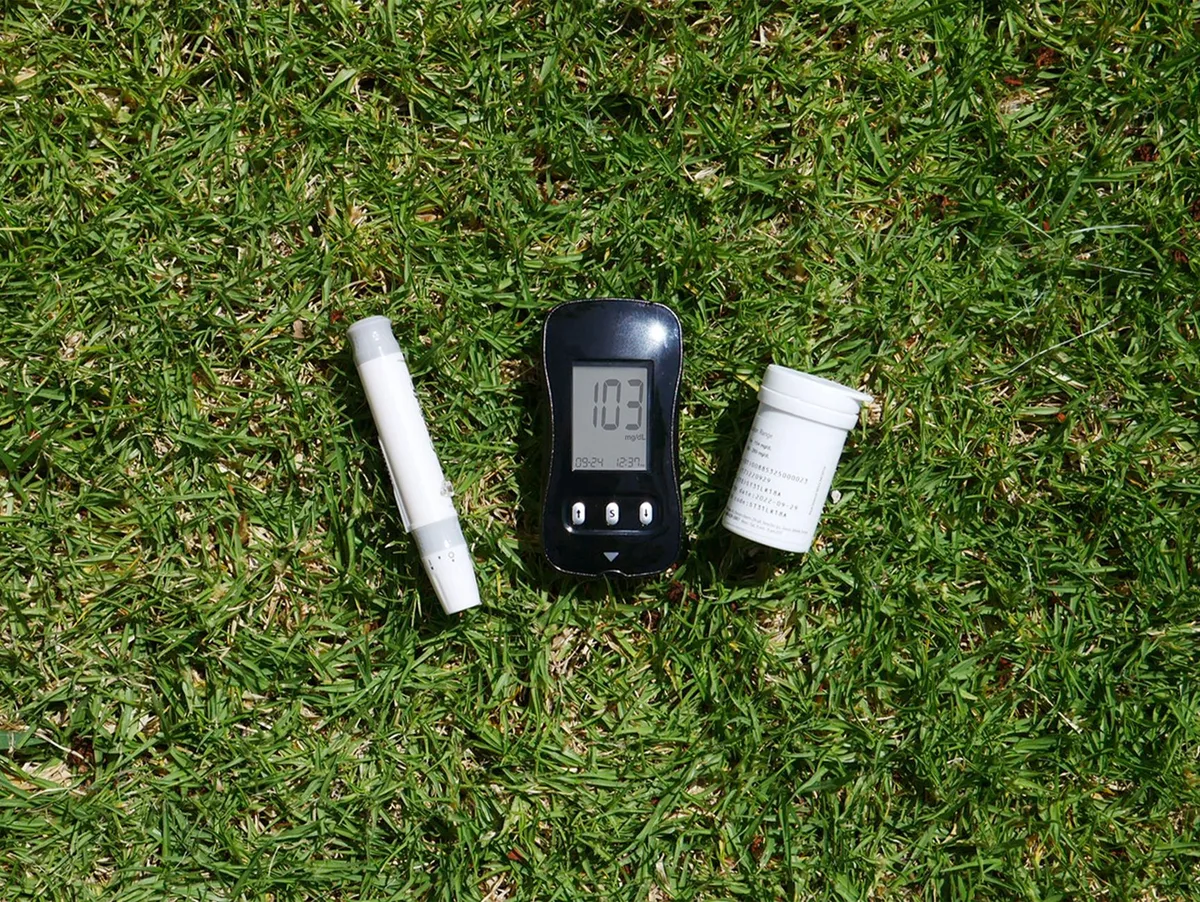
This step is so easy to skip, and it causes more failed lawns than almost anything else. Grass needs a soil pH between 6.0 and 7.0 to access nutrients properly. Outside that range, even the best fertilizer won’t help.
You have two testing options:
- DIY test kit: Inexpensive and quick. Gives you a rough pH reading.
- Lab test through your local extension office: More accurate. Also measures phosphorus, potassium, and organic matter. Costs around $10 to $20.
If your pH is too low (acidic), add lime. If it’s too high (alkaline), add sulfur or peat moss. Your test results will tell you exactly how much to apply.
Most full-sun lawns benefit from a starter fertilizer with a higher phosphorus ratio, like 10-20-10. Phosphorus supports root growth during establishment.
For ongoing care after your lawn is established, the right fertilizer for your specific plants follows the same principle: test first, then feed accordingly.
Step 2 – Pick the Right Grass for Your Sunlight, Traffic, and Region
Now that you know your region and soil, it’s time to choose a specific grass variety. Not all full-sun grasses are the same. Some handle foot traffic better.
Some need less water. Some are more disease-resistant.
Here’s a breakdown of the most reliable options:
Warm-Season Grasses (for hot, sunny climates)
- Bermuda grass: The gold standard for full sun. Extremely drought-tolerant. Recovers fast from wear. Grows dense and low. Best for high-traffic lawns and sports fields. Seed or sod.
- Zoysia grass: Slower to establish but very durable. Forms a thick carpet that chokes out weeds. Good medium traffic tolerance. Takes full sun but handles light shade better than Bermuda.
- St. Augustine grass: Coarse texture. Needs more water than Bermuda or Zoysia. Only available as sod or plugs, no seed. Tolerates heat well but not heavy foot traffic.
- Centipede grass: Low maintenance. Needs less fertilizer than other warm-season types. Light green color. Good for low-traffic areas with full sun.
Cool-Season Grasses (for Northern climates)
- Tall fescue: The most heat-tolerant cool-season option. Deep root system. Good for full sun and handles drought better than bluegrass. Available in seed blends.
- Kentucky bluegrass: Beautiful dark green color. Spreads via rhizomes to repair itself. Needs consistent moisture. Best in climates with cool summers.
- Perennial ryegrass: Fast germination (5 to 10 days). Fine texture. Often used in overseeding mixes. Not as drought-tolerant as tall fescue.
Quick Decision Table
| Situation | Best Grass Choice |
|---|---|
| High-traffic lawn, hot climate | Bermuda grass |
| Low-maintenance, hot climate | Centipede or Zoysia |
| Northern lawn, full sun | Tall fescue or Kentucky bluegrass |
| Quick cover or overseeding | Perennial ryegrass |
| Sandy soil, hot climate | Bahia grass (very drought-tolerant) |
If you’re also planning flower beds around your lawn, choosing plants that tolerate full-sun and dry conditions will create a cohesive, low-maintenance landscape.
That covers the critical foundation. Next, we’ll walk through preparing the soil bed, deciding between seed and sod, setting up a watering schedule that builds deep roots, and avoiding the mistakes that kill new grass before it gets started.
Step 3 – Prep the Soil Like a Pro (Tilling, Grading, Amending)
Soil prep is the difference between a lawn that thrives and one that struggles for years. You can’t fix compaction or poor drainage after the seed is down.
Start by clearing the area. Remove rocks, sticks, and any old turf or weeds. A sharp spade or sod cutter works well for stripping existing grass.
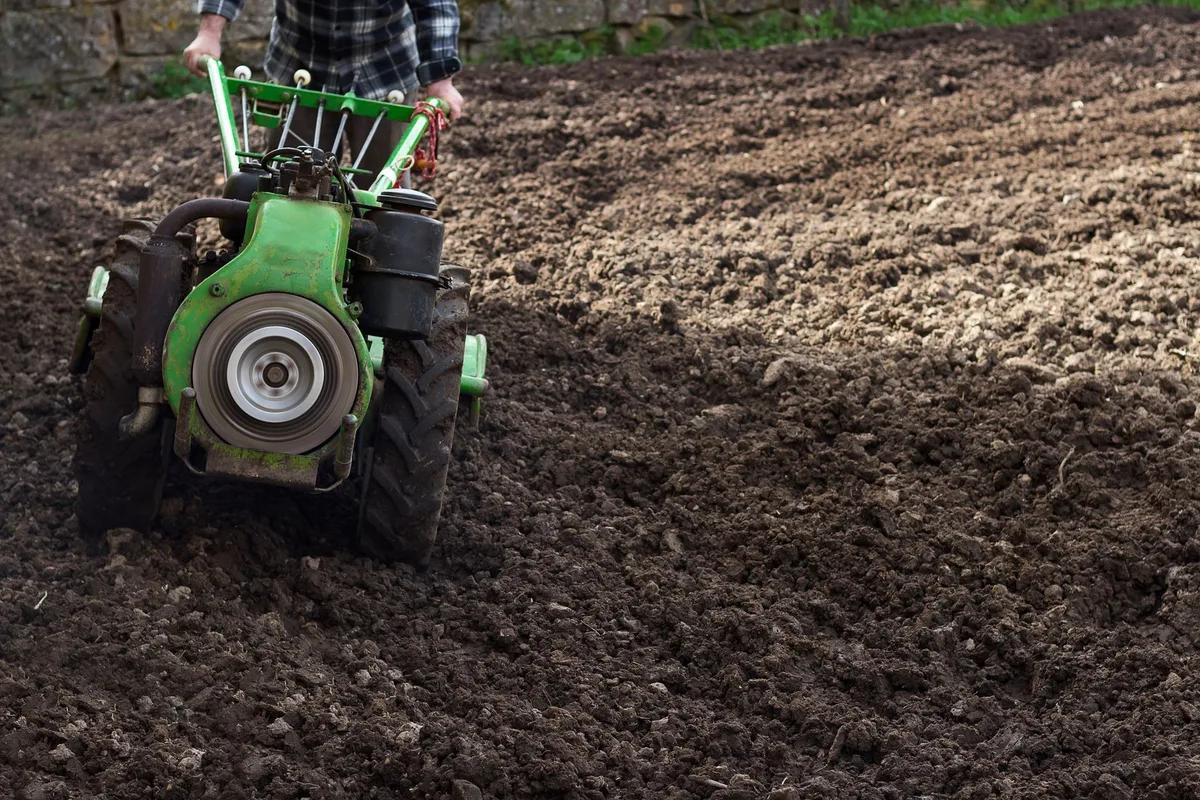
Tilling loosens compacted soil to a depth of 4 to 6 inches. A garden tiller or cultivator does the job. If you’re working a small patch, a hand fork works too.
Tilling also mixes in any amendments you’ve added, like compost or lime.
Grading ensures water flows away from your house and doesn’t pool in low spots. Use a steel rake to spread soil evenly. Fill dips and knock down high spots.
The final surface should be smooth but not perfectly flat, a slight slope away from structures is ideal.
Amending means adding organic matter. A 1 to 2 inch layer of compost mixed into the top 4 inches improves water retention and nutrient availability. If your soil test called for lime or sulfur, incorporate it now.
After amending, let the soil settle for a day or two. Then do a final rake and lightly firm the surface with a lawn roller. You want a firm seedbed, not rock-hard ground.
If you’re working in a hot dry climate, consider adding a moisture-retaining amendment like peat moss. It helps the seedbed stay damp longer between waterings.
Step 4 – Seed or Sod? The Trade-Offs for Full-Sun Lawns
Both options work, but they suit different situations. Here’s how they compare:
| Factor | Seed | Sod |
|---|---|---|
| Cost | Much lower | 2–4x more expensive |
| Time to full lawn | 6–12 weeks | Instant coverage |
| Labor | Moderate effort | Heavy lifting |
| Variety choice | Wide selection | Limited to local availability |
| Erosion risk | Higher during establishment | Very low |
| Best for | Budget, large areas, DIY | Instant results, slopes, small yards |
If you have a bare yard with good soil and some patience, seed is the smarter move. You get access to better grass varieties and save serious money.
If you need an instant lawn, for a backyard party next weekend or to stop erosion on a slope, sod wins. But you still need to prep the soil the same way. Sod laid on unprepared ground will fail just as fast as seed.
For full-sun areas, both seed and sod need consistent moisture during establishment. Warm-season Bermuda seed germinates in 7 to 14 days with 65°F+ soil. Cool-season tall fescue seed takes 7 to 21 days.
If you want to avoid the wait, sod is the answer. Just be ready to water it heavily for the first two weeks.
Step 5 – Watering Schedule That Builds Deep Roots (Not Shallow Mud)
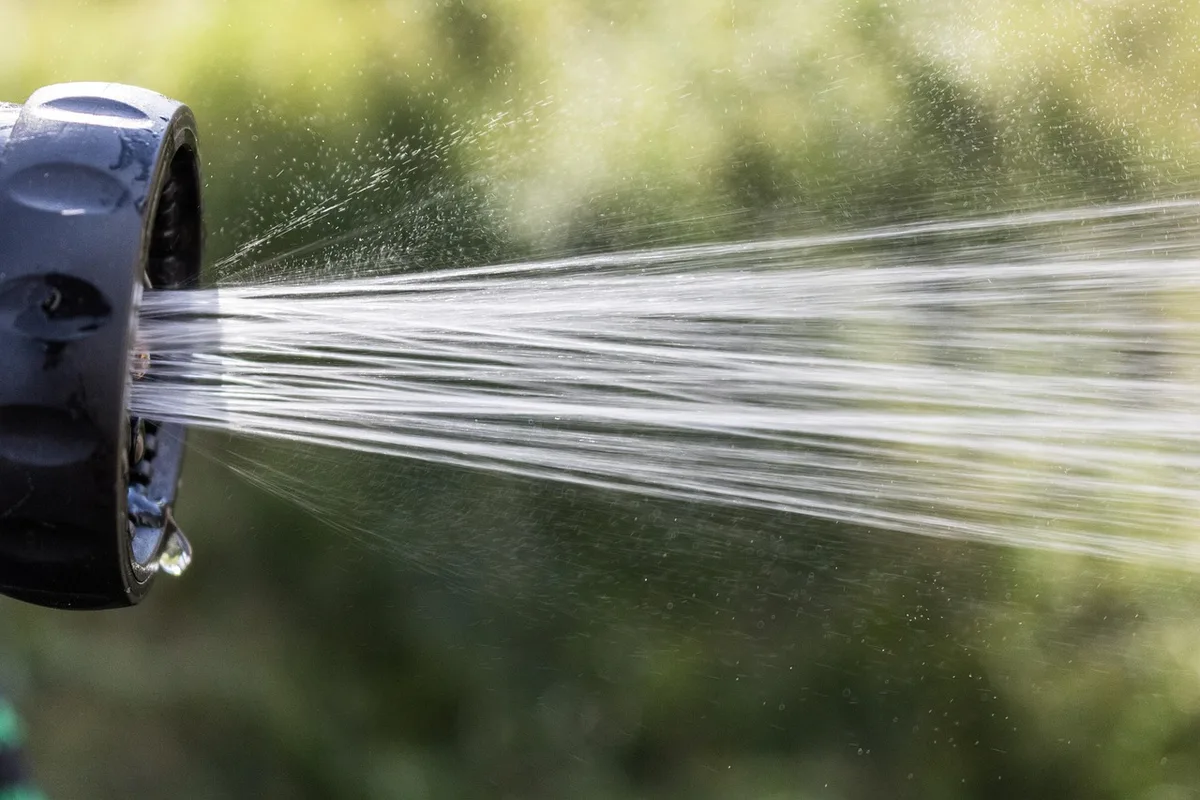
This is where most people mess up. Watering a little bit every day keeps the surface damp and the roots shallow. That weakens the grass and makes it dependent on constant watering.
The first two weeks after seeding: Keep the top inch of soil consistently moist. That might mean watering 2 to 3 times per day for short periods (5 to 10 minutes each), depending on your climate and sun intensity. The goal is to never let the seed dry out.
Weeks 3 through 6: Gradually switch to deeper, less frequent watering. Water every 2 to 3 days, applying about 1/2 to 3/4 inch each time. Let the soil dry slightly between sessions.
This encourages roots to grow downward.
After establishment (week 6+): Water deeply once or twice per week, applying 1 to 1.5 inches total per week. A tuna can test works well, place an empty can on the lawn and run the sprinkler until it holds 1 inch of water.
Timing matters. Water early in the morning, between 4 AM and 8 AM. This gives the grass time to dry before nightfall, reducing disease risk.
Midday watering wastes water to evaporation. Evening watering invites fungus.
If you have an irrigation system, set it for early morning cycles. A smart timer can adjust based on rainfall.
Step 6 – First Mow, First Feed, and Setting Your Maintenance Routine
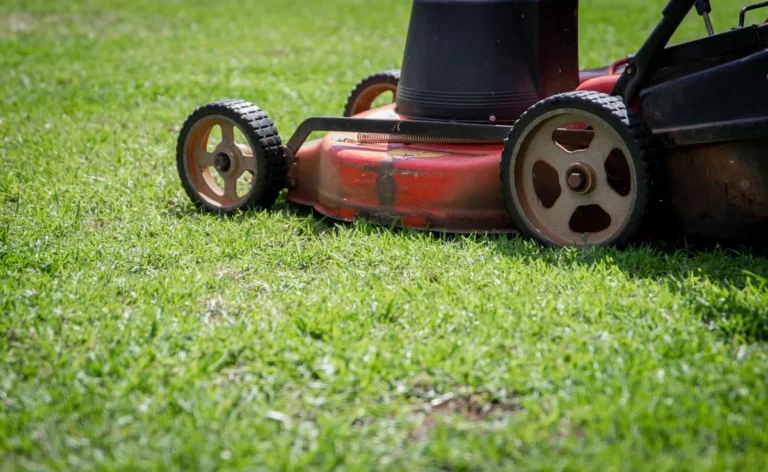
Your first mow sets the tone for the entire season. Wait until the grass reaches about 3 inches tall for cool-season types, or 2 inches for warm-season. Then cut no more than one-third of the blade height.
Removing more than that shocks the plant.
Keep your mower blades sharp. Dull blades tear the grass, leaving ragged edges that lose water faster and invite disease. A sharp blade gives a clean cut.
Fertilizing: About 4 to 6 weeks after germination, apply a balanced lawn fertilizer. A typical ratio for established lawns is 20-5-10 (nitrogen-phosphorus-potassium). Follow the label rate, overfeeding leads to thatch buildup and weak growth.
Mowing height for full-sun lawns:
| Grass Type | Mow Height (inches) |
|---|---|
| Bermuda | 0.5 – 1.5 |
| Zoysia | 1 – 2 |
| Tall fescue | 2.5 – 3.5 |
| Kentucky bluegrass | 2 – 3 |
| Perennial ryegrass | 2 – 3 |
Taller grass shades the soil, which reduces evaporation and suppresses weeds. In full sun, err on the taller side of the range.
After the first mow, set a weekly or biweekly mowing schedule. Never cut more than one-third of the blade at once. If you let it grow too long, do two passes a few days apart.
Overseeding: In fall (cool-season lawns) or late spring (warm-season), overseed thin areas to keep the lawn dense. This prevents weeds from moving in.
Common Full-Sun Mistakes That Kill New Grass (Even When You Follow the Label)
Even experienced homeowners make these errors. Here are the ones that cause the most damage.
1. Watering at the wrong time. Evening watering leaves the grass wet overnight. That’s an open invitation for fungus.
Morning watering is non-negotiable.
2. Mowing too short in summer. Scalping the lawn exposes soil to direct sun, which bakes the roots. Keep the blade higher during hot months.
3. Ignoring soil compaction. If water pools after rain or your lawn feels spongy, it’s time for core aeration. Do it once a year for full-sun lawns.
4. Using too much nitrogen fertilizer. High nitrogen pushes rapid leaf growth at the expense of root depth. Use a slow-release formula and stick to the recommended schedule.
5. Planting the wrong grass for your region. This is the root cause of countless failures. A cool-season grass in Arizona will never thrive, no matter how much you water.
6. Not preparing the seedbed properly. Bare dirt with no tilling or amendment leads to poor germination and weak plants.
7. Letting weeds get a head start. Weeds compete for water and nutrients. Apply a pre-emergent herbicide at the right time, but only after your grass is well established.
If you’re dealing with persistent weed problems, a targeted herbicide for common lawn weeds can help keep them under control.
That covers the core steps. Next, we’ll get into expert tips for extreme conditions and the decision guide that ties everything together.
Expert Tips for Extreme Heat, Slopes, and High-Traffic Areas
Full sun hits hardest on south-facing slopes and compacted paths. For slopes, use a tackifier or erosion-control blanket after seeding. It holds seed and soil in place during rain.
In extreme heat, raise your mowing height by half an inch. Taller grass shades its own roots and loses less moisture. Water deeply at sunrise, not dusk.
High-traffic areas need tough grass like Bermuda or tall fescue. Oversee those spots annually in early fall. Consider adding a paver path to spread wear over a smaller footprint.
The Decision Guide: A Simple 3-Question Flowchart (Text-Based)
Question 1: Where do you live?
- South or Southwest → Warm-season grass (Bermuda, Zoysia, Centipede)
- North or Midwest → Cool-season grass (Tall fescue, Kentucky bluegrass)
- Transition zone → Tall fescue or Bermuda
Question 2: How much foot traffic does the lawn get?
- Heavy (kids, pets, play) → Bermuda or tall fescue
- Light → Centipede, Zoysia, or fine fescue
Question 3: How fast do you need results?
- Instant → Sod
- 6, 12 weeks → Seed
- Budget-friendly → Seed
If you answered warm-season + heavy traffic + budget, choose Bermuda seed. If cool-season + light traffic + instant, go with tall fescue sod.
Frequently Asked Questions (No Fluff – Just What Works)
How often should I water new grass seed in full sun?
Water 2 to 3 times daily for the first two weeks. Keep the top inch of soil moist. After germination, switch to deeper, less frequent watering.
Can I grow grass in full sun with sandy soil?
Yes. Sandy soil drains fast, so you need to water more often. Add 2 inches of compost before seeding to improve moisture retention.
Bermuda and Bahia grass perform best in sandy conditions.
What grass grows best in full sun and high heat?
Bermuda grass is the top choice. It thrives in 90°F+ temperatures and stays green with minimal water. Zoysia is a close second with slower growth and better shade tolerance.
When is the best time to plant grass in full sun?
For warm-season grasses, plant in late spring when soil reaches 70°F. For cool-season grasses, plant in early fall when soil is 55°F to 65°F. Avoid summer planting unless you have irrigation.
How do I stop weeds from taking over my sunny lawn?
Keep the grass dense and healthy. Mow at the recommended height, water deeply, and fertilize appropriately. Apply a pre-emergent herbicide in early spring and fall after the lawn is established.
Your Next Move: One Action That Locks In Success
Take a soil test today. That single step determines every other decision you make. Without it, you’re guessing on pH, lime, and fertilizer.
With it, you have a clear, measurable plan that works for your exact yard.
Order a DIY test kit or contact your local extension office. Send in the sample this week. While you wait for results, clear the area and gather your tools.
By the time the report arrives, you’ll be ready to move.