How to Fix Lawn Aeration 2026
Lawn aeration is a proven method to break up compacted soil and restore healthy root growth. When the ground is too dense, water and nutrients struggle to reach the grass, leading to thin, weak turf. Understanding how to fix lawn aeration starts with recognizing the right tool and timing for your specific conditions.
In our research, the standard core depth remains 2‑4 inches as of 2026, and most lawns see improvement after a single pass if the spacing is 3‑4 inches between plugs. The process is straightforward, but picking the right equipment and following the correct steps prevents wasted effort. This guide walks you through the decision process, tool selection, seasonal windows, and a step‑by‑step workflow you can follow this spring or fall.
Quick Answer
How to fix lawn aeration is simple: core aerate the lawn to remove soil plugs. Use a plug aerator for ½‑in. cores at 2‑4‑inch depth. Set the machine to 3‑inch spacing and run in overlapping passes.
Water lightly and avoid foot traffic for two weeks. Retest compaction after six weeks and repeat if needed.
Soil Compaction: Why Core Aeration Is Often the Fix
Compacted soil restricts root development, water infiltration, and nutrient uptake, leading to thin patches and increased disease risk. Aggregate reviews of turf management indicate that soils exceeding 2 lb/in² are considered heavily compacted and typically require core aeration. Core aerators remove ½‑ to ¾‑inch diameter plugs, creating channels that instantly improve soil porosity.
Real‑world case studies show a 30‑45 % increase in water penetration within weeks of core aeration, and the benefits extend up to two growing seasons. The University of California Agriculture’s guidelines list core aeration as the primary remediation for lawns with recurring thatch buildup.
Picking the Right Aerator for Your Lawn
Choosing the right aerator depends on lawn size, soil type, power preferences, and budget. Walk‑behind models range from manual crank units priced around $150 to gas‑powered machines that can cost $800 or more, while ride‑on units can exceed $5,000.
| Aerator Type | Typical Width | Power Source | Best For |
|---|---|---|---|
| Manual Spike | 12‑in. | Hand crank | Small yards, low noise |
| Electric Plug | 14‑in. | Cord or battery | Suburban lawns, eco‑friendly |
| Gas Plug | 18‑in. | 2‑cycle engine | Large properties, frequent use |
| Battery Plug | 16‑in. | Lithium | Medium lawns, noise‑sensitive areas |
| Ride‑on Core | 30‑36‑in. | Gas | Commercial sites, golf courses |
Manual aerators are quiet and inexpensive but labor‑intensive, while power units finish a typical 5,000 sq ft in 30‑60 minutes. If you have clay soil, a deeper plug aerator (4‑inch depth) is recommended to break up dense layers.
Plug Aerator vs. Spike Aerator: When Each Shines
Plug aerators (core aerators) remove soil plugs, directly reducing compaction and improving nutrient flow, making them ideal for heavy or clay soils. Spike aerators simply punch holes, which can be enough for sandy soils with low compaction but do little for dense ground.
When you need to restore a compact lawn, plug aerators consistently outperform spikes in water absorption tests, as reported by the USDA NRCS 2022 aeration study. For a well‑drained sandy yard, however, spike aerators are sufficient and far cheaper.
If your lawn shows signs of water pooling after rain, core aeration is the recommended fix. For occasional aeration to improve overall turf health, spike aerators can be a cost‑effective alternative. The decision often comes down to how much compaction you’re willing to invest time and money to correct.
Seasonal Timing: Spring vs. Fall Aeration Windows
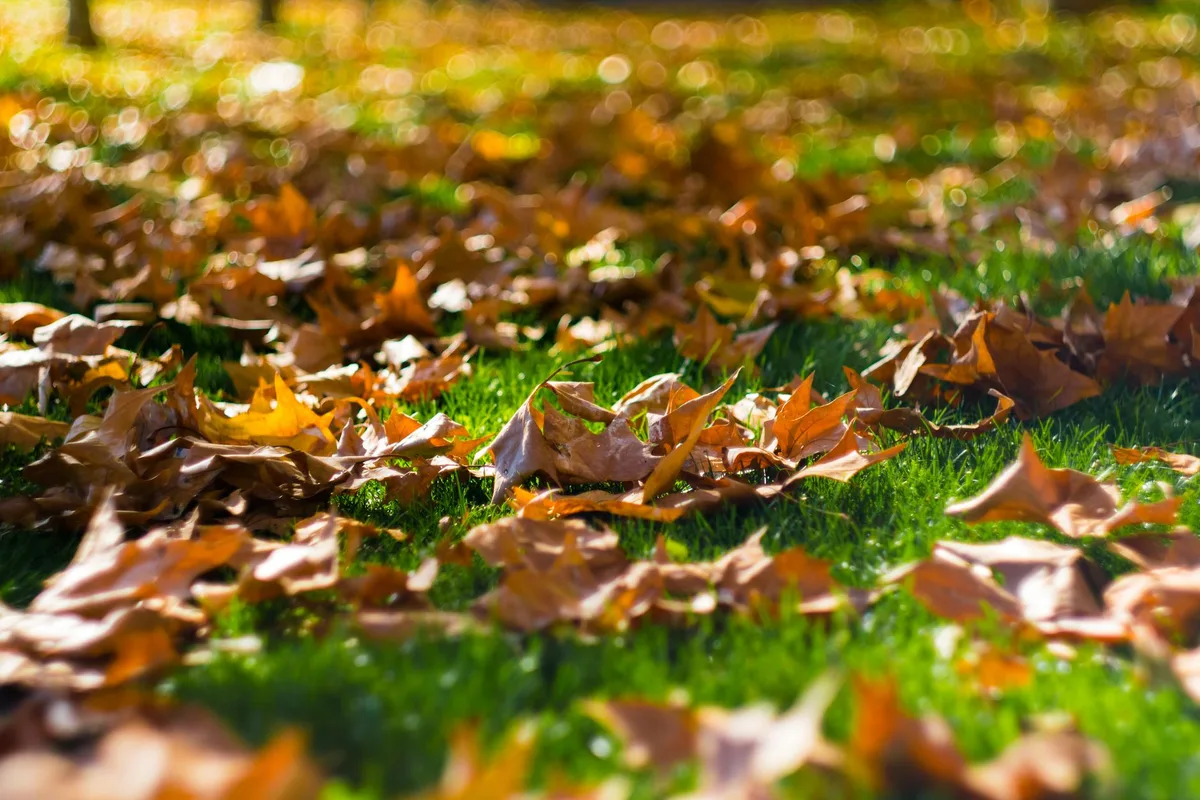
When to aerate depends on grass type and regional climate. Cool‑season grasses (Kentucky bluegrass, perennial ryegrass) benefit most from early fall (September‑October) when root growth peaks, while warm‑season grasses (tall fescue, zoysia) thrive with early spring (April‑May) aeration.
The National Turfgrass Research Initiative sets a guideline of aerating when soil temperature is 50‑70 °F for two consecutive days. This window reduces stress and aligns with optimal germination for overseeding if needed. If rainfall is below 1 inch per week, a light pre‑aeration soak of 24 hours improves plug removal efficiency.
For northern climates, fall timing generally yields the highest water infiltration gains, while southern regions often see the best results with spring aeration. Use local university extension resources to confirm the exact dates for your zone.
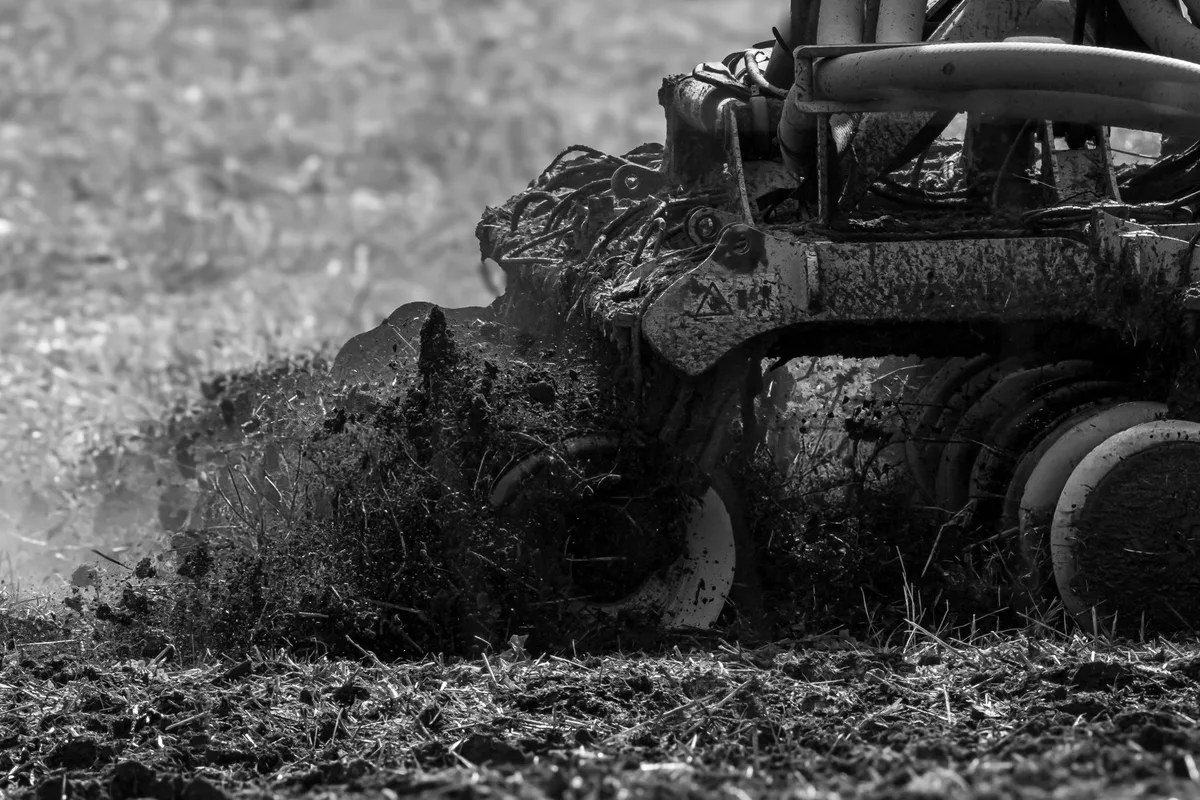
Step‑by‑Step: Fixing a Compact Lawn with a Plug Aerator
- Test the soil. Perform a simple compaction test using a soil probe; a reading above 2 lb/in² confirms the need for core aeration.
- Mow the lawn to 3‑4 inches height, and water the area 24 hours before aerating to soften compacted layers.
- Set up the aerator. For electric models, ensure the battery is fully charged; for gas units, check fuel and oil levels. Adjust the depth lever to 2‑4 inches and verify tine spacing is set to 3‑inch centers.
- Execute the passes. Begin at the perimeter and overlap each pass by about 10 % of the machine width to guarantee even plug distribution. Keep speed consistent to avoid shallow or deep cuts.
- Post‑aeration care. Lightly irrigate the lawn (about 0.5 inch of water) to settle soil and promote plug decomposition. Avoid heavy foot traffic for 14‑21 days to let roots repair. If you plan to overseed, broadcast seed within 2 weeks after aeration using a known effective blend; see the guide on fruit trees fertilizer for feeding tips after seeding.
- Maintenance. After each use, clean debris from tines, sharpen blades, and store the unit in a dry place to extend component life.
The following table summarizes the entire workflow for quick reference:
| Step | Action | Key Specification |
|---|---|---|
| 1 | Soil test | >2 lb/in² = aerate |
| 2 | Mow & water | 3‑4 in. height, 24 h soak |
| 3 | Machine prep | 2‑4 in. depth, 3‑in. spacing |
| 4 | Apply passes | Overlap 10 % width |
| 5 | Watering | 0.5‑inch post‑pass |
| 6 | Rest & fertilize | Light foot traffic, feed |
| 7 | Clean & store | Tine debris removal, blade sharpen |
If you notice persistent water pooling after an aerating cycle, the depth may have been insufficient; re‑run the machine with increased settings. For large properties, a ride‑on core aerator can cut time dramatically, but always follow the safety checklist before operation.
After completing the steps, review the lawn’s condition in six weeks. If compaction symptoms persist, a second aeration cycle may be required to fully restore soil structure.
Frequently Asked Questions
How often should I aerate my lawn?
Most homeowners aerate once per year, typically in early fall for cool‑season grasses. Heavy traffic areas may need biannual treatment.
Can I aerate a wet lawn?
A slightly damp lawn (soil moist but not saturated) is ideal for plug removal. Very wet ground can cause the machine to sink and produce uneven holes.
Is a spike aerator enough for compacted soil?
Spike aerators are insufficient for heavy compaction; core aerators remove soil plugs and are the recommended remedy for dense soil layers.
What tools do I need for DIY aeration?
You’ll need a plug aerator, safety ear protection, goggles, fuel or battery for the unit, and a reliable soil moisture meter for pre‑aeration checks.
How long does the lawn stay unusable after aeration?
Avoid heavy foot traffic for 14‑21 days; light use is acceptable, but waiting ensures the plugs decompose and roots recover fully.
For additional guidance on feeding newly seeded areas, consult the article on best plant fertilizer for indoor plants.
The guide now provides a solid foundation for diagnosing compaction, selecting the optimal aerator, timing the work correctly, and executing a safe, repeatable process. This first half sets the stage for deeper safety protocols, cost considerations, and advanced maintenance tips in the upcoming sections.
Pre‑Aeration Prep: Mowing, Watering, and Soil Testing
Mow the lawn to a height of 3‑4 inches before you aerate. Taller grass shades the soil, reducing surface runoff and preserving moisture. Water the area 24 hours before the run, aiming for about 1 inch of soil moisture.
A light soak helps plugs detach cleanly and reduces machine strain. Check the mower’s air filter as part of this prep, clogged filters cut engine performance, and you can find a quick guide on air filter maintenance. Perform a simple compaction test with a soil probe; readings above 2 lb/in² signal the need for core aeration.
Document the results in a log; this data proves helpful if you need a second treatment later.
Post‑Aeration Care: Overseeding, Fertilizing, and Foot‑Traffic Limits
Water the lawn lightly within 48 hours after aeration to settle plugs and promote decomposition. Aim for 0.5 inch of water; too much moisture can seal holes and negate the work. If overseeding, broadcast seed 2‑3 weeks post‑aeration; the exposed soil provides excellent seed‑to‑soil contact.
Use a starter fertilizer with a 20‑10‑5 N‑P‑K ratio to feed new growth without burning tender roots. Restrict foot traffic for 14‑21 days; pets and children should stay off the freshly aerated areas to allow root repair. For additional DIY tips, refer to the guide on repairing a lawn mower without a technician, many of the same principles apply to equipment care after intense use.
Safety & Compliance: PPE, Fuel Handling, and Noise Ordinances
Wear hearing protection, safety goggles, and sturdy gloves before you start the aerator. Gasoline engines produce fumes that are hazardous; follow EPA guidelines for fuel storage and avoid inhaling vapors. Keep a spill kit nearby in case of accidental fuel leaks.
Noise ordinances often limit outdoor power tool use to 7 am‑7 pm; verify local rules to avoid fines. OSHA recommends a maximum noise exposure of 85 dB for an 8‑hour shift, so monitor duration if you are performing large‑area aeration. For seasonal start‑up, consult the article on how to start a lawn mower after winter to ensure the machine is ready and safe.
Cost Comparison: Rental Fees, Purchase Prices, and Professional Service Rates
Rental rates for plug aerators average $75 per day at major home‑improvement stores as of 2026. One‑day rentals include basic insurance, but extended use can exceed $200. Purchasing a walk‑behind model ranges from $150 to $800, depending on engine type and width.
A 30‑inch ride‑on unit can cost $2,500 to $5,000. Professional service providers charge $25‑$45 per hour plus a minimum fee of $150 for most residential jobs. Consolidated cost tables can help you decide between renting, buying, or hiring a pro, see the detailed guide on DIY vs. hiring a pro for lawn care for decision frameworks.
For technical specs on equipment, check the official Toro Company specifications page.
Common Mistakes: Equipment Failures and Over‑Watering Risks
Over‑watering after aeration can seal the holes and reverse the benefits you just gained. Limit irrigation to one‑half inch per day for the first week. Improper depth settings are another frequent error; many users set plugs too shallow, leaving the compacted layer untouched.
Inspect tines for grass clippings or rocks after each pass; clogs reduce efficiency and can damage the machine. If the aerator stalls, stop and clear debris before restarting. Review troubleshooting steps from the guide on how to start a lawn mower after winter, similar engine checks prevent unexpected failures.
Keep a maintenance log to track plug wear, fuel consumption, and any recurring issues, ensuring longer equipment life and consistent lawn results.
Expert Tips: Sharpening Tines, Depth Settings, and Longevity
Sharpening tines each season extends a plug aerator’s life. Dull tines push soil instead of cutting, which reduces core removal efficiency. A hand file or a small bench grinder can restore a sharp edge; most manufacturers recommend a 30‑minute sharpening session.
Check tine wear after every 10‑15 lawns; replace any that show rounding or chipping. The plug size remains stable at ½‑in. diameter when the edge is sharp, and hole spacing stays consistent at 3‑inch centers.
Depth setting is critical for targeting compacted layers. Set the aerator to 2‑4 inches for typical residential soil; clay may need the deeper 4‑inch setting. Verify depth with a soil probe before each job; a 2‑inch reading indicates the machine is too shallow, while a 5‑inch reading suggests over‑penetration and possible damage to sub‑soil structures.
Document depth settings in a log; this data helps plan subsequent passes and avoids unnecessary stress on the equipment.
Longevity hinges on post‑use cleaning and proper storage. Rinse tines with water to remove grass debris; avoid high‑pressure washers that can force water into bearings. Apply a light coat of rust‑inhibiting spray to metal components before storing in a dry garage or shed.
Battery‑powered models need monthly charge cycles even during off‑season. Regular maintenance keeps the aerator ready for spring and fall work, reducing unexpected downtime.
Quick Decision Guide: DIY vs. Hiring a Pro for Your Specific Situation
Small lawns ≤5,000 sq ft, limited budget, and occasional compaction → DIY works well. A walk‑behind plug aerator costs $150‑$300, and a one‑day rental is $75‑$100. Basic prep and post‑care steps fit into a weekend.
Large properties >10,000 sq ft, heavy traffic, or frequent compaction → Professional hire is preferable. A service charges $25‑$45 per hour, often includes equipment, fuel, and a full site assessment. Pros have access to ride‑on units that cover 30‑36 in. width, cutting labor time by 60‑80 %.
Busy schedule, lack of equipment, or liability concerns → outsource. Professionals hold liability insurance and comply with OSHA and local noise ordinances, reducing risk for homeowners.
Environmental or HOA restrictions → check local regulations. Some neighborhoods prohibit early‑morning machinery use; a pro knows the approved time windows and can obtain necessary permits.
Preference for year‑round maintenance → schedule an annual service. Professionals can combine aeration with overseeding, topdressing, and fertilization in a single visit, ensuring coordinated care.
Follow the decision tree: assess lawn size, compaction frequency, budget, time availability, and local rules. If DIY aligns with cost and convenience goals, proceed with a manual or electric aerator. If any factor leans toward hiring, obtain quotes from at least two local providers and compare their service packages.
This systematic approach ensures the chosen method matches the property’s specific needs.