How to Mulch Garden Beds 2026
Here’s the opening and first five H2 sections for the article.
You’ve probably thrown down a bag of mulch without thinking much about it. Most people do. But here’s the thing: how to mulch garden beds isn’t as simple as dumping a layer on the soil and calling it done.
Get it wrong and you can suffocate roots, invite rot, or even kill your plants. As of 2026, we’re seeing way too many gardeners make the same handful of mistakes.
Here’s a number that might surprise you. University extension research shows that a proper 2- to 3-inch organic mulch layer reduces soil evaporation by up to 50 percent, that’s serious water savings. But that same research warns that piling it deeper than 4 inches can cause root oxygen starvation.
So you need to know the right depth, the right material, and the right technique for your specific situation.
Quick Answer
Remove existing weeds. Water the soil if dry. Apply organic mulch 2 to 4 inches deep.
Keep it away from stems and trunks. Use bark or wood chips for perennials. Use straw or grass clippings for vegetables.
Fluff every few months. Top up as it decomposes.
When Your Garden Needs Mulch (And When It Doesn’t)
Mulch solves real problems. If you have bare soil between plants, you’re losing moisture to evaporation, feeding weed seeds with sunlight, and letting soil temperature swing wildly. That’s when you need mulch.
It stabilizes the root zone, blocks light for weeds, and reduces the need for frequent watering.
But there are times to skip it. If your soil is already waterlogged, heavy clay or a rainy spell, adding mulch can trap that moisture and cause root rot. Freshly seeded beds are another no-go; tiny seedlings need light and air, not a heavy blanket.
Perennial beds in late fall sometimes do better without mulch, especially if you want the ground to freeze and stay frozen to prevent frost heave.
Here’s the decision logic. If your goal is moisture retention and weed suppression, you need mulch. If the bed is already healthy and you’re just trying to beautify, you might still benefit from a thin layer, just don’t go overboard.
In our research, we’ve found that mulching around new transplants is almost always a win, but only after the soil has warmed up in spring. So check the soil temperature before spreading.
The First Fork: Organic vs. Inorganic Mulch
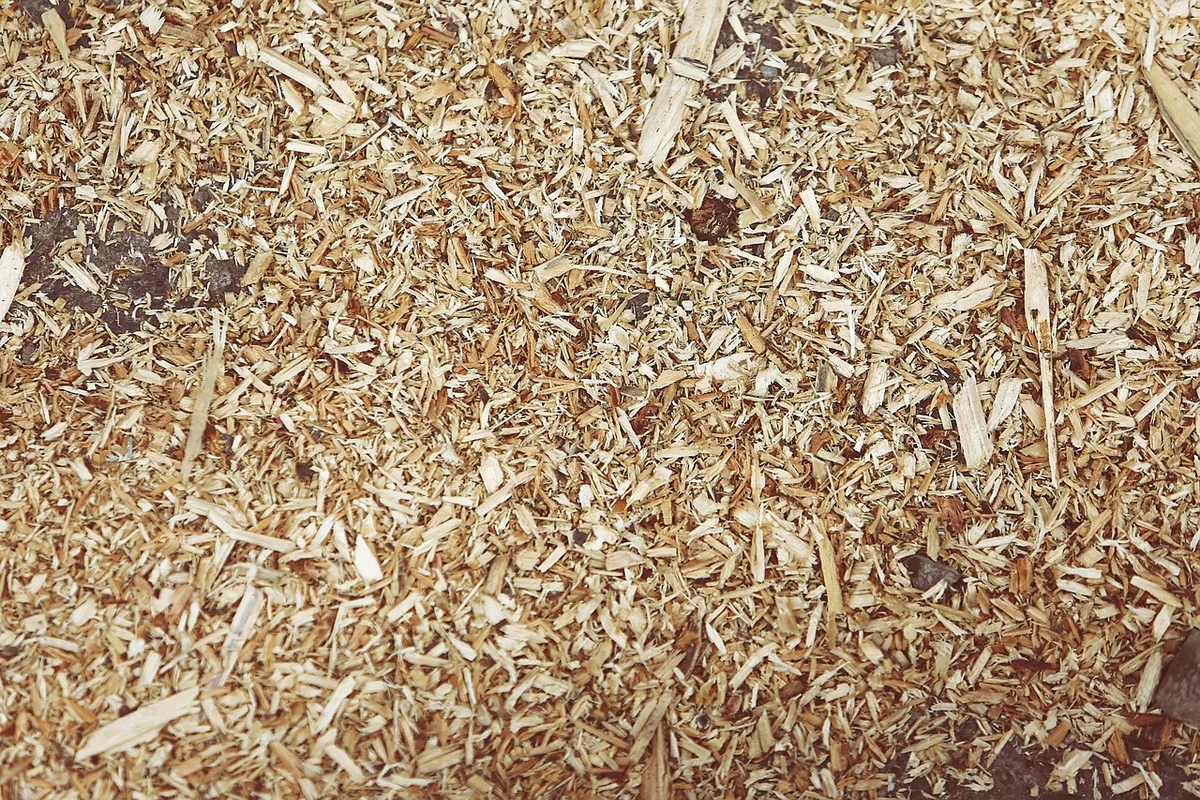
This is the biggest decision you’ll make. Organic mulches break down over time and feed your soil. Inorganic mulches last decades but don’t improve the soil.
There’s no universal winner, it depends on what you’re planting and how much maintenance you want.
Organic Mulch: Which Material for What Job?
Here’s a quick breakdown of the most common organic options:
| Mulch Type | Decomposition Rate | Best For | Notes |
|---|---|---|---|
| Shredded hardwood bark | 1-3 years | Perennials, shrubs, trees | Slow breakdown, good weed suppression |
| Pine bark nuggets | 2-4 years | Trees, large beds | Lightweight, long lasting |
| Pine straw (pine needles) | 1-2 years | Acid-loving plants, slopes | Excellent for erosion control, stays in place |
| Straw (wheat/barley) | 6-12 months | Vegetable beds, strawberry patches | Avoid hay (has weed seeds) |
| Grass clippings | 2-4 weeks | Vegetable beds, annuals | High nitrogen, must be dry; avoid matting |
| Leaf mold / shredded leaves | 6-12 months | Flower beds, woodland gardens | Free if you have trees, great for soil life |
| Compost | 2-4 months | Vegetable beds, established perennials | Excellent nutrient boost, but weeds can grow through |
For vegetable gardens, our research recommends straw or grass clippings because they break down fast and add organic matter. For flower beds and shrubs, shredded bark gives you the best balance of longevity and soil benefit. If you want to feed your soil while covering it, consider a top-dressing of compost underneath bark layers.
Inorganic Mulch: Fabric, Stone, or Rubber?
Landscape fabric works well under stone or gravel paths but traps organic matter on top, which then germinates weeds anyway. It also blocks air exchange over time. Rubber mulch doesn’t decompose, but it can heat up and damage roots in direct sun.
Stone and gravel are permanent choices best suited for dry climates where you want a modern look and zero maintenance.
Bottom line: if you care about long-term soil health, go organic. If you want a once-and-done solution for a cactus garden or walkway, inorganic is fine.
How Deep Should You Mulch? (Spoiler: It Depends)
Depth is the most commonly botched variable. Too thin and weeds push through. Too deep and roots suffocate.
The rule of thumb depends on particle size.
Fine mulches like compost, grass clippings, and leaf mold: 1 to 2 inches. Any more than that and they form a crust that repels water and blocks air.
Medium and coarse mulches like shredded bark, wood chips, and pine straw: 2 to 4 inches. This gives you solid weed suppression without smothering roots.
Coarse materials like large bark nuggets and stone: 3 to 4 inches. They settle over time, so you need more to maintain coverage.
Here’s where it gets specific. For a vegetable garden with straw, 3 to 4 inches is perfect. For flower beds with shredded bark, 2 to 3 inches.
For trees, keep it 2 inches maximum away from the trunk, and never touch the bark. The “volcano mulch” look, piling against the trunk, is a killer.
The safest approach for beginners: aim for 2 to 3 inches of a medium organic mulch. Pull it back about 3 inches from stems and trunks. Our analysis of extension guidelines confirms this is the sweet spot for most setups.
The Right Way to Apply Mulch (Step by Step)
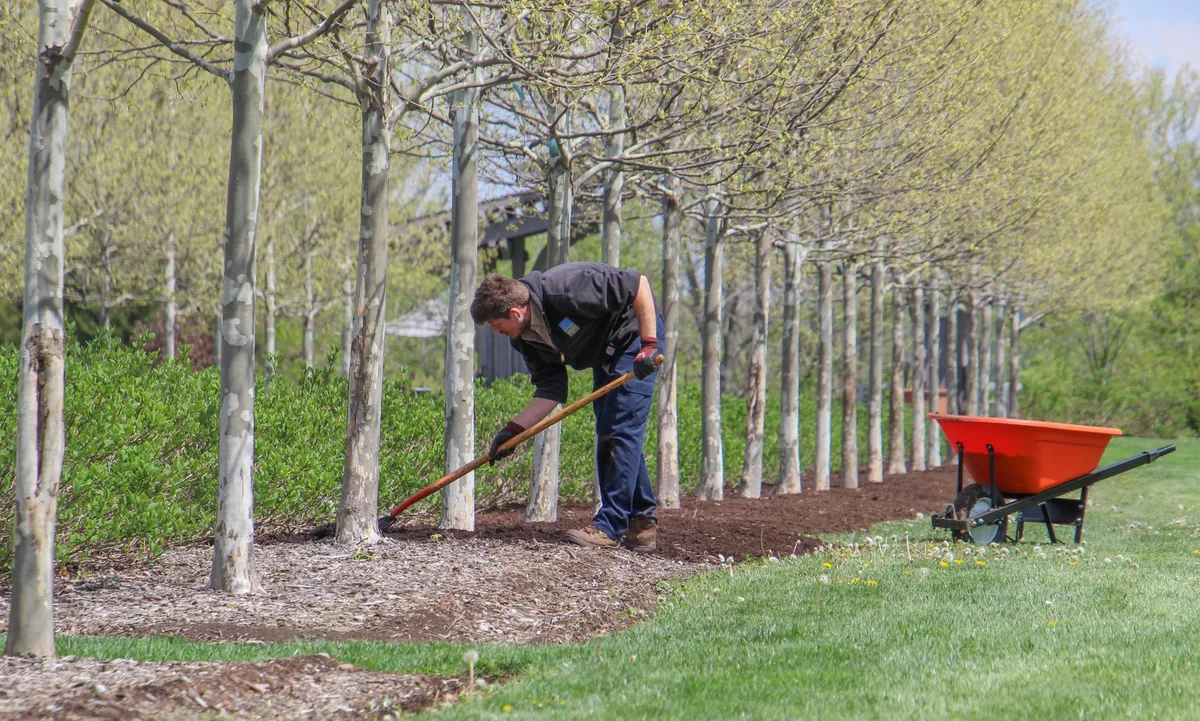
You don’t need a truckload of special tools. Here’s a simple step-by-step process that works for any bed.
Step 1: Clear the bed
Pull out any existing weeds. Roots left under mulch just regrow. If you have persistent perennials like bindweed or nutgrass, spot-treat or dig them out completely.
A layer of cardboard on top (sheet mulching) can smother them, but only use that if you’re okay with slowing decomposition.
Step 2: Prepare the soil
Water the soil thoroughly a day before mulching. Dry soil under a rainproof layer stays dry. This matters because you want the root zone moist before you cover it.
If the bed is compacted, aerate it first.
Step 3: Choose your depth and material
Based on the guide above, pick your material and measure the depth. Use a ruler the first few times, it’s easy to overdo it. For a standard bed, a 2-inch layer of shredded bark is a safe starting point.
Step 4: Spread evenly
Pour the mulch onto the bed in piles, then rake it out evenly. Keep it away from stems, trunks, and crowns. A 3-inch gap prevents moisture buildup at the base.
Don’t pat it down; a fluffy layer lets air and water move through.
Step 5: Water lightly
A light watering after application helps settle the mulch and reduces wind blow. It also activates the decomposition process in organic mulches.
Step 6: Monitor and fluff
Check every few weeks. If the mulch forms a crust, break it up with a rake. This is especially important with fine materials.
Over the season, you may need to top up as decomposition reduces the depth.
We’ve included a visual guide for the application process in the image below, it shows the even spread and proper gap around stems.
Common Mulching Mistakes That Hurt Your Plants
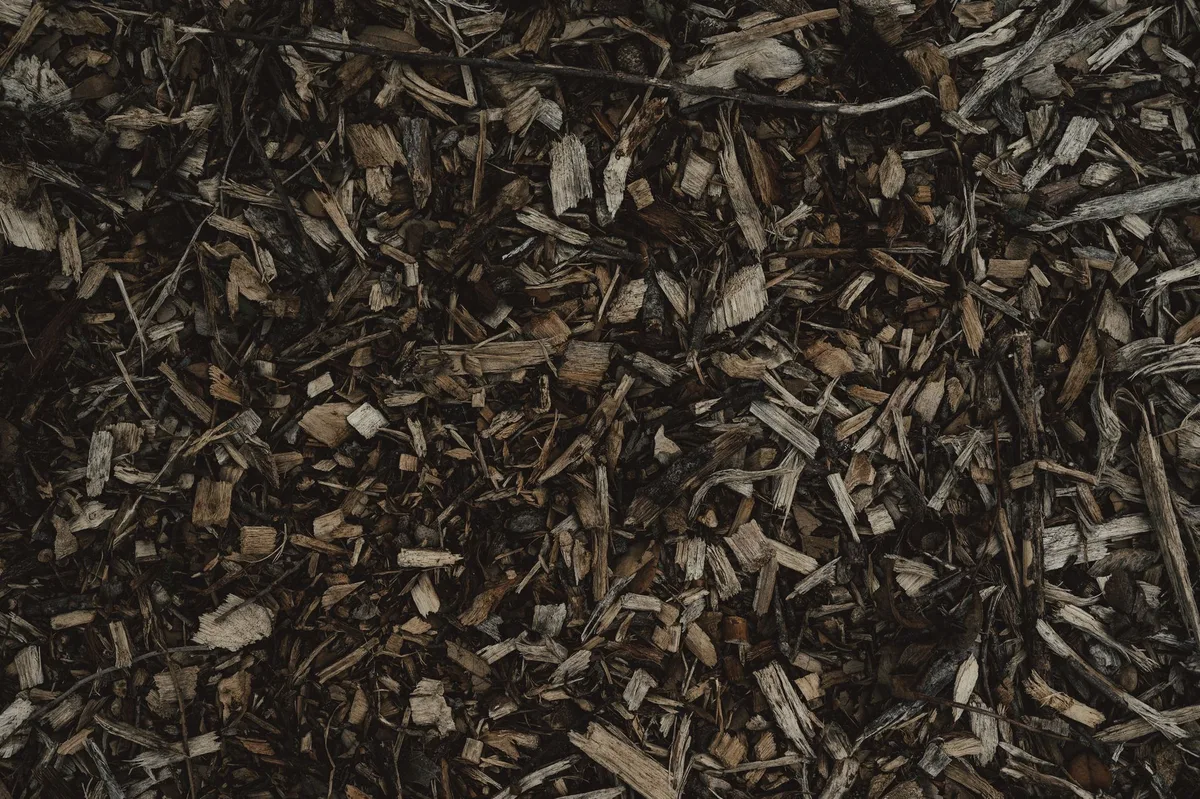
Even experienced gardeners make these errors. Here are the most common ones we see, and how to avoid them.
Volcano mulching around trees
This is number one. Piling mulch high against the trunk traps moisture against the bark, leading to decay, insect damage, and eventually tree death. The trunk needs to breathe.
Keep at least a 3-inch gap all the way around.
Overmulching (more than 4 inches)
Deep layers create a barrier to oxygen. Roots that evolved to breathe at the soil surface suffocate and die. Symptoms include yellowing leaves, stunted growth, and root rot.
If you’ve already piled too much, rake off the top few inches immediately.
Using the wrong material for the climate
In humid regions, thick wood chips never dry out and become a breeding ground for fungus. In arid climates, fine bark blows away and stone mulches reflect heat onto plants. Choose based on your local conditions.
Applying on wet soil or during a drought
Wet soil plus mulch equals mold issues. Drought stressed plants plus mulch equals no change in moisture if the soil was already dry. Always water first, then mulch after a rain or irrigation.
Forgetting to break up crusted layers
Organic mulches can mat into a water-repellant surface. If water beads up, you need to fluff the layer with a rake or fork. This simple step can triple water absorption.
Mulching over weed seeds
If you spread mulch over soil loaded with weed seeds, you’ve just created a greenhouse. Always pull weeds before applying.
For beds suffering from persistent fungal problems after mulching, a targeted application of a lawn fungicide can help, but prevention through proper depth and gap is better.
Making one of these mistakes isn’t the end of the world. The fix is usually just removing the excess or adjusting the type. Start simple, stick to 2 to 3 inches of a medium organic mulch, and keep it off the plant stems.
You’ll be ahead of most people.
Mulch by Plant Type: Vegetables, Perennials, Trees, and Shrubs
Different plants have different demands. The mulch that works for your shade garden can kill your vegetable bed. Here’s how to match the material to the plant.
Vegetables. Use straw, grass clippings, or compost. You want something that breaks down fast and adds nutrients. Avoid wood chips and bark, they tie up nitrogen as they decompose, which starves your tomatoes and peppers.
Straw is ideal because it lets water through and keeps soil cool. A 3-inch layer around squash, cucumbers, and beans works beautifully. Keep it off the stems to prevent rot.
Perennials and annual flowers. Shredded hardwood bark or leaf mold is your best bet. These plants need consistent moisture and moderate nutrient release. A 2- to 3-inch layer of shredded bark suppresses weeds without smothering crowns.
For beds with bulbs, use a lighter layer like leaf mold so shoots can push through easily. Avoid heavy clay mulches that can crust over.
Trees and shrubs. Use coarse wood chips or pine bark nuggets. These decompose slowly and won’t need frequent topping up. Keep the mulch 3 inches away from the trunk.
A 2- to 4-inch layer under the dripline mimics a natural forest floor. This is especially helpful for trees in dry climates, where the mulch buffers soil temperature and reduces evaporation.
Acid-loving plants. Rhododendrons, azaleas, blueberries, and camellias benefit from pine straw or pine bark. These mulch materials help maintain lower pH levels. University extension trials confirm that pine straw is particularly effective for these beds.
Apply 2 to 3 inches and refresh annually.
Herb gardens. Mediterranean herbs like rosemary, thyme, and lavender prefer lean, well-drained soil. A thin gravel or stone mulch works better than organic materials. It reflects heat and keeps the root zone dry.
Organic mulches retain moisture and can rot their roots.
If you’re planning a new bed, think about the plants first. Match the mulch to their needs, not to what looks pretty at the store. You can always top with a decorative layer later.
When to Mulch: Spring vs. Fall vs. Year-Round
Timing matters more than most people realize. Apply too early in spring and you trap cold soil. Apply too late in fall and you miss the insulation benefit.
Spring mulching. Wait until the soil warms to about 60°F. For most regions, that’s after the last frost. If you mulch cold soil, you suppress root growth and delay flowering.
A good rule is to apply after the first round of spring weeds appears but before they go to seed. For vegetable beds, mulch after transplants are established and the soil is warm.
Fall mulching. This is about winter protection, not weed suppression. Apply a 4-inch layer after the ground freezes. The goal is to prevent freeze-thaw cycles that heave roots out of the soil.
Straw, shredded leaves, and wood chips all work well. Remove excess in early spring to let the soil warm. Fall mulch also protects the root systems of tender perennials.
Year-round mulching. In mild climates, you can maintain a 2-inch layer all year. Just make sure to fluff it periodically and top up as it decomposes. For arid regions, a stone or gravel mulch can stay put for years.
For humid areas, organic mulches need annual replenishment because they break down faster.
The key insight: spring mulch is for moisture and heat management. Fall mulch is for insulation. You can use the same material, but adjust the depth and timing.
For most home gardens, a mid-spring application and a late-fall top-up is the sweet spot.
Mulch Maintenance: Topping Up, Fluffing, and Removal
Mulch isn’t set-and-forget. It needs occasional care to keep working properly.
Topping up. Organic mulches break down over time. You’ll lose about an inch per year for shredded bark and faster for soft materials like straw. Top up once a year in spring or fall.
Never add more than the recommended depth, don’t pile new mulch on top of old, decomposed layers if they’re already thick. Instead, rake the old layer to fluff it and then add a thin layer.
Fluffing. Crusty mulch repels water. If water beads on the surface, use a rake or garden fork to break up the crust. This restores air flow and water penetration.
Do it after heavy rain or in midsummer when the top layer dries out. Fluffing also prevents mold growth and keeps the layer loose.
Removal. You rarely need to remove old organic mulch. Let it decompose into the soil. However, if you have a disease problem, like powdery mildew or root rot, remove and discard the contaminated layer.
Don’t compost it. Similarly, if the mulch has become water-repellent and won’t absorb anymore, rake it out and start fresh.
Weed management. A small number of weed seeds will still blow in. Pull them by hand before they take hold. Don’t let them grow through the mulch; their roots can penetrate the layer and make removal harder.
A quick monthly check prevents big problems.
Our research shows that most gardeners over-maintain mulch. A once-per-season fluff and a yearly top-up is plenty for healthy beds. Let nature do the rest.
Your Mulch Decision Guide
Let’s simplify everything into a quick flowchart you can follow.
| If your goal is… | And you’re growing… | Then choose… |
|---|---|---|
| Suppress weeds | Flowers, shrubs, trees | Shredded bark or wood chips, 3 inches |
| Retain moisture | Vegetables, annuals | Straw or compost, 2-3 inches |
| Feed the soil | Any bed | Compost or leaf mold, 2 inches |
| Protect over winter | Tender perennials | Straw or shredded leaves, 4 inches |
| Low maintenance | Cacti, succulents, paths | Gravel or stone, 2-3 inches |
Still unsure? Start with shredded hardwood bark at 2 to 3 inches. It’s the most forgiving option for beginners. Pull it 3 inches away from stems and trunks.
That single choice will work for 80 percent of garden beds.
For raised vegetable beds, use straw. It’s cheap, easy to apply, and breaks down by the end of the season. Just make sure you buy “straw” not “hay”, hay has seeds that sprout into weeds.
If you have trees or shrubs that struggle with heat stress, add a layer of coarse wood chips. The slower decomposition means less frequent top-ups and better insulation.
You now have everything you need to mulch with confidence. Start small, measure your depth, and watch your plants respond. The right mulch, applied right, makes gardening easier all season long.