How to Spray Weed Killer Correctly in 2026 (Easy Methods)
It starts with good intentions. You read the label, mix the concentrate, and spray the patch of bindweed overtaking your flower bed. A week later the bindweed is brown, but so are the petunias you planted last spring.
That is not a bad batch of herbicide. That is almost certainly a technique error.
Learning how to spray weed killer correctly is the difference between a clean yard and a chemical disaster. People get it wrong all the time. They overdose, they spray on the wrong day, they use the wrong nozzle, or they forget that a breeze barely felt on their skin can carry droplets forty feet sideways into the vegetable garden.
Getting it right is not complicated, but it is precise. Manufacturer specifications and EPA guidelines stress that nozzle height, droplet size, and wind speed directly influence drift distance, and a single misstep can kill plants you never intended to touch. Let us walk through the variables so your herbicide hits only what you want dead.
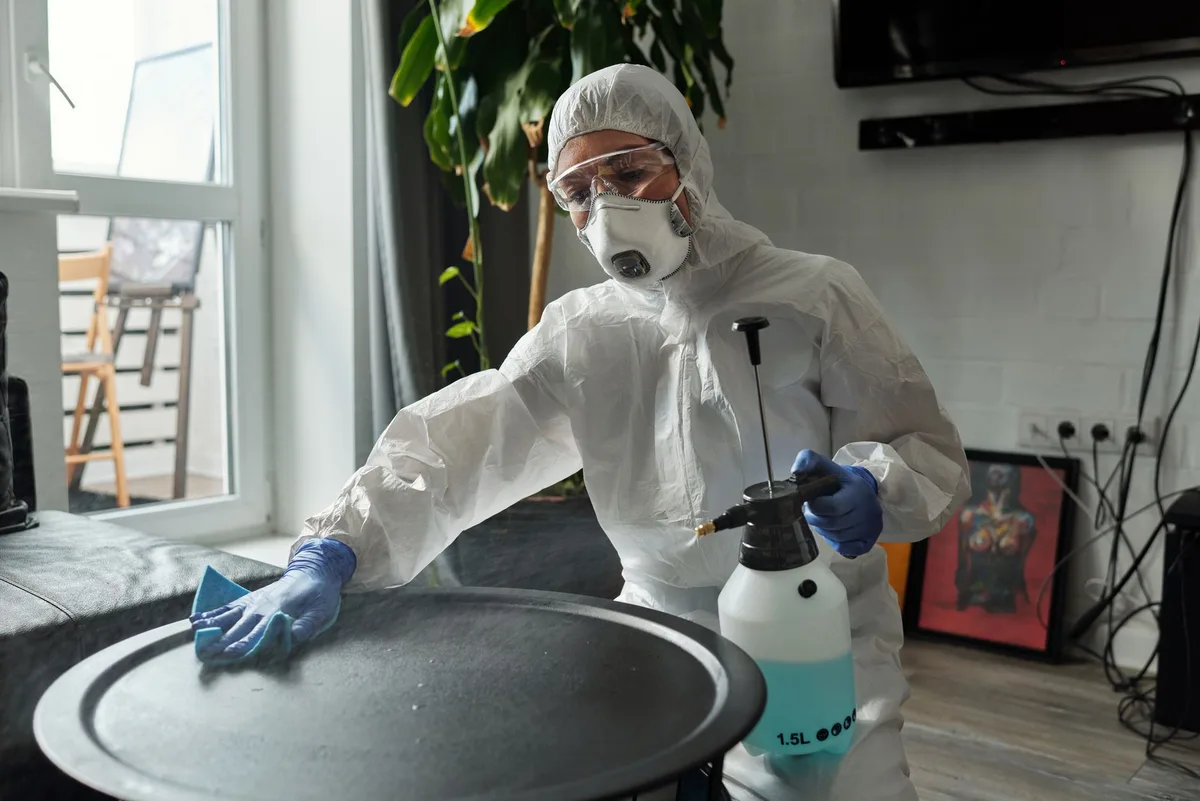
Why Getting It Right Matters: Safety, Legal, and Results
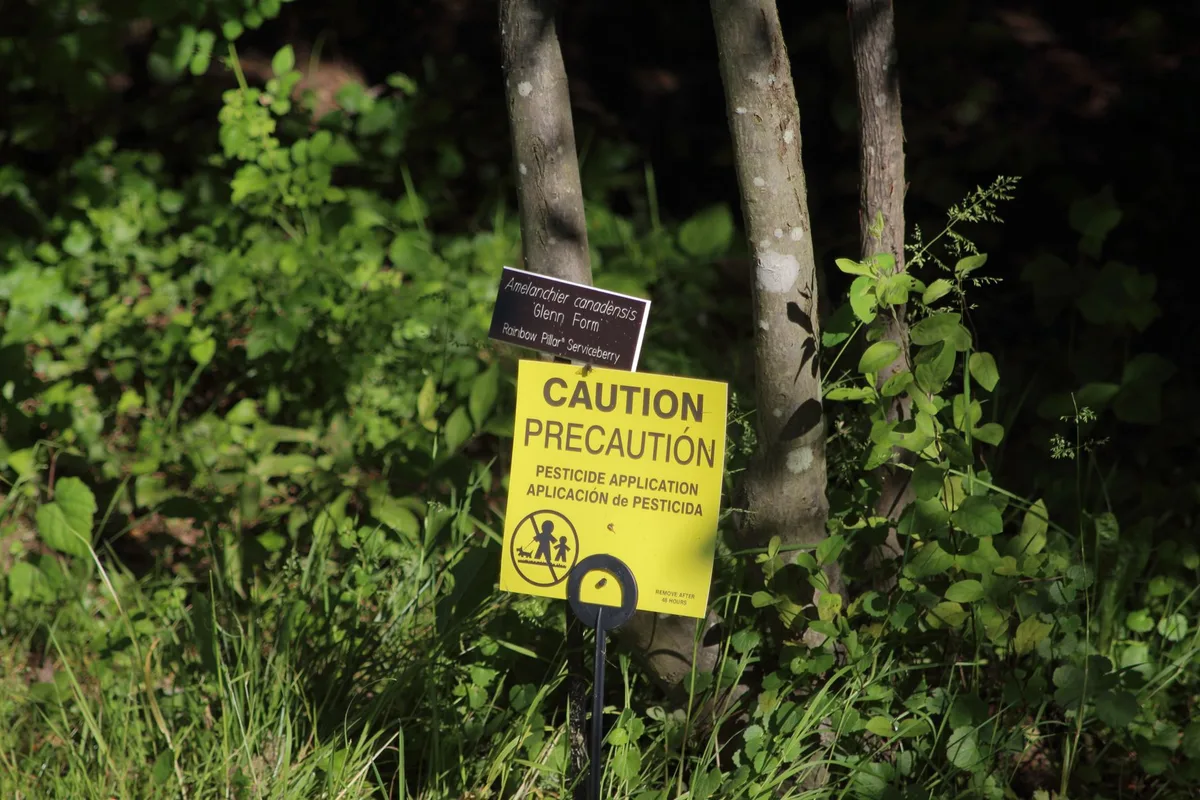
Herbicides are regulated under the Federal Insecticide, Fungicide, and Rodenticide Act (FIFRA) in the United States. That label on the bottle is not a suggestion. It is a legally enforceable document.
If you ignore the rate, the timing, or the personal protective equipment requirements, you can face fines or liability if the chemical damages a neighbour’s property, contaminates a water source, or drifts onto a schoolyard. The EPA sets these rules based on decades of toxicology and environmental fate data.
Signal words tell you the acute toxicity category. If the label says Danger / Poison (Category I), you are handling the most hazardous materials available without a commercial applicator license. Products marked Warning (Category II) are moderately toxic.
Caution (Category III or IV) is the lowest acute risk. Even a Caution product can still damage desirable plants and soil biology if misapplied.
The other reason accuracy matters is resistance management. Spray a half-dose because you want to save money, and the surviving weeds pass resistance genes to the next generation. Glyphosate resistance now affects over 50 weed species globally per available research.
The result is a bigger problem for everyone. Correct spraying preserves the chemistry for the future.
Herbicide Types Explained: Selective vs Non-Selective and What Works Best
One mistake we see constantly: people spray a non-selective herbicide across the entire lawn, then wonder why the grass dies. That is what non-selective chemistry does. It kills everything green.
Selective herbicides target specific plant families while leaving others alone. For example:
- 2,4-D and dicamba control broadleaf weeds (dandelion, clover, plantain) without killing turf grass.
- Mesotrione is selective in certain grass species, used for pre-emergent crabgrass control and some post-emergent broadleaf weeds.
- Triclopyr is selective in grass but kills woody plants and broadleaf weeds in pastures and rights-of-way.
Non-selective herbicides kill anything they contact. The classic is glyphosate. You use it for spot treatment of perennial weeds like bindweed or poison ivy, or for clearing a bed before planting.
If you need to nuke everything on a driveway or patio, non-selective is your tool.
Here is a side-by-side to help you decide:
| Herbicide Type | Best Use Case | Example Active Ingredient | What It Spares |
|---|---|---|---|
| Selective (broadleaf) | Lawn weed control | 2,4-D, dicamba, MCPP | Grass |
| Selective (grassy) | Pasture, certain turf | sethoxydim, fluazifop | Broadleaf plants |
| Non-selective | Spot treatment, bare ground | glyphosate, glufosinate | Nothing |
Per our research, the biggest practical insight is this: if your lawn is full of crabgrass and clover, a single product like a broadleaf selective will handle the clover but leave the crabgrass alive. You need a targeted approach or a combination product that covers both classes.
The Hidden Risks You Can’t Ignore: Spray Drift, Resistance, and Temperature Inversions
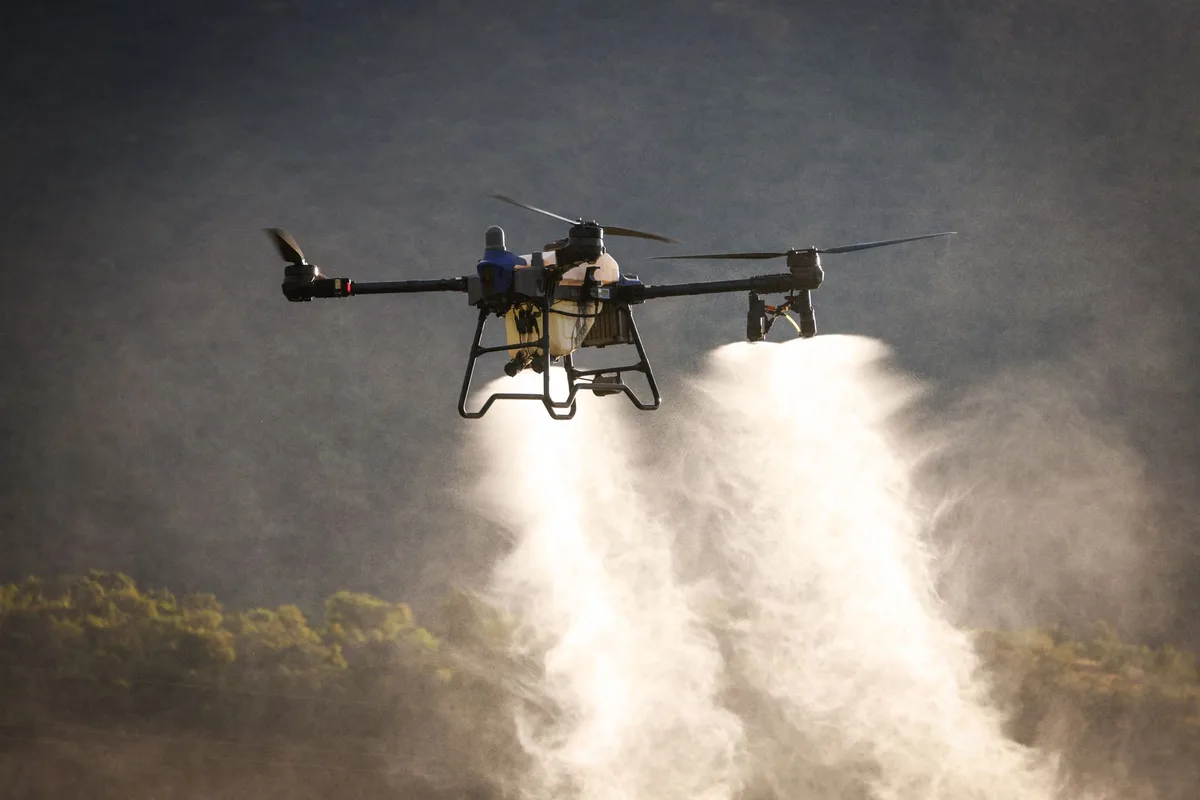
Spray drift is the single most common cause of plant damage from herbicides. It happens when fine droplets ride a breeze away from the target. Three variables control drift:
- Wind speed, above 10 mph is dangerous. The ideal window is 2, 5 mph. At zero wind, you risk temperature inversions.
- Droplet size, smaller droplets drift further. Use a nozzle that produces coarse droplets, not a fine mist.
- Nozzle height, hold the nozzle 12, 18 inches from the target. Higher means more drift.
Temperature inversions happen on clear, calm evenings. Cool air near the ground traps a warm layer above it. Apply in those conditions and the herbicide can hover in the air and move laterally overnight, then settle on your neighbour’s tomatoes.
Avoid spraying within two hours of sunset on still, clear days.
Herbicide resistance comes from repeated use of the same mode of action. Rotation is essential. If you used glyphosate all last season, switch to a product with a different chemistry this year.
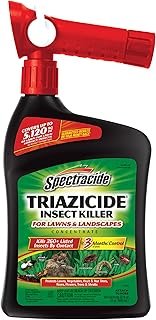
A key step is choosing the right formulation for the job, just like you would pick the right pest control approach when dealing with a specific problem; for example, treating carpenter ants demands a specific insecticide rather than a general spray.
Use a surfactant (non-ionic surfactant) when the label recommends it. Surfactants reduce the surface tension of the spray solution so droplets spread flat on waxy weed leaves instead of beading up and rolling off. That one additive can double the efficacy of the application in some cases.
Gear Guide: Choosing the Right Sprayer, Nozzle, and PPE
You do not need expensive commercial gear for a suburban yard, but the wrong tool can wreck the job. Here is what actually matters.
Sprayer Types
| Sprayer Type | Best For | Downside |
|---|---|---|
| Hand-pump (1–2 gallon) | Small lawns, garden beds | Arm fatigue, inconsistent pressure |
| Backpack sprayer (4 gallon) | Medium to large yards | Costs more ($70–$150) |
| Hose-end sprayer | Quick broadcast over large areas | Less precise, high drift potential |
| Ready-to-use trigger bottle | Spot treatment of a few weeds | Expensive per ounce, wasteful |
For most homeowners, a 1, 2 gallon hand-pump sprayer with an adjustable nozzle is the sweet spot. You get control over pressure and pattern without spending a fortune.
Nozzle Choices
- Adjustable cone nozzle, creates a conical spray. Good for spot treatment, but produces a wide range of droplet sizes, including fine droplets that drift.
- Flat-fan nozzle, produces a flat, even pattern. Best for covering large areas with consistent coverage. Low drift.
- Drift-reduction nozzle, larger droplets, air-induction technology. Best for sensitive areas.
Use a flat-fan nozzle set at a 90-degree angle to your walking direction. Keep the pressure low (20, 30 PSI). Higher pressure breaks droplets into finer particles that drift further.
PPE
Per EPA label requirements, at minimum:
- Long-sleeve shirt and long pants
- Waterproof gloves (nitrile, not latex, latex degrades with many herbicides)
- Shoes plus socks (no sandals)
- Safety goggles for mixing
- Chemical-resistant apron if mixing large quantities
Skip the respirator unless the label specifically requires it. For most residential products, standard PPE is sufficient.
Step-by-Step: How to Mix and Spray Weed Killer Correctly
Now we get to the hands-on process. Follow these steps each time.
Step 1: Read the label. Not the front marketing. The fine print. Look for the application rate, rainfast interval, and whether a surfactant is required.
Step 2: Check the weather. Wind under 5 mph. No rain forecast for 24 hours. Temperature between 60°F and 85°F.
Do not spray if rain is expected before the rainfast period ends.
Step 3: Calibrate your sprayer. Measure the output. Fill the tank with plain water. Spray a 1,000 square foot test area.
Note how many gallons you used. Adjust pressure and walking speed until you match the recommended rate.
Step 4: Mix in the correct order. Fill the tank half full with water. Add the herbicide. Add the surfactant (if used).
Top off with water. Close and shake gently. Do not premix in a separate bucket unless the label says so.
Step 5: Spray at the right height. Hold the nozzle 12 inches from the weed. Spray at a steady speed. Overlap each pass by one-third of the spray width to avoid streaks.
Step 6: Clean the sprayer immediately. Triple rinse with water. Run the rinse through the nozzle. Never store herbicide in the sprayer.
Cross-contamination kills vegetables, herbs, and ornamentals. If you want to be extra cautious, use the right tool for delicate tasks just as you would pick the proper gear for your flower beds.
Step 7: Mark the treated area. People have resprayed the same patch three days later because they forgot. Use a marker, a flag, or a mental note. That prevents over-application and chemical burn.
Step 8: Wait for the rainfast period. Most post-emergent herbicides need 1, 6 hours without rain. The label will state the exact time. Rain before that washes the active ingredient off the leaf surface.
Step 9: Assess results in 7, 14 days. If the weed is only partly dead, do not spray again. Evaluate whether you used the right product. Some perennials need two applications spaced 2, 3 weeks apart.
Re-read the label before reapplying.
One final note on timing: early morning is often the best spray window. Weeds are actively growing, the breeze is low, and the temperature is moderate. Late afternoon can work, but you risk a temperature inversion if the evening is clear and cold.
If this process feels overwhelming, do not worry. After three or four applications it becomes second nature. The key is building the habit of checking the label first and the weather second.
Calibration Is Key: Getting the Right Flow Rate and Coverage

Calibration sounds technical, but it just means measuring how much liquid your sprayer puts out over a known area. Without it, you are guessing the dose. Guess too high and you waste chemical and risk runoff.
Guess too low and the weeds survive.
Here is the simple method. Measure a 1,000 square foot test area. Fill the tank with plain water.
Spray the area at your normal walking speed and nozzle height. Record how many seconds it took. Then spray the same number of seconds into a measuring cup.
The volume you collect is your application rate in gallons per 1,000 square feet.
Compare that number to the label rate. If the label says 1.5 gallons per 1,000 square feet and your test delivered 2 gallons, you are over-applying. Slow your walking pace or lower the pressure.
If you delivered only 1 gallon, speed up or increase pressure. The goal is a match within 10 percent.
Most hand-pump sprayers are calibrated by walking speed. A steady pace of 3 feet per second works for most setups. If the label rate requires a different volume, adjust pressure or nozzle height before changing your stride.
Consistent output across the whole yard is what matters.
One more tip. Clean the nozzle filter before each calibration session. Clogged filters change the flow rate and ruin the math.
This kind of precision matters just as much when you are applying the right treatment to your lawn, so it is worth the five extra minutes.
The Most Common Mistakes (And How to Avoid Them)
Spraying on a windy day is mistake number one. People underestimate how far droplets travel. Even a 7 mph breeze can carry fine droplets 20 feet or more.
That drift lands on non-target plants, and the damage shows up a week later.
Mistake two is using the wrong nozzle. An adjustable cone nozzle set to a fine mist creates tiny droplets that drift easily. Switch to a flat-fan or drift-reduction nozzle.
Coarse droplets stick to the weed and stay where you aim them.
Over-application comes next. More chemical does not mean more dead weeds. It means wasted money, potential soil contamination, and chemical burn on desired plants.
The label rate is the maximum legal limit. Using less is acceptable if the coverage is even and the weed is young. Using more is never beneficial.
Under-application is equally common. People spray quickly to save time. The weed gets a light coating, the active ingredient does not reach the root system, and the plant regrows within two weeks.
Spray until the leaf surface is wet but not dripping. That is the visual cue for adequate coverage.
Skipping the surfactant is another frequent error. Waxy leaves like those on bindweed or poison ivy repel water. Without a non-ionic surfactant, the spray beads up and rolls off.
The chemical never penetrates. The weed lives.
Finally, people forget to label the sprayer. If you use the same sprayer for glyphosate and later fill it with a selective lawn herbicide, the trace residue can kill patches of grass. Dedicated sprayers per chemical type eliminate the problem.
If you only have one, triple rinse after every use. Consider proper disposal of chemicals and containers too, just as you handle any specialized garden treatment.
When to Seek Licensed Help: Restricted-Use Products and Large Infestations
Not every weed problem needs a commercial applicator. But some situations do. The EPA classifies certain herbicides as restricted-use pesticides (RUPs).
You cannot buy them without a license. These include strong formulations of dicamba, triclopyr, and some pre-emergents used in agriculture.
If your property has a serious infestation of invasive species like Japanese knotweed or giant hogweed, a licensed applicator may be necessary. These plants require specific chemicals and multiple applications over two to three years. Doing it yourself with consumer products often fails.
Licensed applicators also handle large-scale spraying on pastures, hayfields, and rights-of-way where exact buffer zones near waterways are mandatory. The buffer zone regulations vary by state and by product. A mistake near a stream can result in EPA fines and environmental harm.
Cost is a factor. Hiring a professional costs $50 to $150 per acre depending on terrain and weed density. That is cheaper than buying equipment and chemicals for a single large job.
Compare that to a $30 bottle of concentrate and a $40 sprayer for a small lawn. The math changes at about a quarter acre.
Consider this if/then decision. If your yard is under a quarter acre and the weed is common (dandelion, crabgrass, clover), do it yourself. If it is larger than half an acre or the weed is a noxious perennial like bindweed or poison hemlock, call a pro.
Your time and safety are worth more than the savings.
Beyond Chemicals: Alternatives That Actually Work
Herbicides are effective, but they are not the only tool. Integrated pest management (IPM) combines chemicals with cultural and mechanical methods. The result is fewer sprays and lower resistance pressure.
Manual removal works for small patches. Pull weeds when the soil is moist. Get the entire root system, especially for taproot weeds like dandelion.
A weed extraction tool saves your back and removes the root crown. For spot treatments in flower beds, this is often the best approach.
Mulching suppresses germination and blocks light from reaching weed seeds. Bark mulch, landscape fabric, or cardboard covered with wood chips all work. Apply 3 inches minimum.
Replenish annually. The investment pays off in reduced spraying needs over time.
Horticultural vinegar (20 percent acetic acid) kills young annual weeds on contact. It burns the foliage but does not reach the roots. Perennial weeds regrow.
It works for driveway cracks and patio edges where nothing is growing anyway.
Flame weeding uses a propane torch to heat weed tissue until the cell walls burst. It is fast, chemical-free, and effective on young annuals. Perennials need repeated passes.
Do not use near dry grass or wooden structures.
Solarization works for garden beds. Cover moist soil with clear plastic for 4 to 6 weeks during the hottest part of summer. The heat kills weed seeds and soil pathogens.
It is a no-chemical reset for a new planting area.
Each method has limits. Hand pulling does not scale. Vinegar is non-selective and short-lived.
Flame weeding requires caution. Choose based on the weed type, the area size, and your tolerance for physical work. For new flower beds or vegetable plots, mulching plus hand pulling is the most reliable non-chemical path.
And once the bed is clear, planting desirable species keeps weeds out naturally. This approach complements careful herbicide use for an overall healthy landscape.
Your Decision Guide: Matching Method to Weed Problem
Here is the practical summary. When you face a weed, ask three questions. Is it annual or perennial?
Is it in my lawn, my garden bed, or a hard surface? How large is the infestation?
Scenario 1: Young annual weeds in a garden bed. Use a hoe on a sunny morning. Let the uprooted weeds dry on the soil surface for a day. No herbicide needed for most home gardens.
Scenario 2: Dandelions and clover in a lawn. Use a broadleaf selective herbicide with 2,4-D or dicamba. Spray in spring or fall when the weeds are actively growing. One application kills most annuals.
Perennials may need a follow-up in 14 days.
Scenario 3: Established perennial weeds like bindweed or poison ivy. Use a non-selective herbicide like glyphosate with a surfactant. Spray in fall when the plant is storing energy in the roots. The chemical translocates to the root system.
Be patient. Full kill may take two to three weeks. Repeat in spring if needed.
Scenario 4: Weeds in driveway cracks or patio joints. Use a flame weeder or a directed spray of non-selective herbicide. Avoid overspray onto adjacent lawn or garden. A hand sprayer with a straight stream tip works best for narrow cracks.
Scenario 5: Large area of mixed weeds in a pasture. Hire a licensed applicator. They have access to restricted-use products and calibrated equipment. The cost per acre is lower than doing it yourself with consumer products over a large area.
Scenario 6: Prevention is better than cure. Apply a pre-emergent herbicide in early spring before soil temperatures reach 55°F. This stops crabgrass, foxtail, and other annual weeds before they germinate. Follow the label rate exactly.
Pre-emergents do not kill existing weeds, so combine with post-emergent treatment as needed.
One final rule of thumb. If you are reaching for a sprayer more than twice a year for the same weed species, change your approach. Rotate chemistry.
Add manual methods. Improve soil health with proper fertilizing and watering. A healthy lawn and garden resist weeds naturally.
The sprayer becomes a backup instead of the first line of defense.