How to Get Rid of Clover in Lawn Naturally: Complete Guide
If you’re looking at a lawn that’s gone from solid green to a patchwork of white flowers and three-leaf clusters, you’re probably asking how to get rid of clover in lawn naturally. The good news is you absolutely can. The bad news is most people waste time on the wrong fix first.
Clover doesn’t just appear randomly. It moves in because your soil is low in nitrogen, compacted, or has a pH that favors clover over grass. Per university extension research, white clover (Trifolium repens) specifically thrives when nitrogen levels drop below what grass needs to stay competitive.
That clue is the whole key. Let’s start with what that patch is really telling you.
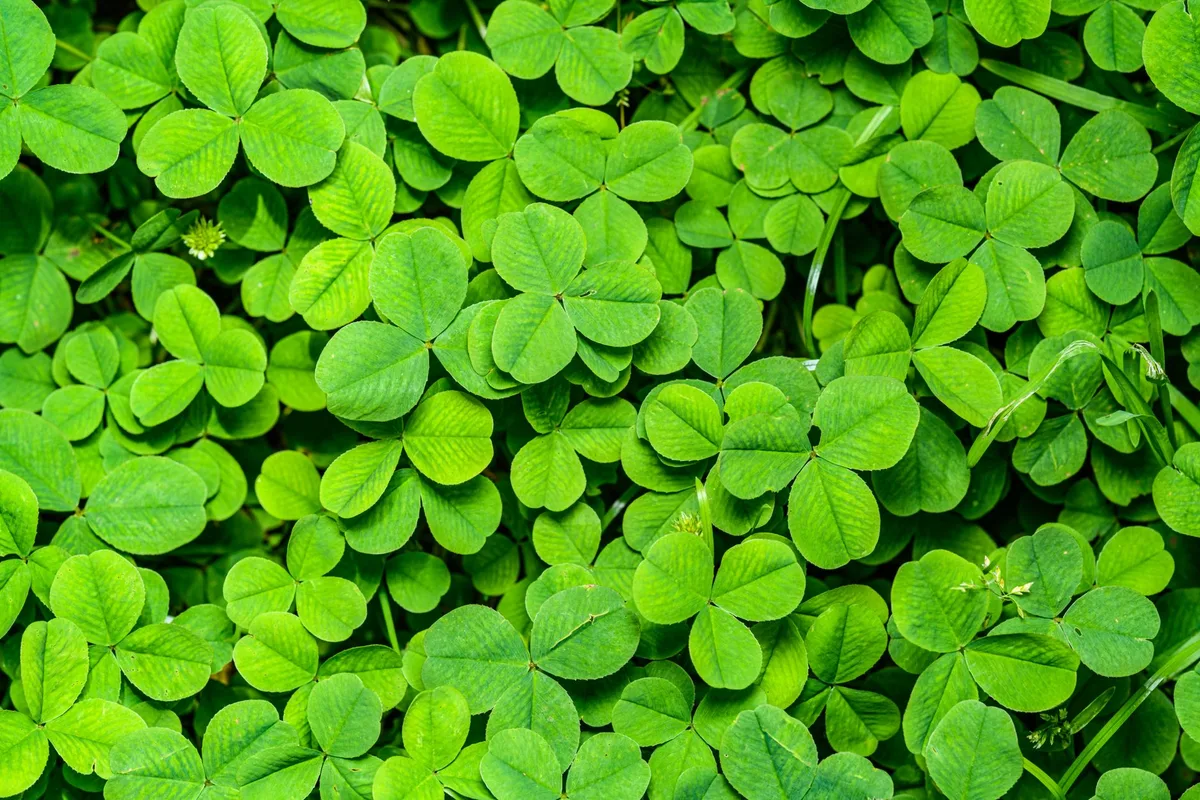
Before You Do Anything: Why Clover Is Actually a Sign
Clover isn’t the enemy. That’s the first thing to understand.
In our research across lawn care guides from multiple university extension programs, clover shows up in lawns that have three common conditions. Low nitrogen is number one. Clover is a legume, it pulls nitrogen from the air and fixes it in the soil through root nodules.
So when your grass is starving for nitrogen, clover has its own supply. It doesn’t need your fertilizer.
Compacted soil is number two. Grass roots need air pockets to breathe. Clover roots are shallower and tolerate compaction better.
If your lawn gets heavy foot traffic or sits on clay, clover will outcompete weak grass roots.
Off pH is number three. Grass prefers a pH between 6.0 and 7.0. Clover tolerates a wider range, especially on the acidic side.
A simple pH test, which we’ll talk about in a second, tells you which side of that line you’re on.
Here’s what this means for your decision. If you just kill the clover without fixing the soil conditions, it will come back. Guaranteed.
You’re treating the symptom, not the cause. That’s why the quick fix approach, spray and pray, rarely works long-term.
So before you pull out the vinegar or start yanking plants, test your soil. That’s step one in the real process.
Quick Answer: Is There a One-Size-Fits-All Natural Fix?
No. There isn’t one method that works for every lawn.
What works depends on three things: how much clover you have, why it’s there, and what kind of grass you’re growing. But here’s the core strategy that applies to almost every situation.
Fertilize with nitrogen. Aerate the soil. Overseed with thick grass.
Then spot-treat any remaining clover with a targeted natural spray.
That sequence, fix the soil, strengthen the grass, then remove stragglers, is the closest thing to a universal natural solution. It doesn’t happen overnight. It takes a season or two.
But it works because it addresses the root cause instead of just burning leaves.
For a quick decision on which method fits your lawn right now, jump down to the decision guide in the next section. But if you want the full picture, let’s walk through the steps.
Step 1: Figure Out Why It’s There (Soil, Sun, and Water Clues)
This is where most people skip ahead and regret it later. Don’t.
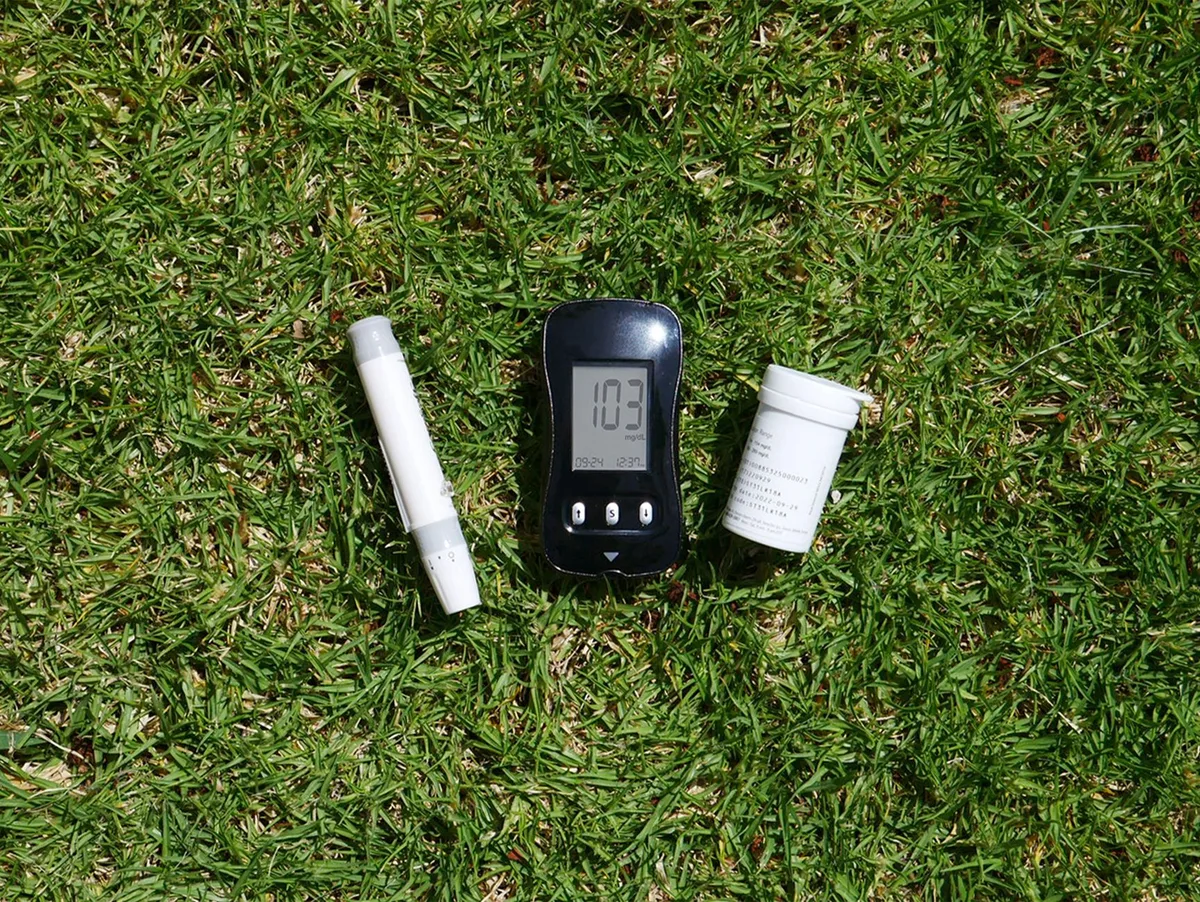
Grab a soil test kit from any garden center or order one online. You want to know two numbers: pH and nitrogen level. If you can get a full macro and micronutrient panel, even better.
But pH and nitrogen are the critical ones.
Here’s what the numbers tell you.
If your pH is below 6.0, your soil is acidic. Grass struggles below 6.0. Clover doesn’t mind it.
The fix here is applying lime to raise the pH. Pelletized dolomitic lime is easy to spread and works slowly over a few months. One application in spring or fall usually does the job.
If your nitrogen is low, and it probably is if clover is thriving, you need an organic nitrogen source. A slow-release option like composted manure, blood meal, or a high-nitrogen organic fertilizer (think something with an N-P-K around 10-0-0 or 12-0-0) works well. Synthetic fertilizers work faster, but they can burn the grass and don’t build soil health.
For a natural approach, stick with organic.
If your soil is compacted, a simple test is the screwdriver test. Push a long screwdriver into the ground. If it’s hard to push in more than an inch or two, you’ve got compaction.
The fix is core aeration, which we’ll cover in the prevention section.
You also want to look at your watering habits. Clover likes moisture. If you’re watering lightly and frequently, say, every day for ten minutes, you’re encouraging shallow roots in both grass and clover.
Switch to deep, infrequent watering. One inch of water per week, applied in one or two sessions, forces roots deeper and favors grass over clover.
Mowing height matters too. If you’re cutting your grass shorter than three inches, you’re stressing it and giving clover an opening. Raise your mower deck to three inches or higher.
Taller grass shades the soil, keeps it cooler, and makes it harder for clover seeds to germinate.
Step 2: Quick Decision Guide – Pick Your Removal Method Based on Patch Size
Now you know what your soil needs. But you still have clover to deal with right now. The method you pick depends on how big the problem is.
Tiny patches (handful of clover here and there)
Hand pulling works. Seriously. If you have less than a dozen plants scattered across the lawn, just pull them.
Clover roots are shallow and come up easily, especially after rain. Get the whole root. A dandelion digger or a narrow trowel helps.
Then fill the hole with a little compost and grass seed.
This method costs nothing, takes ten minutes, and kills the clover instantly. No spray, no chemicals, no waiting.
Medium patches (a few square feet)
Spot spraying is your best bet. You can use a vinegar-based solution (details in the next section) or boiling water. Both will kill the clover in 24 to 48 hours.
The trade-off is they also kill the grass they touch. So you’ll have bare spots that need overseeding.
For medium patches, the goal is to knock the clover back hard, then fill in with grass before it returns. So after you spray, wait a week, rake out the dead clover, and overseed with a grass blend that matches your lawn.
Large areas (half the lawn or more)
You’re not spot spraying half an acre. That’s impractical and would leave more bare soil than grass.
For large infestations, the strategy shifts to long-term soil correction. Aerate. Apply a nitrogen-rich organic fertilizer.
Overseed heavily. Mow high. Water deep.
You’re essentially changing the conditions so grass outcompetes clover over time. It takes a full growing season, sometimes two. But it works without nuking your entire lawn.
If you have a massive infestation and want a faster reset, smothering or solarization is an option. That means covering the whole area with black plastic or cardboard for 4 to 6 weeks in summer to kill everything, grass, clover, seeds, and starting fresh. It’s drastic.
It works. But you’re basically starting a new lawn.
The 5 Natural Methods That Actually Work (and When to Use Each)
Let’s get into the details of each method. These are the ones that actually produce results.
Vinegar-Based Spot Spray (Fastest, but Tricky)
Household vinegar, the 5% acetic acid you keep in the kitchen, will kill young clover. Horticultural vinegar at 20% acetic acid is much stronger and works on mature plants. Both are non-selective.
They kill whatever green plant they touch.
The recipe that works best in our research: mix one gallon of 5% white vinegar with one tablespoon of mild dish soap (not degreasing). The soap helps the vinegar stick to the leaves. Spray on a sunny day when no rain is expected for 24 hours.
The sun helps burn the leaves faster.
You’ll see wilting within a few hours. Complete kill in 24 to 48 hours.
The downside: it kills grass too. So you need to be precise. Use a spray bottle for small patches, not a garden sprayer.
Aim for the clover leaves, not the surrounding grass. If you overspray, you’ll have a brown spot.
Also, 20% horticultural vinegar is strong enough to burn your skin and eyes. Wear gloves and goggles if you use it. Store it out of reach of kids and pets.
Hand Pulling + Overseeding (Low-Tech, High Reward)
We already covered this. It’s the slowest method for large areas but the best for small patches. No chemicals.
No risk to bees. No bare spots if you pull carefully.
After you pull, fill the hole with a mix of compost and grass seed. Keep it moist for two weeks. You’ll have new grass filling the spot before clover has a chance to return.
Smothering / Solarization (Nuclear Option for Bad Infestations)
If clover has taken over a large patch and you don’t want to fight it for two seasons, smother it.
For solarization: cover the area with clear plastic in summer. The sun bakes the soil underneath, killing seeds, roots, and everything else. Leave it for 4 to 6 weeks.
Works best in hot, sunny climates.
For smothering: use black plastic or cardboard. Black plastic blocks all light but doesn’t heat the soil as much. Cardboard works if you weigh it down and keep it damp.
Both methods kill everything, so you’ll need to reseed or lay new sod afterward.
This is a drastic option. But if you have a patch that’s 80% clover, it’s faster than trying to fix the soil while clover is still dominant.
Corn Gluten Meal (Preventative, Not a Cure)
Corn gluten meal is a natural pre-emergent herbicide. It stops clover seeds from germinating. It does not kill existing clover plants.
Apply it in early spring, just before clover seeds would sprout. Use about 20 pounds per 1,000 square feet. Water it in lightly.
It also acts as a nitrogen fertilizer, which helps grass.
The catch: it only works if you time it right. Apply too early and it washes away. Apply too late and the seeds have already germinated.
It’s a good tool for prevention, but it’s not the solution for clover you already have.
Boiling Water (Pocket-Sized Precision)
Boiling water is the simplest natural method for individual plants. Boil a kettle, pour it directly on the clover. It kills the plant and the seeds on contact.
It also kills any grass it touches, so aim carefully.
This method is best for a handful of plants in a flower bed border or along a walkway. It’s impractical for large patches. But it costs nothing and uses no chemicals.
What About Baking Soda, Dish Soap, and Beer? (The Myths vs. Reality)
You’ll find plenty of homemade recipes online. Baking soda sprinkled on clover. Dish soap mixed with water.
Beer poured on the lawn. Most of them don’t work as advertised.
Baking soda does kill clover. The problem is it also raises soil pH quickly and can damage grass roots. In our research, consistent use of baking soda around desirable plants leads to stunted growth and yellowing.
It’s not worth the trade-off for a lawn.
Dish soap alone just breaks surface tension. It helps other sprays stick, but on its own it won’t kill clover. The common “vinegar and dish soap” mix we covered earlier works because of the vinegar, not the soap.
Beer is a waste. The sugars and yeast don’t harm clover. They might attract pests.
Skip it.
| Myth | Claim | Reality |
|---|---|---|
| Baking soda kills clover | Sprinkle on leaves | Kills clover but damages soil pH |
| Dish soap spray | Nontoxic weed killer | Only helps other sprays stick |
| Beer on lawn | Weakens clover | Attracts pests, no effect |
| Epsom salt | Dries out clover | Adds magnesium, doesn’t kill |
Stick with the five methods from the previous section. They’re backed by actual results.
The Real Fix: Aeration, Overseeding, and Nitrogen (Preventing Clover for Good)
Spot treatments handle the clover you have. But if you don’t change the conditions, it comes back. That’s where aeration, overseeding, and nitrogen come in.
Core aeration pulls plugs of soil out of your lawn. That opens up air pockets, reduces compaction, and lets water and nutrients reach grass roots. It’s the single best thing you can do to help grass outcompete clover.
Rent an aerator from a local equipment shop or hire a lawn service. Do it in early fall for cool-season grasses, or late spring for warm-season grasses.
Right after aeration, overseed with a grass blend that matches your sun and traffic conditions. Choose a dense variety that shades out clover seedlings. For most lawns, a tall fescue or perennial ryegrass mix works well.
Spread the seed at the rate recommended on the bag. Keep the soil moist for two to three weeks.
Then apply a slow-release organic nitrogen fertilizer. Think composted manure, blood meal, or a balanced organic lawn food. Nitrogen gives grass the fuel to grow thick and tall.
Thick grass leaves less room for clover. Over time, you’ll see clover retreat on its own.
This process takes a full growing season. But it’s the only natural method that prevents clover permanently.
Common Mistakes That Make Clover Come Back Stronger
- Mowing too low. Cutting grass shorter than three inches stresses it. Clover loves that. Raise the deck.
- Watering every day. Shallow, frequent watering grows shallow roots. Grass needs deep, weekly soaks instead.
- Ignoring soil pH. Clover tolerates acidic soil. Grass doesn’t. Test and add lime if needed.
- Only killing, not feeding. Burning clover leaves doesn’t fix the nitrogen shortage. You have to fertilize.
- Skipping aeration on compacted soil. Without oxygen in the root zone, grass can’t compete.
- Overseeding with weak seed. Cheap seed blends often contain clover or annual grasses. Use a quality mix.
- Applying corn gluten meal too late. It only prevents germination. Once clover is up, it won’t help.
Avoid these, and your natural approach will actually stick.
Seasonal Timing Guide: When to Do What (Spring vs. Fall)
| Season | Task | Best Method |
|---|---|---|
| Early spring | Apply corn gluten meal | Prevents new clover seeds |
| Spring | Test soil, apply lime if needed | Adjust pH for grass |
| Spring | Spot-treat existing clover | Vinegar spray or hand pulling |
| Early summer | Aerate warm-season lawns | Reduce compaction |
| Summer | Water deeply once a week | Encourage deep grass roots |
| Late summer | Solarize large infested areas | Smother clover and seeds |
| Early fall | Aerate cool-season lawns | Best time for aeration |
| Fall | Overseed and fertilize with nitrogen | Fill gaps, strengthen grass |
| Late fall | Final spot treatment before winter | Knock back any survivors |
Timing matters more than method. A fall aeration and overseeding followed by a nitrogen boost will set your lawn up for a clover-free spring.
Frequently Asked Questions
Will natural methods kill bees?
Only if you spray flowering clover directly. Most natural methods target leaves and are safe once dry. To protect bees, mow off the flowers before you spray, or spot-treat plants that aren’t blooming.
How long until I see results?
Vinegar or boiling water shows wilting in hours. Full kill in one to two days. Aeration and overseeding takes weeks.
Soil correction takes one to two full seasons for a complete fix.
Can I just leave the clover?
Yes. Clover stays green in drought, feeds bees, and fixes nitrogen. Many people prefer a clover lawn.
If you don’t mind the look, it’s actually low maintenance. But if you want a uniform grass lawn, you can’t ignore the soil conditions.
Does the grass type matter?
Yes. Cool-season grasses like tall fescue and perennial ryegrass respond well to fall aeration and overseeding. Warm-season grasses like Bermuda and zoysia need late spring treatment.
Know your grass type before you schedule work.
Final Decision Guide: Your Next 3 Steps Based on Your Lawn Right Now
You’ve got the whole picture now. Here’s how to turn it into action.
Step 1: Test your soil. Order a pH and nitrogen test kit today. If pH is below 6.0, apply lime. If nitrogen is low, buy an organic slow-release fertilizer.
Fix the underlying conditions first.
Step 2: Pick your removal method. Small patches get pulled or boiled. Medium patches get vinegar spot spray. Large infestations need aeration, overseeding, and a full season of nitrogen feeding.
Match the method to your patch size.
Step 3: Prevent the return. Mow at three inches or higher. Water deeply once a week. Aerate every fall for cool-season grass or every spring for warm-season.
Overseed with dense grass varieties. Keep the soil fed.
That’s it. You don’t need to do everything at once. Start with step one.
The rest follows naturally. Your lawn will thank you for it.