How to Prepare a Garden Bed (2026) — Beginner-Friendly Guide
How to Prepare a Garden Bed
How to Prepare a Garden Bed isn’t a one-size-fits-all recipe. The method that works for your neighbor’s sandy loam will fail in your heavy clay. And the raised bed approach your friend swears by might be overkill for your budget.
You need a plan that matches your exact situation.
Per USDA Natural Resources Conservation Service soil surveys, roughly half of home garden soils in the US need significant amendment before they’ll grow vegetables well. A simple pH test from your local extension office costs around $15 and tells you exactly what to add. Let’s walk through the three decisions that make the difference between a thriving bed and a frustrating one.
Quick Answer
Test your soil first. Pick a spot with 6 to 8 hours of direct sun. Choose raised bed or in-ground based on your native soil type.
For raised beds, build a frame and fill with a mix of compost and topsoil. For in-ground beds, remove the grass, loosen the soil, and add 3 inches of compost. Revive old beds by top dressing with fresh compost.
Wait one to two weeks after amending before you plant anything.
Why “Just Till in Some Compost” Is Bad Advice
That generic instruction assumes your soil is already decent. If you have heavy clay, tilling it wet turns your garden into pottery. If you have sandy soil, compost alone won’t hold nutrients long enough.
The “just add compost” line also ignores whether you’re building a raised bed or working directly in the ground. Those are completely different processes with different steps.
Tilling also destroys the soil structure you actually want. Earthworm tunnels, fungal networks, and natural pore spaces get shredded by the blades. The USDA Natural Resources Conservation Service advises against routine tilling for exactly this reason.
No-till methods preserve the living ecosystem underground, and for many gardeners, skipping the tiller is the smarter first step.
Your soil type, bed style, and starting point each change the prep work dramatically. That’s why a decision tree approach works better than a generic list. You wouldn’t use the same recipe for a flower garden as you would for vegetables, and the same logic applies to the prep itself.
Before you start digging, check out some reliable slow release fertilizer options for feeding whatever you end up planting.
The 3 Decisions That Determine Your Prep Method
Every garden bed prep question comes back to three variables. Answer these first, and the right method becomes obvious. If you skip this step, you’re guessing.
Decision 1: Starting from Scratch or Reviving an Old Bed?
Brand new ground needs more work than an existing bed. If you’re converting lawn, you need to kill the grass first and remove the sod. If you’re refreshing a bed that grew tomatoes last year, you skip most of the heavy labor.
Your starting point decides your very first step.
For new ground, you either remove the sod by hand or smother it with cardboard. For old beds, you check soil health, pull visible weeds, and add a fresh layer of compost. Don’t till old beds unless the soil is truly compacted from foot traffic or equipment.
Decision 2: Raised Bed or In-Ground?
This choice depends entirely on your native soil. If your ground is heavy clay, rocky, or potentially contaminated, raised beds give you total control. You build a frame and fill it with a perfect soil blend.
If your native soil is loamy and drains well, in-ground beds save money and last longer.
Raised beds also warm up faster in spring. That matters if you have a short growing season. But they cost $50 to $200 in materials depending on size and wood type.
In-ground beds cost nearly nothing beyond compost and amendments. For choosing what to put in either bed, take a look at some of the best flowers for flower beds if you’re going ornamental.
Decision 3: What’s Your Soil Type and Budget?
Take a handful of moist soil and squeeze it. If it forms a tight ball that won’t crumble, you have clay. If it falls apart immediately, you have sand.
If it holds together but breaks apart easily, you have loam. That simple test points you to the right amendment strategy.
Budget also matters. A full soil test with lab analysis runs $20 to $50. A home pH kit costs around $10.
Compost costs $3 to $7 per bag or $30 to $50 per cubic yard delivered. For raised beds, a cedar frame plus quality soil mix runs $100 to $300 per bed. Your budget will help you decide between the two main paths below.
Branch A: The New Raised Bed Path (Fast, Controlled, Beginner-Friendly)
If you chose raised bed and are starting with bare ground, this path is for you. It costs more upfront but gives you total control over your soil’s texture and nutrient content. Beginners get the most reliable results this way because you eliminate the native soil variable.
Step 1: Site Selection and Sun Check
Find a flat spot that gets 6 to 8 hours of direct sun daily. Most vegetables and flowering plants need full sun to produce well. Check the spot at different times of day before you commit.
Morning sun is gentle, but intense afternoon sun can scorch tender seedlings if you’re in a hot climate. A level surface prevents your bed from leaning and keeps water distribution even across the whole bed.
Walk the site after a heavy rain. If water pools there for hours, pick a different spot or improve drainage by raising the bed higher. Even shallow standing water can rot plant roots within days.
Step 2: Build or Assemble Your Frame
Use untreated cedar or redwood. These resist rot naturally and won’t leach harmful chemicals into your soil. Avoid treated lumber made before 2004, which contained CCA.
Modern treated lumber is safer, but many gardeners still prefer untreated wood for vegetable beds. Standard depth is 10 to 12 inches for shallow rooted crops like lettuce and herbs. Go 18 to 24 inches deep for carrots, potatoes, or tomatoes with deep root systems.
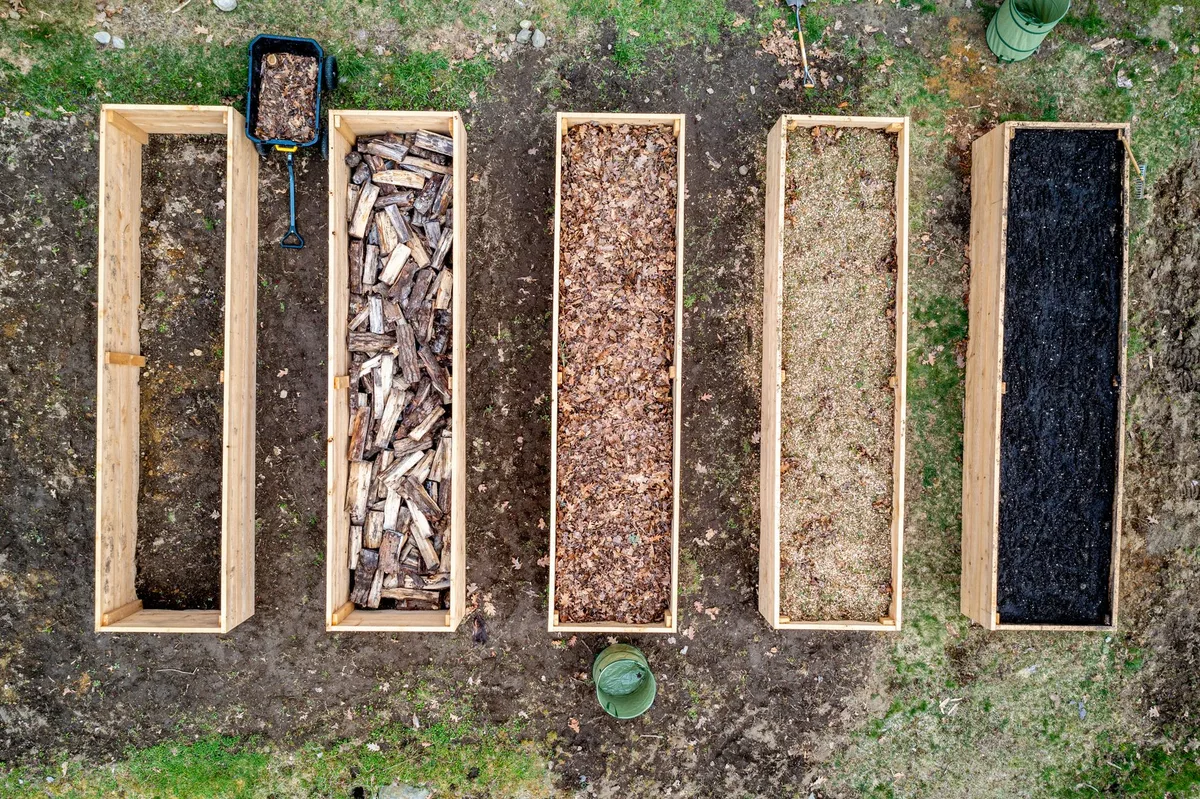
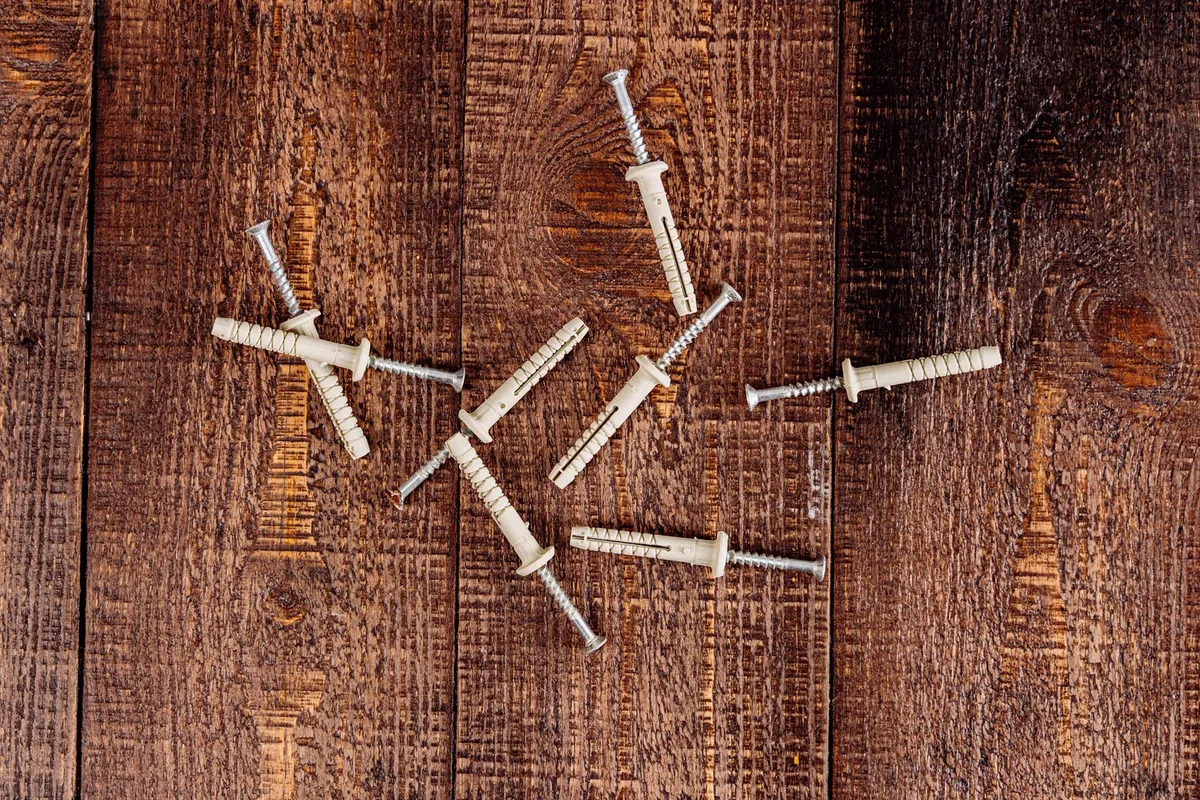
Assemble the frame with outdoor screws or corner brackets. Place the frame directly on bare ground. You don’t need a bottom liner unless you have gopher problems in your area.
Step 3: Layer the Bottom (Cardboard and Drainage)
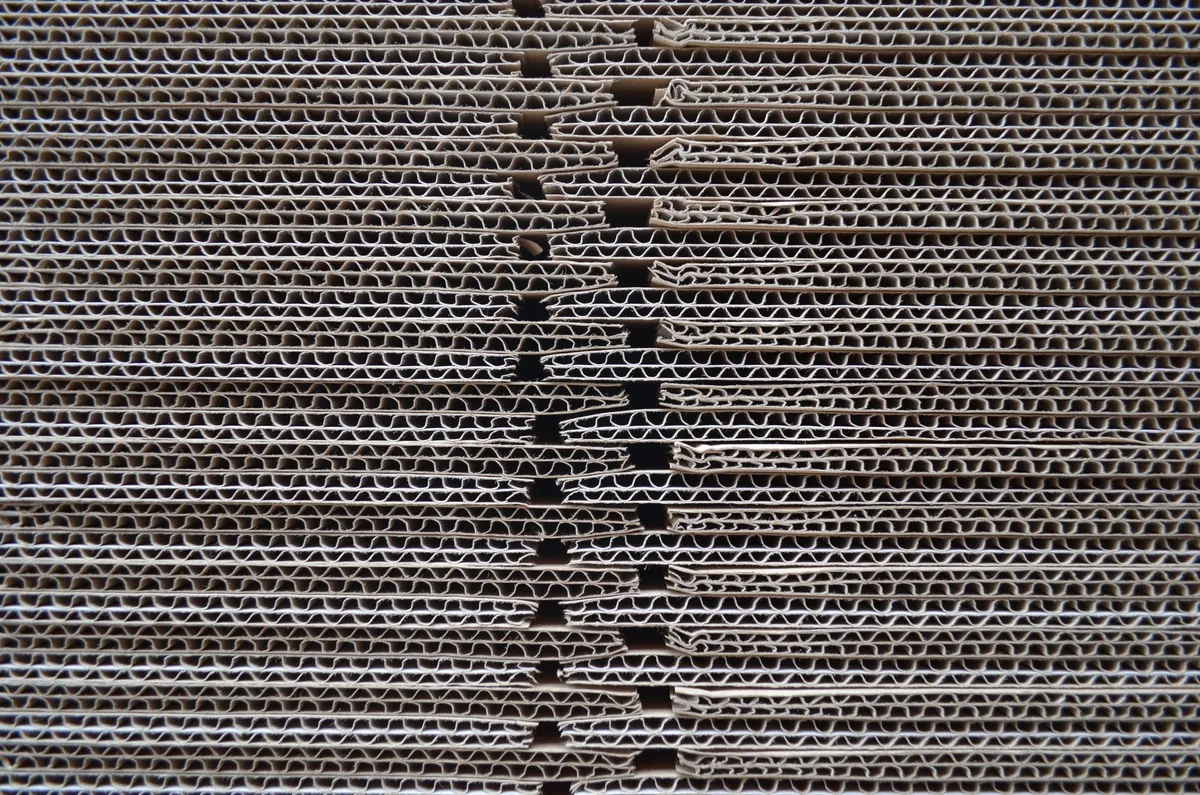
Lay down cardboard or several layers of newspaper inside the frame. This smothers any grass or weeds underneath and stops them from growing up into your fresh soil. Wet it down so it stays in place and doesn’t blow away.
For extra drainage in clay areas, add a 2 inch layer of coarse gravel or wood chips below the cardboard. This prevents water from pooling at the bottom of your bed and drowning roots.
Step 4: Mix and Pour Your Soil Blend
Fill the bed with a mix of 60% topsoil, 30% compost, and 10% perlite or vermiculite for drainage. You can buy pre mixed raised bed soil, but blending your own costs about half as much. A 4×8 foot bed needs roughly 1 cubic yard of mix.
That runs about $60 to $80 if you source topsoil and compost separately from a landscape supply yard.
Water thoroughly after filling. The soil will settle over the first week, sometimes by 2 to 3 inches. Top it off before planting.
If you’re starting seeds indoors while the bed settles, a dedicated grow light setup gives seedlings the strong start they need.
Branch B: The In-Ground Path (Cheaper, More Permanent)
If your native soil is decent and you want to save money, this is your path. In-ground beds require more initial physical work but less ongoing maintenance once established. You also skip the material costs for a frame.
Step 1: Kill the Grass Without Tilling (Sheet Mulch Method)
Lay cardboard or thick layers of newspaper directly over the grass you want to convert. Wet it thoroughly so it stays flat. Cover with 4 to 6 inches of compost or wood chips.
This smothers the grass completely and feeds the soil as it breaks down over time. Wait 4 to 6 weeks before planting. The grass roots die off safely, and worms move in to aerate the soil for you naturally.
Don’t use landscape fabric for this step. It blocks earthworm movement and creates a barrier that plant roots struggle to penetrate. Cardboard breaks down naturally in a few months and feeds the soil food web.
Step 2: Optional: Double-Dig for Heavy Clay
If you have heavy clay and want faster results without waiting 6 weeks, double digging works well. Remove the top 10 inches of soil and set it aside. Loosen the next 10 inches with a garden fork without removing it.
Mix the removed soil with compost and return it to the bed. This breaks up compacted layers and improves drainage significantly.
This is hard physical work. A 4×8 foot bed takes 3 to 4 hours by hand. For many gardeners, the sheet mulch method with patience yields better long term results without the back strain.
But if you need a bed ready this season, double digging gets you there faster.
Step 3: Amend Based on Your Soil Test Results
Add what your test actually says you need. For most soils, that means 2 to 4 inches of compost worked into the top 6 inches. If your pH is too low, add lime.
If it’s too high, add sulfur or peat moss. For sandy soils, add coconut coir or extra compost to hold moisture. For clay soils, add coarse sand and plenty of organic matter to improve drainage.
A good rule of thumb: add all amendments at once, then wait one full week before planting. This lets everything settle and avoids burning tender root systems. If you’re growing fruit trees in the ground, matching the right organic fertilizer to their needs makes a big difference in yield.
Step 4: Rake, Water, and Let It Settle
Rake the bed smooth and break up any remaining clumps. Water it deeply until the soil is moist to at least 6 inches down. Let it rest for one to two weeks.
This gives the soil food web time to stabilize after the disturbance. You’ll see earthworms moving back in within days. When the bed is evenly moist and not muddy, it’s ready for seeds or transplants.
Branch C: Reviving a Tired Old Bed (No-Dig Refresh)
If you already have a bed that grew crops last season, you can skip most of the heavy work. The soil structure is already established. Your goal is to replenish nutrients without destroying the fungal networks and worm tunnels underground.
Step 1: Remove Weeds by Hand or Solarize
Pull any visible weeds before they set seed. If the bed is overrun, cover it with clear plastic for 4 to 6 weeks during the hottest part of summer. This solarization method kills weed seeds in the top few inches of soil without chemicals.
For light weed pressure, hand pulling takes 15 to 30 minutes per bed and works fine.
Don’t use herbicides on a bed you plan to plant soon. Many residual herbicides linger in soil for months and damage vegetables. If you’re dealing with persistent weeds in your broader garden, choosing the right insecticide for specific pest problems helps keep your beds clean without spraying everywhere.
Step 2: Top-Dress with Compost (No Tilling Needed)
Spread 1 to 2 inches of finished compost evenly over the surface. Do not till it in. Earthworms and soil microbes will pull it down into the root zone naturally over the next few weeks.
This protects the soil structure you already built and feeds the biology that does the real work.
Aggregate reviews from experienced gardeners consistently show that no-till top dressing produces better yields than tilling compost in each season. The soil stays loose, drainage improves, and you spend less time working.
Step 3: Add a Thin Mulch Layer to Protect Soil Life
Cover the compost with 1 inch of straw or shredded leaves. This keeps moisture in, prevents erosion, and stops new weed seeds from germinating. Avoid wood chips on vegetable beds unless you plan to wait a full season.
Fresh wood chips tie up nitrogen as they decompose and can starve your plants.
Water the bed deeply and wait one week before planting. The compost layer will settle and integrate. By planting time, the surface will be soft, dark, and full of signs of healthy soil activity.
Don’t Make These Mistakes
Even experienced gardeners make these errors regularly. They cost you time, effort, and sometimes an entire growing season. Here is what to avoid.
Tilling Wet Soil
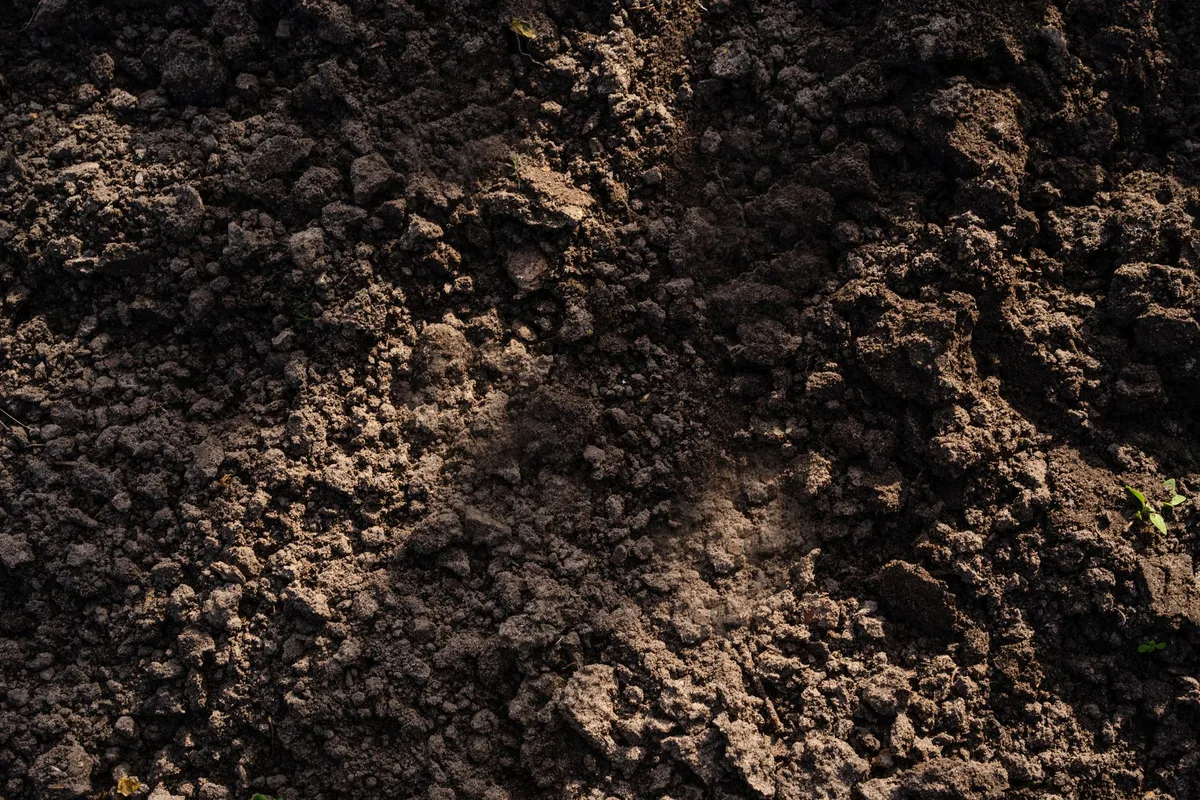
Wet soil turns into concrete blocks when tilled. The clay particles compress and form hard clods that take weeks to break down naturally. If a handful of soil sticks together in a muddy ball when you squeeze it, walk away.
Wait three to five days of dry weather before you till or dig. The soil should be moist but crumble easily when pressed.
Guessing Your pH Instead of Testing
Many gardeners skip the soil test and just add lime or sulfur based on a hunch. That is a gamble. Adding lime when your pH is already neutral raises it too high and locks up essential nutrients.
A $15 pH test from your local extension office removes all the guesswork. The cost of the test is less than one bag of wasted fertilizer.
Using the Wrong Wood for Raised Beds
Pressure treated lumber made before 2004 contains chromated copper arsenate (CCA). This leaches arsenic into the soil over time and is unsafe for vegetable beds. Modern treated lumber uses different preservatives and is generally considered safe, but many gardeners still choose untreated cedar or redwood for peace of mind.
Cedar costs more but lasts 8 to 12 years without any chemical treatment.
Over-Amending (More Compost Isn’t Always Better)
Adding too much compost creates nutrient imbalances. Excessive nitrogen produces huge leafy growth but very little fruit. Too much phosphorus blocks micronutrient uptake.
Stick to the recommended 2 to 4 inch layer for new beds and 1 to 2 inches for annual top dressing. More is not better. A balanced approach to feeding means you also need the right potting mix for containers, which is a different blend than garden soil.
Costs, Time, and Materials at a Glance
Different methods cost different amounts of money and labor. The table below gives you realistic estimates based on current material prices as of 2026.
| Method | Materials Cost | Time Invested | Best For |
|---|---|---|---|
| New raised bed (4×8 ft) | $100 to $300 | 3 to 5 hours | Beginners, poor native soil, small spaces |
| In-ground (sheet mulch) | $20 to $60 | 1 to 2 hours plus 4 to 6 weeks waiting | Budget conscious, decent native soil |
| In-ground (double-dig) | $20 to $50 | 3 to 4 hours | Heavy clay, need results this season |
| Reviving old bed (no-dig) | $10 to $30 | 30 minutes to 1 hour | Existing beds needing refresh |
What You’ll Actually Spend (Real Numbers)
A bag of compost at a garden center costs $4 to $7. You will need 6 to 10 bags for a 4×8 foot bed. That runs $40 to $70 for compost alone.
Buying in bulk from a landscape supply yard drops the cost to $30 to $50 per cubic yard delivered. A cubic yard covers a 4×8 foot bed at 3 inches deep.
Cedar lumber for a raised bed frame runs $40 to $80 depending on height. Screws and corner brackets add another $10 to $20. Soil mix for filling the bed costs $60 to $80 in bulk.
Total for a raised bed built from scratch: about $150 to $300.
Frequently Asked Questions
How Far Ahead of Planting Should I Prep?
Start your bed prep 4 to 6 weeks before your last expected frost date. This gives the soil time to settle and amendments time to integrate. For fall planting, prep beds in late summer while the soil is still warm.
Spring planting is busier than fall, so using a seasonal approach keeps your workload manageable.
Can I Prep in Fall Instead of Spring?
Fall prep is actually better for most soil types. The freeze-thaw cycle over winter breaks up clay clods naturally. Worms stay active under mulch and incorporate organic matter deeper.
Spring prep is just a quick refresh and planting. Many experienced gardeners do all heavy soil work in October and skip the spring rush.
What If I Have Really Heavy Clay?
Heavy clay drains slowly but holds nutrients well. Add 4 to 6 inches of compost and coarse sand mixed together. Double digging helps break up the compacted layer underneath.
Do not till clay when wet. Raised beds are the faster solution because you bypass the clay entirely and control the growing medium.
Do I Need to Remove Every Single Weed Root?
No. Perennial weed roots like bindweed or quack grass need removal, but annual weed roots break down quickly and add organic matter. If you see thick white roots or rhizomes, pull them out.
Thin, fibrous roots from annual weeds can stay. They decompose and feed the soil biology that supports your plants.
Quick Decision Guide (Visual Summary)
Still unsure which path fits your situation? Here is the cheat sheet.
You should build a raised bed if:
- Your native soil is heavy clay or pure sand
- You want the fastest start with the least soil work
- You are willing to spend $150 to $300 per bed
- You have poor drainage or suspect soil contamination
You should prepare an in-ground bed if:
- Your native soil is loam or decent sandy loam
- You want to save money on materials
- You have time to wait 4 to 6 weeks for sheet mulching
- You are willing to do physical digging work
You should revive your old bed (no-dig refresh) if:
- The bed already grew vegetables or flowers last season
- The soil is loose and drains well
- You just need to replenish nutrients without disturbing the soil structure
That is the full decision framework. Test your soil first, match your method to your situation, and your garden bed will reward the preparation work for years to come. For specific plants that thrive in your newly prepared bed, explore the right flower varieties for your region and light conditions.