How to Prepare Soil for Planting (2026) — Complete Guide
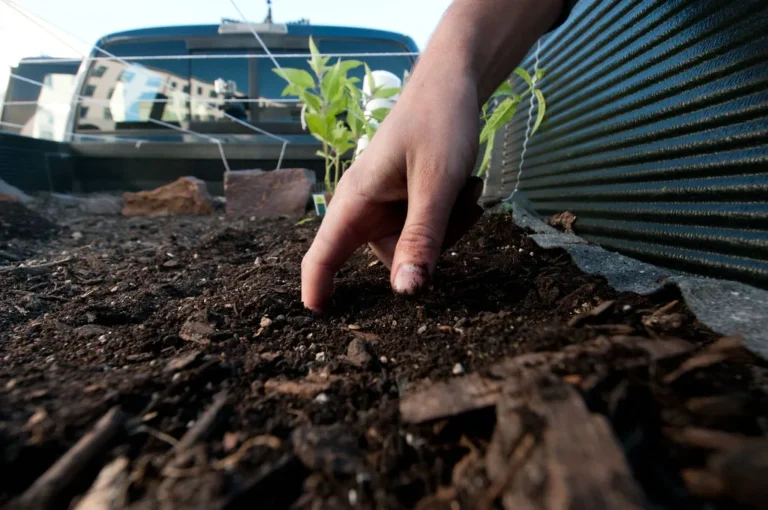
Getting soil right is the difference between a garden that thrives and one that just survives. Knowing how to prepare soil for planting is the single most important step you can take as a gardener. Skip the prep, and you’ll fight weeds, poor drainage, and weak growth all season.
Aggregate research from the USDA Natural Resources Conservation Service shows that ideal garden soil contains 3 to 5 percent organic matter. As of 2026, that benchmark remains the gold standard for most vegetable and flower beds. Your own yard probably falls short of it.
Here’s how to figure out what you’re working with and what to do about it.
Quick Answer
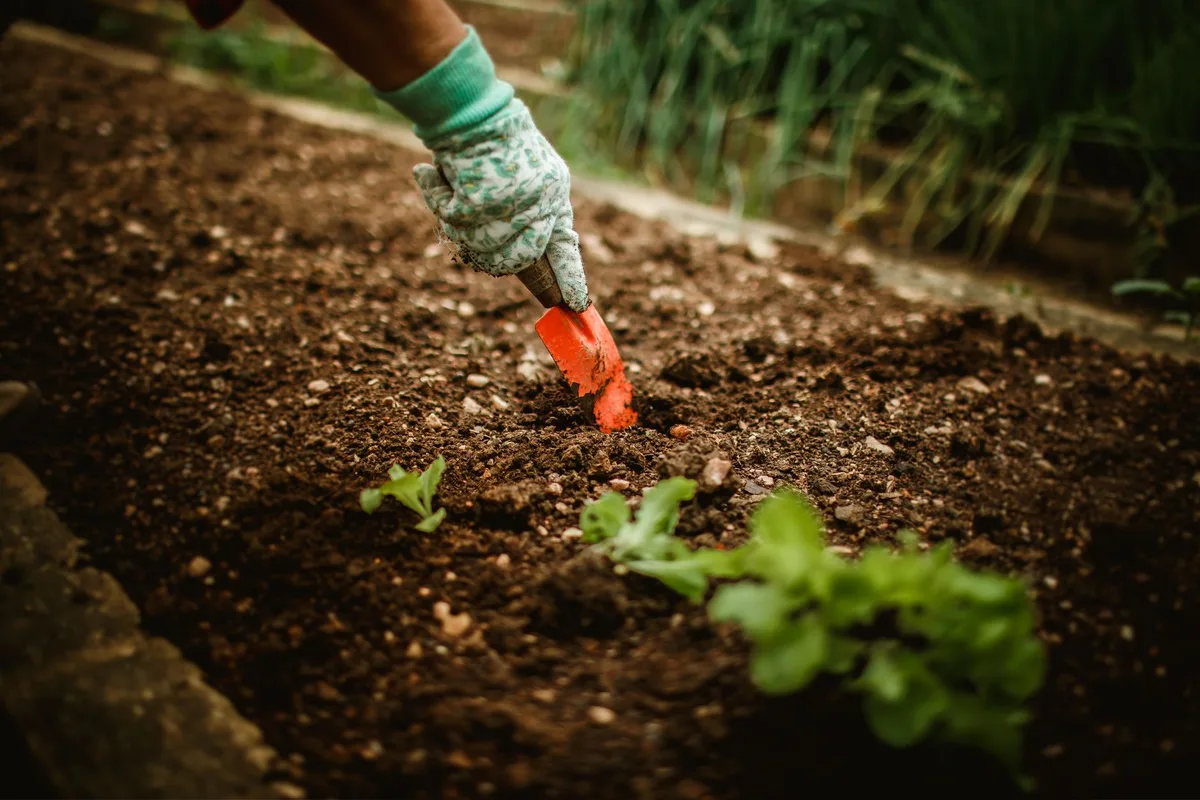
Test your soil type. Check drainage and pH. Add compost and any needed amendments.
Work them into the top eight inches. Let the soil rest for two weeks. Then plant.
The Real Problem with Garden Soil Prep
Most people skip the test. They buy bagged soil or compost and guess. That’s the real problem.
You can’t fix what you don’t measure.
Clay soil holds too much water. Sandy soil drains too fast. Acidic soil locks up nutrients.
Alkaline soil does the same. Without a diagnosis, every amendment is a gamble.
The good news is you don’t need a lab coat or expensive gear. A few simple checks tell you everything you need to start. And once you know, the fix is straightforward.
What Your Soil Actually Needs (The Science Made Simple)
Soil is more than dirt. It’s a living system of minerals, organic matter, water, air, and microbes. Your plants need all five.
The mineral part comes from sand, silt, and clay. The mix of those three determines your soil texture. That texture controls drainage, root penetration, and nutrient availability.
The soil triangle classifies these into twelve categories, but most gardeners deal with one of three: sand, clay, or loam.
Organic matter is the second key component. It feeds microbes, holds moisture, and releases nutrients slowly. The USDA target of 3 to 5 percent organic matter is the sweet spot.
Below that, you get weak soil structure. Above it, excess nutrients can leach away.
pH matters too. Most vegetables prefer a range of 6.0 to 7.0. Outside that range, essential nutrients like phosphorus and calcium become unavailable, even if they’re present in the soil.
Per USDA NRCS soil health principles, the goal is to mimic natural ecosystems. That means keeping living roots in the ground, minimizing disturbance, maximizing diversity, and maintaining soil cover. You don’t have to do all of that at once.
But each step moves you closer.
Step 1: Diagnose Your Soil Type
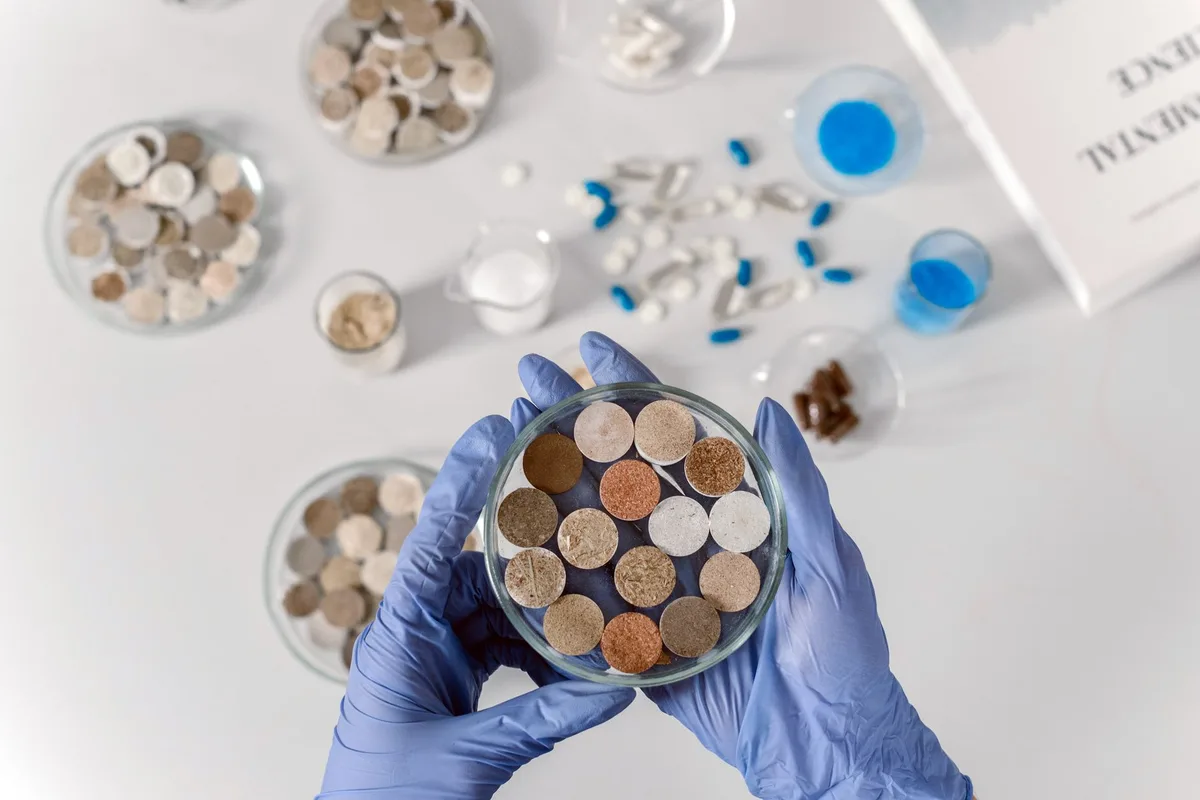
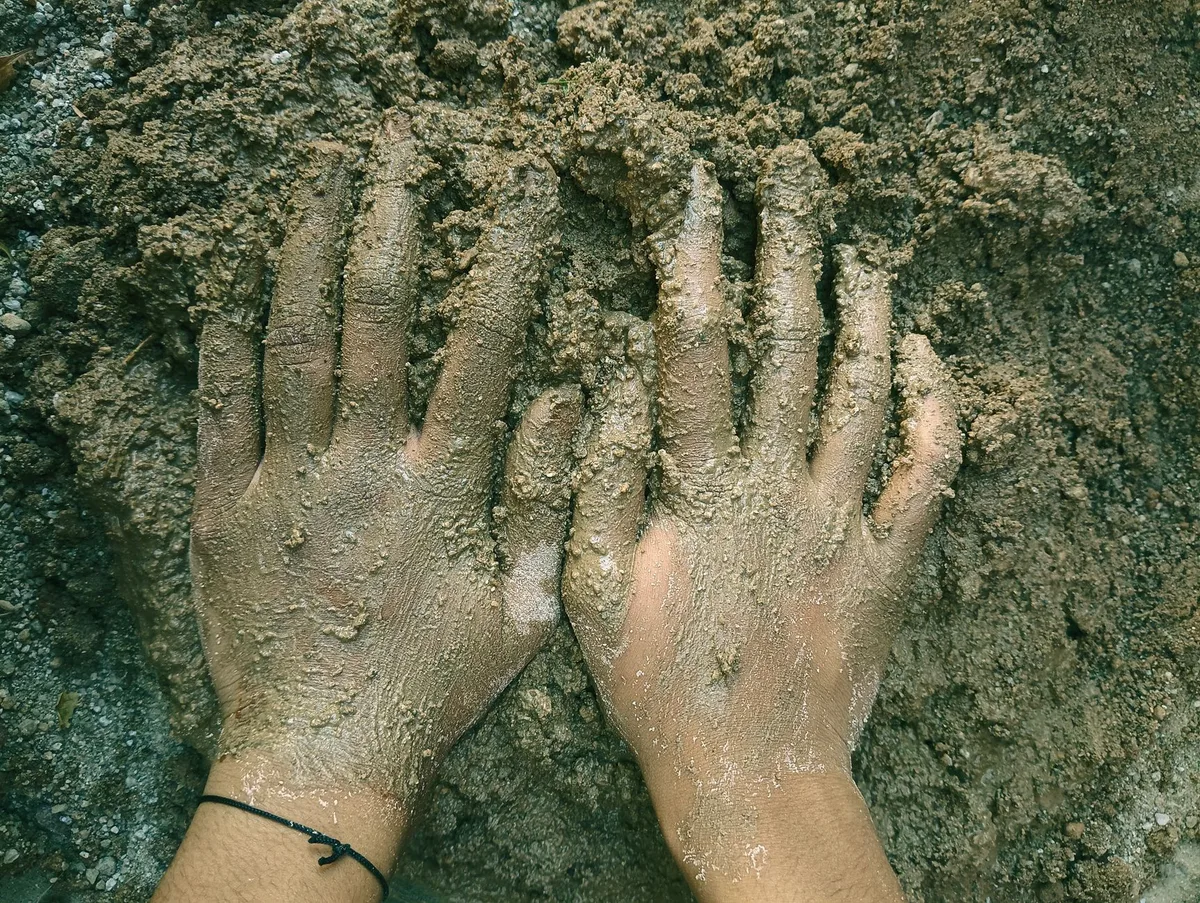
Start with your hands. Grab a moist handful of soil and squeeze it into a ball. Then press it between your thumb and forefinger.
Sandy soil feels gritty. It crumbles easily and won’t hold a shape. Clay soil feels smooth and sticky.
It forms a long ribbon when you squeeze it. Loam feels soft and crumbly. It holds a ball briefly and then breaks apart.
That’s the squeeze test. It’s free and takes thirty seconds.
Next, test your drainage. Dig a hole six inches deep and fill it with water. Let it drain completely, then fill it again.
Measure how fast the second fill drains. If it drops one to two inches per hour, you’re in good shape. Slower means compaction or clay.
Faster means sand or gravel.
Then check your pH. A home test kit from a garden center works fine for a ballpark reading. For precision, send a sample to your local Cooperative Extension lab.
They’ll send back a full breakdown of pH, nutrients, and organic matter for about $10 to $20.
| Test | What It Tells You | How to Do It |
|---|---|---|
| Squeeze test | Soil texture (sand, clay, loam) | Squeeze moist soil, feel the ribbon |
| Drainage test | Percolation rate | Fill a hole, time the drain |
| pH test | Acidity or alkalinity | Test strip or lab sample |
This is the kind of process that matters if you’re starting seeds indoors under lights, which is why proper ventilation and setup are key. Learn the details for a healthy start with the right indoor setup by checking our guide to choosing the best grow light for seedlings.
Step 2: Pick Your Path Based on Test Results
Your test results decide your next move. Different soils need different fixes. Here’s the breakdown.
You Have Heavy Clay Soil
Clay is nutrient-rich but drains slowly. It compacts easily and roots struggle to penetrate. Your job is to improve drainage and structure.
Add 2 to 3 inches of compost. Add 1 to 2 inches of coarse sand or grit. Use a garden fork or broadfork to loosen the top 8 inches.
Do not till wet clay. It turns into bricks.
You Have Sandy Soil
Sandy soil drains fast and holds little water or nutrients. Your job is to boost water retention and organic matter.
Add 3 to 4 inches of compost. Add coconut coir or peat moss to help hold moisture. Mulch heavily after planting to slow evaporation.
Avoid adding sand. You already have plenty.
You Have Loam (Lucky You)
Loam is the ideal mix. It drains well, holds nutrients, and is easy to work. Your job is just to maintain it.
Add 1 to 2 inches of compost each season. Refresh mulch. Test pH every two years.
You don’t need major amendments.
Your pH Is Off
For soil below 6.0 (acidic), add garden lime. The rate depends on your soil type. A typical application is 5 to 10 pounds per 100 square feet.
Mix it into the top 6 inches. For soil above 7.0 (alkaline), add elemental sulfur at 1 to 2 pounds per 100 square feet. Retest in three months before adding more.
Your Drainage Is Poor
If water pools for hours after a rain, you have a compaction or clay problem. Double digging can break up hardpan. Or build raised beds.
Raised beds give you control over the entire soil environment. Fill them with a mix of compost, topsoil, and coarse sand.
You Have Compacted Soil or Hardpan
A hard layer six to twelve inches down blocks root growth. Use a broadfork to break it up without flipping the layers. Or plant deep-rooted cover crops like daikon radish to punch through naturally.
Avoid heavy machinery or deep tilling. That makes compaction worse.
You’re Starting a Raised Bed or Container Garden
You aren’t amending native soil. You’re building new soil from scratch. Aim for a mix of about 50 percent compost, 30 percent topsoil, and 20 percent coarse sand or perlite for drainage.
That gives you a fluffy, well-draining bed for most vegetables and flowers. If you’re planting flowers specifically, adjust your mix based on the species you choose. Our recommendations for the best flowers for flower beds can help you pick varieties that match your new soil.
You’re Doing a No-Till / No-Dig Bed
Lay cardboard directly over your lawn or weeds. Wet it thoroughly. Cover it with 4 to 6 inches of compost.
Then add 2 to 3 inches of mulch. Worms and microbes will break down the cardboard and integrate it into the soil below. You never turn the soil.
Every year you just add more compost on top.
Step 3: Choose Your Amendments and Methods
Now you know what you’re working with. The next step is picking the right materials. Not all amendments work the same way.
For Clay Soil
Add organic matter. Lots of it. Compost, leaf mold, and aged bark are your best friends.
They break up the sticky particles and create pore spaces for air and water.
Gypsum also helps if your clay is high in sodium. It flocculates the particles, making them clump together in larger crumbs. That improves drainage without changing pH.
Avoid adding sand unless you’re prepared to mix in massive amounts. A 50/50 ratio of sand to clay might sound logical, but it often produces something closer to concrete. Stick with compost.
For Sandy Soil
Organic matter again. But you need more of it. Sandy soil has no structure to hold nutrients.
The compost acts like a sponge.
Add coconut coir or peat moss alongside your compost. Coir is more sustainable and has a neutral pH. Peat moss is acidic and better for acid-loving plants like blueberries.
You can also add a slow-release organic fertilizer at planting time. Sandy soil leaches nutrients fast. The following tips will help you avoid common pitfalls when enriching sandy soil.
For Low pH (Acidic)
Lime is the standard fix. But not all lime is the same. Pelletized lime is easier to spread and works faster than powdered.
Apply it in the fall so it has time to react before spring planting.
Dolomitic lime adds magnesium. Calcitic lime does not. If your soil test shows low magnesium, use dolomitic.
If magnesium is fine, use calcitic.
For High pH (Alkaline)
Elemental sulfur lowers pH slowly. You need 1 to 2 pounds per 100 square feet to drop the pH by one point. It takes several months, so plan ahead.
Aluminum sulfate works faster but can reach toxic levels if overused. Stick with sulfur for safety.
For Compaction
A broadfork is better than a rototiller. It loosens soil without destroying its structure. Insert the tines, step down, lean back.
Move across the bed.
For severe hardpan, try a cover crop of daikon radish. The roots punch through compacted layers. As they rot, they leave channels for water and roots.
For Raised Beds
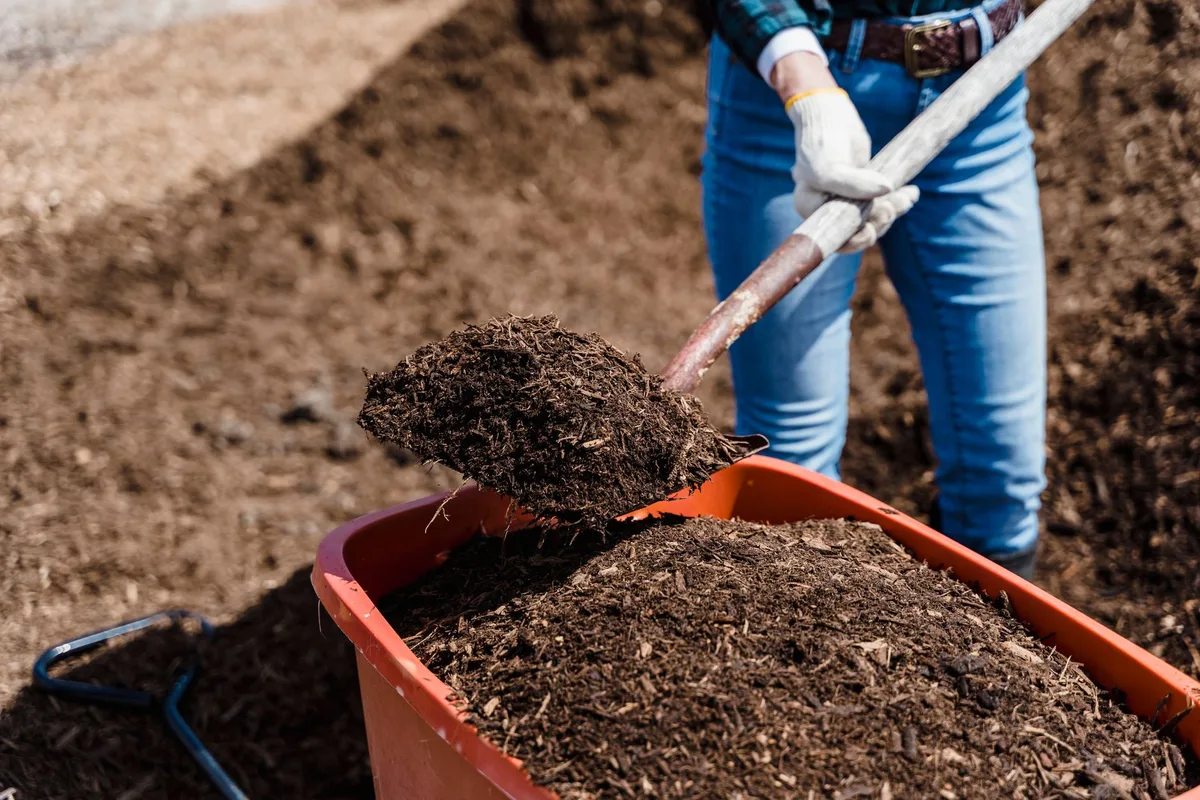
Make your own mix. A reliable formula is 50 percent compost, 30 percent topsoil, and 20 percent coarse sand or perlite. That gives good drainage and fertility.
| Amendment | Best For | Application Rate |
|---|---|---|
| Compost | All soil types | 1 to 3 inches worked into top 8 inches |
| Lime | Acidic soil | 5 to 10 lbs per 100 sq ft |
| Elemental sulfur | Alkaline soil | 1 to 2 lbs per 100 sq ft |
| Gypsum | Clay soil (sodic) | 2 to 3 lbs per 100 sq ft |
| Coir or peat moss | Sandy soil | 1 to 2 inches mixed in |
This process works well if you are also starting seeds. Using the right mix for your seed trays is just as important. Our guide on the best grow light for seedlings covers proper indoor setup once your soil is ready.
Step 4: Timing Your Prep Right
Timing matters more than most people realize. Soil amendments need time to work.
Fall Prep (Best Option)
Fall is ideal. The soil is warm. Moisture levels are good.
Amendments have months to break down before spring.
Incorporate compost and lime in September or October. Cover the bed with mulch or plant a winter cover crop like winter rye. By spring, the soil is loose, fertile, and ready to plant.
Spring Prep (The Rush Job)
If you missed fall, start as soon as the soil is workable. Grab a handful and squeeze it. If it forms a muddy ball that sticks together, it’s too wet.
Wait a few days.
Work amendments in 4 to 6 weeks before your last frost date. That gives enough time for the soil to settle. For lime, you need at least 3 months for full effect.
Pelletized lime works faster but still needs 6 to 8 weeks.
Before Each Planting Season
Between seasons, top-dress with 1 inch of compost. Scratch it into the surface with a rake. No need to dig deep if the soil is already loose.
Re-test your pH every 2 to 3 years. Organic matter breaks down over time. You will lose some each season.
Top-dressing replenishes it.
If you are planting trees or shrubs, you need to think about long-term soil health. Species adapted to hot dry climates need different preparation than moisture-loving plants. Check our recommendations for the best trees for hot dry climates to match your soil prep with the right species.
Common Soil Prep Mistakes That Ruin Gardens
Some mistakes set you back an entire season. Here are the ones to avoid.
Working Soil When It’s Wet
This is the most common error. Wet soil compacts easily. The structure you are trying to build gets destroyed.
Wait until a handful crumbles when you squeeze it.
Over-Tilling
A rototiller can turn good soil into dust. It destroys fungal networks and organic matter structure. Use a broadfork or spade instead.
You can use between 5 and 8 internal links naturally.
Adding the Wrong Amendment
Lime on alkaline soil makes things worse. More sand in sandy soil does nothing. Test first.
Guess second.
Skipping the Test
You might add nitrogen when your soil already has plenty. You might add lime when your pH is fine. Without a test, you are working blind.
Removing All Organic Debris
Clean gardens can be sterile gardens. Leave some plant residue on the surface. Let worms and microbes do their work.
Not Letting the Soil Settle
If you plant right after adding amendments, seeds can sink too deep. Roots can hit uncomposted material. Let the bed rest for 2 weeks after amending.
Using the right fertilizer for the plants you grow is a separate skill. If you grow fruit trees, the best organic fertilizer for fruit trees helps you continue building soil health after planting.
Expert Tips for Long-Term Soil Health
Good soil prep is not a one-time job. You maintain it every season.
Keep the Soil Covered
Bare soil erodes. It loses moisture and organic matter. Use mulch year-round.
Straw, wood chips, or shredded leaves all work.
Plant Cover Crops
Between growing seasons, plant a cover crop. Winter rye, crimson clover, or buckwheat protect the soil and add nutrients. Till them under before they go to seed.
Rotate Your Beds
Planting the same crop in the same spot depletes specific nutrients. Rotate families each year. Tomatoes, peppers, and potatoes are heavy feeders.
Follow them with beans or peas that fix nitrogen.
Add Compost Every Season
You lose 1 to 2 percent organic matter each year in a cultivated bed. Replacing it is not optional. Add 1 inch of compost each spring.
Stop Tilling
No-till gardening builds soil structure over time. Worms and roots create natural pores. You do not need to turn the soil every year.
Just top-dress.
Test Every Two Years
Soil changes. Your testing habits should keep up. A $15 lab test from your extension service gives you precise numbers.
If you are designing a flower bed, matching your soil amendment to the specific flower type gives better results than a one-size-fits-all approach. Our guide to the best flowers for flower beds helps you pair soil conditions with flower preferences.
Frequently Asked Questions
How deep should I prepare the soil?
Aim for 8 to 12 inches. Most vegetable roots grow in the top foot. For raised beds, you need at least 8 inches of quality mix.
Can I use fresh manure in the soil?
No. Fresh manure burns roots and carries pathogens. Compost it for at least 6 months first.
Aged or composted manure is safe.
Do I need to remove rocks from the soil?
Remove rocks larger than your thumb. Small rocks do not hurt. They even help drainage.
Big rocks block roots.
What is the cheapest way to improve soil?
Compost. Make your own from kitchen scraps and yard waste. It costs nothing and adds organic matter, microbes, and nutrients.
How often should I replace the soil in raised beds?
You never replace it. You amend it. Add 1 to 2 inches of compost each season.
The soil improves over time.
Should I add fertilizer when preparing soil?
Only if your test shows a deficiency. Most soils have enough nutrients if you add compost. Adding extra fertilizer can burn young roots.
Quick Decision Guide: Prep Plan for Your Situation
Your path forward depends on your test results. Use this cheat sheet.
| If You Have | Your Priority | Minimum Action |
|---|---|---|
| Heavy clay | Improve drainage | Add 3 inches compost, broadfork, test pH |
| Sandy soil | Increase water retention | Add 4 inches compost and coir |
| Loam | Maintain balance | Add 1 inch compost each season |
| pH below 6.0 | Raise pH | Add lime in fall, retest in spring |
| pH above 7.0 | Lower pH | Add elemental sulfur, retest in 3 months |
| Poor drainage | Fix compaction | Dig drainage channels or build raised bed |
| Hardpan layer | Break it up | Use broadfork or plant daikon radish cover crop |
If you are short on time, skip the lab test. Use a pH probe and the squeeze test. Add 2 inches of compost regardless of your soil type.
That single step fixes most problems.
If you are building a new bed from scratch, use the raised bed mix. It gives you complete control. Avoid bagged “garden soil” from big box stores.
It often contains too much sand or wood filler.
If your soil has heavy metals (common in urban areas), test before planting food. Contact your local extension office. They offer low-cost tests for lead and other contaminants.
Consider raised beds with clean soil if levels are high.
One final rule. Soil prep is not a one-time task. It is a yearly habit.
Add compost every spring. Cover the soil in winter. Rotate your crops.
Test every two years. Do that, and your soil gets better each season instead of worse.